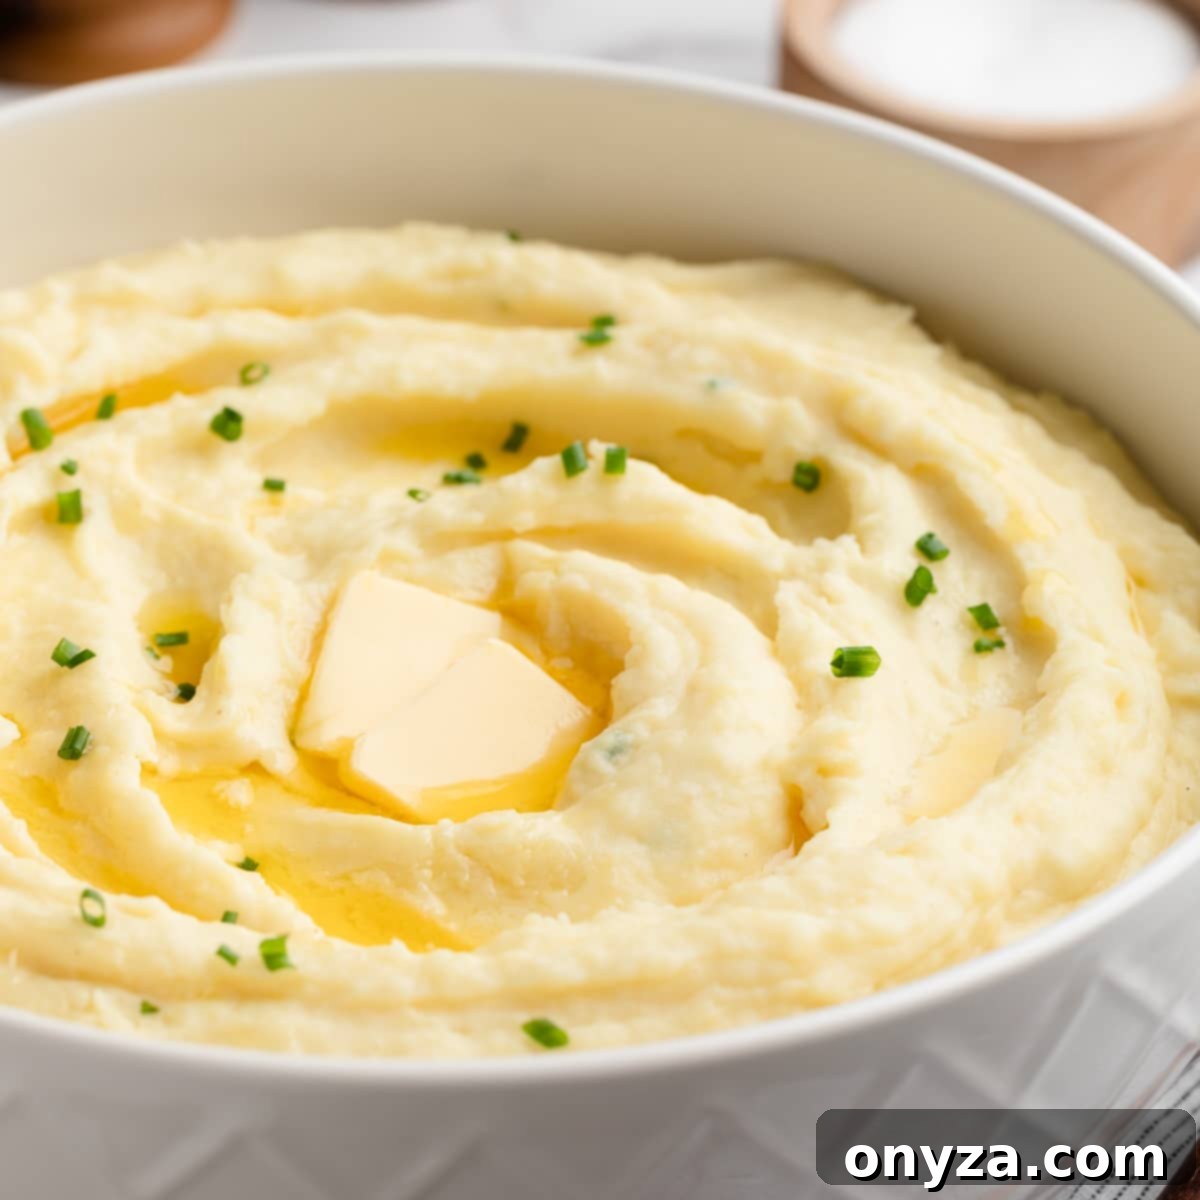
Cream Cheese Mashed Potatoes: The Ultimate Velvety Side Dish
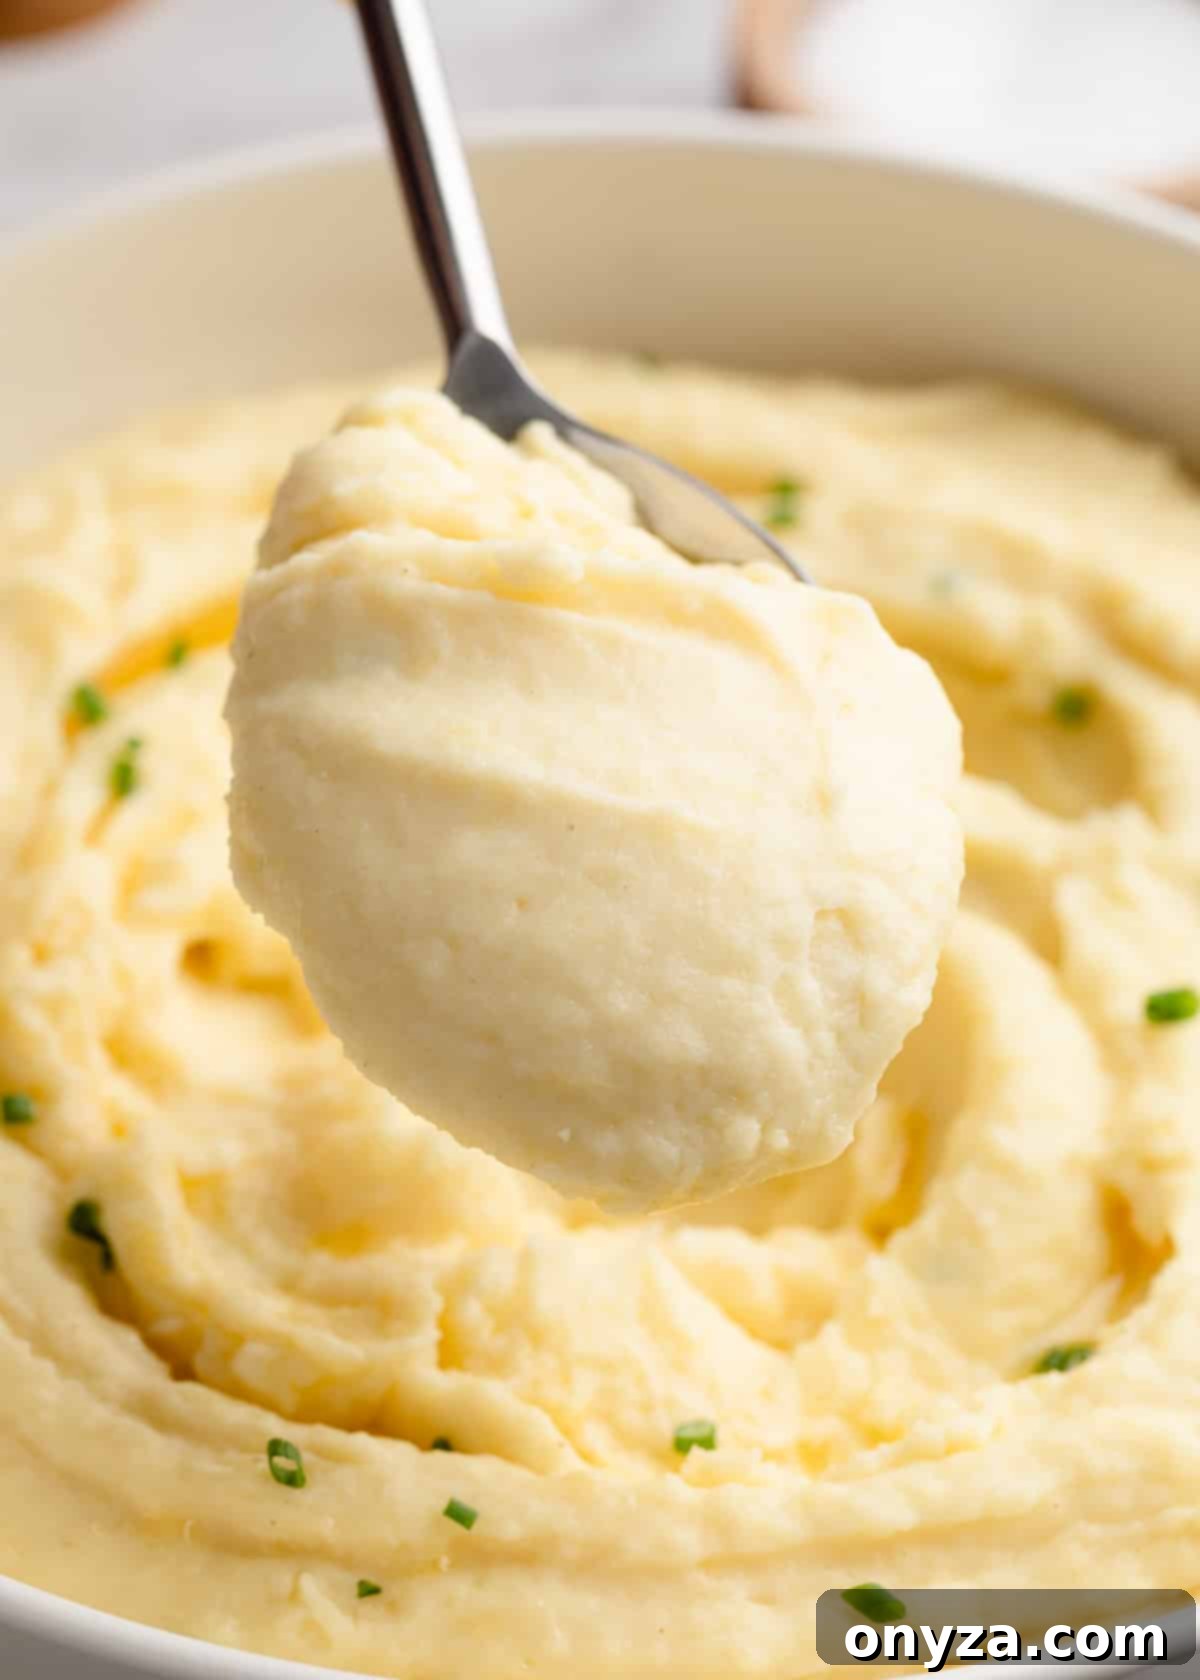
Indulge in the luxurious comfort of Cream Cheese Mashed Potatoes, a side dish so rich and creamy, it’s destined to become a new family favorite. Imagine tender, golden potatoes expertly mashed with a harmonious blend of creamy milk or half-and-half, generous pats of butter, and the delightful tang of cream cheese. The result is a velvety texture and an irresistible flavor that elevates any meal, transforming ordinary potatoes into an extraordinary culinary experience. Perfect for a grand holiday feast or a cozy weeknight dinner, these mashed potatoes promise pure comfort in every single bite.
Why You’ll Love These Cream Cheese Mashed Potatoes
What makes these mashed potatoes truly special? It’s the magical addition of cream cheese. While classic mashed potatoes are undeniably delicious, incorporating cream cheese introduces a new dimension of flavor and texture:
- Unrivaled Creaminess: The high-fat content of cream cheese, combined with butter and milk, creates an incredibly smooth, melt-in-your-mouth texture that’s simply unmatched.
- Subtle Tang: Cream cheese adds a delicate, pleasing tang that beautifully balances the richness of the dairy, preventing the dish from tasting too heavy.
- Enhanced Flavor: The unique flavor profile of cream cheese complements the natural sweetness of Yukon Gold potatoes, resulting in a more complex and satisfying taste.
- Holiday Perfection: These mashed potatoes are robust enough to stand proudly alongside a holiday turkey or roast, yet comforting enough for any special occasion.
Before You Start Cooking: Essential Tips for Success
Achieving the perfect batch of cream cheese mashed potatoes begins with a few key considerations:
Potato Variety: The Foundation of Flavor and Texture
This recipe shines brightest with Yukon Gold potatoes. Their naturally buttery flavor, moist flesh, and medium starch content make them ideal for mashing. They break down easily to create a creamy texture without becoming gluey. If Yukon Golds aren’t available, look for other “gold,” “butter,” or “yellow” varieties, which typically have similar characteristics. While Russet potatoes can be used, they are starchier and tend to yield a fluffier, less velvety mash, sometimes requiring more liquid.
Choosing the Right Mashing Tools
The tool you choose will significantly impact the final texture of your mashed potatoes:
- Potato Ricer: For the silkiest, most lump-free mashed potatoes, a potato ricer is your best friend. It presses the cooked potatoes into fine, fluffy strands, ensuring a consistently smooth result.
- Electric Mixer (Handheld or Stand): A convenient option for achieving a smooth, creamy texture. However, exercise caution: over-whipping with an electric mixer can overdevelop the starch, leading to a gluey consistency. Use it on low speed and stop as soon as the potatoes are smooth.
- Handheld Potato Masher: If you prefer a more rustic texture with a few delightful lumps, a classic handheld masher will do the trick. While not my preferred method for an “ultra-smooth” cream cheese mash, it’s a perfectly acceptable choice for those who enjoy a heartier texture.
Make-Ahead Convenience for Stress-Free Hosting
One of the best features of these cream cheese mashed potatoes is their make-ahead potential. You can easily prepare them a few days in advance and gently reheat them just before serving, making them an excellent choice for busy holiday dinners or gatherings. This allows you to focus on other dishes and enjoy more time with your guests.
How to Make Cream Cheese Mashed Potatoes: A Step-by-Step Guide
Step 1: Prep and Cook the Potatoes for Perfection
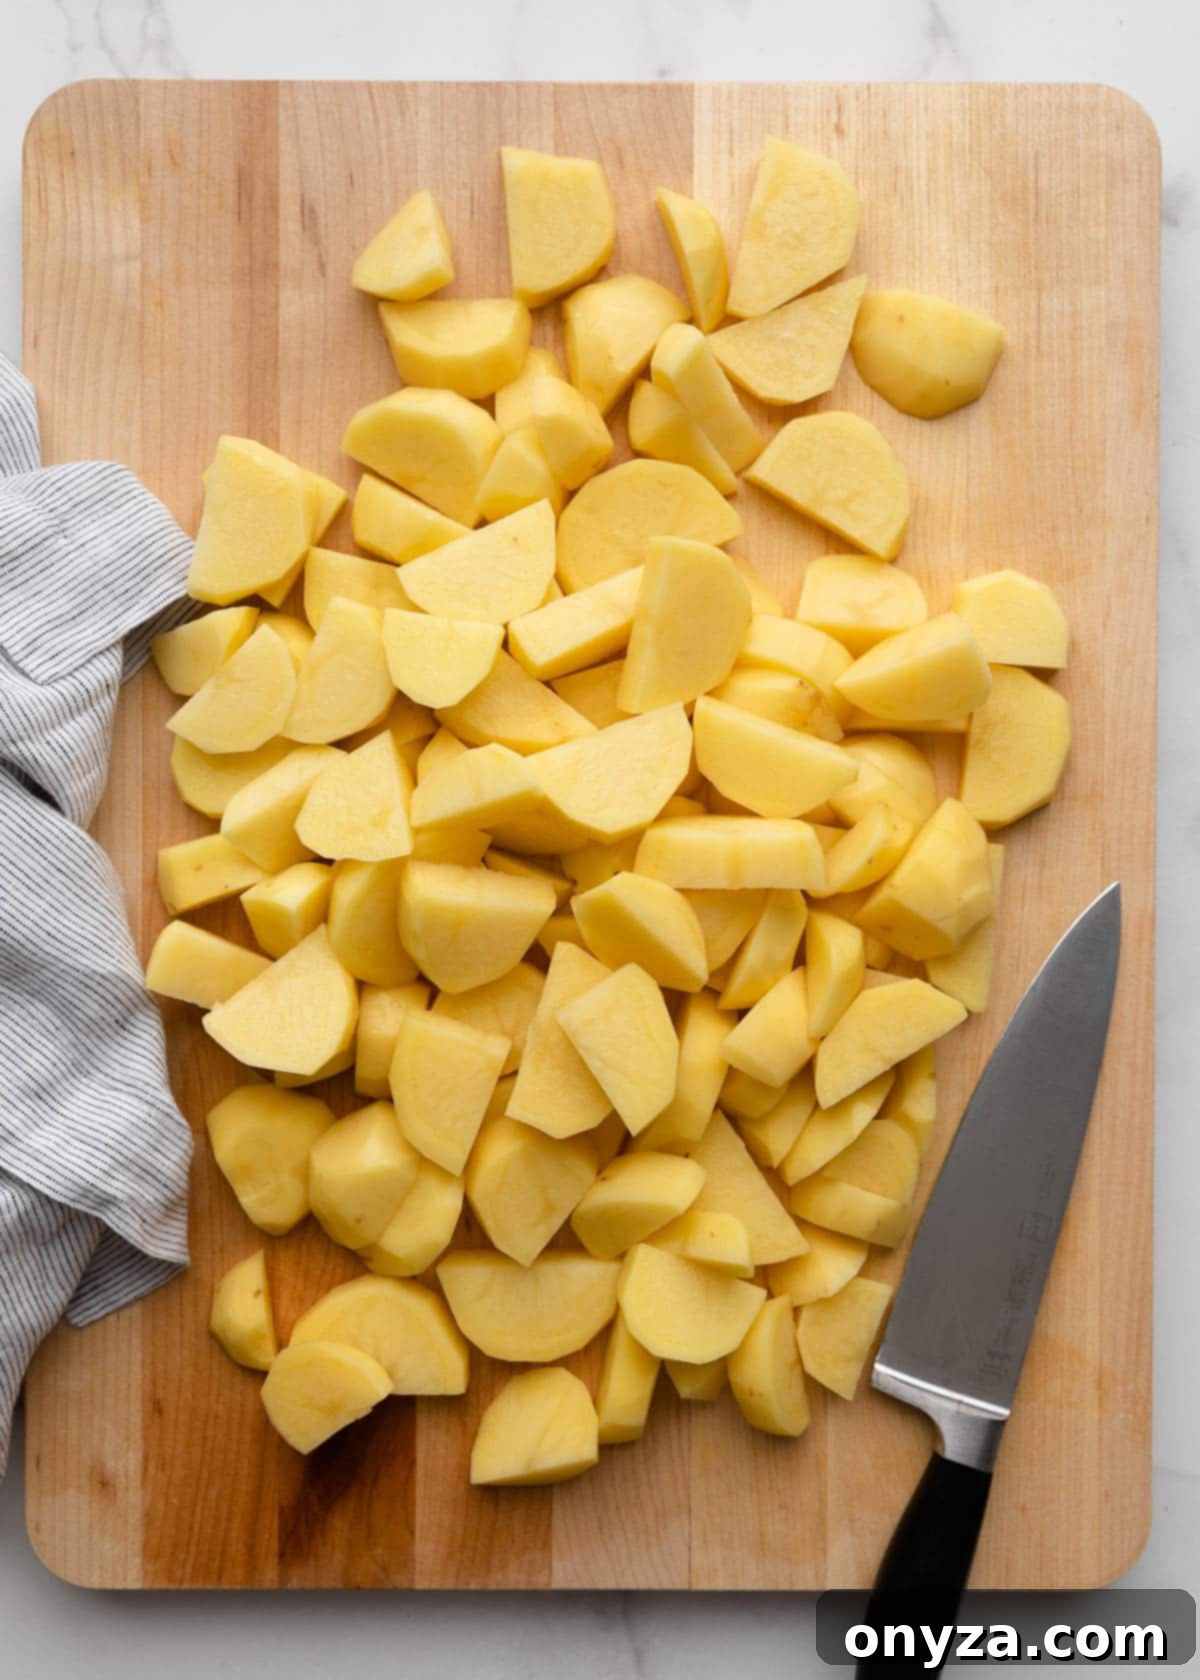
- Peel the Potatoes: While some recipes leave the thin skins on golden potatoes, for an ultra-smooth and creamy mashed potato, peeling is essential. This ensures a consistently velvety texture without any textural interruptions.
- Slice for Even Cooking: Cut the peeled potatoes in half lengthwise, then slice each half into uniform 1/2- to 3/4-inch thick pieces. Consistency in size is crucial for even cooking, preventing some pieces from becoming mushy while others remain undercooked.
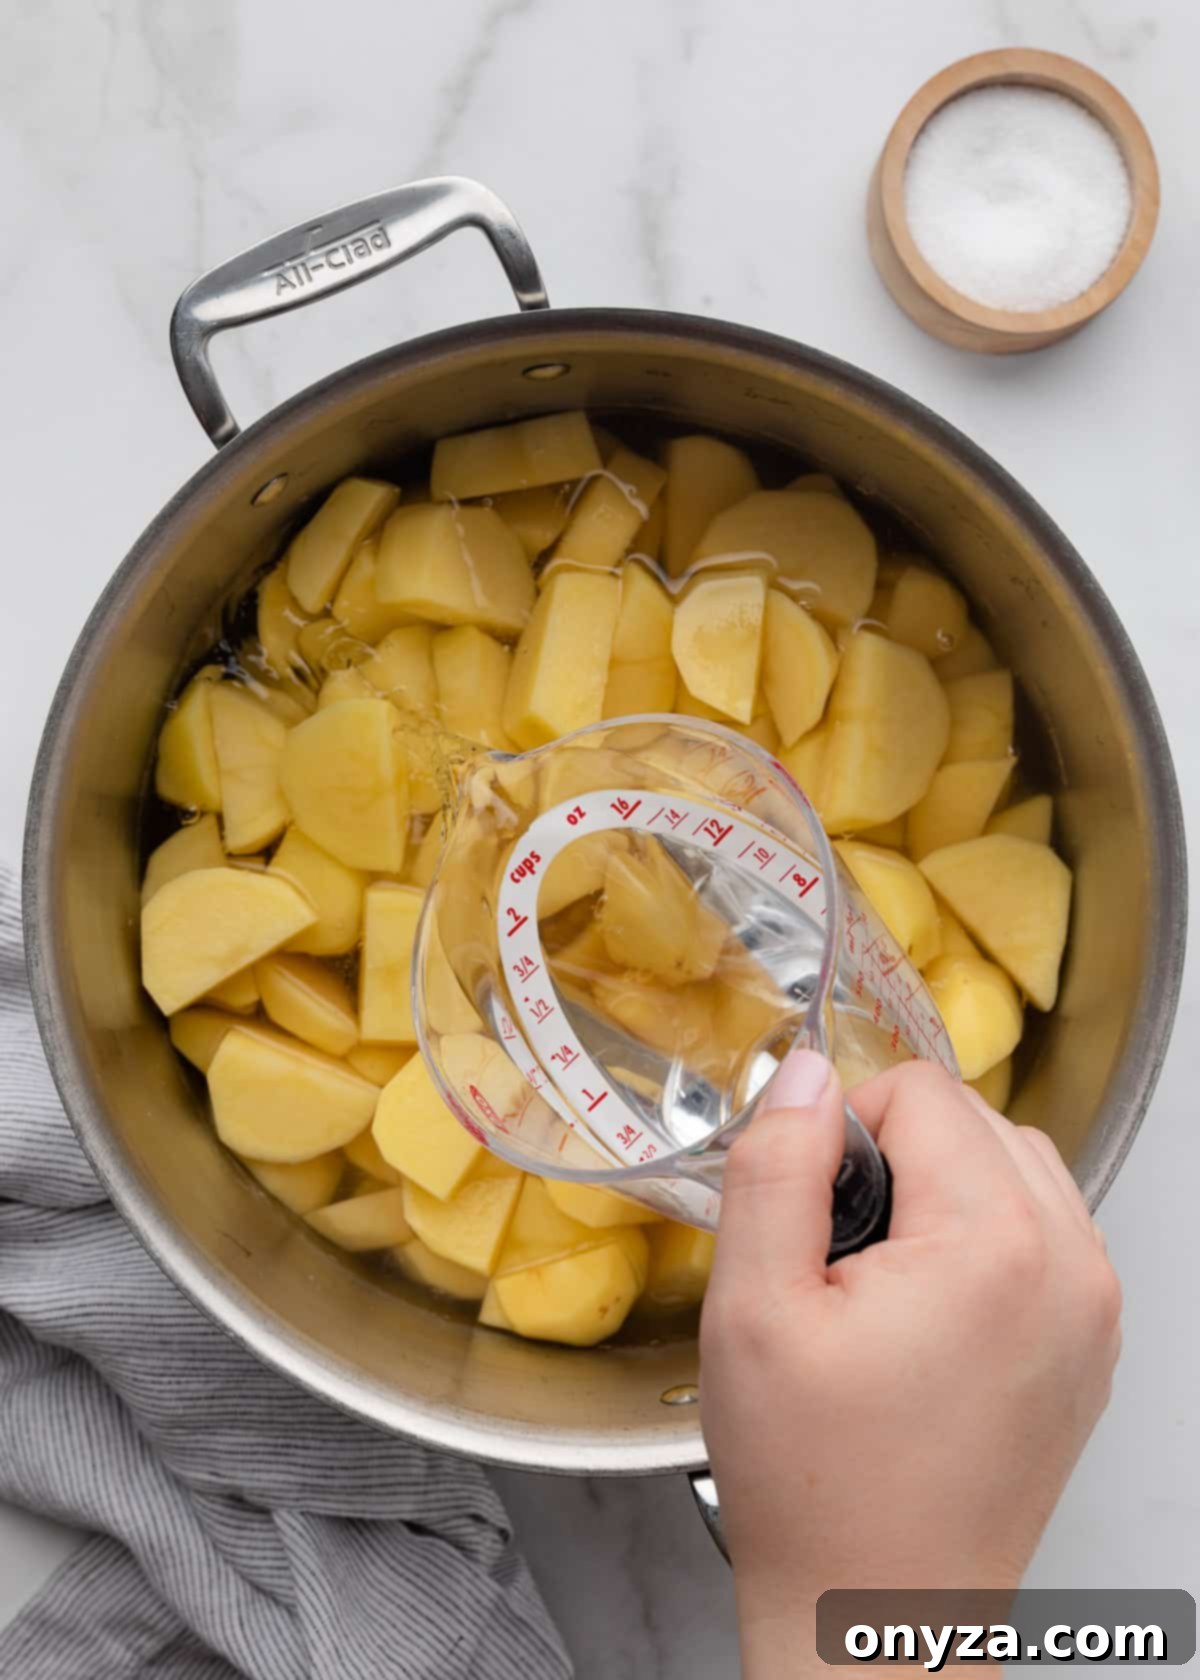
- Prepare the Pot: Place the sliced potato chunks into a large pot. Add enough cold water to cover the potatoes by about 1 inch. Season the water generously with 1 tablespoon of kosher salt (Diamond Crystal is recommended for its milder salinity). Salting the water early seasons the potatoes from the inside out, enhancing their flavor.
- Boil to Tender Perfection: Bring the pot to a boil over high heat, partially covered. Once boiling, remove the lid and reduce the heat to maintain a gentle, steady boil. Cook the potatoes for approximately 15-18 minutes, or until they are fork-tender but not disintegrating. Test for doneness by sliding the tines of a fork or the tip of a paring knife into a few slices; there should be no resistance.
- Drain and Dry Thoroughly: Drain the cooked potatoes into a colander. Crucially, place the colander back over the empty hot pot. Let the potatoes sit for about 5 minutes, allowing the residual heat to help any excess moisture evaporate. This step is vital to prevent watery mashed potatoes. Before proceeding, pour out any water that has collected at the bottom of the pot.
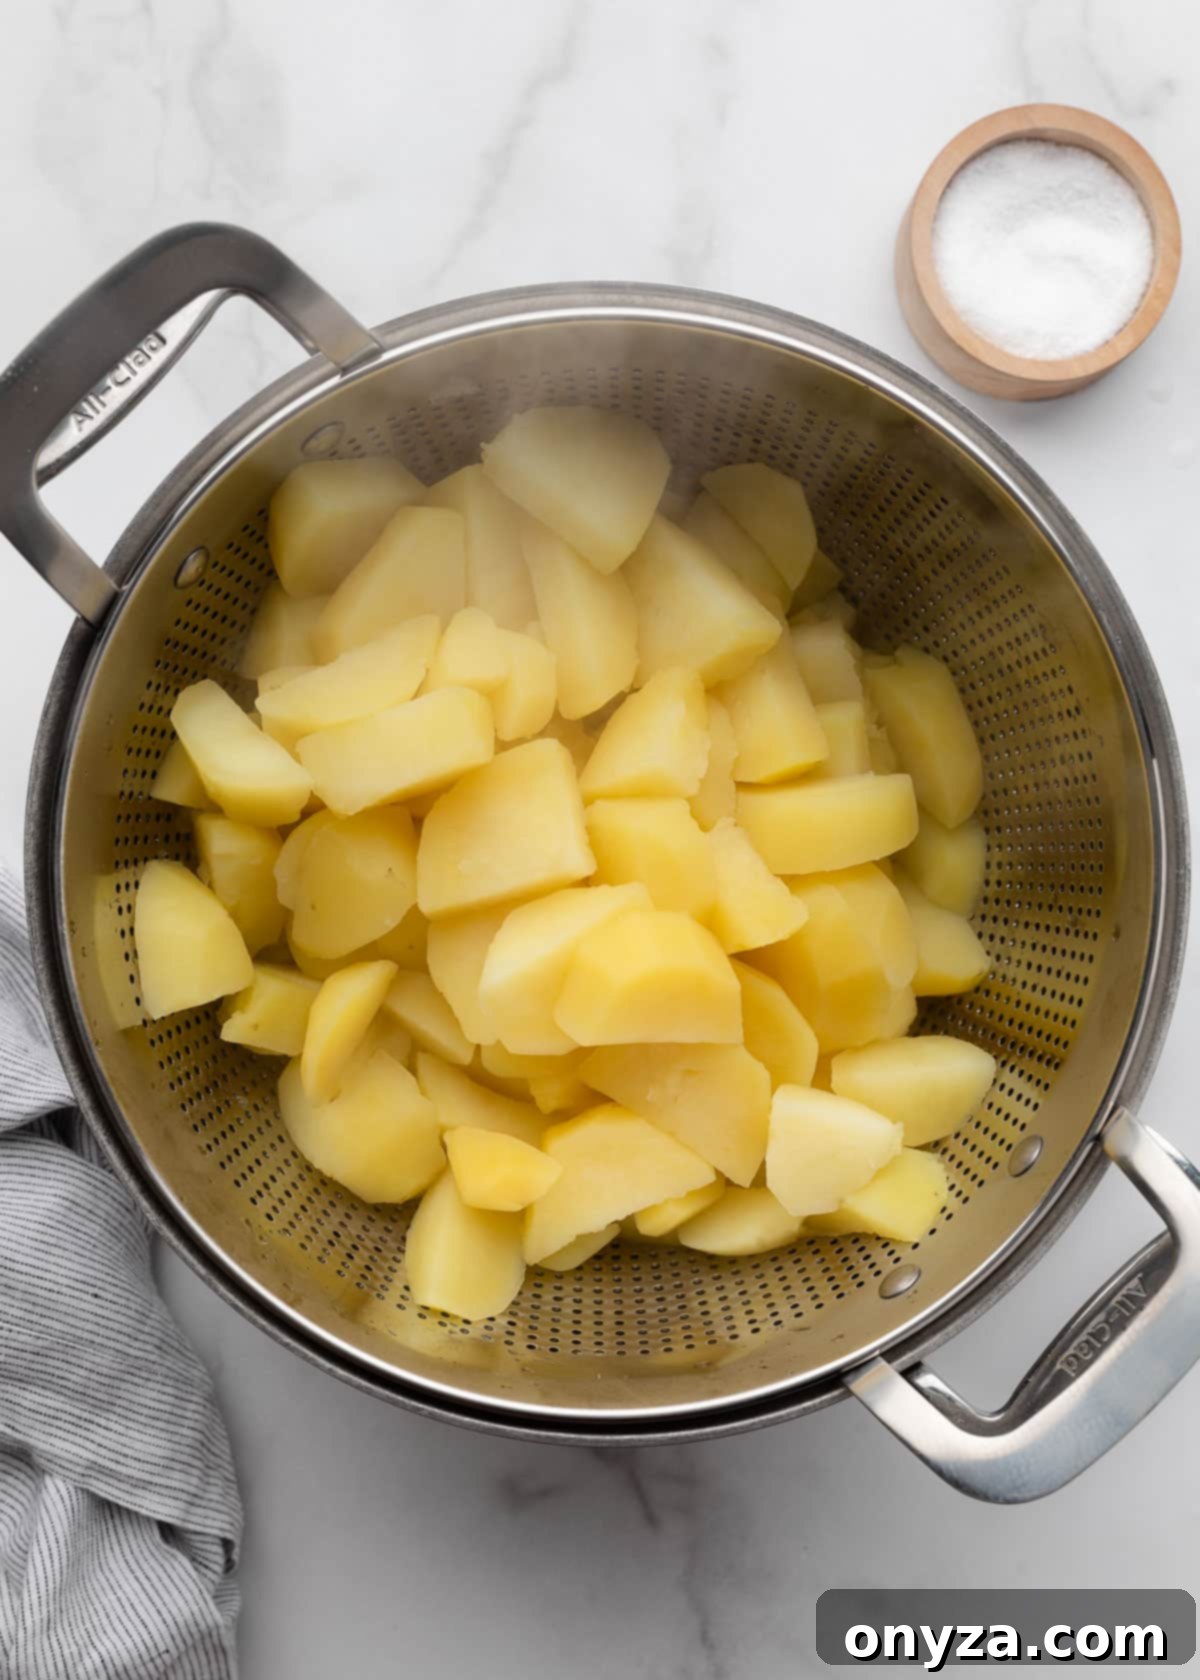
Step 2: Mash the Potatoes with Flavorful Additions
Once your potatoes are perfectly cooked and dried, it’s time to incorporate the ingredients that give these Cream Cheese Mashed Potatoes their signature richness and incredible flavor:
- Cream Cheese: Always opt for brick-style Philadelphia cream cheese for best results; avoid the spreadable tub variety, which has a different consistency. Cut the cream cheese into cubes and ensure it’s softened to room temperature. This allows it to melt smoothly and integrate effortlessly into the warm potatoes. (If you’re pressed for time, a quick softening method involves unwrapping the cream cheese and microwaving it on low power in 10-second intervals until soft.)
- Whole Milk or Half-and-Half: Both options yield delicious results, but half-and-half will contribute to an even creamier, more indulgent potato dish. Crucially, always warm your liquid (milk or half-and-half) before adding it to the cooked potatoes. Warm liquid absorbs much more readily, preventing the potatoes from cooling down too quickly and ensuring a smooth emulsion. You can warm it gently in the microwave (stirring every 15 seconds) or on the stovetop.
- Melted Unsalted Butter: While standard American unsalted butter works well, using a higher-butterfat European-style butter (like Kerrygold or Plugrá) will impart an even richer flavor and a more luxurious texture. Kerrygold, in particular, also adds a beautiful golden hue to the mashed potatoes.
- Seasoning: Beyond the salt used for boiling, fresh ground white pepper is recommended for its subtle heat and to maintain the golden color of the potatoes, though black pepper works if preferred. Additional salt to taste is always a good idea at the end.
Using a Potato Ricer for Ultra-Smoothness
If you’re aiming for that perfectly smooth, lump-free texture, a potato ricer is the way to go:
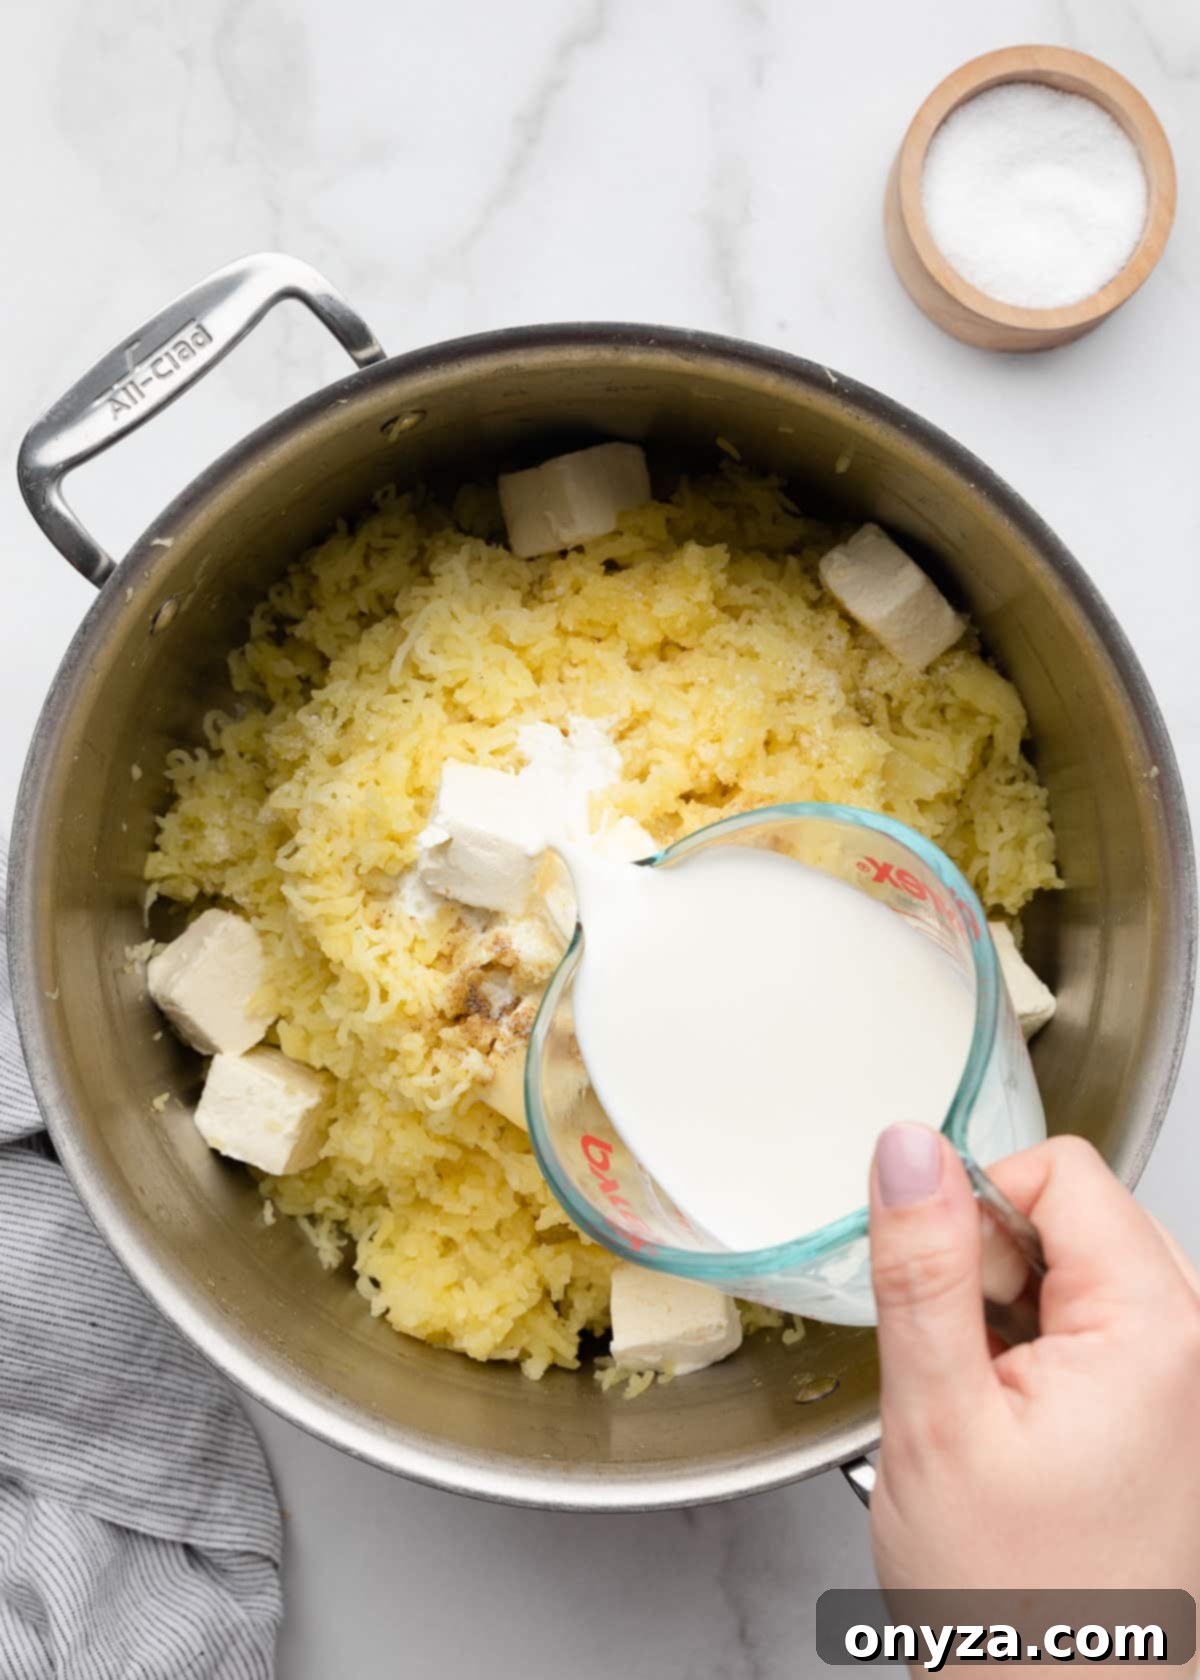
Work in batches, pressing the cooked potatoes through the ricer directly into your warm, dry pot. I find it beneficial to add the softened, cubed cream cheese to the pot midway through the ricing process, layering it between batches of warm riced potatoes. This helps the cream cheese melt and incorporate seamlessly into the potatoes as you continue ricing.
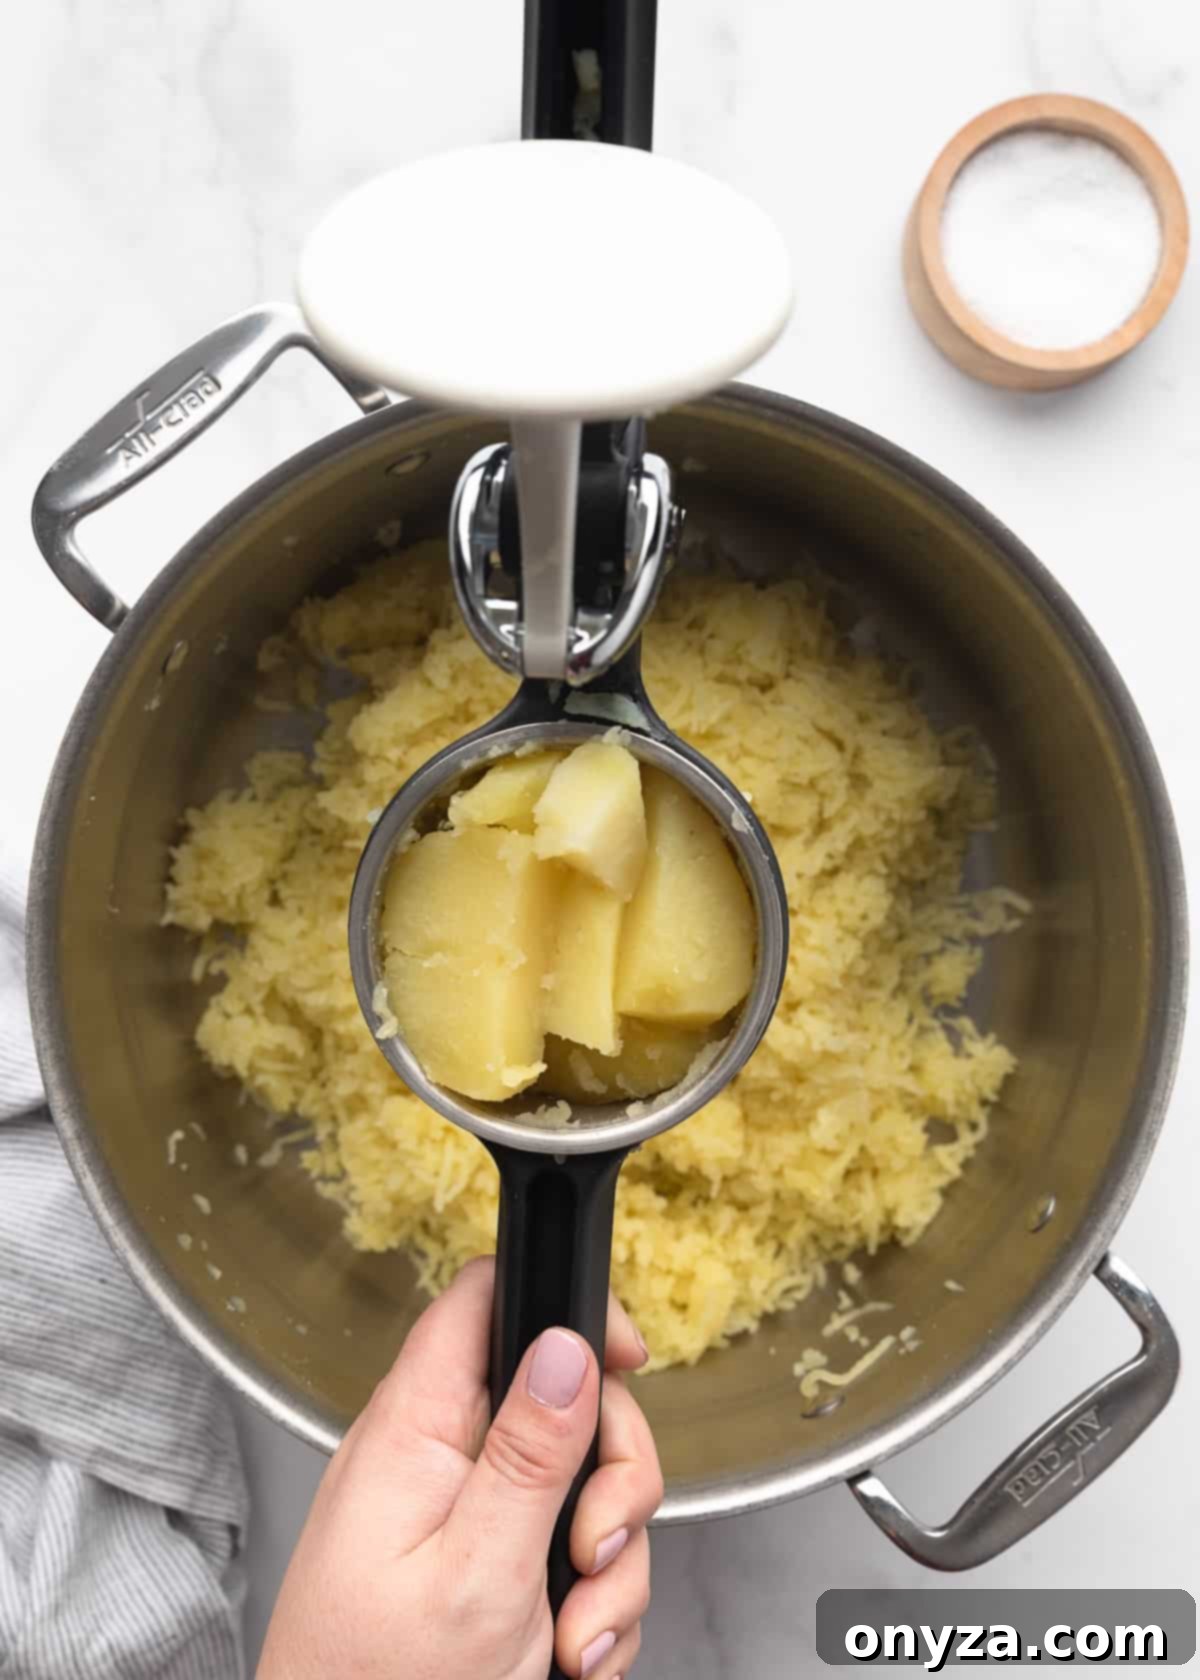
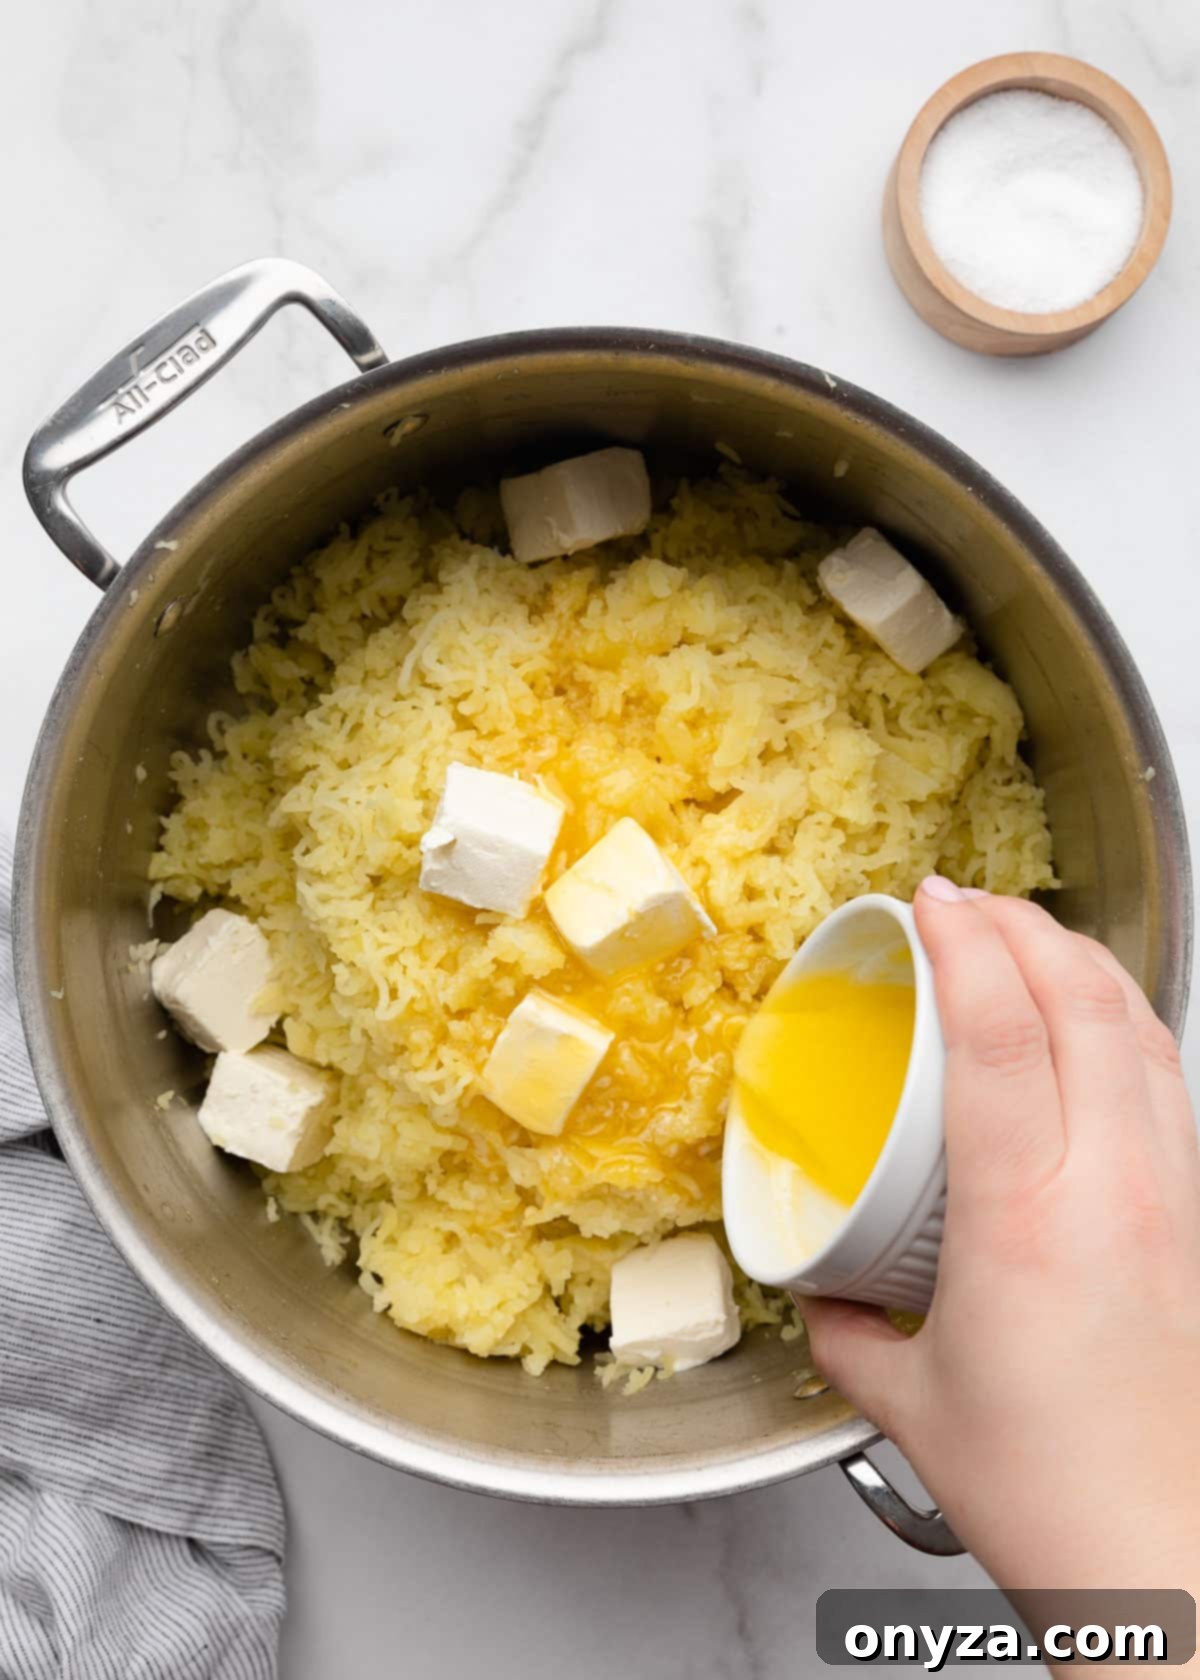
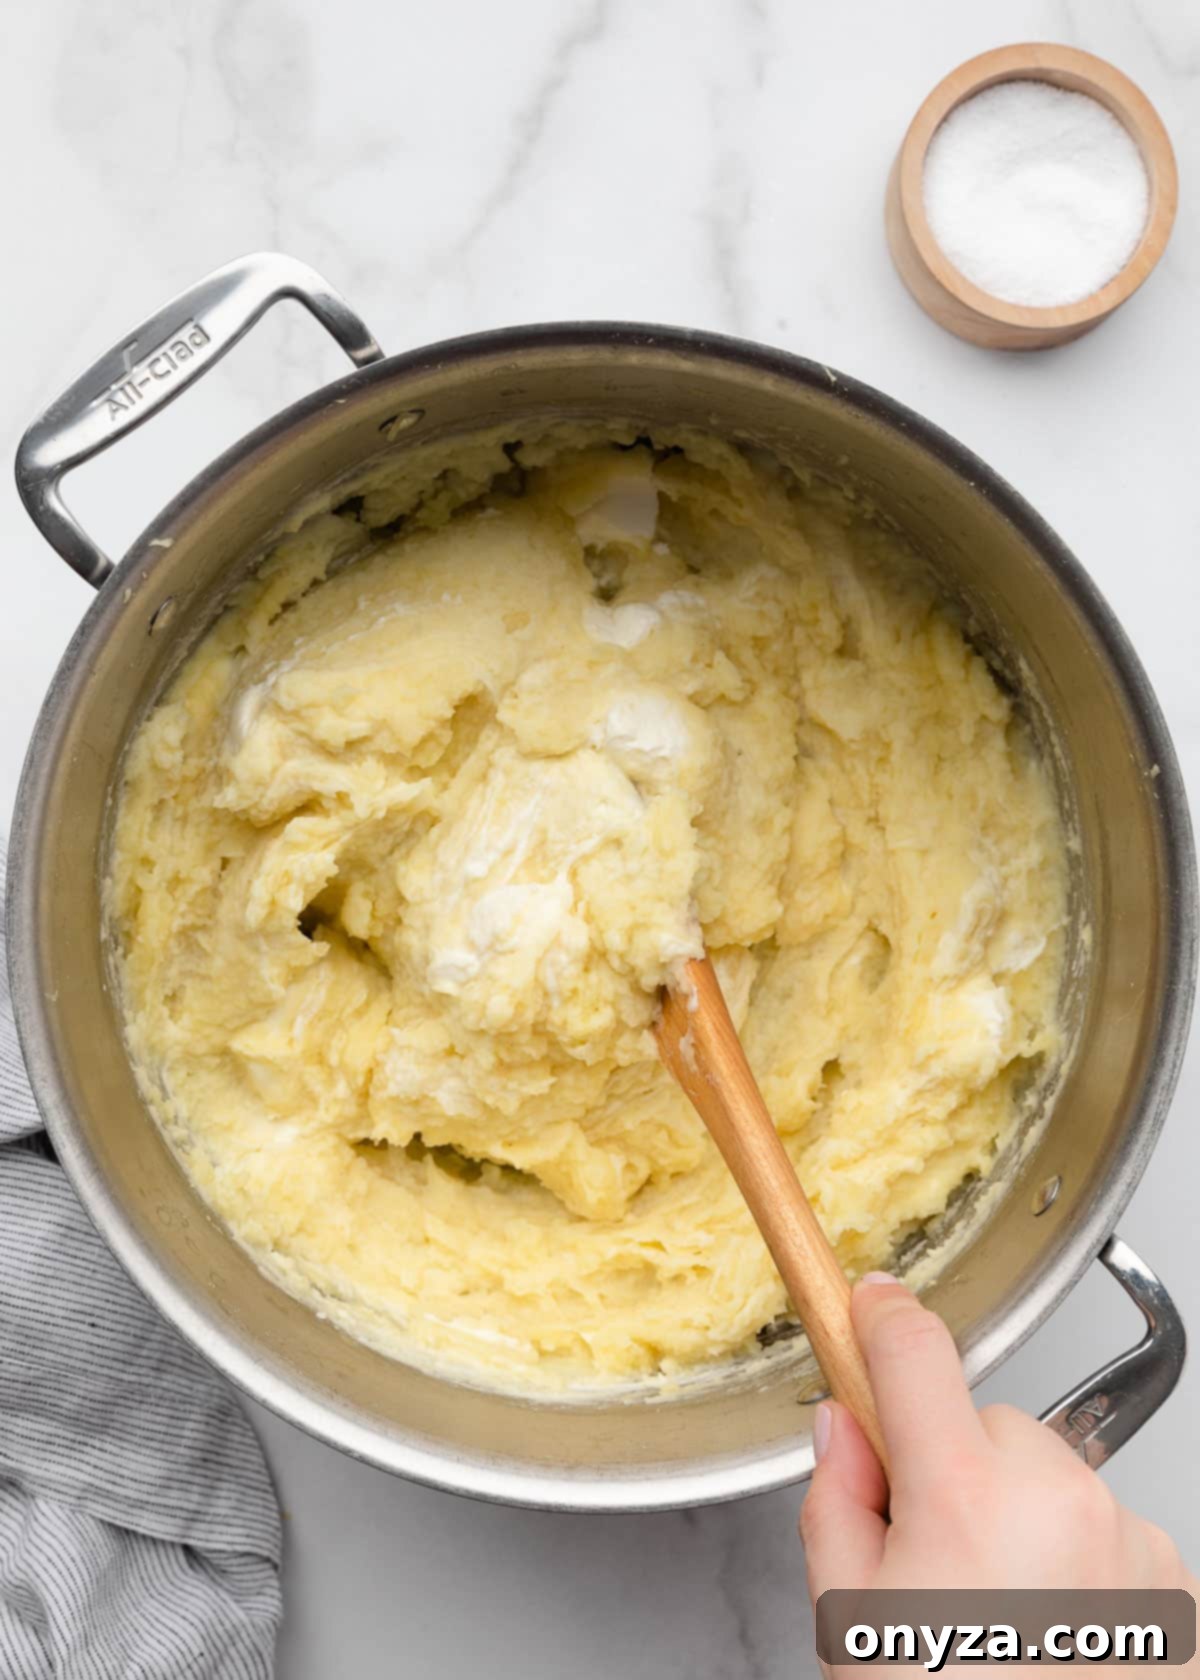
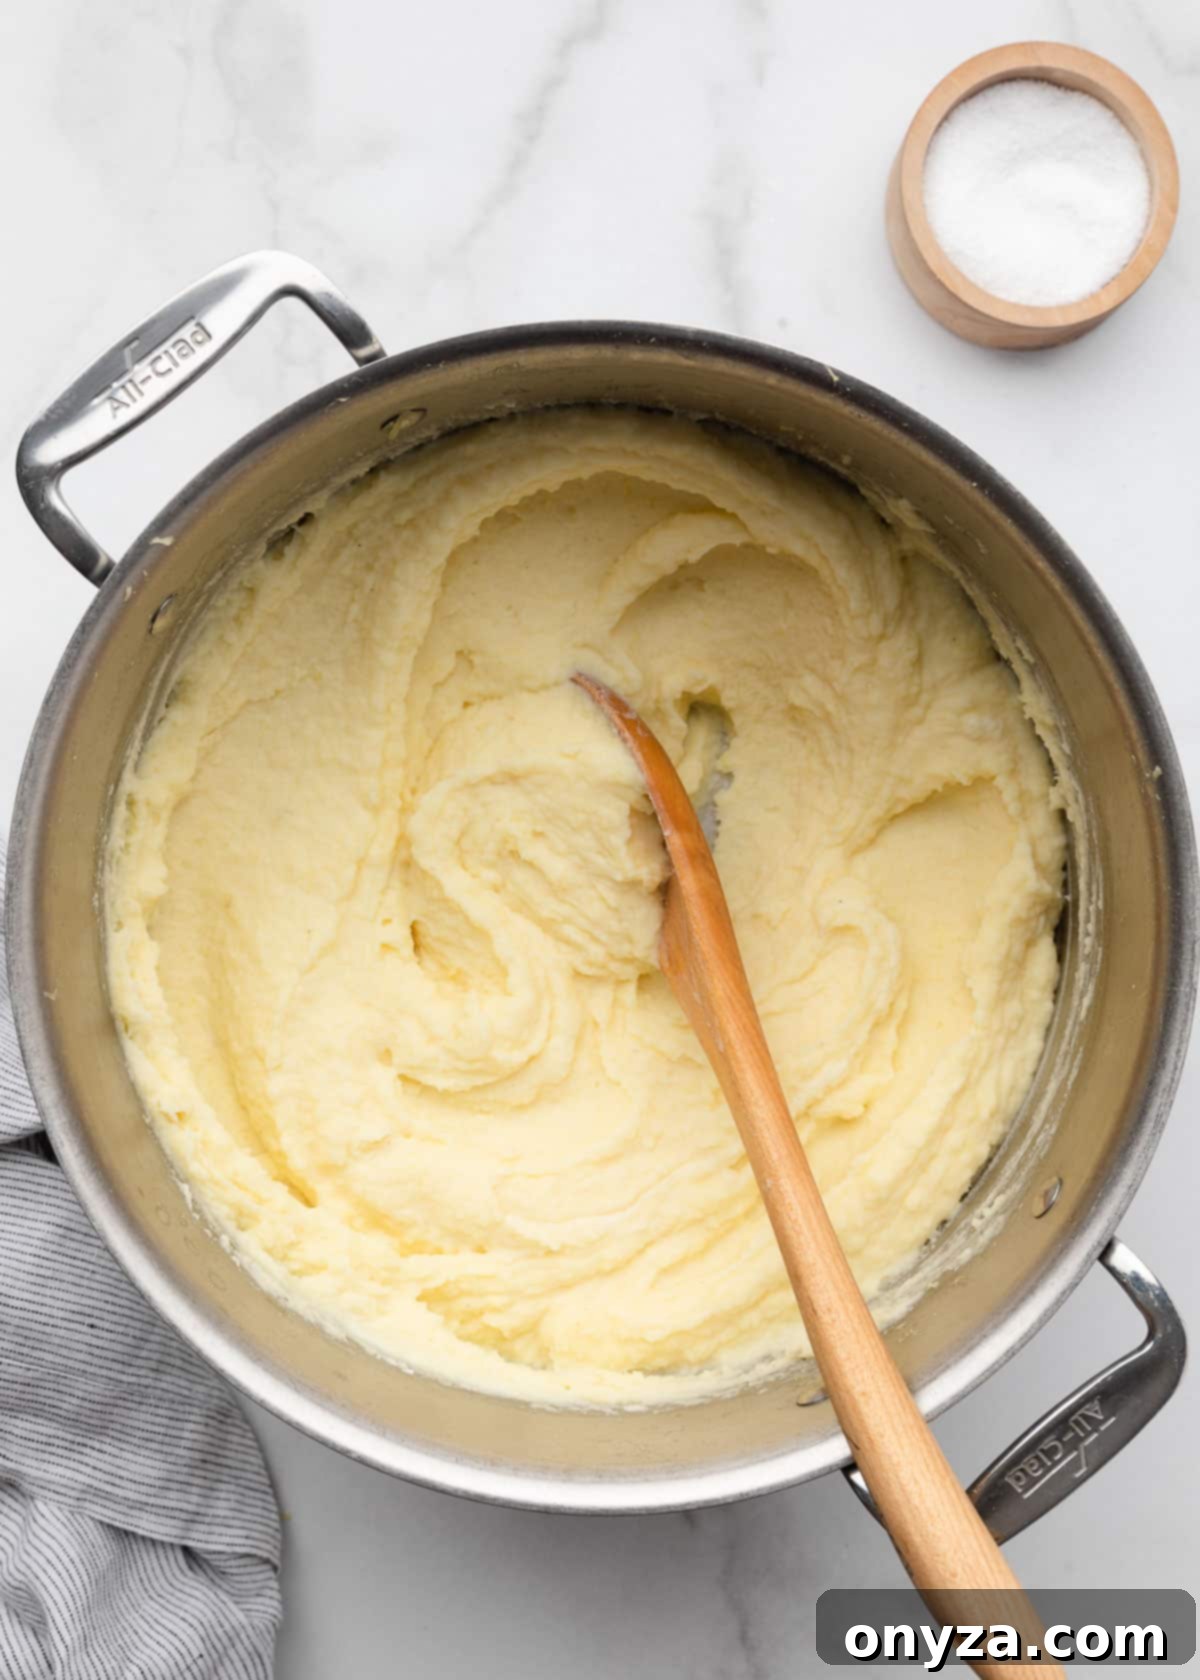
Once all the potatoes have been riced, gently stir in the melted butter, ground white pepper, and an initial 1/2 cup of warmed milk or half-and-half. Use a wooden spoon or a rubber spatula and mix just until everything is combined. Avoid vigorous stirring. Taste and season the potatoes to your preference with additional salt and pepper.
Pro Tip: If the potatoes cool down too much during the ricing process and the cream cheese isn’t melting properly, simply place the pot of riced potatoes back on the stove over very low heat. Gently warm it up as you continue to stir in the ingredients. This will help everything melt and combine beautifully.
At this stage, you’ll adjust the consistency of your mashed potatoes by eye, adding more warmed milk or half-and-half as needed. The natural moisture content of potatoes can vary significantly from batch to batch, so the precise amount of liquid required will change. Begin with the initial 1/2 cup and add small splashes until you achieve your desired creaminess. For reference, some batches may only need a little more than 1/2 cup, while others might absorb a full cup of liquid. Remember that the mixture will thicken slightly as it stands, so aim for a slightly looser consistency than your final goal.
Using an Electric Mixer for Creamy Results
If you prefer the convenience of an electric mixer (either handheld or stand mixer), you can still achieve wonderfully creamy mashed potatoes, provided you are careful not to over-mix them.
- For a Hand Mixer: Return the cooked, drained potato chunks to the warm, dry pot. Add the softened cream cheese, melted butter, salt, pepper, and the initial 1/2 cup of warmed milk or half-and-half. Begin whipping the mixture on low to medium-low speed. The key is to stop as soon as the potatoes appear smooth and creamy.
- For a Stand Mixer: Transfer the warm, cooked potatoes and the same ingredients—starting with 1/2 cup of warmed milk or half-and-half—into the mixing bowl. Use the paddle attachment on low speed to gently combine everything. Mix only until the potatoes are creamy and smooth.
Regardless of the mixer type, just like with the ricer method, incorporate additional warmed milk or half-and-half in small increments to achieve your desired consistency. I often prefer to stir in any extra liquid by hand at this stage to minimize the risk of over-mixing. Always season to taste with extra salt and pepper before serving.
Our #1 Tip for the Creamiest Mashed Potatoes: Don’t Overwork Them!
This cannot be stressed enough: for the absolute best texture, treat your potatoes gently. Whether you’re folding ingredients into riced potatoes with a spoon or lightly whipping them with an electric mixer, avoid vigorous or high-speed mixing. Overworking potatoes releases too much starch, which can result in an unappetizingly gluey or pasty consistency.
A cardinal rule: never use a food processor or blender for mashed potatoes. These high-speed appliances will instantly turn your potatoes into a gummy, unpalatable paste.
Serving Cream Cheese Mashed Potatoes
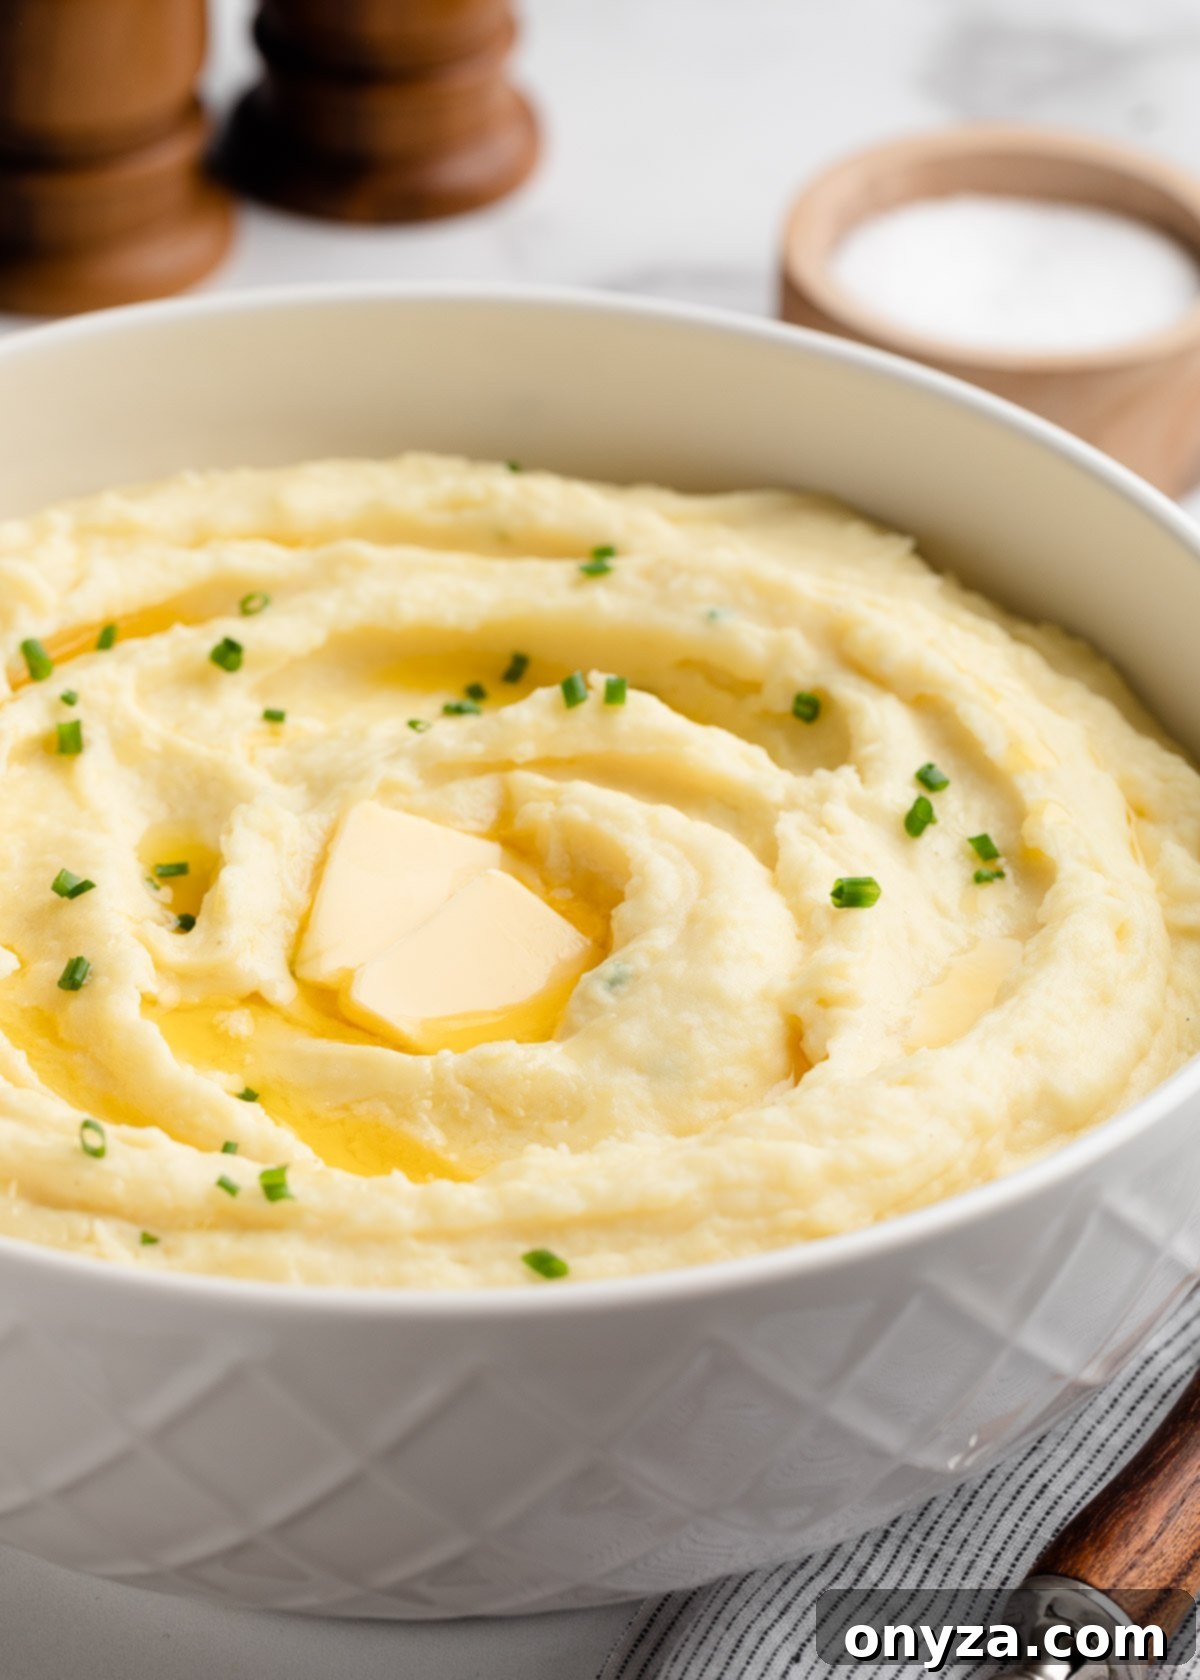
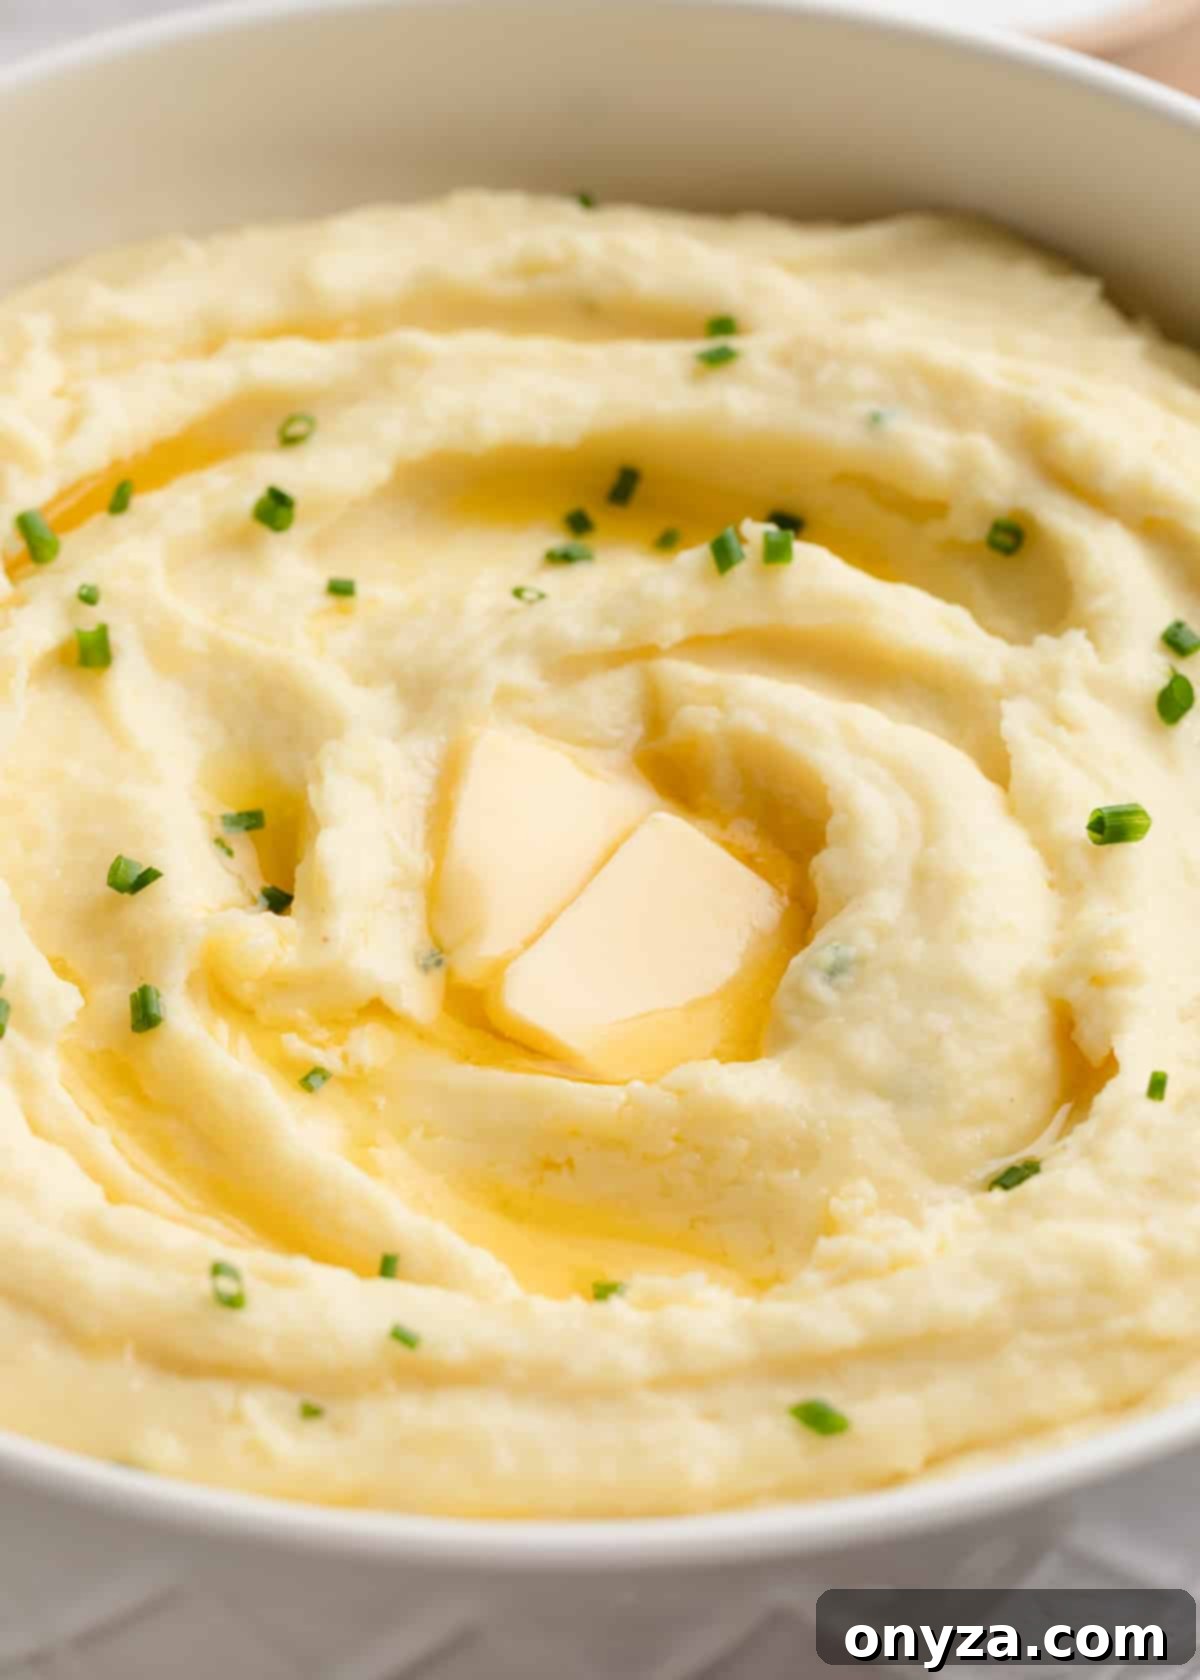
To serve these magnificent mashed potatoes, spoon them into a large, elegant serving bowl. Use the back of the spoon to create soft, inviting swirls on the surface. For an extra touch of indulgence and visual appeal, add a few small pats of butter on top and let them gently melt into the warm, creamy valleys. A sprinkle of freshly snipped chives not only adds a beautiful pop of color but also a delicate oniony flavor that brightens the dish.
Cream Cheese Mashed Potatoes are so inherently delicious that they can easily be enjoyed on their own. However, they also serve as an exceptional canvas for gravies and sauces, making them the perfect accompaniment to a wide array of main courses. They pair wonderfully with classic holiday fare like succulent roasted chicken, a festive herb-roasted turkey breast, or a luxurious slice of slow-roasted prime rib.
Beyond holidays, these mashed potatoes are a match made in heaven for comforting, cold-weather meals such as hearty beef stew or tender pot roast. My family also adores a generous scoop with rich, saucy braises and skillet mains, including savory Stout Beer Braised Short Ribs, creamy Pork Chops Marsala, classic Chicken Marsala, or rustic Hard Cider Chicken with Bacon and Apples. Their versatility makes them a welcome addition to nearly any dinner table.
Storing and Reheating Your Mashed Potato Leftovers
This recipe yields a generous batch, which is always a bonus for delicious leftovers! Store any extra cream cheese mashed potatoes (or the entire batch if made ahead) in an airtight container in the refrigerator for 2-3 days. Thanks to the richness of the cream cheese and butter, these potatoes hold up exceptionally well without drying out.
Freezing is generally not recommended for mashed potatoes, especially those made with a lot of dairy. The texture can become grainy or watery upon defrosting and reheating, compromising the velvety smoothness you worked so hard to achieve.
When it’s time to reheat, you have several options:
- Oven: Transfer potatoes to an oven-safe dish, cover with foil, and bake at 325°F (160°C) until heated through, about 20-30 minutes.
- Stovetop: Gently warm in a pot over low heat, stirring frequently to prevent sticking.
- Microwave: Reheat in individual portions in a microwave-safe bowl, stirring every minute until warm.
You may find that a splash of milk or half-and-half is needed to restore the potatoes’ original velvety texture when reheating, as they can thicken slightly. However, compared to other mashed potato recipes, the cream cheese in this recipe helps them retain moisture beautifully, often requiring only a minimal addition of liquid.
Variations to Customize Your Cream Cheese Mashed Potatoes
While this recipe is perfect as is, you can easily customize it to suit your taste:
- Garlic Lover’s Dream: Roast a head of garlic until soft, then squeeze the cloves into the potatoes before mashing for a sweet, mellow garlic flavor. Alternatively, sauté minced garlic in butter and stir it in.
- Herbal Infusion: Add finely chopped fresh herbs like rosemary, thyme, or parsley along with the butter and cream cheese for an aromatic boost.
- Cheesy Goodness: Fold in some shredded Parmesan, sharp cheddar, or Gruyère cheese after mashing for an extra layer of savory flavor.
- Spicy Kick: A pinch of cayenne pepper or a dash of hot sauce can add a subtle warmth if you enjoy a bit of heat.
- Smoked Paprika: For a smoky depth and beautiful color, stir in a teaspoon of smoked paprika.
Frequently Asked Questions (FAQ)
Here are answers to some common questions about making cream cheese mashed potatoes:
Can I use a different type of potato?
Yukon Gold potatoes are highly recommended for their creamy texture. While you can use Russets for a fluffier mash or red potatoes for a slightly firmer result, they may not achieve the same velvety smoothness that Yukon Golds provide when combined with cream cheese.
Is it possible to make these ahead of time for a party?
Absolutely! These mashed potatoes are excellent for making ahead. Prepare them fully, cool them, and store them in an airtight container in the refrigerator for up to 3 days. Reheat gently on the stove or in the oven, adding a splash of warm milk or half-and-half if needed to restore consistency.
How can I fix watery mashed potatoes?
Watery potatoes usually occur when they aren’t properly drained. To remedy this, you can return the mashed potatoes to the pot over low heat, stirring gently to allow some of the excess moisture to evaporate. Be careful not to scorch them. Adding a bit more cream cheese or a tablespoon of potato flakes (unflavored) can also help absorb extra liquid.
My mashed potatoes turned out gluey. What went wrong?
Gluey mashed potatoes are almost always a result of over-mixing. When potatoes are overworked, their starches break down and become sticky. To avoid this, mash or whip only until the potatoes are smooth and creamy, then stop. Never use a food processor or blender for mashed potatoes.
Can I freeze cream cheese mashed potatoes?
While you can freeze mashed potatoes, the texture of dairy-rich mashed potatoes like these can change significantly upon thawing and reheating, often becoming grainy or watery. For the best quality, it’s recommended to store them in the refrigerator and enjoy them within a few days.
More Holiday Side Dishes to Complete Your Feast
If you’re planning a holiday meal or looking for other delicious accompaniments, explore these fantastic side dish ideas:
- Sausage and Chestnut Stuffing
- Buttermilk Sweet Potato Casserole
- Traditional Bread Stuffing with Herbs
- Cranberry Pecan Stuffing
- Maple Glazed Air Fryer Root Vegetables
- Roasted Root Vegetables
- Brown Butter Whipped Sweet Potatoes
Cream Cheese Mashed Potatoes Recipe
Ingredients
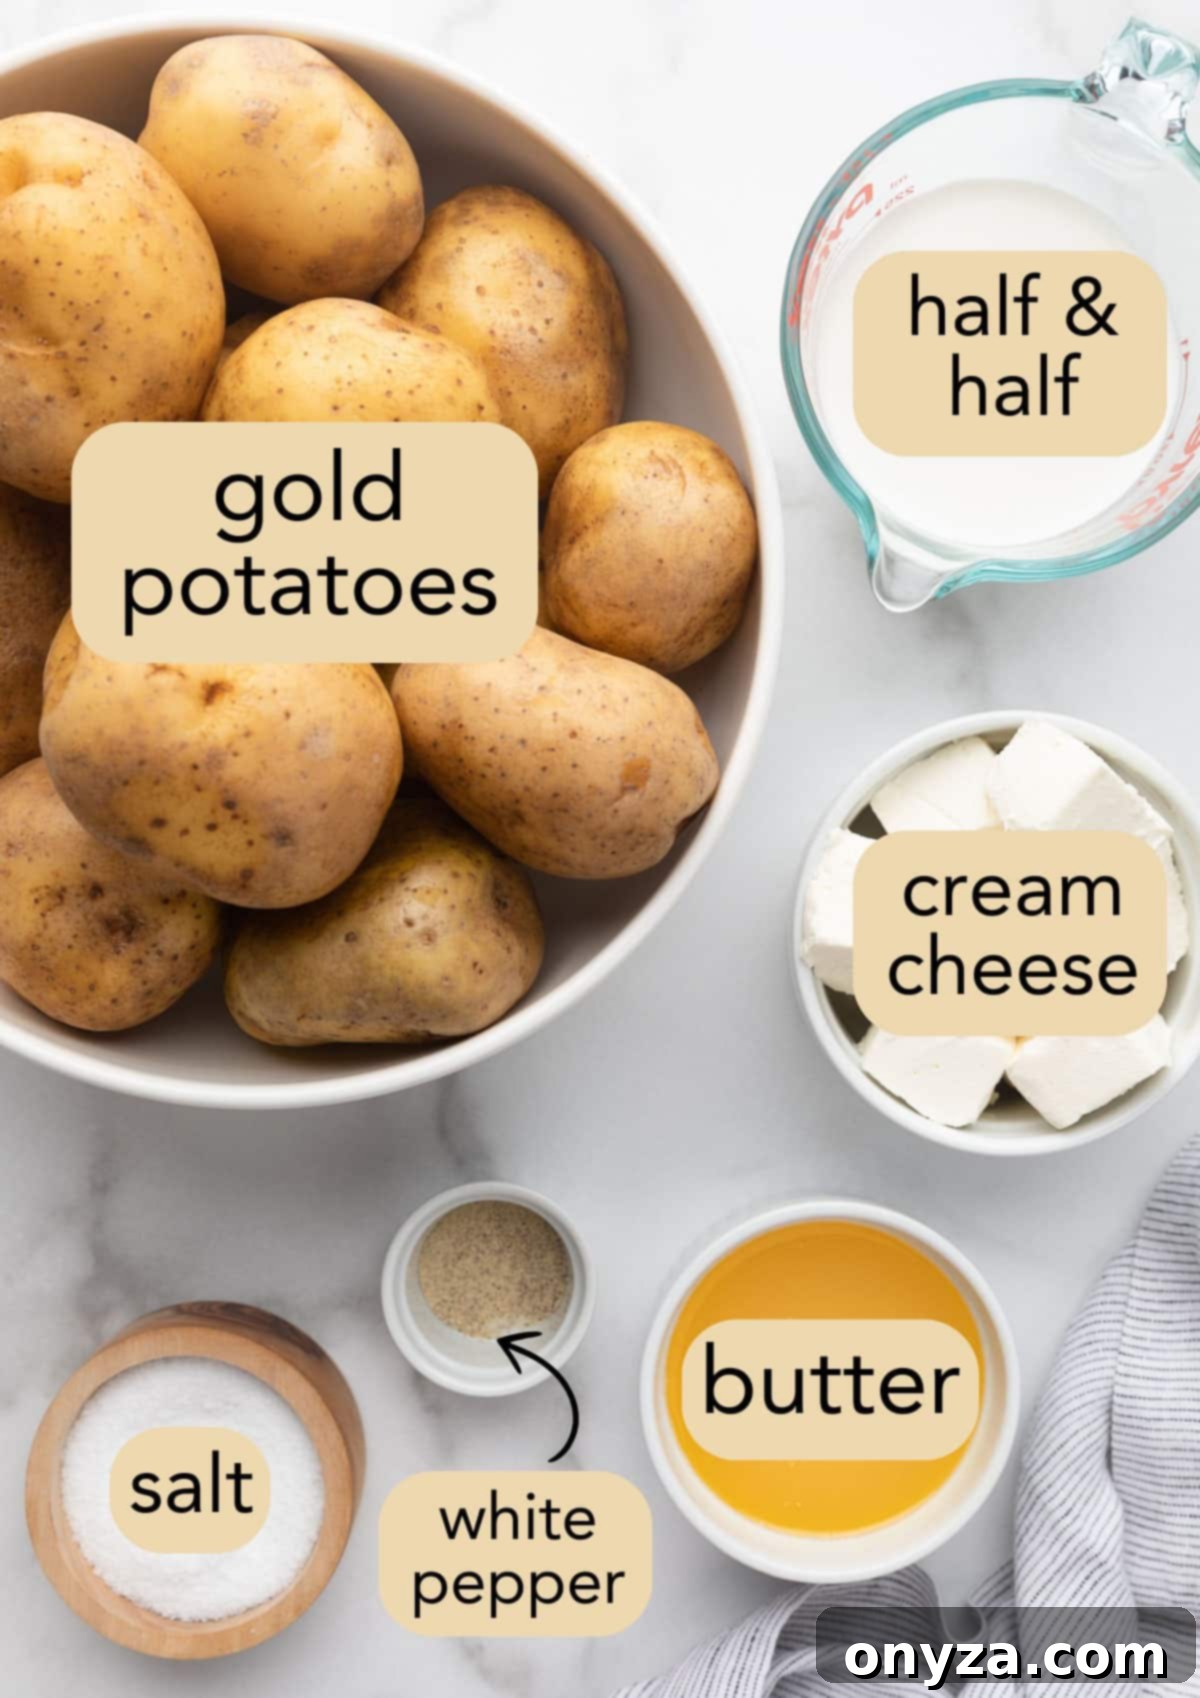
- 5 pounds Yukon Gold potatoes, peeled, halved, and cut into 1/2- to 3/4-inch thick slices
- 1 stick unsalted butter, melted (European-style for extra richness, like Kerrygold or Plugra)
- 8 ounces brick-style Philadelphia cream cheese, softened to room temperature, cubed
- ½ to 1 cup milk or half-and-half, warmed
- 1 tablespoon Diamond Crystal kosher salt, plus additional to taste
- ½ teaspoon ground white pepper
- Snipped chives, for garnish (optional)
Instructions
Cook the Potatoes
- Place the sliced potatoes in a large pot and add enough cold water to cover them by 1 inch. Stir in 1 tablespoon kosher salt. Bring to a boil over medium-high heat, partially covered.
- Uncover the pot and reduce the heat to maintain a gentle boil for 15 to 18 minutes, or until the potatoes are tender. You should be able to easily insert a knife or fork into the center of the wedges without resistance.
- Drain the cooked potatoes into a colander. Place the colander back into the empty hot pot. Let the potatoes stand in the colander for 5 minutes to allow excess moisture to evaporate. Discard any liquid collected at the bottom of the pot before proceeding.
To Use a Potato Ricer
- Rice the drained potatoes in batches directly into the warm, dry pot. If desired, layer cubed, softened cream cheese between batches of riced potatoes to help it melt.
- Gently stir in the melted butter, softened cream cheese (if not layered in), ½ cup warmed milk or half-and-half, and ground white pepper with a wooden spoon or rubber spatula.
- Add additional warm milk or half-and-half slowly, as needed, to reach your desired mashed potato consistency. Avoid over-mixing.
To Use a Hand Mixer
- Return the cooked, drained potatoes to the warm, dry pot. Add the melted butter, softened cream cheese, 1 tablespoon kosher salt, ½ teaspoon ground white pepper, and starting with ½ cup warmed milk or half-and-half.
- Use a hand mixer on low to medium-low speed to mash the potatoes. Stop as soon as the potatoes are smooth and creamy to prevent them from becoming gluey.
- Stir in additional warm milk or half-and-half as needed to achieve your desired consistency.
To Use a Stand Mixer
- Transfer the cooked, drained potatoes to the bowl of a stand mixer fitted with the paddle attachment. Add the melted butter, softened cream cheese, 1 tablespoon kosher salt, ½ teaspoon ground white pepper, and starting with ½ cup warmed milk or half-and-half.
- Mix on low speed until the potatoes are smooth and creamy. Be careful not to over-whip.
- As with the other methods, stir in additional warm milk or half-and-half to the potatoes as needed to reach your preferred consistency.
To Serve
- Season the mashed potatoes to taste with additional salt and pepper.
- Serve warm, garnished with a couple of extra pats of butter melting on top and a sprinkle of snipped chives, if desired.
Notes
- Butter: For an extra rich flavor, consider using European-style butter, such as Plugra or Kerrygold.
- Potato Ricer Tip: If the potatoes cool down too much while ricing and the cream cheese isn’t melting properly, simply place the pot of riced potatoes back on the stove over very low heat as you stir in the dairy. This gentle warmth will help everything combine smoothly.
- Milk or Half-and-Half Quantity: The exact amount of liquid needed can vary by batch, as different potatoes absorb moisture differently. Always start with 1/2 cup of warmed liquid and gradually add more, a tablespoon at a time, until you reach your desired consistency. Keep in mind that mashed potatoes tend to thicken slightly as they stand.
Nutrition Estimate
Serving: 1 cup | Calories: 236kcal | Carbohydrates: 30g | Protein: 9g | Fat: 9g | Saturated Fat: 6g | Cholesterol: 27mg | Sodium: 648mg | Potassium: 999mg | Fiber: 5g | Sugar: 1g | Vitamin A: 295IU | Vitamin C: 25.8mg | Calcium: 150mg | Iron: 7.4mg
Nutrition information is automatically calculated, so should only be used as an approximation.
About our recipes
Please note that our recipes have been developed using the US Customary measurement system and have not been tested for high altitude/elevation cooking and baking.
Editor’s note: This recipe was originally published on Striped Spatula in October 2017. We have updated the blog post with new and improved photos and instructions addressing reader questions we’ve received.
