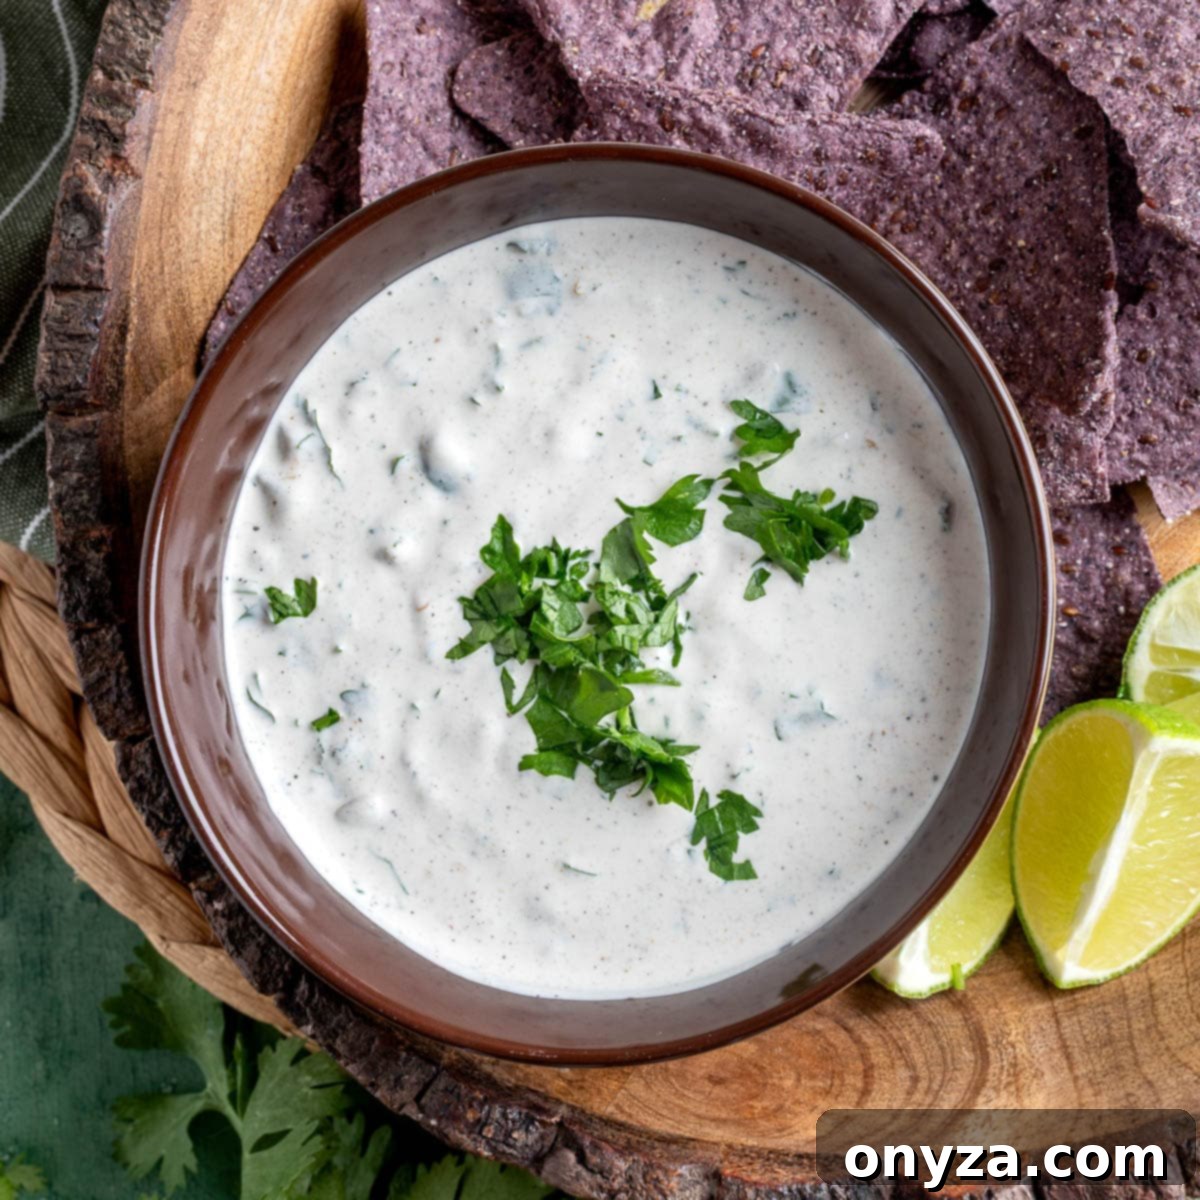
Creamy Green Chile Dip: The Ultimate Southwestern Party Appetizer
Delight your taste buds with our incredibly creamy, zesty, and customizable Green Chile Dip – a true crowd-pleaser that elevates any gathering. This chilled appetizer effortlessly blends the rich tang of sour cream and mayonnaise with the vibrant kick of fresh lime juice, aromatic cilantro, and the distinctive flavor of green chiles. Boasting a bold Southwestern flair, this dip is an absolute must-have for your next taco night, game day spread, or any occasion where delicious, easy-to-share food is on the menu. Its refreshing taste and satisfying texture make it disappear faster than you can say “more please!”
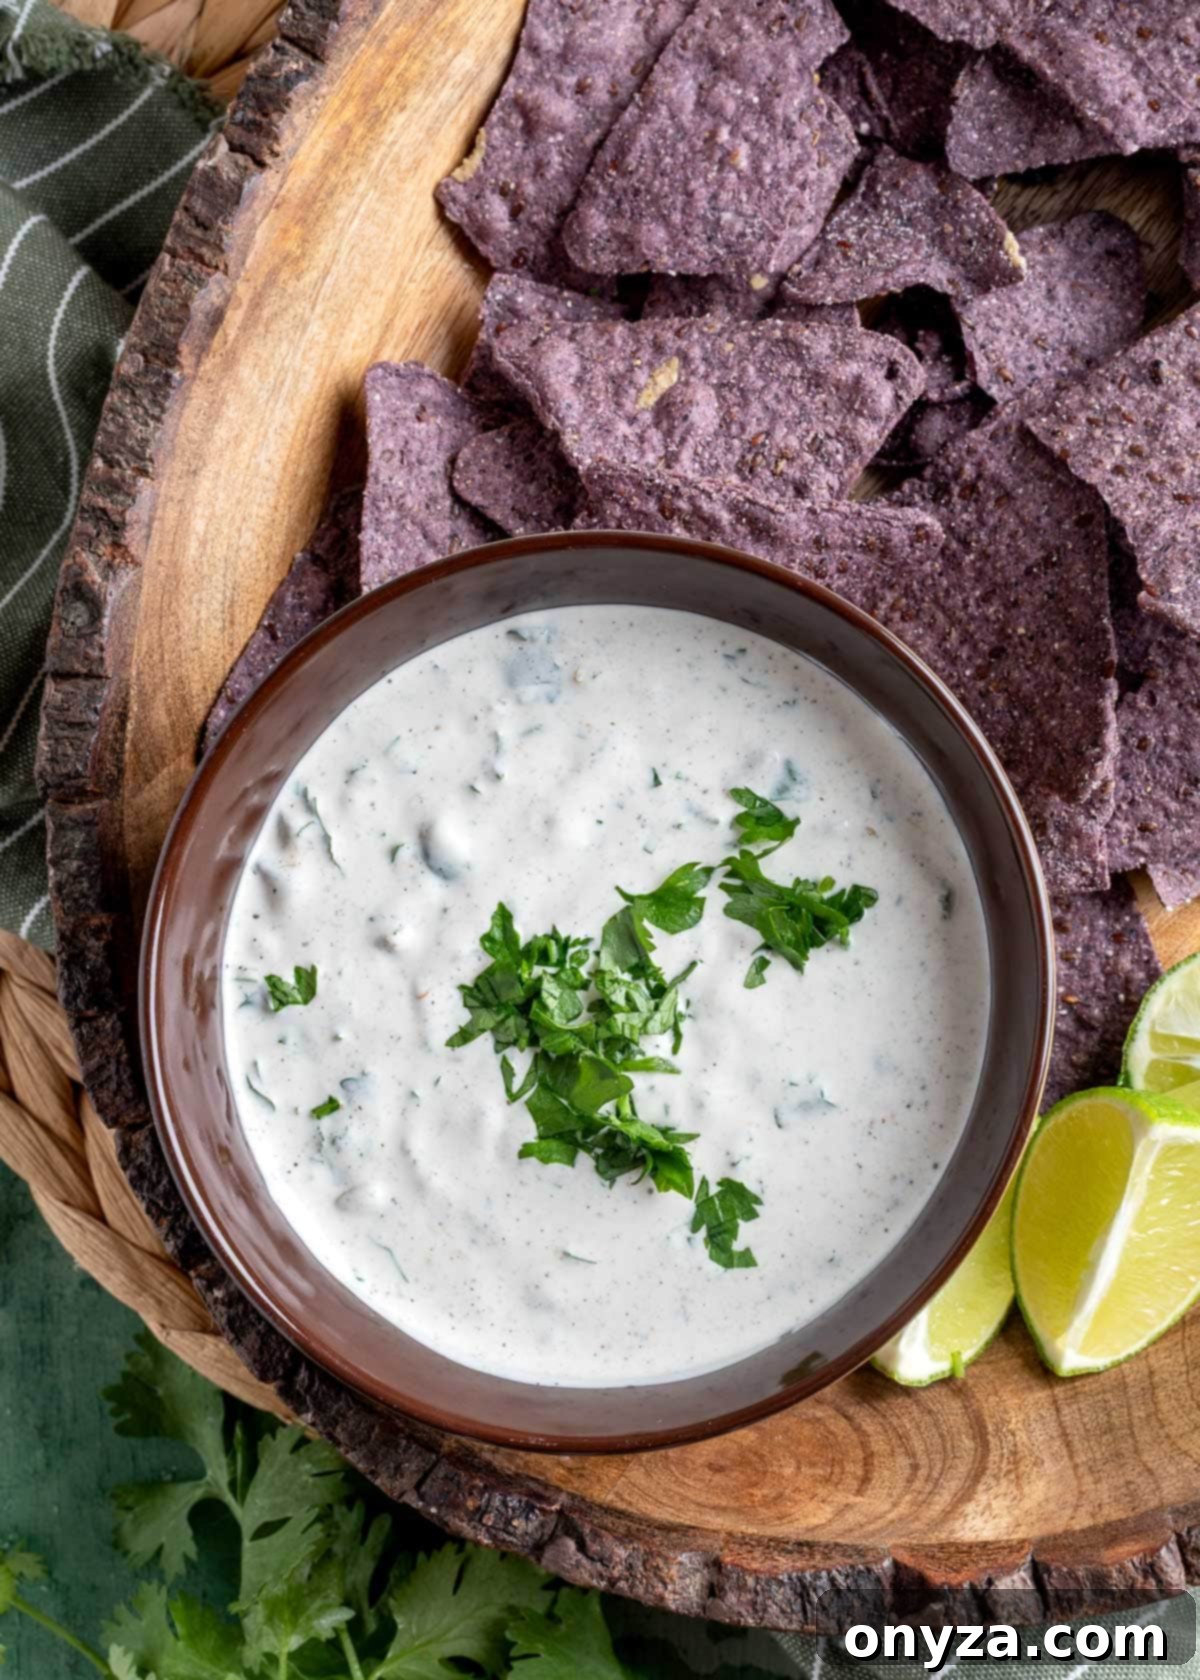
Why You’ll Love This Green Chile Dip
More than just a simple dip, this Green Chile creation offers a multitude of reasons to become your go-to recipe:
- Effortless Preparation: Requiring minimal prep and just one bowl, this dip is perfect for busy schedules, letting you whip up a fantastic appetizer in minutes.
- Customizable Heat: Whether you prefer a gentle warmth or a fiery kick, you can easily adjust the spice level to suit everyone’s preference, making it universally appealing.
- Versatile Serving Options: Beyond being a superb chip dip, it’s an incredible topping for tacos, nachos, quesadillas, and even grilled dishes, adding a burst of flavor to various meals.
- Make-Ahead Friendly: Its flavors actually deepen and improve with time, making it an ideal dish to prepare in advance for parties, reducing last-minute stress.
- Fresh, Vibrant Flavors: The combination of zesty lime, fresh cilantro, and earthy green chiles creates a refreshing and addictive taste that captures the essence of Southwestern cuisine.
Before You Begin: Essential Tips for the Perfect Dip
Achieving the perfect Green Chile Dip starts with a few key considerations. These insights will help you select the best ingredients and plan your preparation for optimal flavor and texture.
- Choosing Your Green Chiles: Fresh vs. Canned Excellence. The heart of this dip lies in its green chiles. You have excellent options here. For convenience and a consistently smoky flavor, we highly recommend canned diced green chiles, especially fire-roasted varieties like Ortega. These chiles bring a wonderful depth and a subtle smokiness without extra effort. If you’re fortunate enough to find fresh Hatch chiles when they’re in season, roasting and chopping them yourself will yield an incredibly fresh and robust flavor profile. Hatch chiles are particularly renowned for their unique, earthy taste. Experiment with different heat levels available in canned chiles – mild, medium, or hot – to find your ideal spice. Remember, the choice of chile significantly impacts the dip’s character, so pick wisely based on your preference.
- The Magic of Make-Ahead: Allowing Flavors to Marry. While this dip is delicious after just a few hours of chilling, its true potential shines after an overnight rest. The minimum 4 hours in the refrigerator allows the dip to properly chill and thicken to the desired creamy consistency. However, an extended chill period — ideally overnight — provides ample time for all the vibrant flavors to meld and harmonize, creating a more cohesive, complex, and irresistible taste. Planning ahead ensures that the lime, cilantro, chiles, and spices fully integrate, resulting in a dip that’s truly exceptional. This step is crucial for transforming a good dip into a great one.
Crafting Your Creamy Green Chile Dip: A Simple Guide
Making this delectable dip is remarkably straightforward, requiring just one bowl and a few simple mixing tools. Follow these easy steps to create a show-stopping appetizer that will impress everyone.
Step 1: Gather and Combine Your Creamy Base
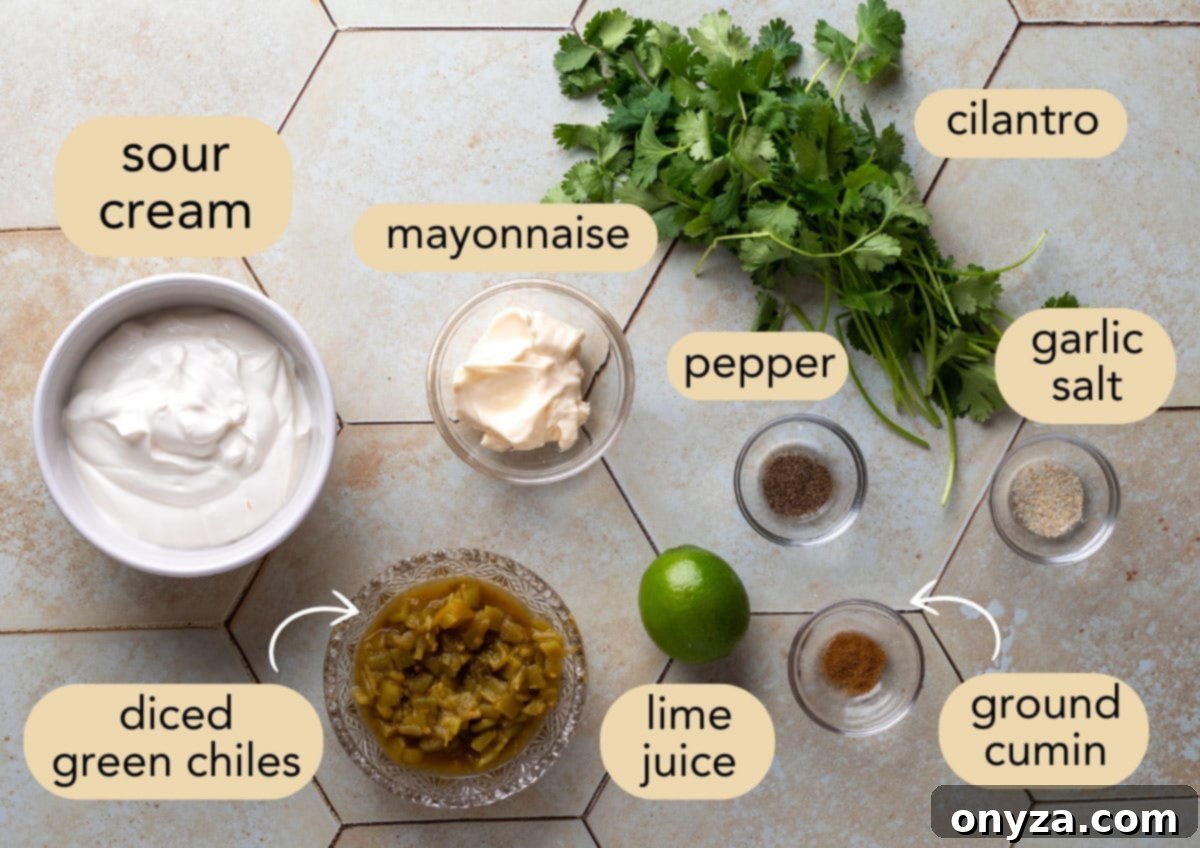
Begin by measuring your key creamy ingredients: 1 cup of quality sour cream and ½ cup of mayonnaise. The choice of these components significantly impacts the final texture and richness of your dip. For the creamiest result, opt for a thick, full-fat sour cream – brands like Daisy or Breakstone’s are excellent choices. Their consistency provides a luxurious base that holds up beautifully. When it comes to mayonnaise, a good quality brand known for its tangy flavor, such as Duke’s, can add a delightful zest that complements the other ingredients. Combine both in a medium-sized mixing bowl, ensuring it’s large enough to comfortably mix all subsequent ingredients.
Step 2: Infuse with Flavor – Chiles, Zest, and Spice
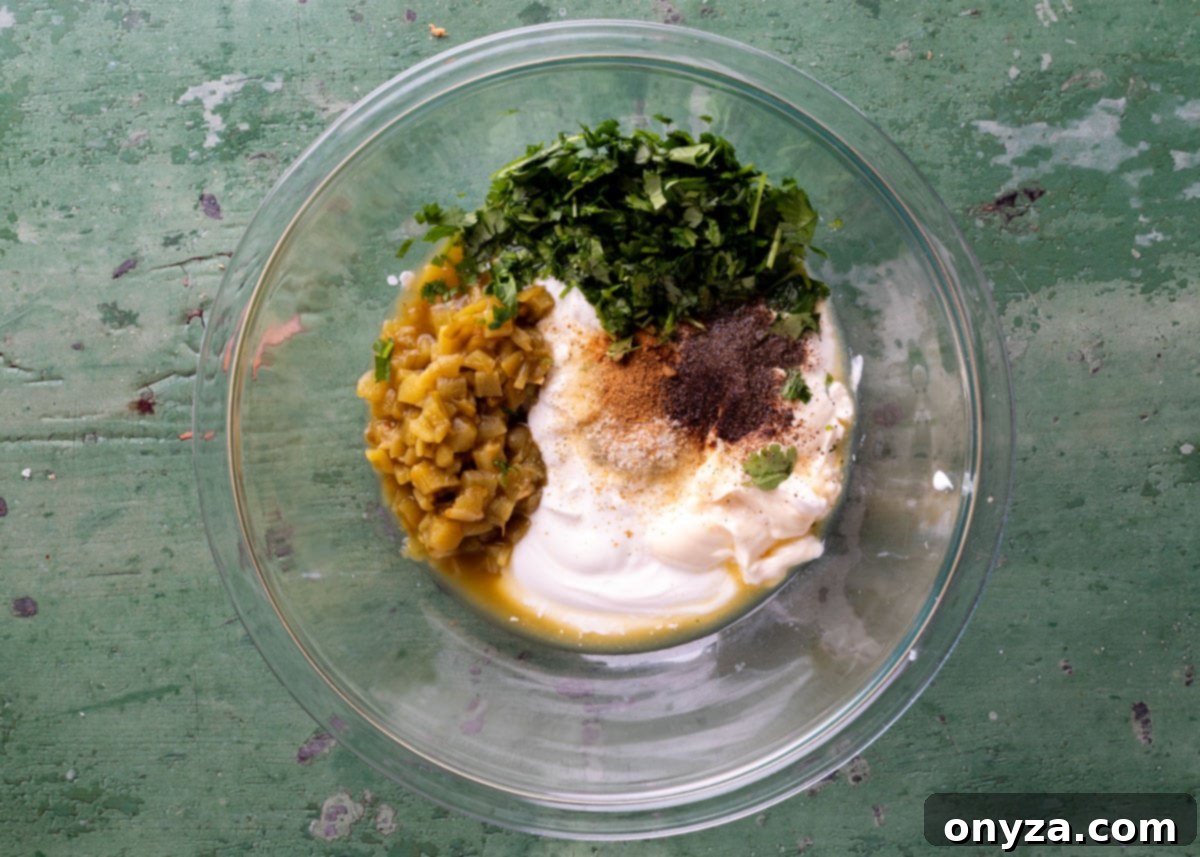
Now it’s time to introduce the vibrant flavors that define this dip. Stir in a 7-ounce can of diced green chiles. For an extra boost of flavor, we recommend adding them undrained, especially if using a fire-roasted brand like Ortega, which typically contains a minimal amount of flavorful liquid that enhances the dip without making it watery. If your chosen brand is packed in a lot of thin liquid, draining some off might be wise to prevent a runny consistency. You can also customize the heat here; chiles come in mild, medium, and hot varieties, so pick according to your heat preference. Many find the mild or medium options perfectly balanced, allowing the chile flavor to shine without overwhelming the palate.
Next, add 3 tablespoons of freshly chopped cilantro. Fresh cilantro is non-negotiable for its bright, herbaceous notes that are central to Southwestern cuisine. Along with the cilantro, incorporate 1 tablespoon of freshly-squeezed lime juice. Fresh lime juice provides a crucial zesty counterpoint to the creamy base and the earthiness of the chiles; avoid bottled lime juice for the best results. Finally, season the dip with 1 teaspoon of garlic salt, ½ teaspoon of ground cumin, and ½ teaspoon of freshly ground black pepper. Cumin adds a warm, earthy depth, while garlic salt provides both saltiness and aromatic garlic flavor. Ensure all ingredients are thoroughly combined using a whisk or spoon until a smooth, uniform mixture is achieved. This step is where the dip truly comes alive with its characteristic Southwestern profile.
- A Note on Chile Heat Levels: Canned chiles offer a convenient way to control the spice. While I prefer a milder touch, many aficionados love the robust kick that medium or hot chiles provide. Feel free to adjust based on your family’s or guests’ preferences.
- Draining Canned Chiles: A Crucial Detail: As mentioned, fire-roasted chiles often have minimal liquid, which adds to the overall flavor. However, if your chosen brand is heavily packed in watery liquid, a quick drain can prevent your dip from becoming too thin. A good rule of thumb: if the liquid looks thick and flavorful, keep it; if it’s clear and thin, drain some off.
- Using Fresh Roasted Chiles: Enhancing Authenticity: If you opt for fresh roasted chiles, you’ll need approximately ¾ cup once diced. Since fresh chiles don’t come with canning liquid, you might find the dip needs a bit more moisture and acidity. Consider adding an extra squeeze of lime juice and a pinch more salt to balance the flavors and achieve the desired consistency. Roasting fresh chiles also adds an incredible smoky depth that canned versions try to emulate.
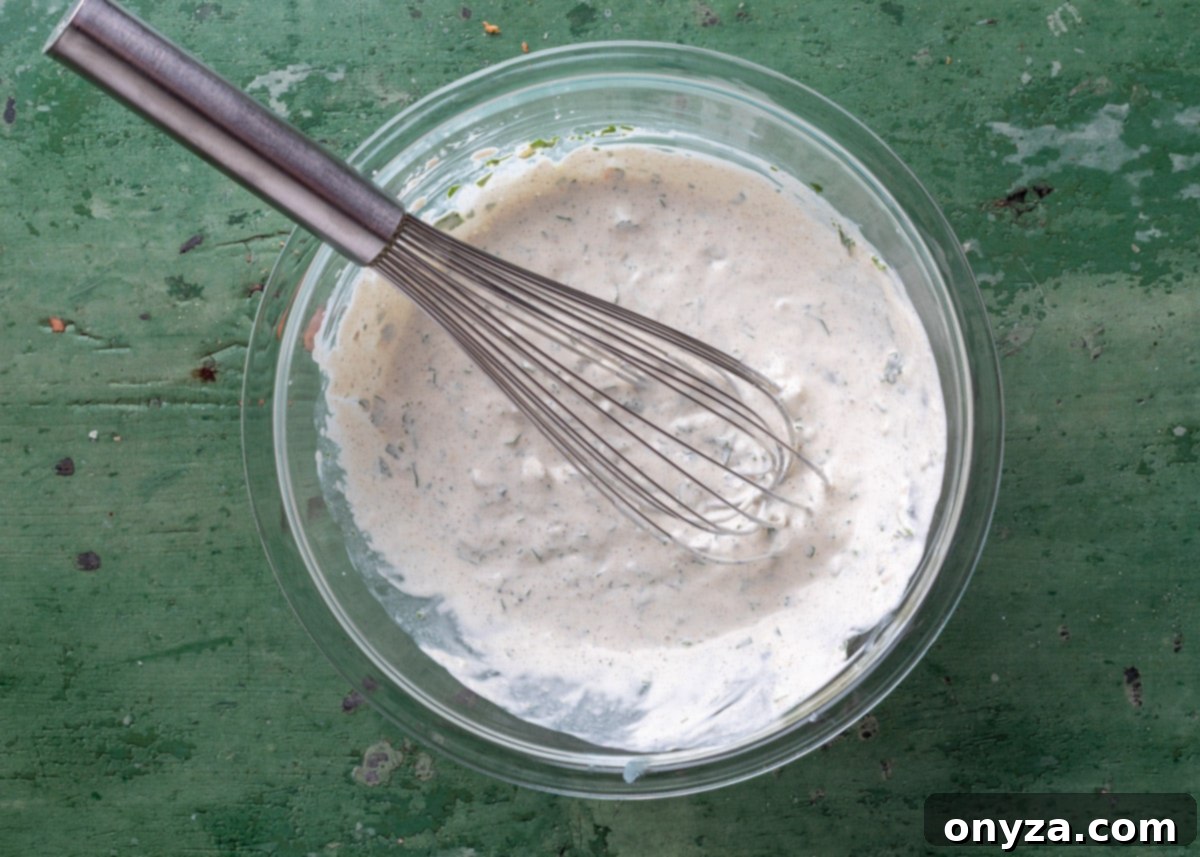
Step 3: The Essential Chill and Final Adjustments
Once all ingredients are thoroughly mixed, cover the bowl tightly with plastic wrap or transfer the dip to an airtight container. Refrigerate for a minimum of 4 hours. This chilling period is crucial for two main reasons: it allows the dip to thicken to its ideal creamy consistency, and more importantly, it gives the complex flavors ample time to meld and deepen. For an unparalleled taste experience, chilling the dip overnight is highly recommended, as the flavors develop a remarkable harmony that simply cannot be rushed.
About 10 minutes before you plan to serve, remove the dip from the refrigerator. Give it a good stir to reincorporate any ingredients that may have settled. Now is the perfect time for a final taste test. Adjust the seasonings as needed: a pinch more cumin can enhance its earthy warmth, additional garlic salt can boost the savory notes, or another squeeze of lime juice can brighten the overall flavor. If, by chance, the dip has become too thick after chilling, stir in a few drops of water or a tiny bit more lime juice until it reaches your desired consistency. This final adjustment ensures your Green Chile Dip is perfectly balanced and ready to impress.
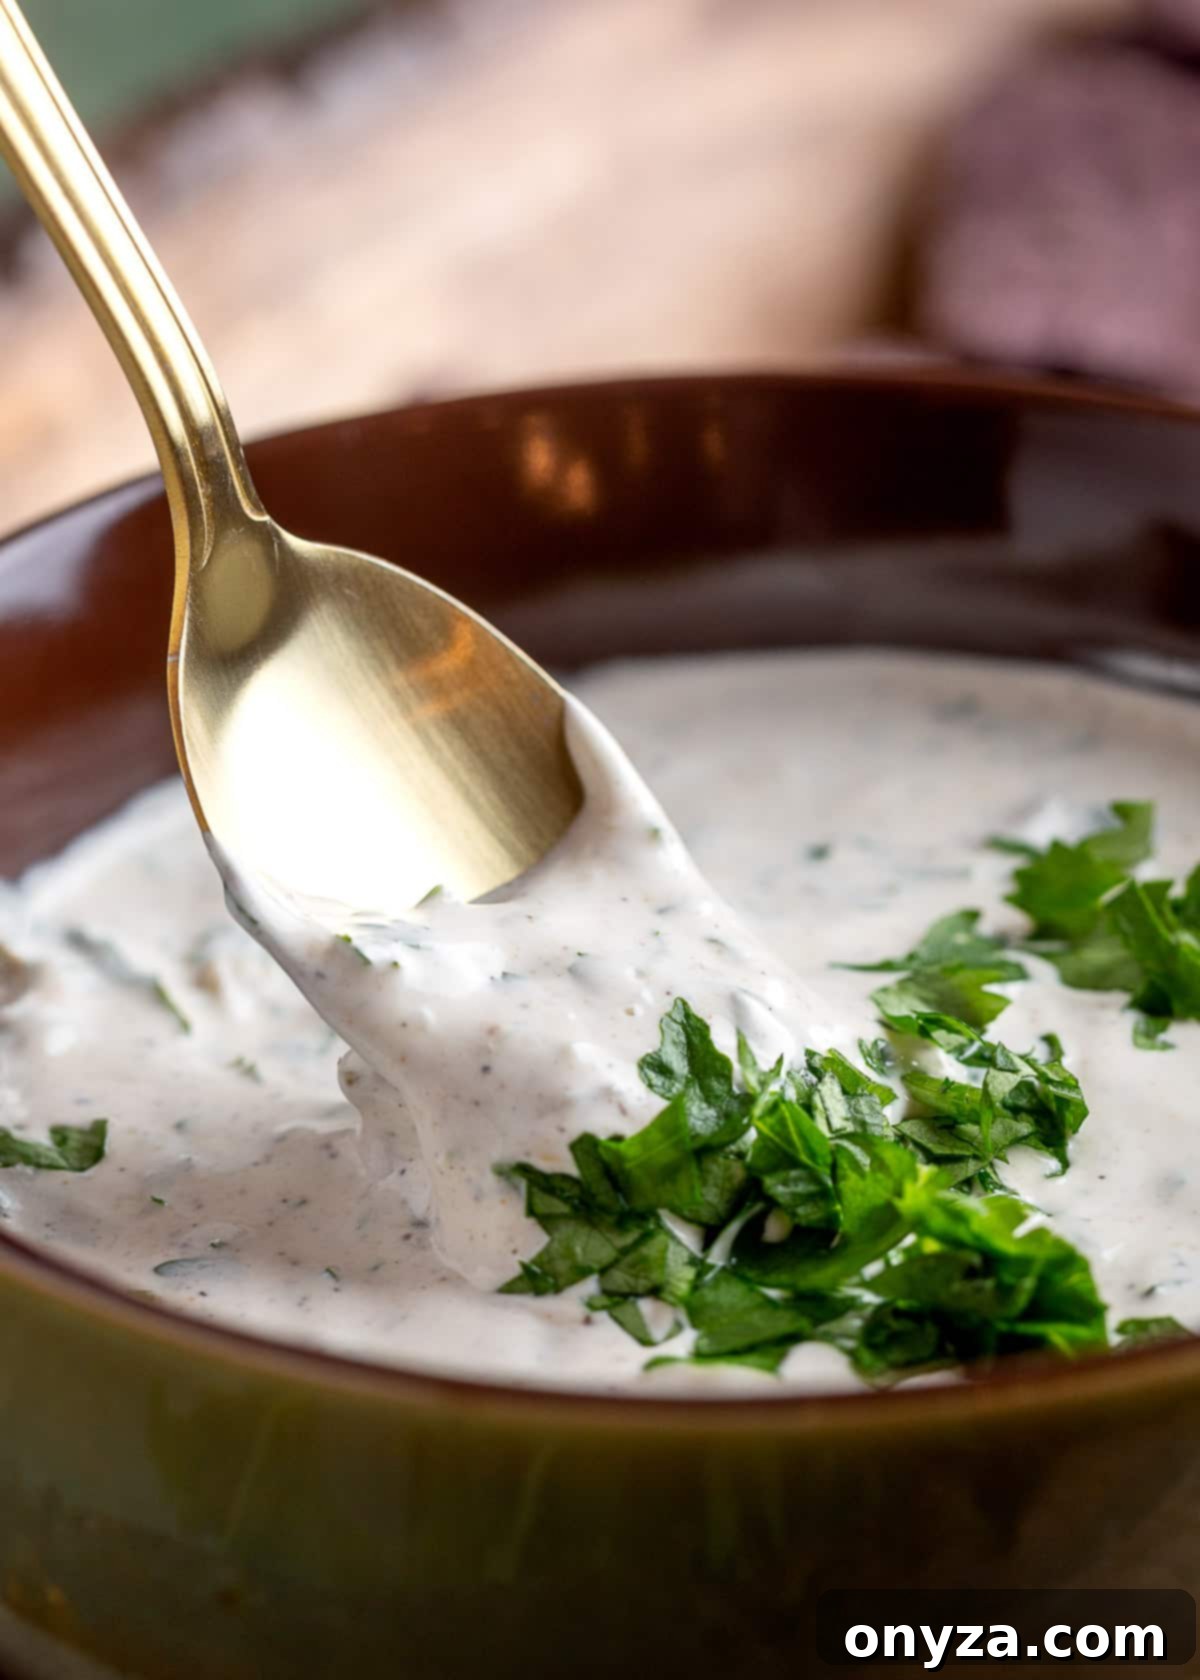
Serving Your Irresistible Green Chile Dip
This versatile dip is not only a delight to make but also incredibly fun to serve. Its creamy texture and vibrant flavors make it a perfect companion for a wide array of dippers and dishes.
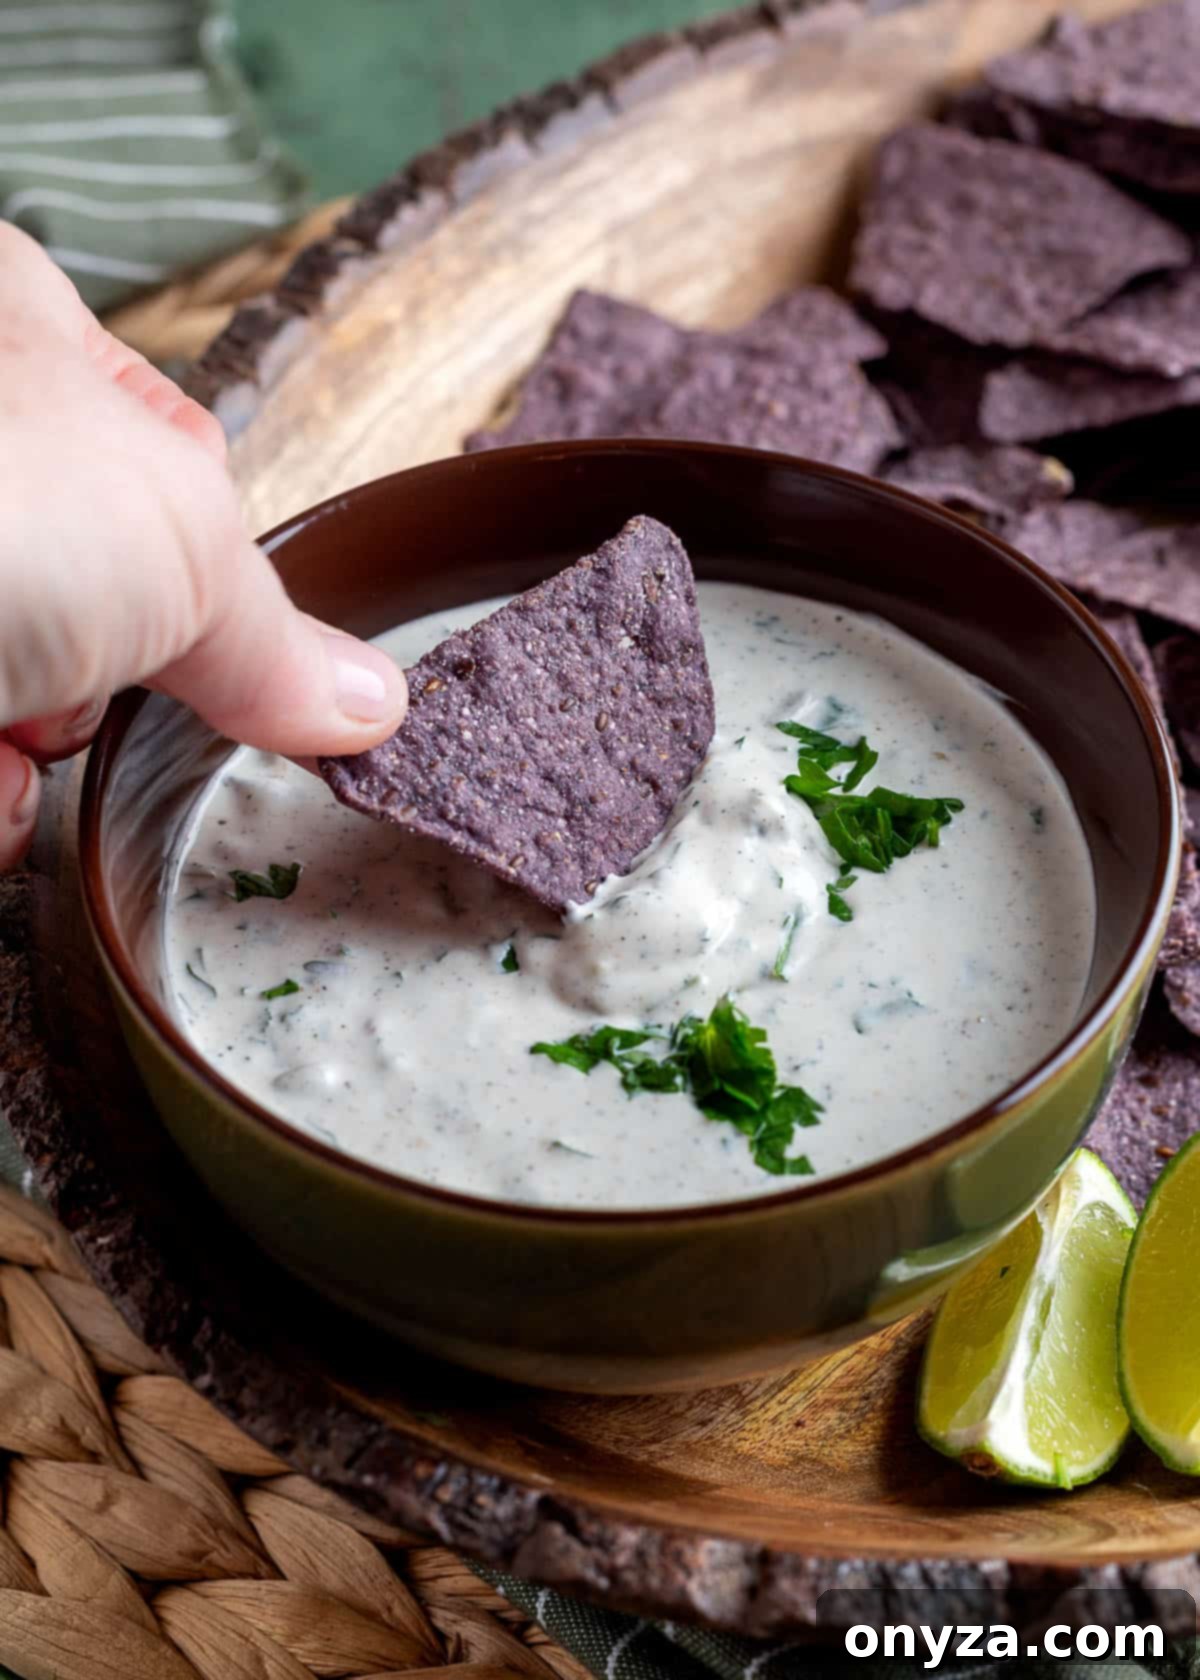
The classic way to enjoy this dip is with tortilla chips. We particularly love pairing it with blue corn chips for their unique earthy flavor and satisfying hearty crunch, which contrasts beautifully with the creamy dip. However, feel free to use your favorite variety – traditional yellow corn chips, multi-grain chips, or even homemade baked tortilla chips will all be fantastic. For a healthier option, serve alongside an assortment of crisp vegetable sticks like carrot, celery, bell pepper, and cucumber.
But don’t limit this dip to just chips! It’s also incredibly delicious spooned generously over warm nachos, adding a cool, creamy layer to your cheesy creation. For taco nights, it serves as an excellent topping for both hard-shell and soft-shell tacos, providing a tangy counterpoint to seasoned meats and other fillings. It’s also superb for dipping crispy quesadillas or as a spread inside burritos and wraps. Get creative – try it dolloped onto baked potatoes, as a side with grilled chicken or fish, or even mixed into scrambled eggs for a Southwestern breakfast twist!
When serving this chilled dip at parties or tailgates, consider presentation and temperature maintenance. An insulated serving bowl is ideal for keeping the dip cool for extended periods. Alternatively, a dip bowl that nests over a larger bowl filled with ice can work wonders. No special equipment? No problem! Simply chill your regular serving bowl in the refrigerator or freezer for about 30 minutes before filling it with the dip. This small step helps keep the dip refreshingly cool for longer, ensuring every scoop is as delightful as the first.
To complete your Southwestern experience, pair your Green Chile Dip with a crisp, refreshing lager beer or a classic margarita. The combination of the cool, creamy dip and a chilled beverage creates a truly crowd-pleasing and unforgettable culinary pairing that your guests will adore.
Storage and Make-Ahead Tips for Convenience
Preparing this dip ahead of time is not only possible but encouraged, as it allows the flavors to truly develop. Proper storage ensures you can enjoy this delicious appetizer for days.
- Refrigerator Storage: Store any leftover Green Chile Dip in an airtight container in the refrigerator for up to 3–4 days. While the flavors will remain fantastic, you might notice a slight separation of liquids from the creamy base over time. This is completely normal for dairy-based dips.
- Before Serving Stored Dip: Prior to serving any stored dip, give it a thorough stir to recombine the ingredients and restore its smooth, creamy texture. If it appears too thick, you can stir in a tiny splash of water or extra lime juice to achieve the desired consistency.
- Freezer: Not Recommended. Unfortunately, cream-based dips like this one do not fare well in the freezer. The dairy components tend to separate and become grainy or watery upon thawing, leading to an unpleasant texture. For the best quality and enjoyment, it’s best to consume this dip within its refrigerated shelf life.
Explore More Delicious Dips and Spreads
If you loved this Green Chile Dip, you’re sure to enjoy these other fantastic recipes perfect for parties, snacks, or adding a flavorful touch to any meal:
- Spinach Artichoke Dip
- Warm Crab and Artichoke Dip
- Reuben Dip
- Smoky Bacon Pimento Cheese

Green Chile Dip with Cilantro: The Full Recipe
Ingredients
- 1 cup sour cream (such as Daisy or Breakstone’s for best creaminess)
- ½ cup mayonnaise (we recommend Duke’s for a tangy flavor)
- 7 ounce can diced green chiles (mild, medium, or hot – see notes for selection)
- 3 tablespoons chopped fresh cilantro (essential for fresh flavor)
- 1 tablespoon freshly-squeezed lime juice (fresh is key!)
- 1 teaspoon garlic salt
- ½ teaspoon ground cumin
- ½ teaspoon freshly-ground black pepper
Instructions
- Stir or whisk together all of the ingredients in a medium mixing bowl until thoroughly combined and smooth. The dip may appear a little loose initially, but it will thicken as it chills in the refrigerator.
- Cover the bowl tightly (or transfer the mixture to an airtight container) and refrigerate for at least 4 hours. For optimal flavor development and a perfectly melded taste, chilling overnight is highly recommended.
- Approximately 10 minutes before you plan to serve, remove the dip from the refrigerator. Give it a good stir and taste. Adjust seasonings as needed, adding additional lime juice, cumin, garlic salt, or pepper only if desired to achieve your perfect flavor balance.
- Serve your delicious Green Chile Dip chilled with your favorite tortilla chips, fresh vegetables, or as a topping for tacos and nachos. Store any leftovers in an airtight container in the refrigerator for up to 3–4 days.
Notes
Green Chiles: The type and heat level of green chiles you choose will significantly impact your dip. We suggest fire-roasted or Hatch chiles for the best flavor. Select mild, medium, or hot based on your personal preference.
We often use mild or medium Ortega fire-roasted chiles and add them straight from the can without draining. These are typically packed in a small amount of flavorful liquid (about 1-1/2 tablespoons) that enriches the dip without making it watery. However, if your chosen brand is packed in a large quantity of thin, watery liquid, it’s advisable to drain some of it off to ensure your dip maintains its creamy consistency and doesn’t become runny.
If you prefer to use fresh roasted chiles, you’ll need approximately ¾ cup once they are diced. Since fresh chiles do not come with canning liquid, you might need to compensate by adding a little extra lime juice and a pinch more salt to the dip. This helps to achieve a balanced texture and flavor profile that mimics the moisture and seasoning found in canned varieties.
Nutrition Estimate
Calories: 159 kcal |
Carbohydrates: 3g |
Protein: 1g |
Fat: 16g |
Saturated Fat: 5g |
Polyunsaturated Fat: 7g |
Monounsaturated Fat: 4g |
Trans Fat: 0.03g |
Cholesterol: 23mg |
Sodium: 487mg |
Potassium: 74mg |
Fiber: 0.5g |
Sugar: 1g |
Vitamin A: 233IU |
Vitamin C: 9mg |
Calcium: 41mg |
Iron: 0.5mg
