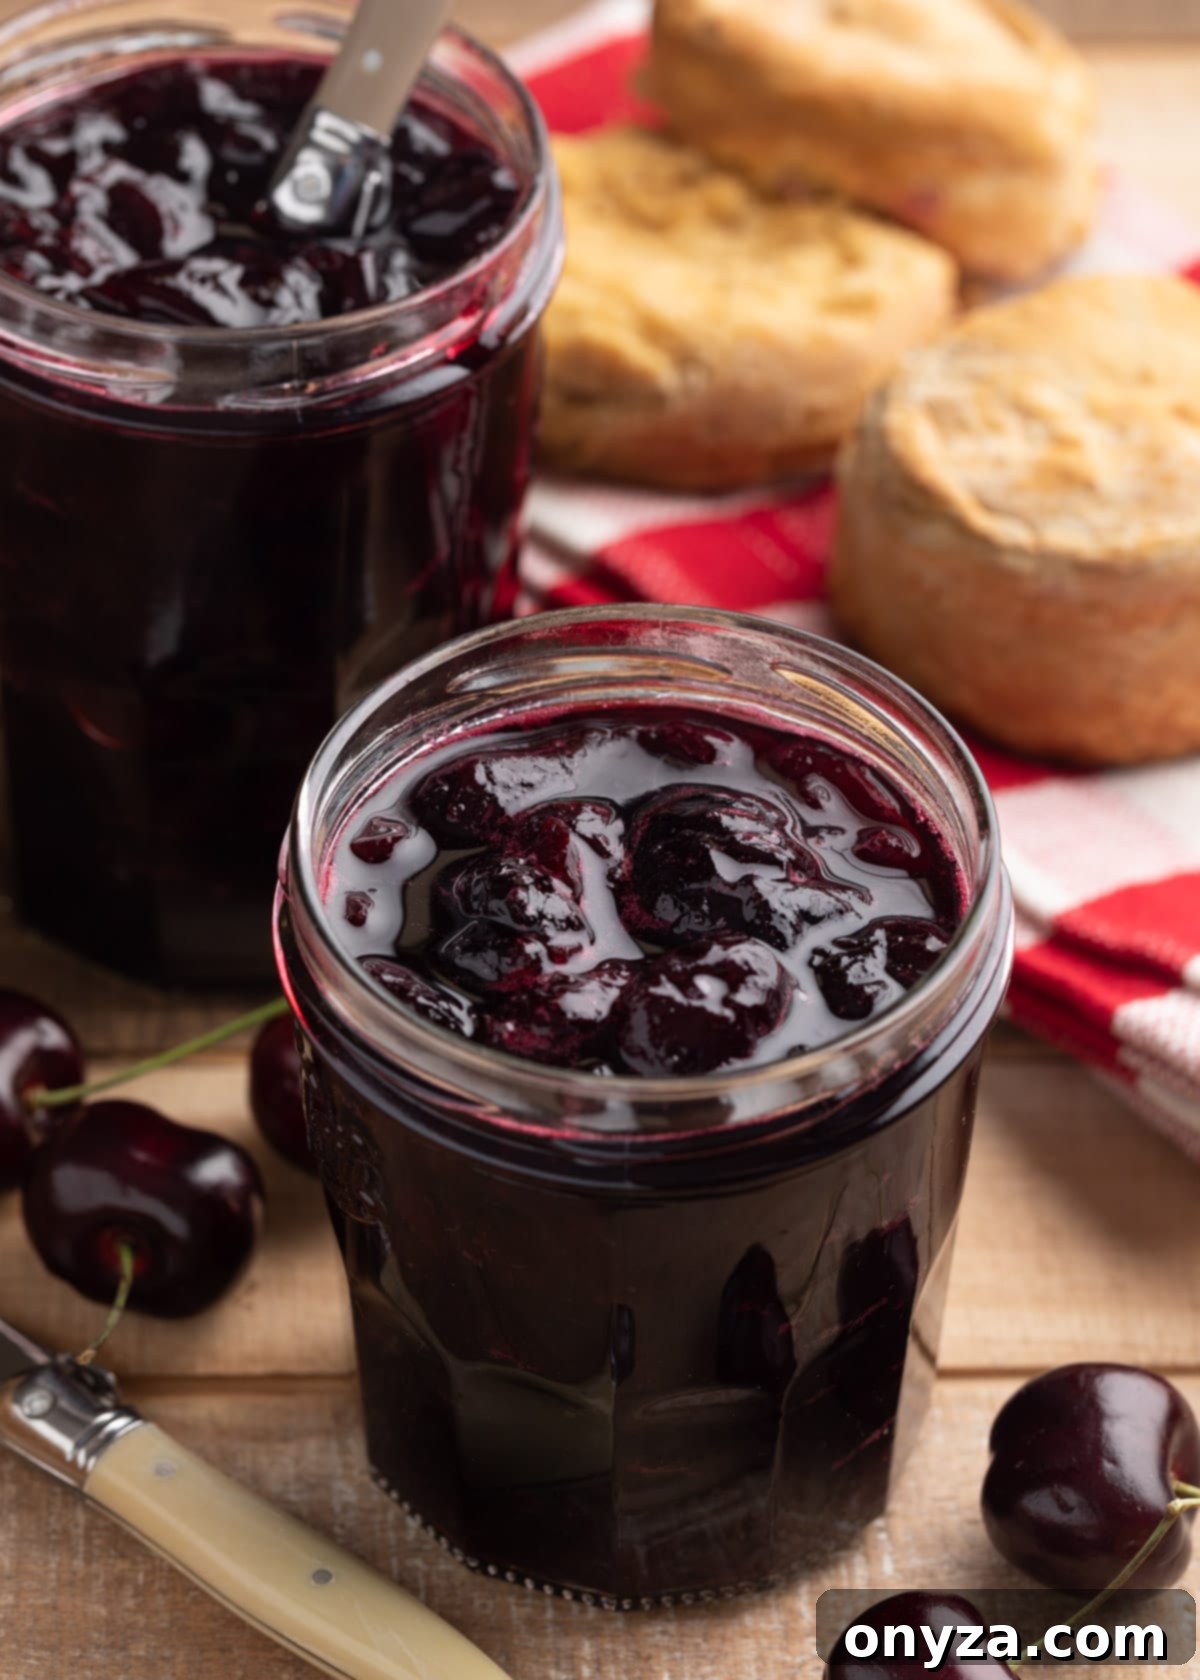
Transform your seasonal harvest of luscious sweet cherries into an exquisite batch of homemade preserves. This easy-to-follow, no-pectin recipe yields delightful refrigerator or freezer preserves that are bursting with fresh fruit flavor and incredibly versatile. Say goodbye to store-bought and hello to the irresistible taste of summer, preserved.
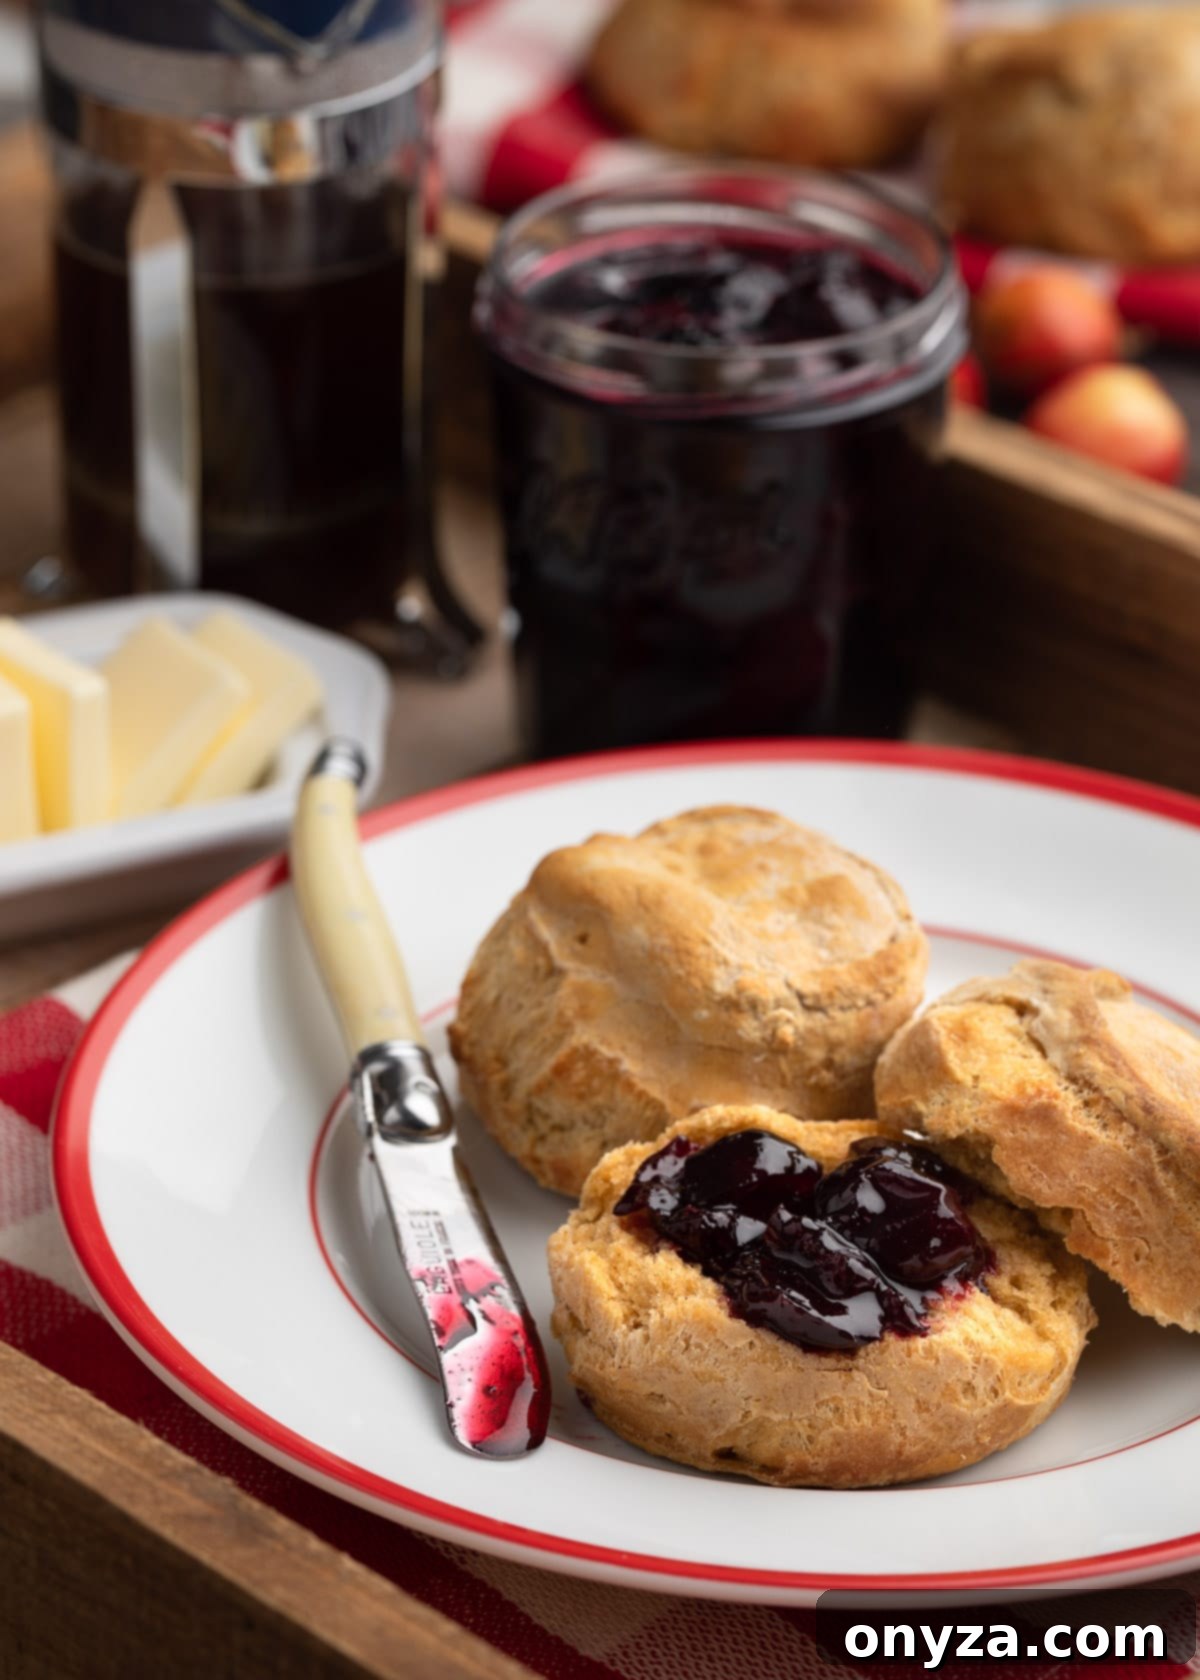
Homemade Cherry Preserves: An Easy No-Pectin Recipe for Freezer & Refrigerator Storage
There’s nothing quite like the vibrant flavor of fresh cherries at the peak of summer. Every year, as the farmer’s markets brim with these ruby-red gems, I find myself eagerly bringing home an abundance. While cherries are fantastic in classic desserts like Cherry Pie or Clafoutis, and even savory dishes such as a sauce for pork chops, one of my absolute favorite ways to enjoy them throughout the year is by transforming them into homemade cherry preserves. This particular recipe stands out because it’s incredibly simple to make, doesn’t require commercial pectin, and results in a naturally soft, spreadable consistency that’s utterly delicious.
Making preserves from scratch allows you to capture the fleeting sweetness of summer in a jar, ready to brighten your breakfasts, elevate your desserts, or complement a cheese board at any time. This guide will walk you through everything you need to know, from selecting the best cherries to perfecting the “gel” test, ensuring your homemade cherry preserves are nothing short of spectacular.
Why You’ll Love This No-Pectin Cherry Preserve Recipe
Making your own cherry preserves at home offers a deeply satisfying culinary experience. This recipe, in particular, has become a cherished annual tradition in my kitchen, and for good reason. Here’s why I believe you’ll adore these homemade preserves:
- Captures Fresh, Seasonal Flavor: This recipe is an ideal way to utilize several pounds of fresh, ripe cherries at their seasonal peak. By preserving them, you extend the taste of summer long into the cooler months, allowing you to savor that bright, fruity essence even when fresh cherries are no longer available. It’s a true taste of summer, bottled up for future enjoyment. Imagine a spoonful of vibrant cherry goodness on a chilly autumn morning – pure bliss!
- Fully Customizable to Your Taste: One of the greatest advantages of making preserves from scratch is the freedom to experiment and personalize the flavors. While the core recipe highlights the natural taste of the cherries, you can easily infuse it with your favorite spices, extracts, or even a splash of liqueur. This allows you to create unique batches tailored precisely to your palate, making each jar a reflection of your culinary creativity. Whether you prefer a hint of vanilla, a touch of almond, or a warming spice, the possibilities for customization are vast.
- Remarkably Simple and Convenient: Unlike traditional canning methods that often require special equipment, precise sterilization, and a boiling water bath, these refrigerator or freezer preserves are refreshingly straightforward. There’s no need for complicated processing, making it an accessible project even for beginner preservers. They store beautifully in the freezer for several months, offering convenience without compromising on homemade quality. This simplicity means you can focus on the joy of creating rather than the stress of complex techniques.
- Incredibly Versatile for Any Meal: These cherry preserves are far more than just a breakfast spread. While they are phenomenal dolloped onto warm, flaky biscuits or spread generously over thick-sliced artisan toast, their utility extends to desserts, appetizers, and beyond. Imagine them warmed slightly over vanilla ice cream for a simple yet elegant treat, paired with creamy cheeses on a sophisticated cheese board, or even as a delightful topping for yogurt and pancakes. They also make a fantastic filling for pastries, tarts, or thumbprint cookies, truly elevating any dish they grace.
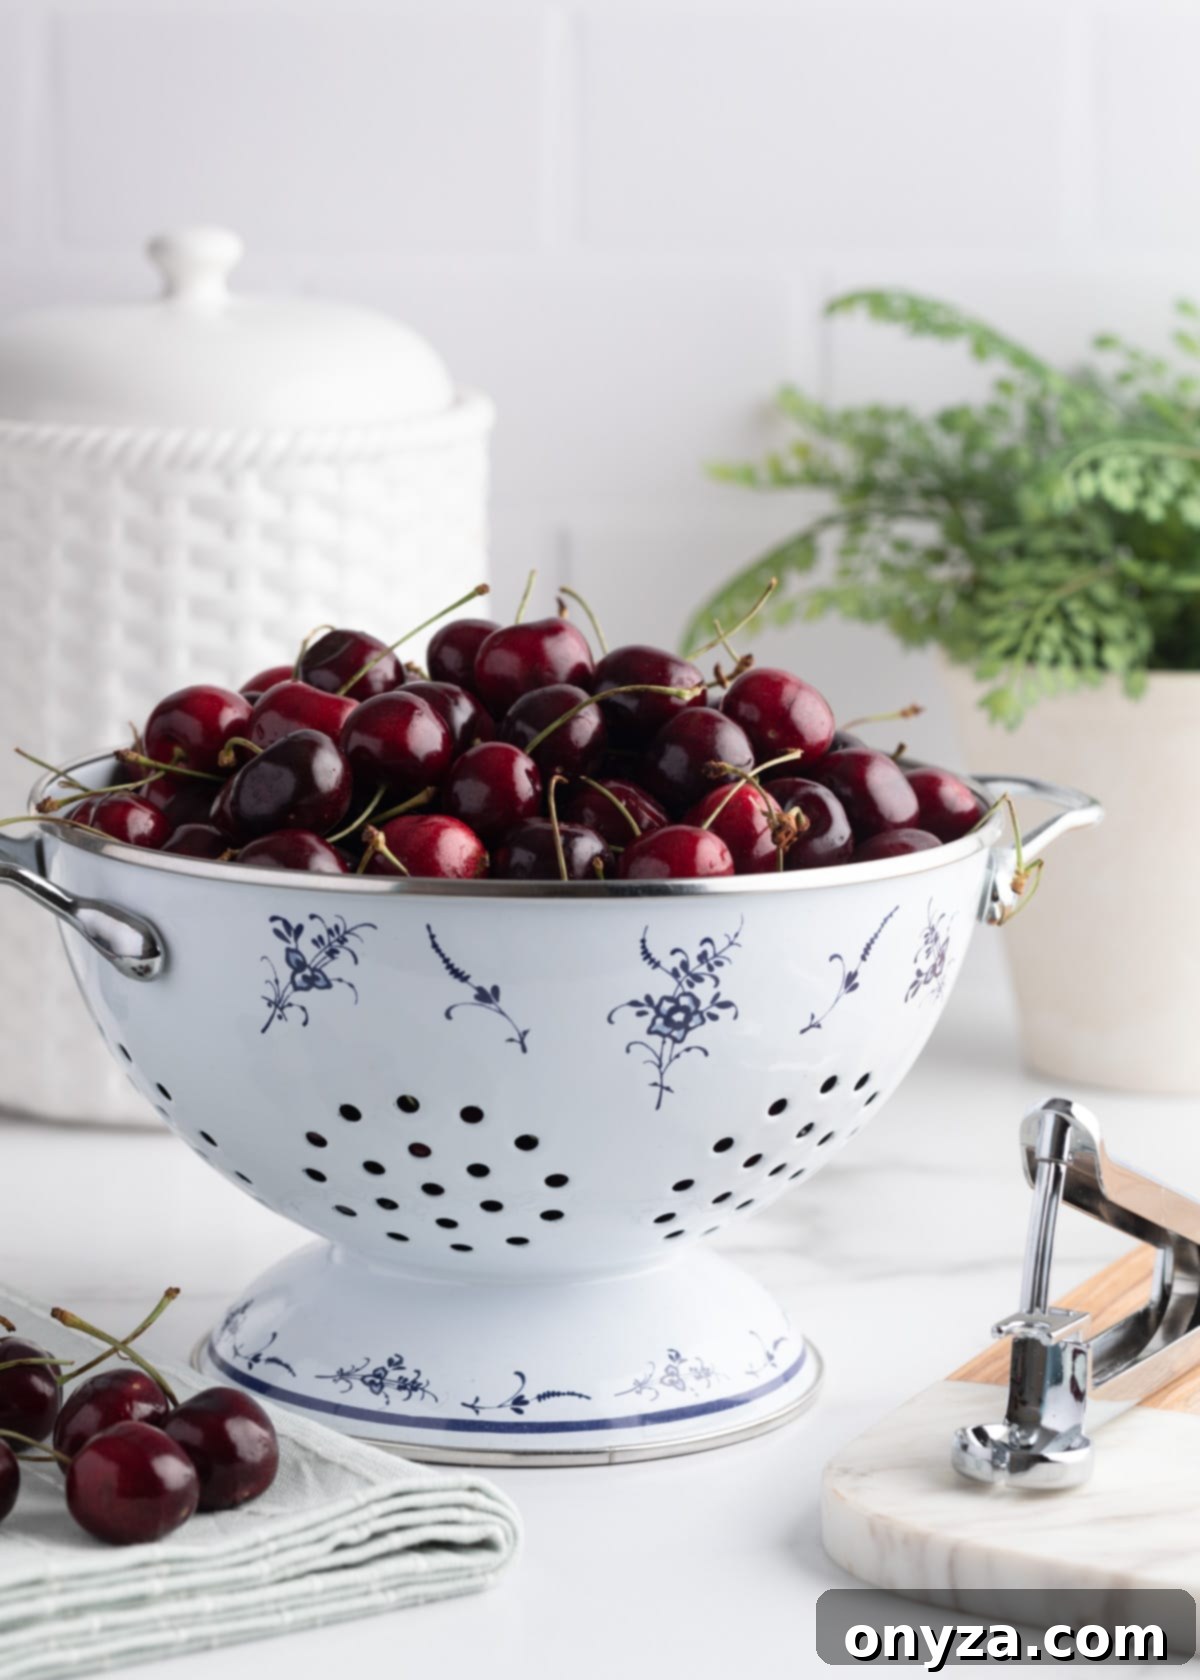
Essential Ingredients for Perfect No-Pectin Cherry Preserves
Creating delicious preserves without commercial pectin relies on the natural components found within the fruit itself, alongside a few key supporting ingredients. The fundamental trio for setting preserves naturally includes fruit, sugar, and an acidic element like lemon. Since this recipe foregoes commercial pectin (which I typically don’t keep in my pantry), understanding the role of each ingredient becomes even more important for achieving the desired consistency and flavor.
It’s worth noting that the amount of naturally occurring pectin, the starch in fruit that aids in gelling, varies significantly between different fruit types. Cherries, for instance, are considered to be lower on the pectin scale compared to fruits rich in pectin like cranberries, Concord grapes, and lemons. This means that when making cherry preserves without added commercial pectin, you can expect a slightly softer, more scoopable texture than a firmly set jam. This isn’t a flaw; it’s simply a characteristic that results in a beautifully luscious consistency that is perfect for spreading and dolloping. Embrace this natural texture as part of the charm of homemade preserves.
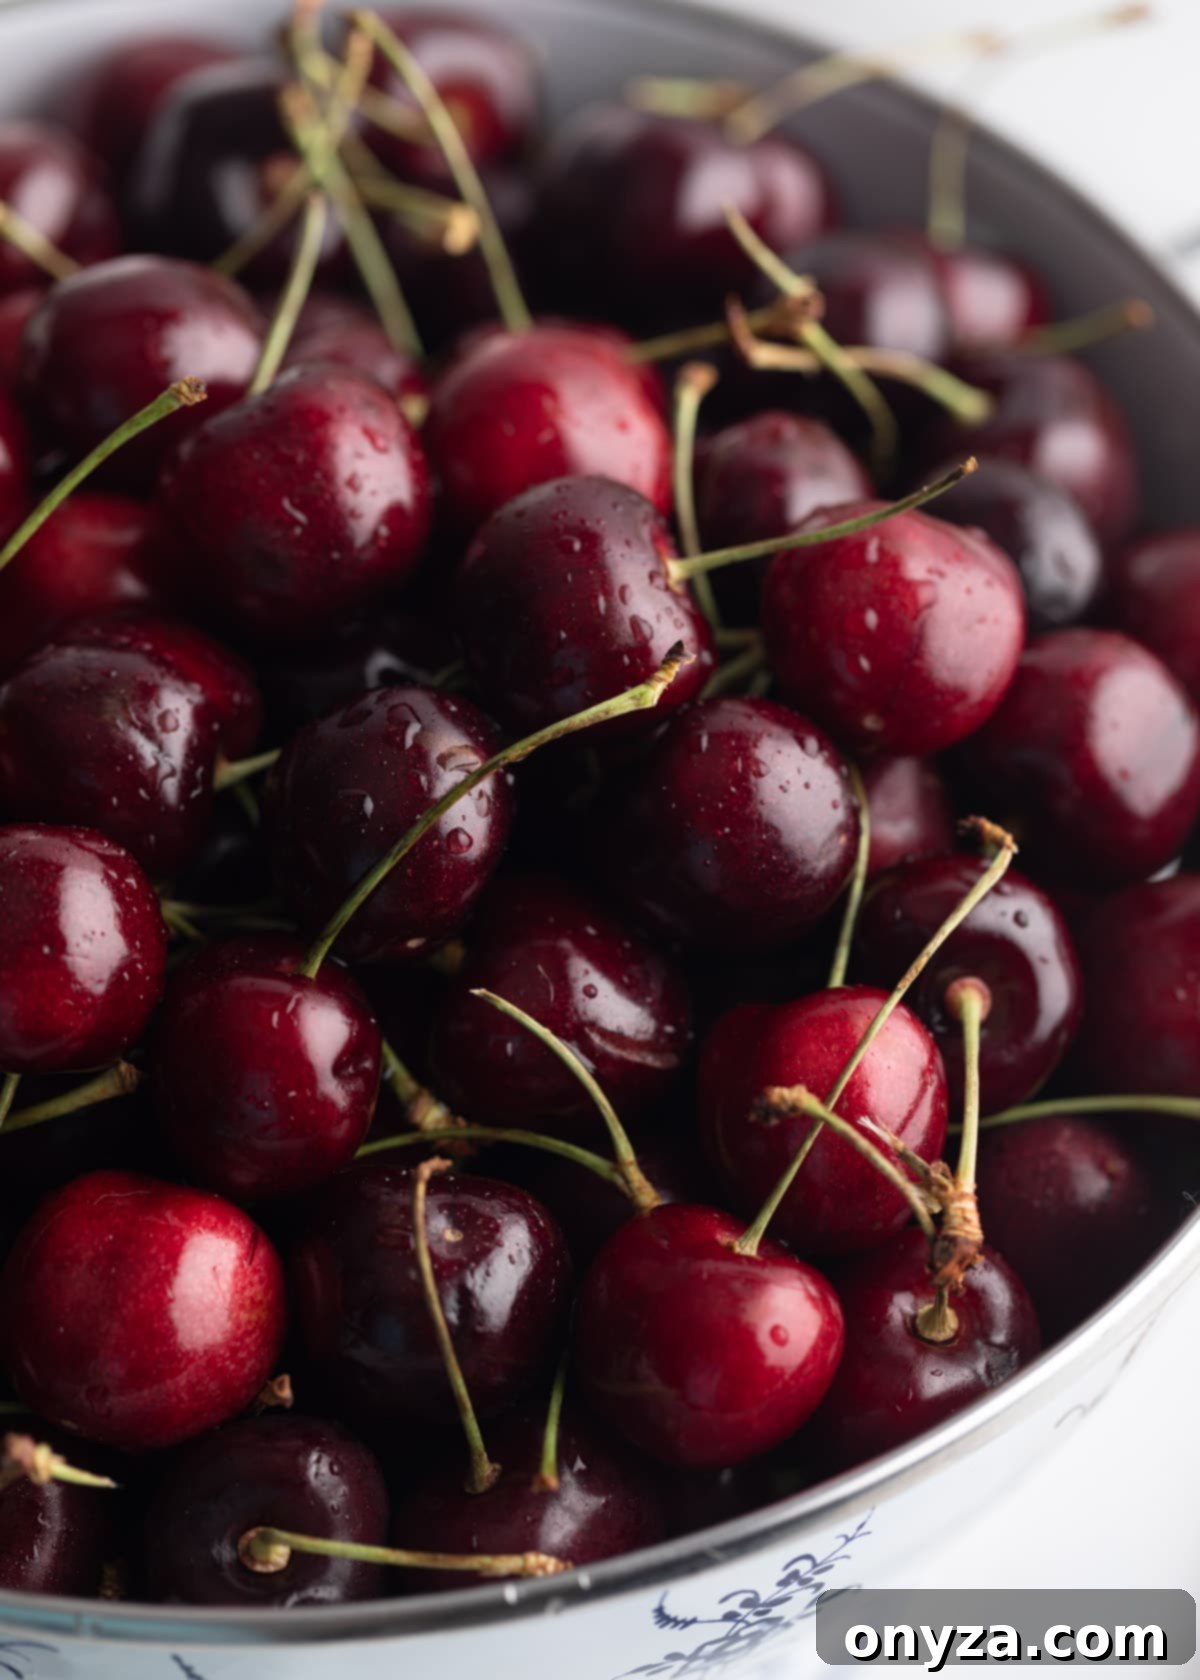
Selecting Your Cherries
For these preserves, I typically gravitate towards dark, sweet cherry varieties such as Bing, Chelan, Lapins, or Rainier. Their robust flavor, deep sweetness, and beautiful color are ideal for a rich preserve. These varieties cook down beautifully and offer a classic cherry taste. While sweet cherries are my go-to, you can absolutely use tart or sour cherries if you prefer. If opting for sour cherries, you’ll need to adjust the quantities of lemon juice and sugar to achieve the desired balance of sweetness and acidity. Generally, sour cherry preserves will require more sugar and often benefit from a reduction in added lemon juice. The key, regardless of variety, is to select cherries that are ripe but not overly so, as overripe fruit tends to have less natural pectin, which is crucial for the natural set of these preserves.
The Role of Sugar
Granulated sugar is my preferred choice for homemade cherry preserves. While I appreciate the depth and caramel notes of brown sugar in certain recipes (like my Cherry Cranberry Sauce), I want the pure, vibrant flavor of the fresh summer cherries to shine through in these preserves. Brown sugar’s molasses notes can sometimes overshadow the delicate fruit essence, diverting attention from the star ingredient.
Sugar plays a multifaceted role in preserves, far beyond just providing sweetness. It’s a critical component in helping the mixture gel, contributing to the desired luscious texture. More importantly, sugar acts as a natural preservative, a principle that has been used for centuries. Scientifically speaking, sugar works by absorbing water molecules, effectively reducing the “free water” available in the preserves. This lower water activity creates an environment less conducive to the growth of undesirable microorganisms like mold and bacteria, thereby extending the shelf life of your homemade treat. This is precisely why “low-sugar” jams and preserves typically have a shorter shelf life than those made with traditional fruit-to-sugar ratios, often around 1:1 or 2:1. While the preserves will undoubtedly taste sweet – they are preserves, after all – the addition of acid helps to beautifully balance this sweetness, preventing it from being cloyingly so and ensuring a complex, delightful flavor profile.
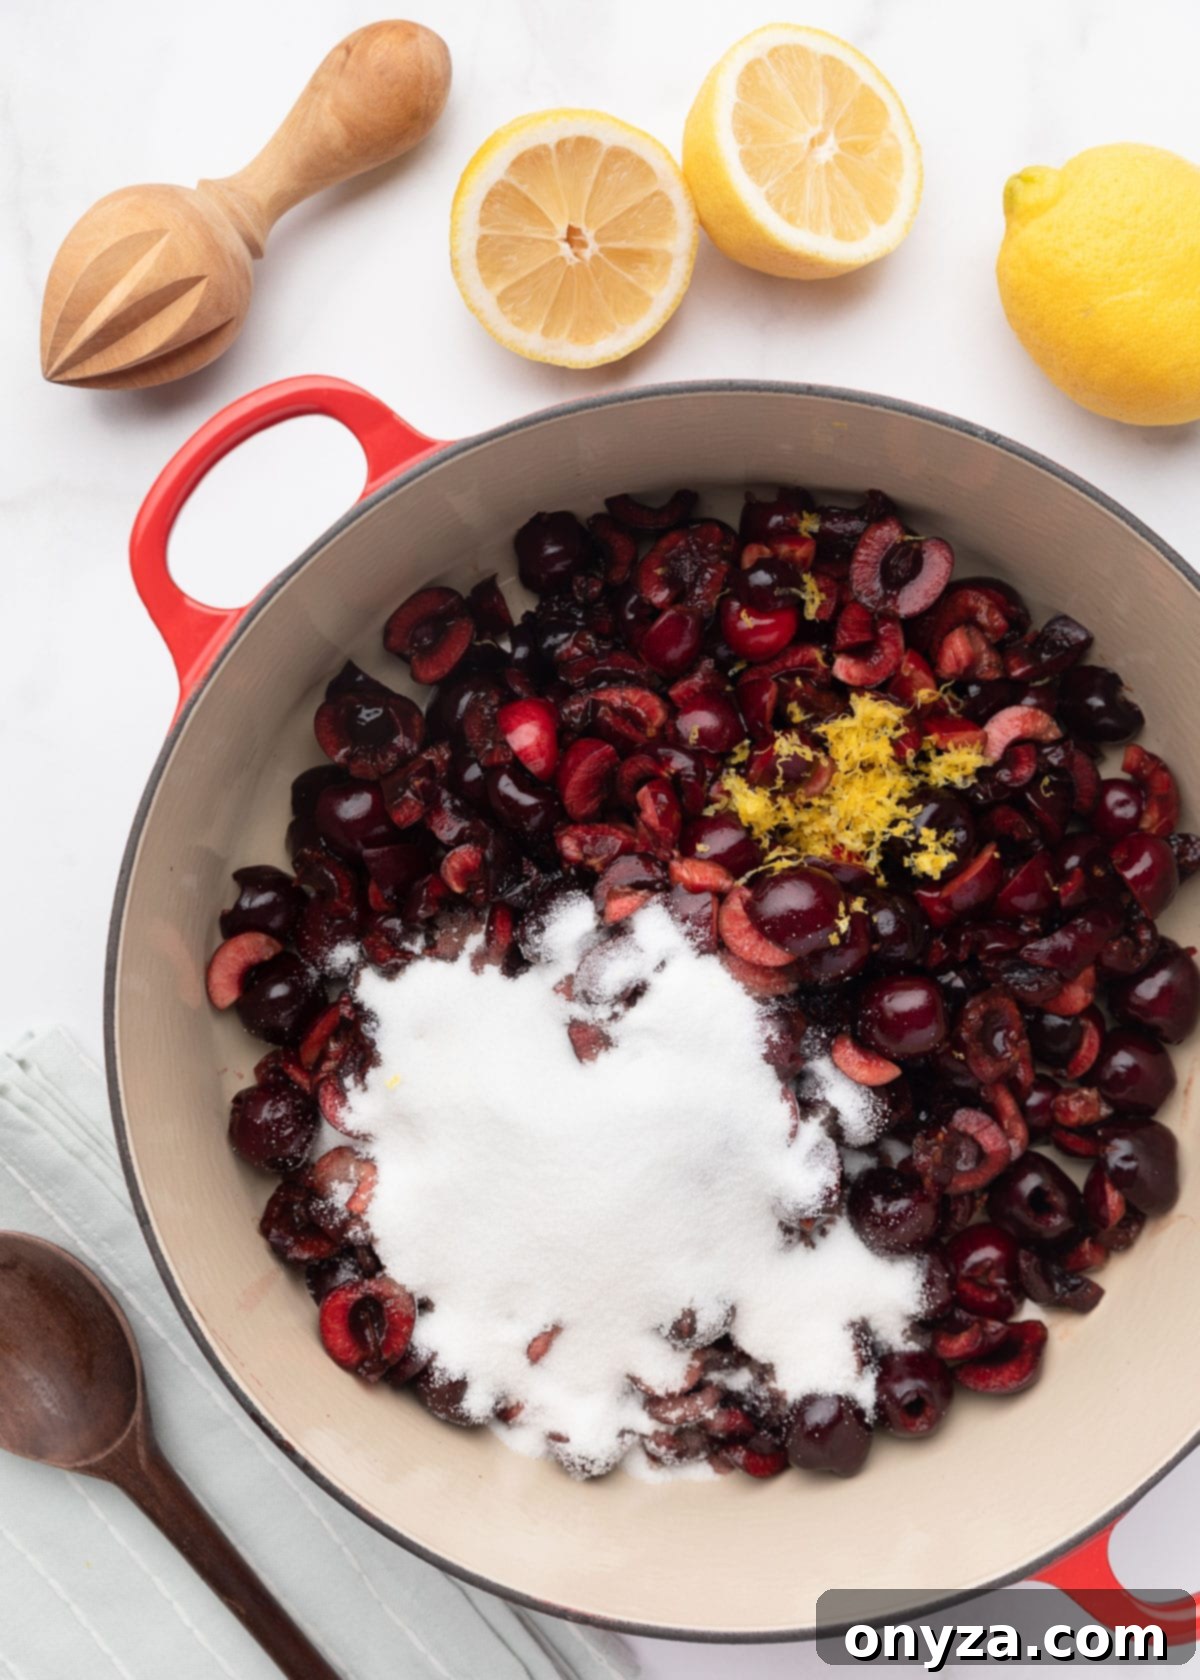
The Power of Lemon (Juice & Zest)
Adding an acidic ingredient, such as fresh lemon juice and zest, is vital for several reasons. It significantly lowers the pH of the preserves, which is especially important for safety in traditionally canned goods by inhibiting harmful bacteria (though less critical for our shorter-term refrigerator/freezer preserves). For this recipe, lemon plays a dual and equally important role: it provides a bright, complementary flavor that cuts through the sweetness of the cherries and enhances their natural fruitiness. Furthermore, lemon offers an additional boost of natural pectin. While the majority of pectin in a lemon is concentrated in its peel and pith, the juice and zest still contribute to the gelling process, helping the cherry preserves achieve their lovely set without relying on commercial additives. The zest also infuses a wonderful aromatic complexity that brightens the overall flavor.
Creative Flavor Enhancements
While these cherry preserves are delicious on their own, you have the wonderful opportunity to customize them with supporting flavors. A subtle addition can elevate the preserves to new culinary heights without overpowering the primary cherry taste. Consider adding 1 to 3 tablespoons of a complementary spirit, such as a rich cognac, fragrant cherry brandy (Kirsch), smoky bourbon, or nutty amaretto, to the pot. This will impart a delightful depth of flavor and aromatic complexity without making the preserves overtly “boozy,” as the alcohol cooks off during the boiling process.
Other popular optional add-ins include pure vanilla extract or a scraped vanilla bean for a classic, comforting touch. A tiny hint of almond extract can beautifully complement cherries, as the two flavors are natural allies; however, use it sparingly – perhaps just 1/8 to 1/4 teaspoon – as its potent flavor can easily dominate if overused. Spices like a pinch of ground cinnamon, a few whole cloves, star anise pods, or even a touch of freshly ground black pepper can introduce warmth and intrigue, adding another layer of complexity to your preserves. The key when experimenting with these powerful flavors is to add them conservatively and taste as you go, ensuring the exquisite fruit remains the star of your homemade cherry preserves.
Step-by-Step Guide to Crafting Your Cherry Preserves
Making homemade cherry preserves is a rewarding process, and while it requires a bit of upfront preparation, the cooking itself is quite straightforward. Let’s walk through each stage, from preparing the fruit to testing for doneness, to ensure your preserves turn out perfectly luscious and flavorful.
Preparing the Cherries: The Pitting Process
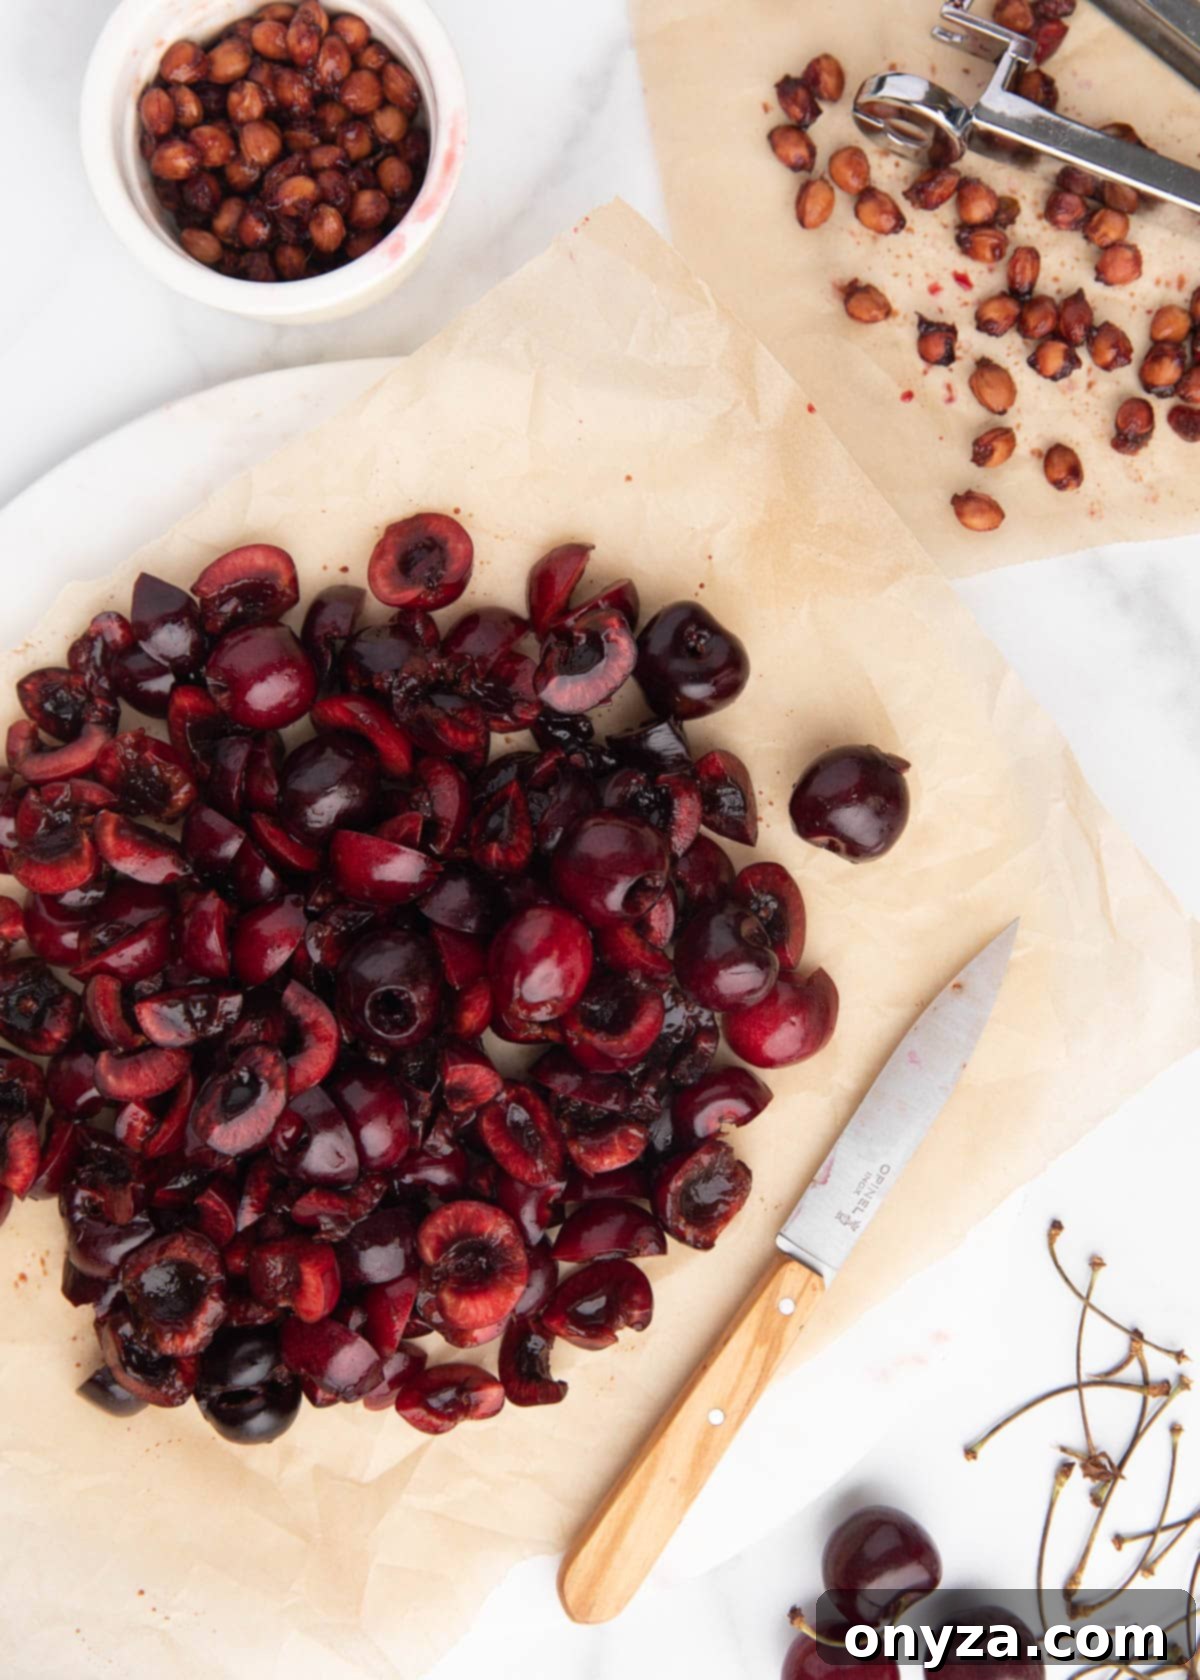
The most labor-intensive part of making cherry preserves is undoubtedly preparing the fruit. You’ll need to pit a substantial three pounds of fresh cherries. While this might sound daunting, it’s a manageable task with the right approach. I highly recommend consulting a guide on various cherry pitting methods; there are several easy techniques that can make this process far less tedious and even enjoyable. Investing in a good cherry pitter can save a lot of time and mess, making this step much quicker.
Since preserves, by definition, feature distinct pieces of fruit (or even whole fruits) suspended in a gelled syrup – as opposed to jams, where the fruit is typically more finely chopped or crushed – the way you prepare your cherries matters. For this recipe, I suggest roughly chopping or quartering about 80% of your pitted cherries. The remaining 20% can be left whole or halved. This combination provides a delightful textural contrast: the smaller pieces break down to contribute to the rich, jammy base, while the larger pieces and whole cherries offer juicy bursts of fruit, making for a truly luxurious preserve. If you were to leave the majority of the fruit whole, the final product would lean more towards cherries in a thick syrup rather than a true preserve with a cohesive, fruit-laden consistency.
Cooking to Perfection: The Boiling Stage
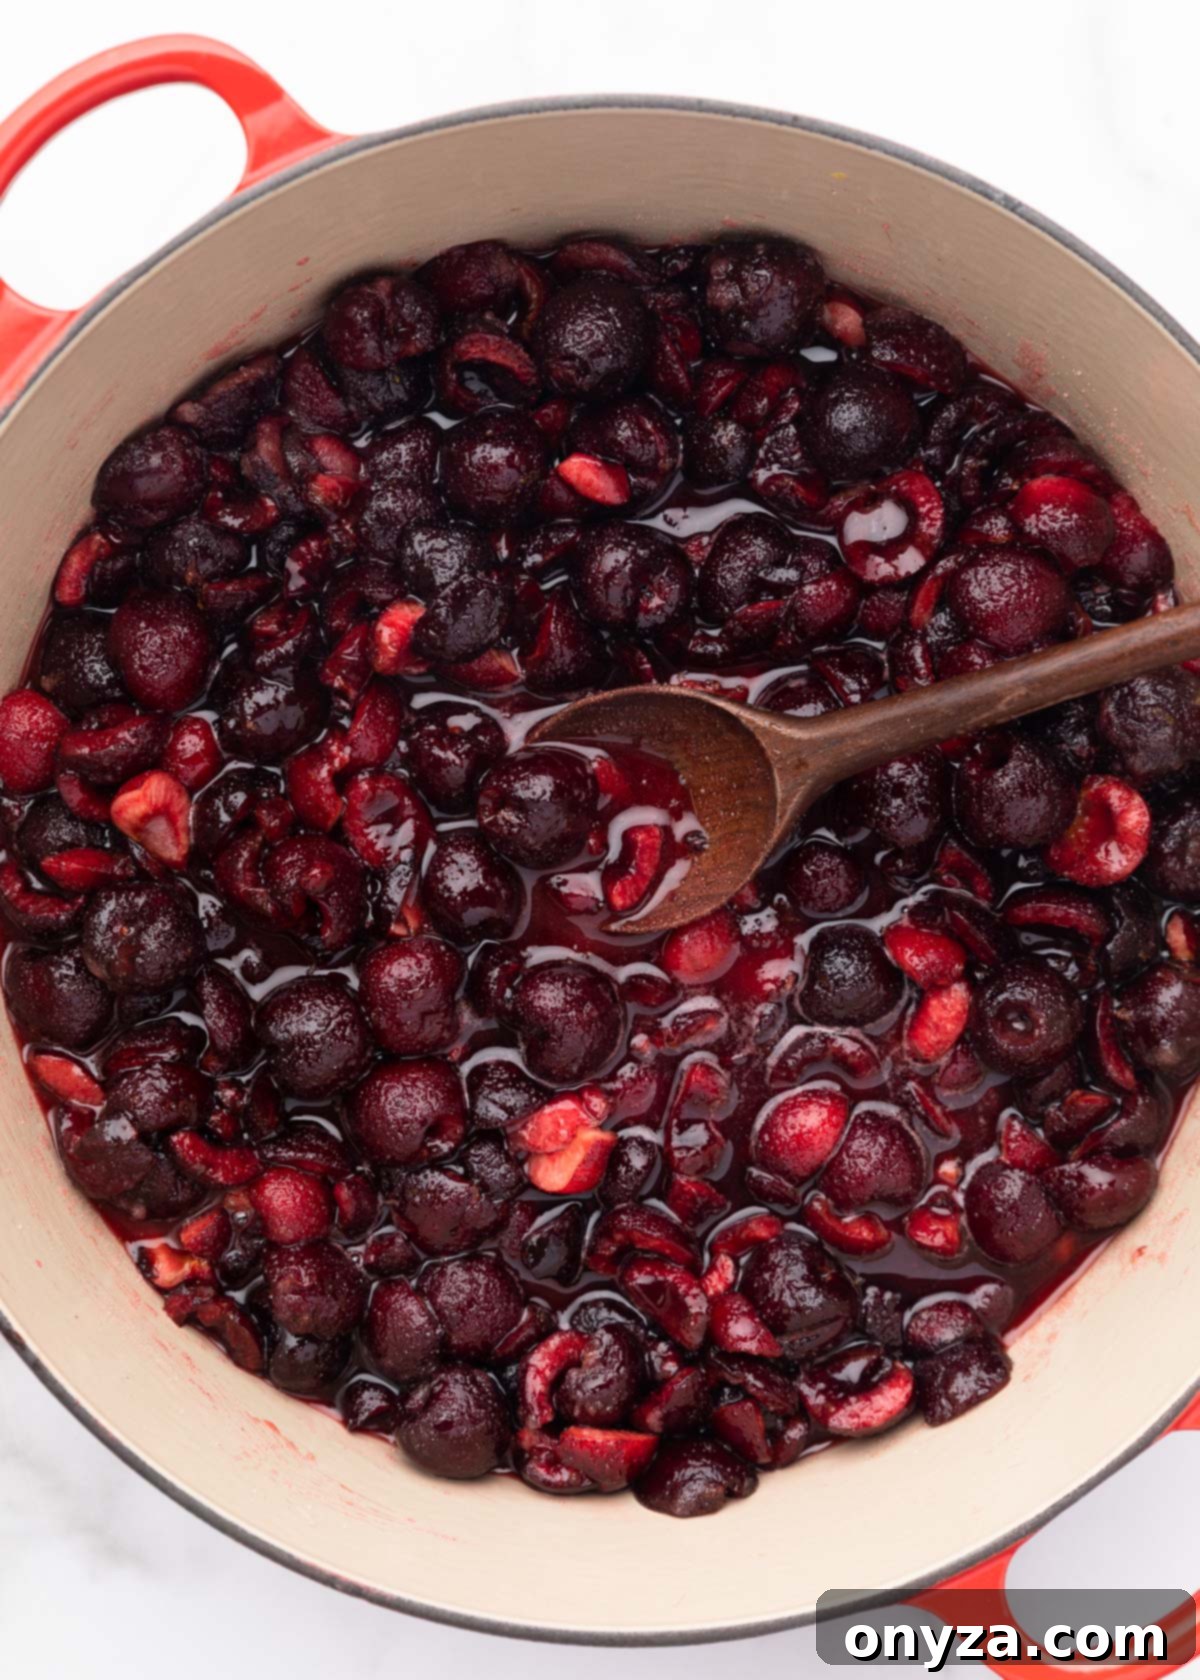
For cooking your preserves, selecting the right pot is essential. You’ll need a large, deep, non-reactive pot to prevent any unwanted metallic flavors from leaching into your fruit. Materials like enameled cast iron (such as a Dutch oven) or a dedicated copper jam pan are excellent choices. Their wide surface area also helps with evaporation, which is crucial for concentrating the sugars and achieving the proper set.
Many preserve recipes start by adding water to the fruit, sugar, and lemon juice/zest. However, I prefer a slightly different approach that enhances the natural flavor and texture. Instead, combine all the ingredients in your pot and let them macerate for about 15-20 minutes. This process allows the sugar to draw out the natural juices from the cherries through osmosis, creating a flavorful liquid without needing extra water. This initial step also helps the fruit soften slightly and intensifies its natural sweetness before cooking even begins.
Once the cherries have released their juices, bring the mixture to a rolling boil over medium-high heat. It’s crucial to stir frequently during this stage to prevent the sugars from sticking to the bottom of the pan and scorching, which can impart an unpleasant burnt flavor. Continue boiling until the liquids have visibly reduced and thickened, and the mixture passes the “gel” test, which we’ll discuss next. The cooking time typically ranges around 30 minutes, but this can vary depending on factors such as the water content of your specific cherries, the type of pan you’re using, and the heat output of your stove. As the preserves cook down, you might notice a light pink, foamy substance forming on the surface; this is normal and can be skimmed off once the preserves are finished cooking for a clearer, more appealing final product.
Achieving the “Gel” Test: Knowing When It’s Ready
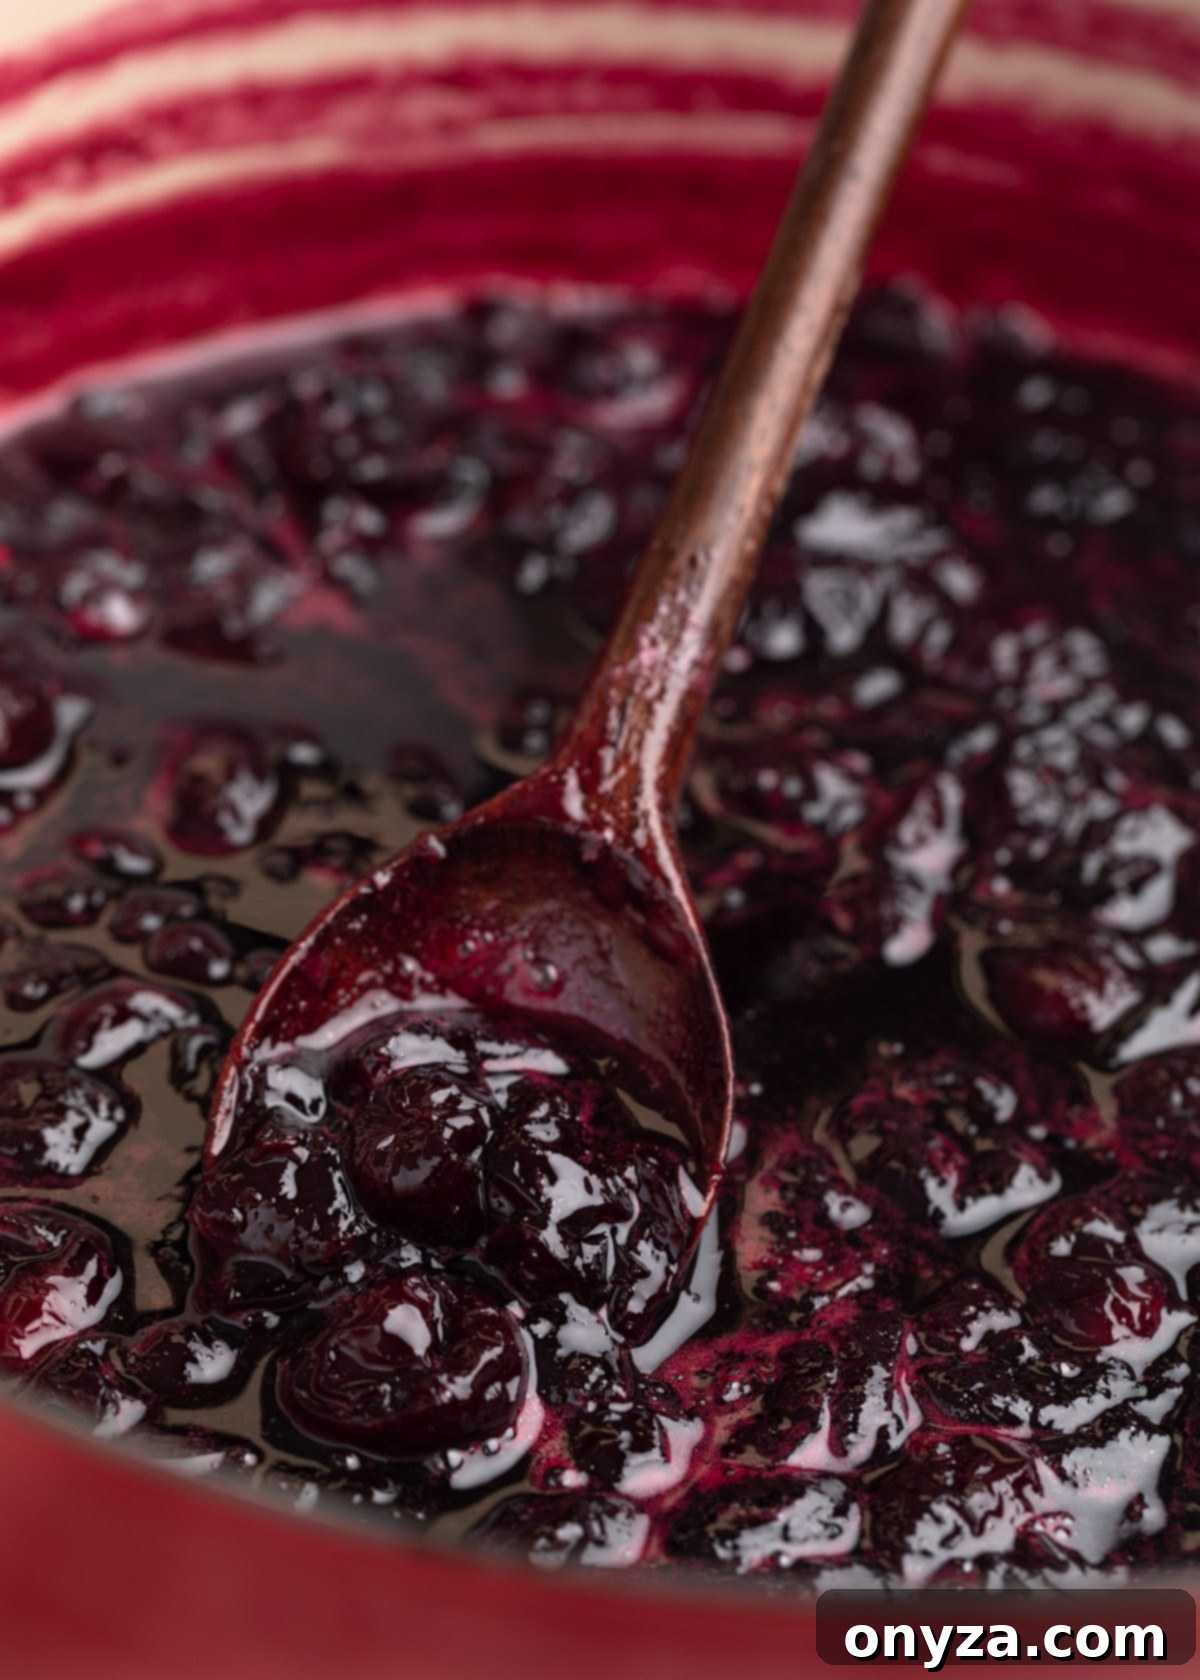
Determining when your preserves have cooked sufficiently to achieve the desired “gel” stage is critical. For a soft, spreadable consistency, the sugars in the mixture need to reach approximately 220 degrees Fahrenheit (220°F or 104°C) at sea level. Using a candy thermometer is the most reliable way to monitor this temperature as the preserves boil. Simply clip it to the side of your pot, ensuring the tip is submerged but not touching the bottom.
However, a thermometer isn’t the only tool in your arsenal; I also highly recommend the “wrinkle test,” a classic method trusted by generations of home preservers. Before you even begin cooking, place a few small ceramic plates or saucers in your freezer. When you suspect the preserves are nearly ready, remove the pot from the heat and spoon a small amount of the hot liquid onto one of the chilled plates. Return the plate to the freezer for one to two minutes, allowing the preserves to cool rapidly. Then, gently nudge the cooled liquid with the tip of your finger. If the surface wrinkles and holds its shape, your preserves are ready! If it’s still too runny, return the pot to the heat and continue cooking for a few more minutes before retesting with a fresh chilled plate.
There’s a delicate balance here; while you want a good set, be cautious not to significantly overcook the preserves. Overcooking can cause the fruit and sugars to caramelize excessively, resulting in a chewy, overly thick, or even stringy consistency, rather than the luscious, scoopable texture we’re aiming for. Conversely, undercooked preserves will be too thin and syrupy, lacking the delightful body that defines a preserve. Practice makes perfect with the gel test, so don’t be afraid to test multiple times.
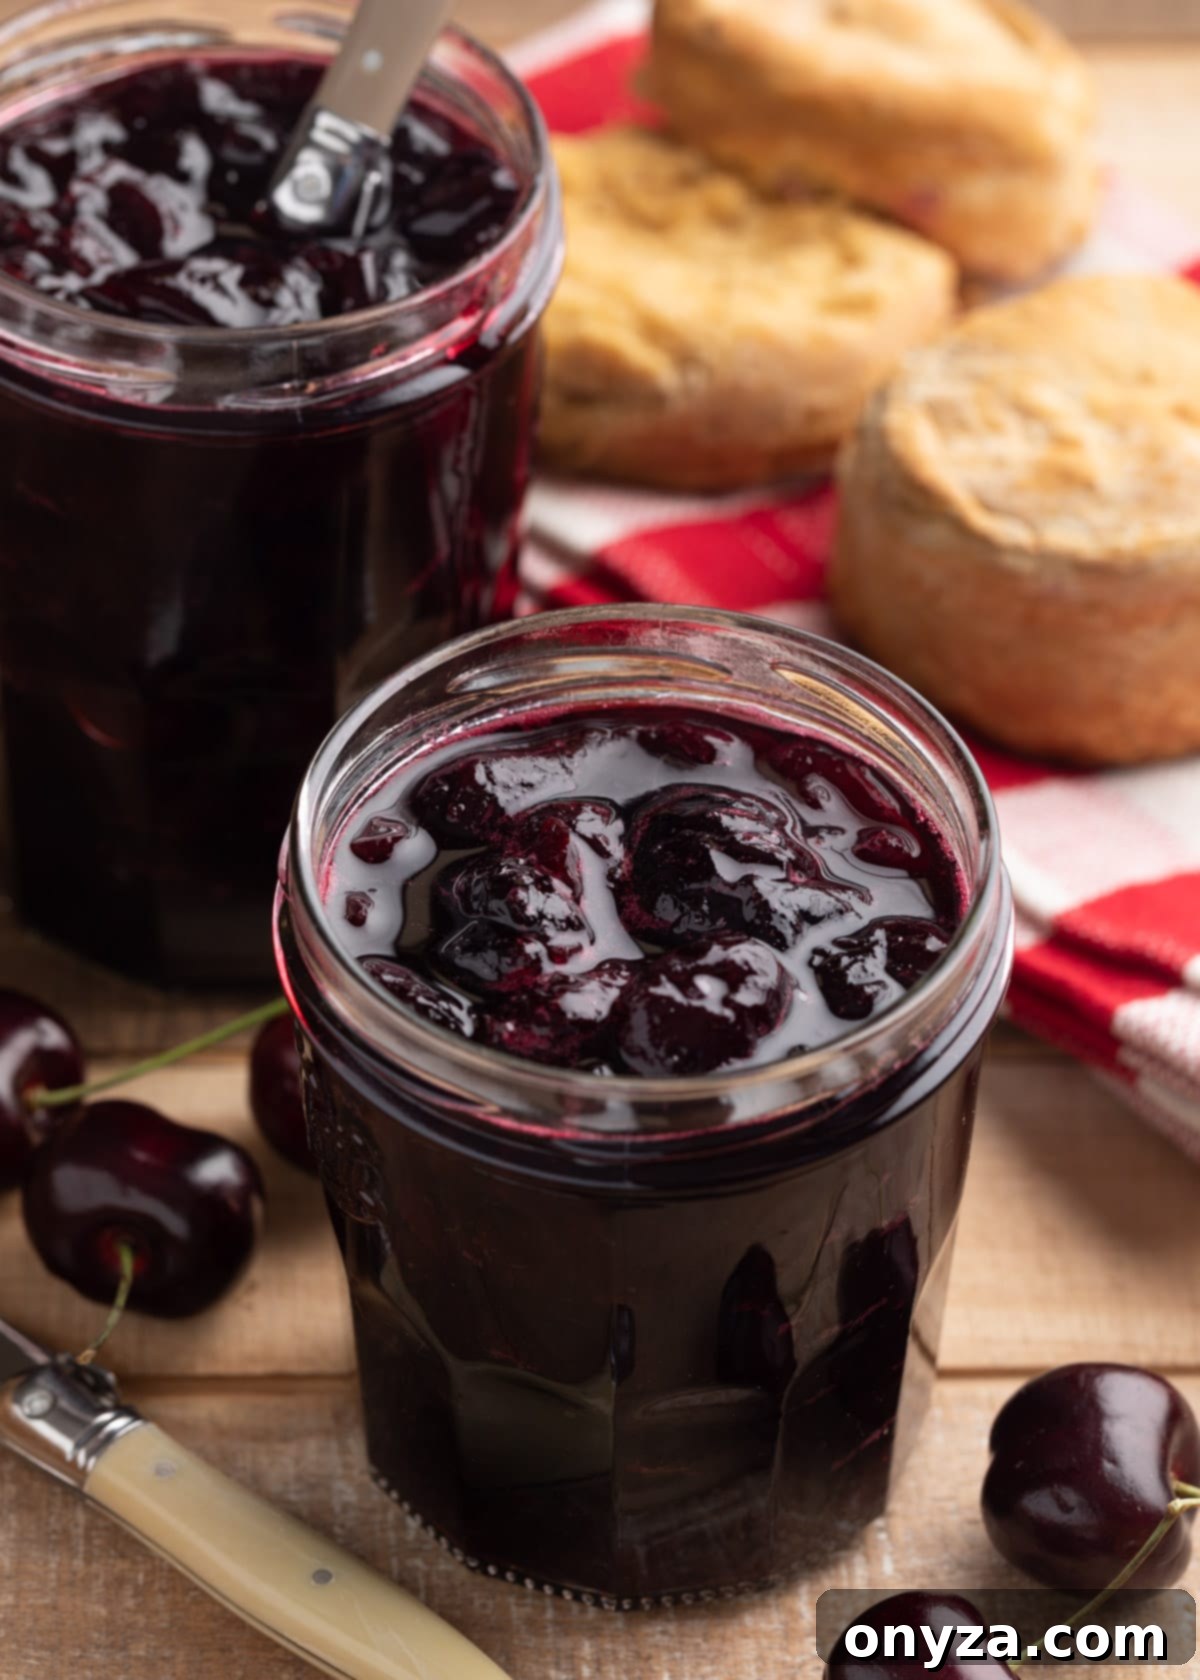
Storing Your Delicious Homemade Cherry Preserves
This recipe is specifically designed for refrigerator or freezer storage, making it a simple and safe option for enjoying your homemade treats. It’s important to note that I have not verified the sugar quantity or pH levels for traditional water bath canning, so these preserves are not intended for long-term shelf-stable canning. For storage, always use very clean, lidded glass jars. My personal favorites include Weck and Le Parfait jars, known for their quality, beautiful design, and airtight seals, which are crucial for maintaining freshness.
When preparing your preserves for the freezer, ensure that the containers you choose are explicitly freezer-safe to prevent cracking. Glass jars designed for freezing are ideal, but plastic freezer containers can also work. Crucially, do not overfill the jars. Leave about half an inch (approximately 1.25 cm) of headspace at the top of each jar. This allows for the natural expansion that occurs when liquids freeze, preventing your jars from breaking. Once filled and cooled, securely lid the jars.
Your homemade cherry preserves will remain fresh for up to a couple of weeks when stored in the refrigerator, provided they are tightly covered. For longer storage, they can be safely frozen for several months, typically up to 6 months for optimal quality. When you’re ready to enjoy them, simply defrost a jar in the refrigerator overnight. Once defrosted, it’s best to consume the preserves within a week to maintain their optimal freshness and flavor. Before using any preserves stored in the refrigerator or freezer, always take a moment to inspect them carefully for any signs of mold or spoilage to ensure safety. A quick visual check and sniff test can prevent disappointment.
Homemade Cherry Preserves Recipe
This easy, no-pectin recipe yields approximately 3 to 3.5 cups of delicious homemade cherry preserves, perfect for refrigeration or freezing. Prep time: 40 minutes. Cook time: 30 minutes. Cooling time: 1 hour. Total time: 2 hours 10 minutes. Servings: 28 (2 tablespoons each).
Ingredients
- 3 pounds fresh sweet cherries, stemmed and pitted
- 2 1/2 cups granulated sugar
- 2-3 tablespoons fresh lemon juice (from about one lemon)
- 1 teaspoon grated lemon zest
Instructions
- Roughly chop or quarter approximately 80% of the pitted cherries. Leave the remaining 20% whole or halved.
- In a large, deep, non-reactive pot or pan, combine the prepared cherries, granulated sugar, fresh lemon juice, and lemon zest. Stir gently to combine, then let the mixture stand for 15-20 minutes to allow the cherries to macerate and release their natural juices.
- While the cherries are macerating, place a few small saucers or plates in your freezer; these will be used later to test for the preserves’ doneness.
- Bring the cherry mixture to a boil over medium-high heat, stirring frequently to prevent the sugars from sticking to the bottom of the pan and scorching. Continue boiling until the liquid has reduced and noticeably thickened. For a soft, spreadable consistency (the “gel” stage), the preserves should reach 220°F (104°C) on a candy thermometer at sea level. This process typically takes about 30 minutes, though actual cooking time can vary based on your fruit, cookware, and stove.
- To perform the wrinkle test: remove the pot from the heat and spoon a small amount of the preserves’ liquid onto one of the chilled plates from the freezer. Return the plate to the freezer for a minute or two. Gently nudge the cooled liquid with your finger. If it wrinkles and holds its shape, your preserves are ready. If not, continue cooking the preserves in 5-minute increments, testing again after each period, until the liquid passes the wrinkle test.
- Once the preserves are ready, carefully ladle them into clean glass jars, ensuring you leave about 1/2-inch of headspace at the top of each jar. This is particularly important if you plan to freeze them, as it allows for expansion. Let the jars cool completely to room temperature before tightly covering them. Refrigerate for immediate use or freeze for longer storage.
Recipe Notes & Variations
- Storage: Once defrosted from the freezer, use the preserves within one week. Always inspect refrigerator or freezer preserves for any signs of mold or spoilage before consuming.
- Sour Cherries: If you opt to use sour cherries instead of sweet cherries, omit the lemon juice from the recipe and increase the granulated sugar to 3 1/2 to 4 cups, adjusting to your taste.
- Cherry Pitting: For detailed guidance on effective cherry pitting methods, please refer to my guide on 5 ways to Pit Cherries.
- Liquor/Liqueur: Enhance the flavor by adding 1-3 tablespoons of cognac, cherry brandy (Kirsch), bourbon, or amaretto to the pot along with the lemon juice.
- Vanilla: For a classic flavor profile, add 1 scraped vanilla bean or 2-3 teaspoons of vanilla extract.
- Almond: Introduce a complementary nutty note with 1/8 to 1/4 teaspoon of almond extract. Remember to add conservatively, as almond extract can be very potent and might overpower the fruit.
- Spices: Experiment with spices such as 1/2 to 1 teaspoon of ground cinnamon (or a small cinnamon stick), 1/4 teaspoon of ground cloves, 2 star anise pods, or 1/2 to 1 teaspoon of freshly ground black pepper. Add to taste, ensuring the fruit remains the dominant flavor.
Nutrition Estimate
Nutrition information is an approximation only and may vary. Per 2 tablespoon serving: Calories: 59kcal | Carbohydrates: 15g | Protein: 1g | Fat: 1g | Saturated Fat: 1g | Sodium: 1mg | Potassium: 108mg | Fiber: 1g | Sugar: 13g | Vitamin A: 31IU | Vitamin C: 4mg | Calcium: 6mg | Iron: 1mg.
About Our Recipes
Please note that our recipes have been developed using the US Customary measurement system and have not been tested for high altitude/elevation cooking and baking.
