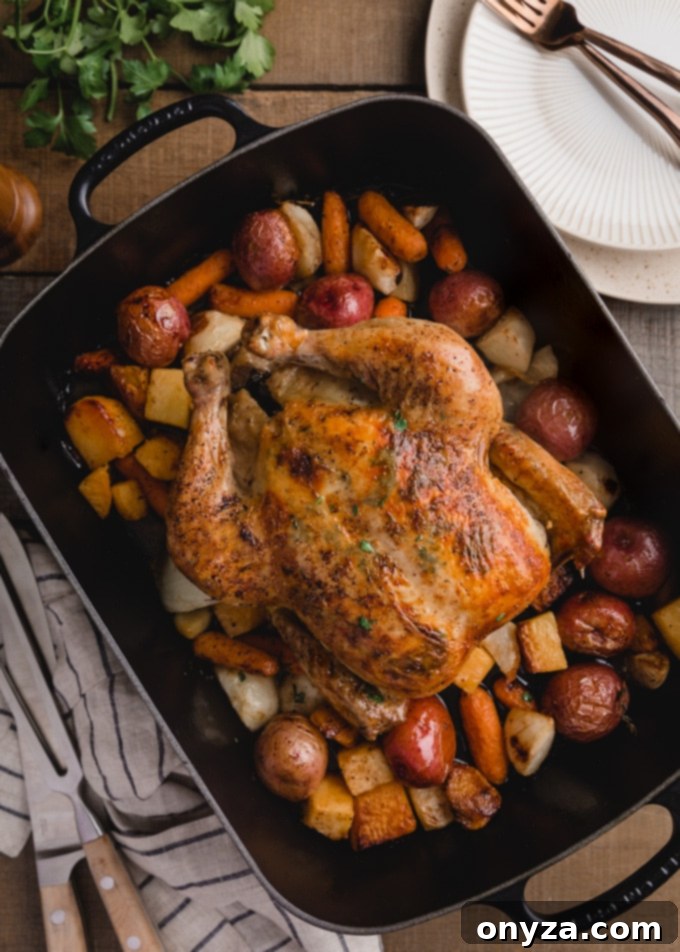
Master the art of creating a truly succulent, flavorful, and golden-skinned roasted chicken, complete with perfectly caramelized root vegetables. This comprehensive guide will equip any home cook with the techniques needed to consistently achieve a magnificent, one-pan meal that delights the senses and satisfies the soul.
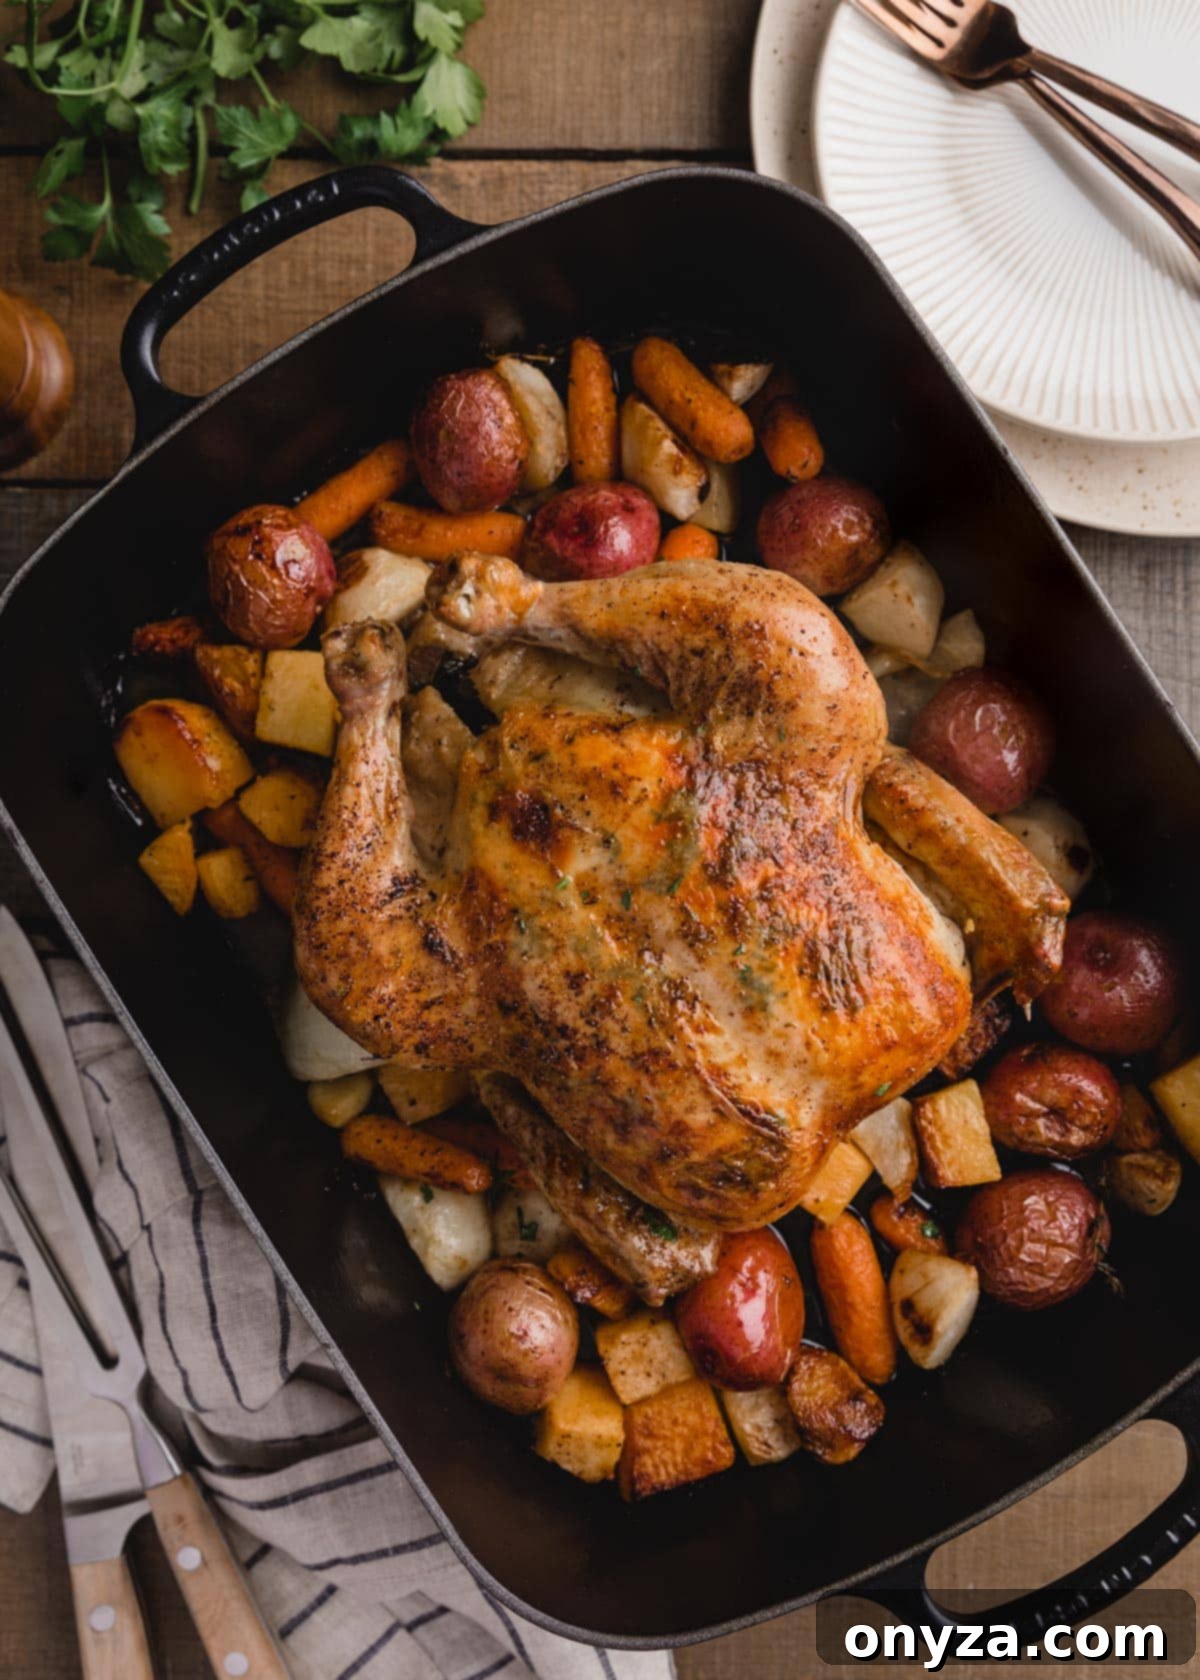
Unlock the Secrets to the Perfect Roasted Chicken with Root Vegetables
There are few culinary experiences as comforting and universally loved as a perfectly roasted chicken. The inviting aroma that fills the kitchen on a chilly evening is simply unmatched, promising a delightful meal ahead. But what truly elevates a roast chicken from good to absolutely extraordinary? For many, the answer lies in three essential qualities that define a truly memorable dish:
- **Unrivaled Juiciness and Flavor:** The meat, from the tender breast to the succulent thighs, should be evenly cooked, moist, and infused with rich flavors. No dry spots allowed!
- **Crispy, Golden Skin:** The exterior should boast a beautiful, buttery, golden hue, with a satisfying crunch that makes every bite a pleasure. This is often the most coveted part of a roast chicken.
- **Caramelized Root Vegetables:** A bed of hearty root vegetables, roasted alongside the chicken, bathing in its delectable pan drippings, transforming into a deeply flavorful, caramelized accompaniment that completes the meal in a single pan.
While my appreciation for roasted chicken runs deep today, my journey to mastering this classic dish was far from straightforward. Like many home cooks, I initially faced numerous challenges in achieving consistent results. What seemed like a simple task often ended in frustration: dry breast meat, undercooked thighs, or a lack of that coveted crispy skin. I often found myself reaching for gravy to mask the imperfections, wishing for a foolproof method.
Many home cooks resonate with these struggles. We meticulously follow recipes, only to find disheartening pink juices on the cutting board after carving what looked like a perfectly cooked bird. Doubting our thermometers, we return the chicken to the oven, only to discover later that while the legs finally reached the right temperature, the delicate breast meat had dried out and lost its appeal.
My perspective on roasting chicken fundamentally shifted when I encountered Thomas Keller’s “Ad Hoc at Home” in 2009. His insights revealed critical errors in my previous attempts: insufficient preparation of the bird, roasting at excessively low temperatures for too long, and an overzealous tendency to fuss with the chicken while it cooked. Chef Keller’s approach was a revelation – a simple, high-temperature roasting method that promised an evenly cooked bird in just over an hour. The results were everything I had been yearning for: wonderfully juicy, tender meat complemented by a gloriously crisp skin that needed no additional gravy.
Inspired by Keller’s foundational techniques, I’ve spent years refining this method to create a roasted chicken dinner that has become a beloved staple in my own household. This guide incorporates his brilliant principles while adding personal touches to ensure maximum flavor and ease. Here’s how you can achieve your best roast chicken yet.
Essential Ingredients and Equipment for Your Perfect Roast
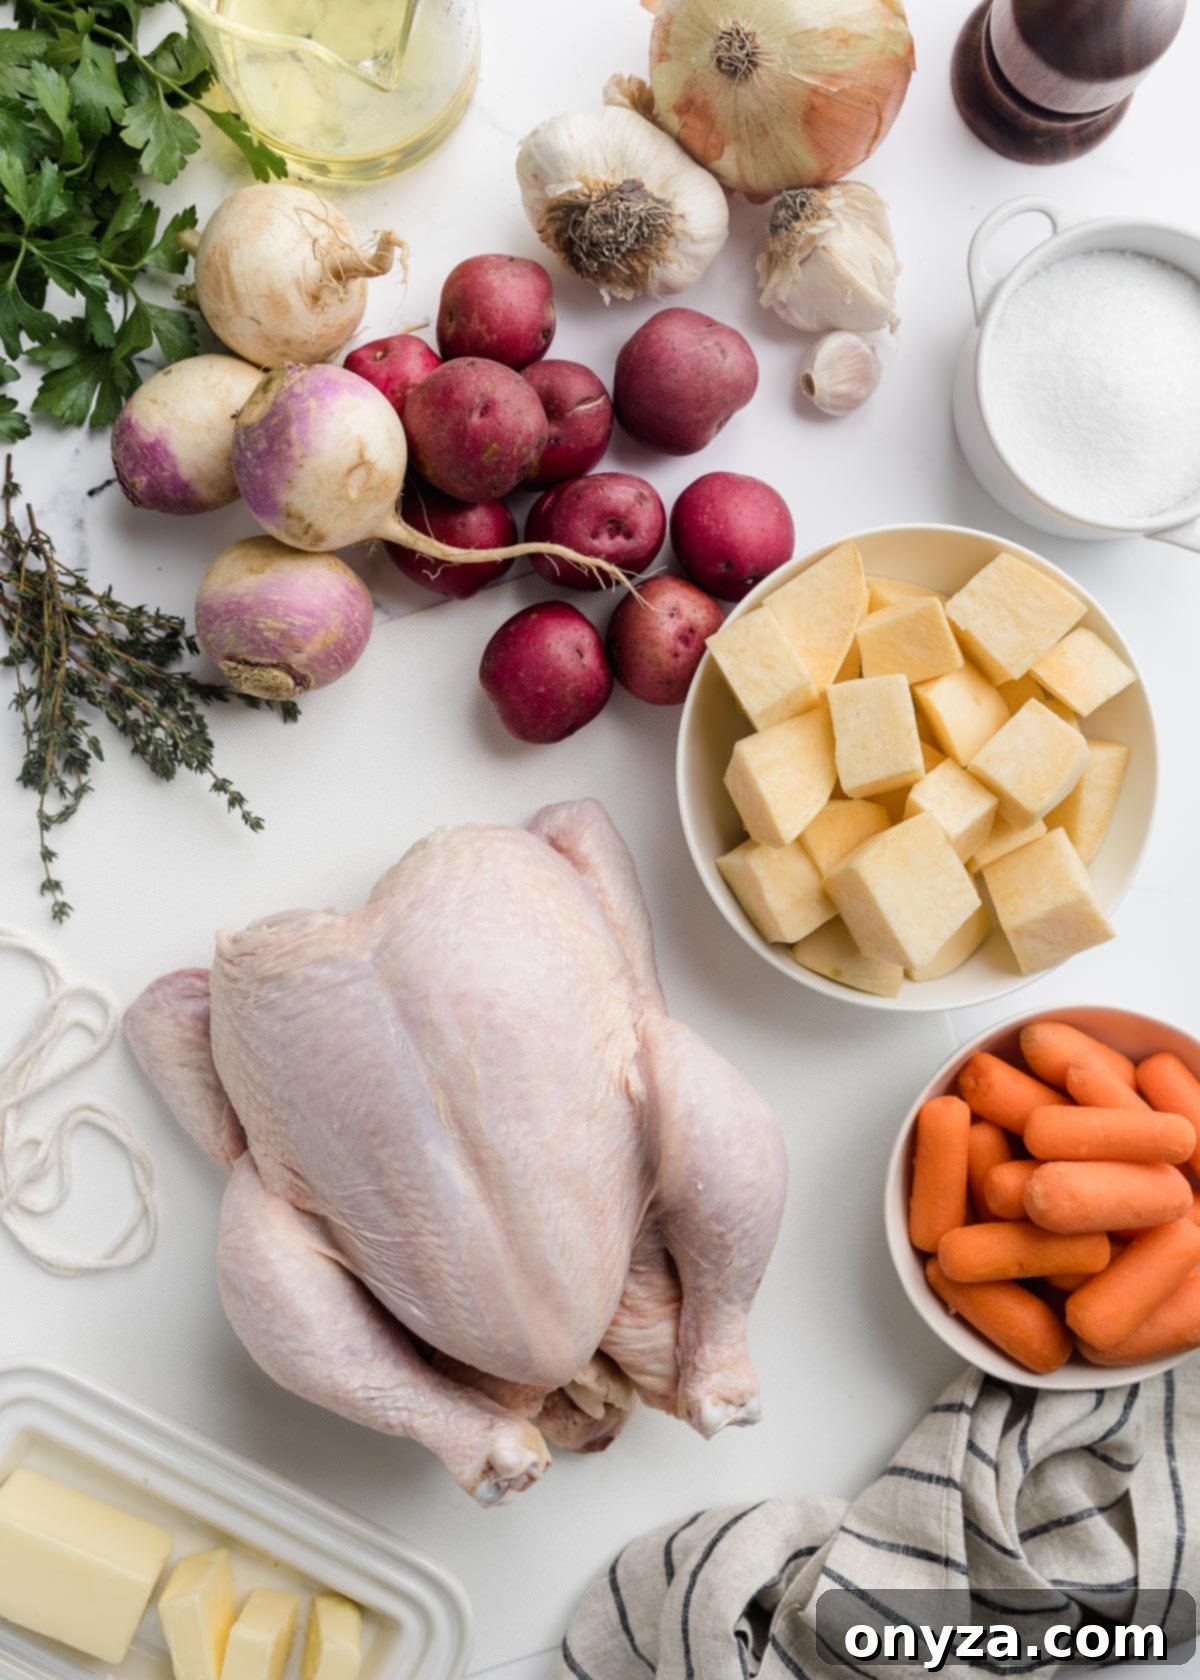
To embark on your journey to the ultimate roasted chicken, selecting quality ingredients and having the right tools are paramount. Here’s a detailed look at what you’ll need:
- Whole Chicken: The foundation of our meal. Opt for a high-quality bird whenever possible. I frequently source mine from local farms for superior taste and texture. If purchasing from a grocery store, look for organic, air-chilled chickens, which tend to have better flavor and a less watery texture. For this high-heat method, a 4 to 4½-pound bird is ideal, as it cooks more evenly and efficiently.
- Garlic Cloves: Peel and leave them whole. Half will roast with the vegetables, infusing them with a mellow, sweet garlic flavor. The remaining cloves will be placed inside the chicken cavity, imparting a subtle yet delightful garlic aroma to the meat as it roasts.
- Unsalted Butter: Divided for dual purposes. Half of the softened butter will be combined with fresh herbs to create a compound butter, which will be meticulously rubbed beneath the chicken’s skin. The other half will be dotted over the chicken’s exterior, contributing to a rich, golden-brown skin and keeping the breast meat moist. Ensure your butter is softened to room temperature for effortless mixing and spreading.
- Fresh Herbs: The aromatic backbone of this dish. My preferred blend for the compound butter includes finely chopped thyme and flat-leaf parsley. However, feel free to experiment with your favorite aromatic herbs, such as rosemary, sage, or marjoram. For an extra layer of flavor, tuck whole thyme sprigs into the chicken cavity and scatter some among the root vegetables.
- Mixed Root Vegetables: This is where the “one-pan meal” truly shines. I typically use small red-skinned potatoes (left unpeeled and whole if small, or wedged if larger), quartered yellow onion, baby carrots, and peeled, wedged turnips and rutabagas. These vegetables absorb the chicken’s delicious pan drippings, caramelizing beautifully. You can easily substitute or add other root vegetables like parsnips, rainbow carrots, sweet potatoes, or yams based on availability and preference.
- Vegetable or Canola Oil: Essential for achieving that coveted crispy skin and enhancing the caramelization of the vegetables. It’s used to toss the root vegetables and rubbed onto the chicken’s skin before roasting.
- Kosher Salt and Freshly-Ground Black Pepper: The fundamental seasonings. I use Diamond Crystal Kosher Salt for its flaky texture and balanced salinity, but fine sea salt is a great alternative. Don’t be shy with the seasoning; a generous application is key to a flavorful roast.
Essential Equipment:
- Large Roasting Pan (no lid): A robust pan is crucial. I highly recommend a cast iron roasting pan (as pictured) for its superior heat distribution, which promotes even cooking and excellent caramelization of the vegetables. A 12-inch cast iron skillet can also work wonderfully for a mid-sized bird, providing ample space for the vegetables.
- Small Piece of Kitchen Twine: Used for loosely tying the chicken’s legs together, ensuring a more compact shape for even cooking and a tidy presentation.
- Instant-Read Thermometer: Your most reliable tool for accurately gauging doneness, ensuring the chicken is perfectly cooked and safe to eat without being overdone.
Step 1: Preparing Your Chicken for Roasting
Proper preparation is the first critical step towards a successful roast chicken. It ensures even cooking, maximum flavor, and a beautiful final presentation.
Begin by checking the chicken’s cavity for a packet of giblets. Not all chickens include these, but if yours does, remember to remove the packet before roasting. These can be used to make gravy or stock, or sautéed for a quick, savory bite. For more ideas on what to do with giblets, resources like The Spruce Eats offer helpful guidance.
Next, meticulously inspect the chicken’s exterior for any stray pinfeathers. These are often more prevalent in chickens from local farms. A simple pair of kitchen tweezers can easily pluck them out, ensuring a clean, smooth skin surface.
For those who prefer easier carving later, consider removing the wishbone. While optional, this step significantly simplifies the process of carving the breast meat, resulting in neater slices. To do this, simply run a sharp knife along the meat surrounding the bone, then gently twist and pull it out with your fingers.
One of Thomas Keller’s most valuable tips, which I wholeheartedly endorse, is to allow the chicken to sit at room temperature for 1½ to 2 hours before roasting. This crucial step helps the chicken cook more evenly, preventing the exterior from drying out while the interior catches up. It’s a simple act that makes a significant difference.
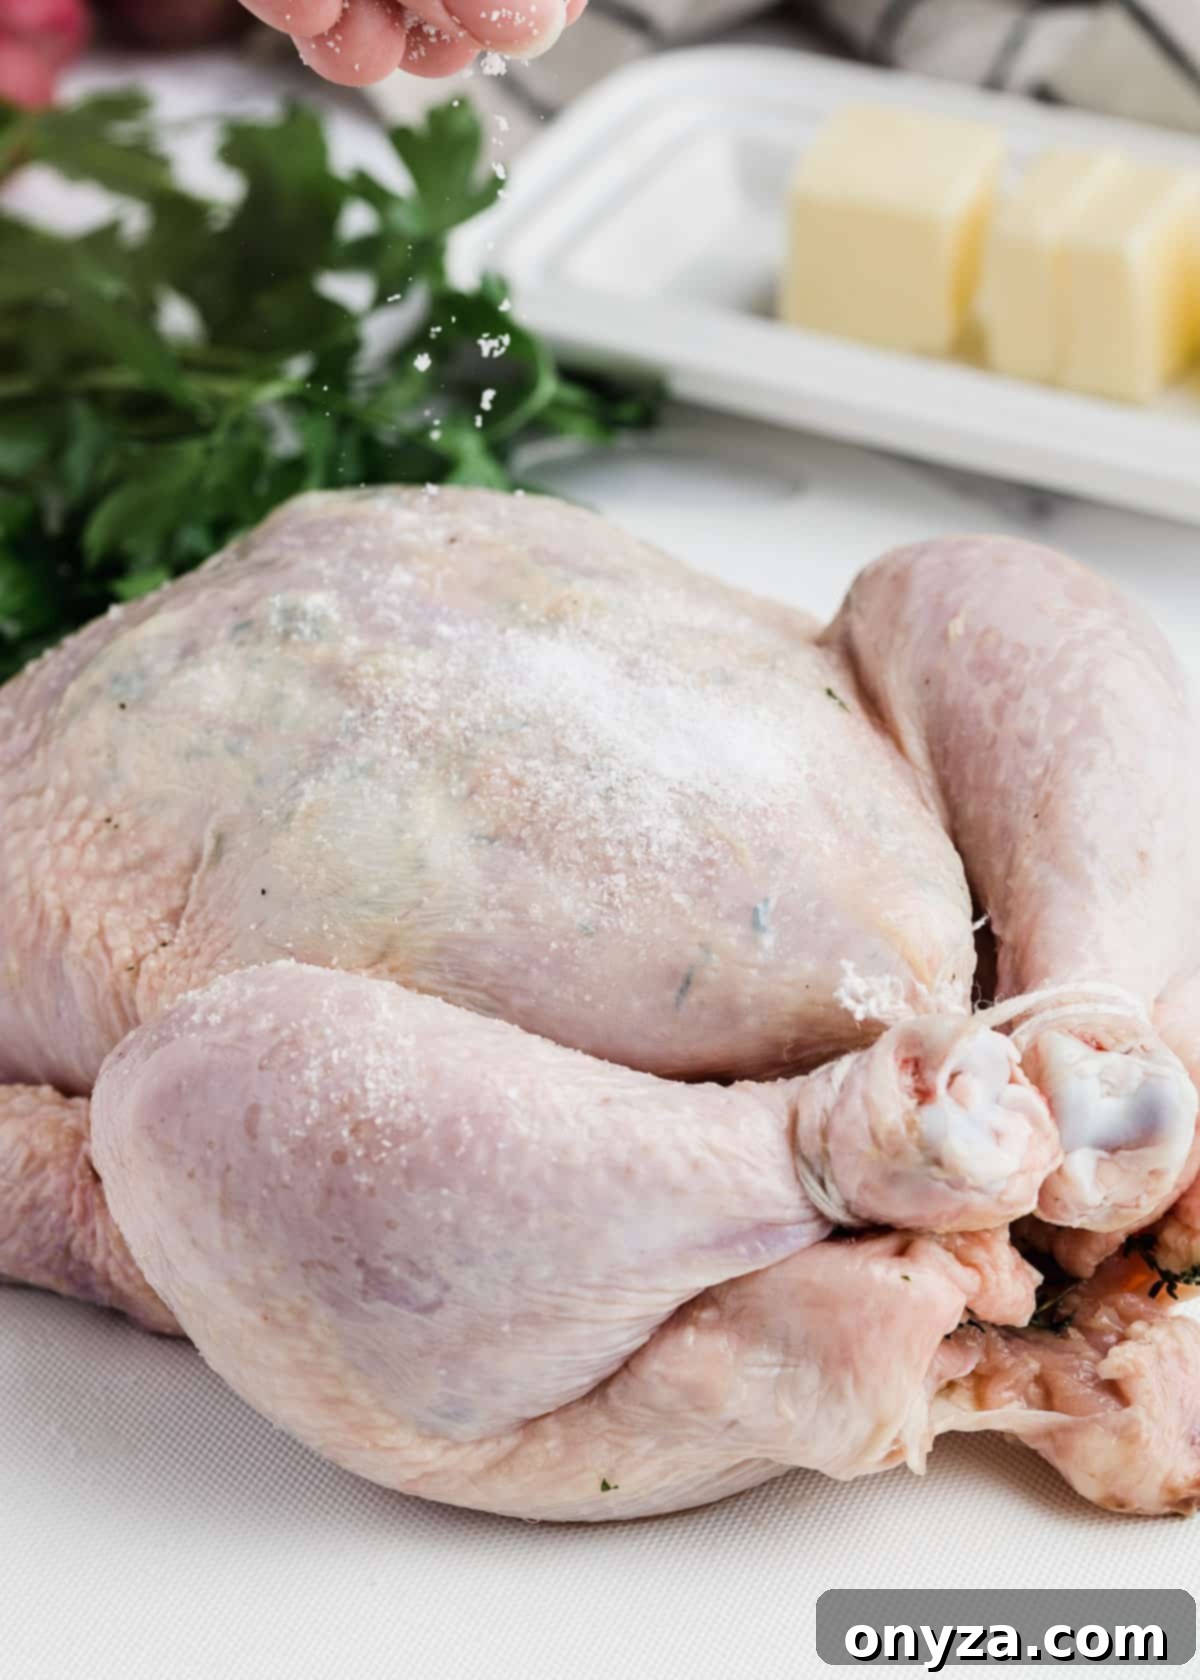
Step 2: Expertly Seasoning Your Chicken
Thoughtful seasoning is key to a truly flavorful roast chicken. This multi-layered approach ensures every part of the bird is seasoned to perfection.
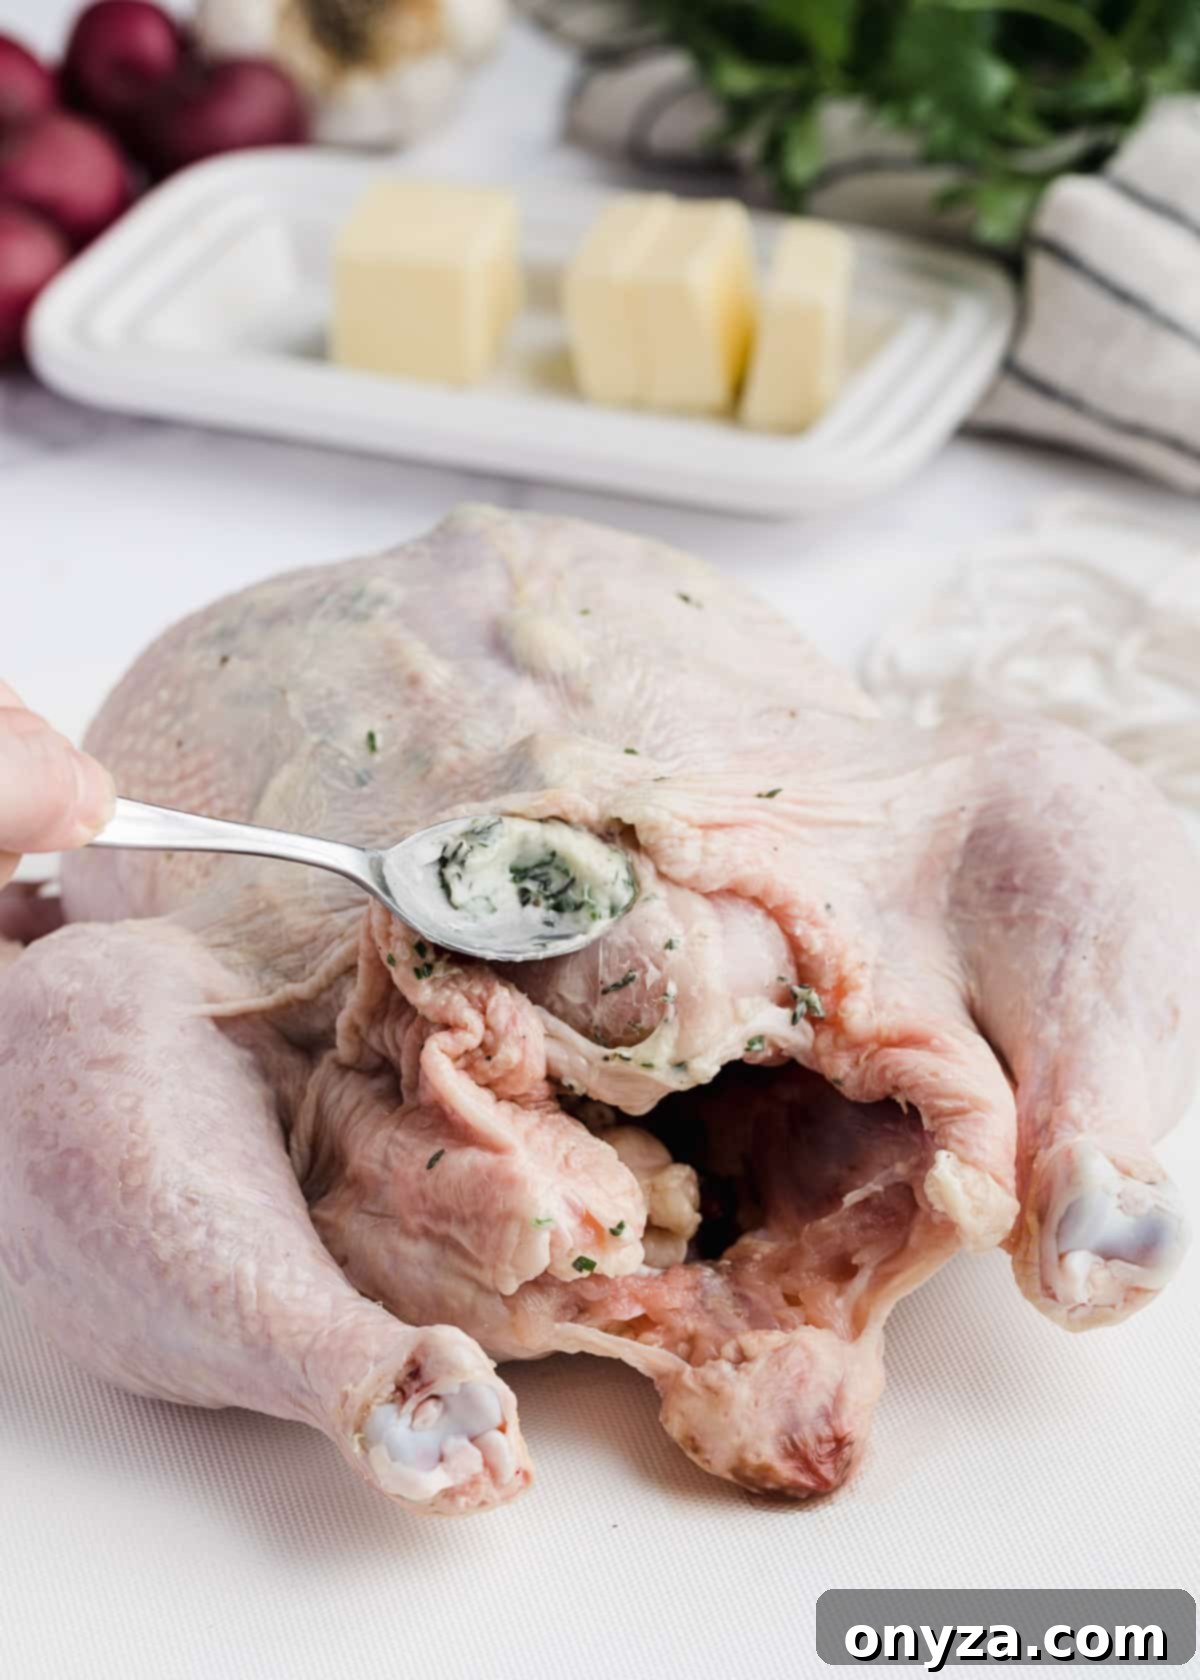
Season Between the Skin and Breast Meat: In a small bowl, combine half of your softened butter with the chopped fresh herbs. This creates a fragrant compound butter. Carefully slide your fingers beneath the skin of the chicken, separating it from the breast meat without tearing. Gently rub this herb compound butter directly onto the breast meat. This technique, a slight departure from the original Ad Hoc recipe, injects moisture and incredible flavor directly into the breast, ensuring it remains juicy throughout the high-heat roasting process. While it might result in slightly less crispy skin directly over the breast, the enhanced flavor and moisture are well worth it, especially for those who love succulent meat.
Season From the Inside: The cavity is another excellent conduit for flavor. Rub the interior with 4 whole garlic cloves and a few sprigs of fresh thyme, pressing them against the cavity walls. This infuses the chicken with aromatic notes from within as it roasts. For an additional bright, citrusy twist, you can also add a couple of lemon, lime, or orange wedges to the cavity.
Instead of fully trussing the chicken, which can sometimes hinder even cooking, I opt for a simpler method after seasoning the cavity: tuck the wing tips under the body of the chicken and loosely tie the legs together with kitchen twine. This keeps the bird compact without restricting heat circulation.
Season On the Outside: For that irresistible bronzed and crispy skin, take a cue from Keller and generously rub the entire exterior of the chicken with vegetable or canola oil. This helps the skin crisp up beautifully and develop a rich, golden color. Follow this with a liberal seasoning of kosher salt and freshly cracked black pepper. Do not be shy here—generous seasoning on the exterior is crucial for a flavorful crust.
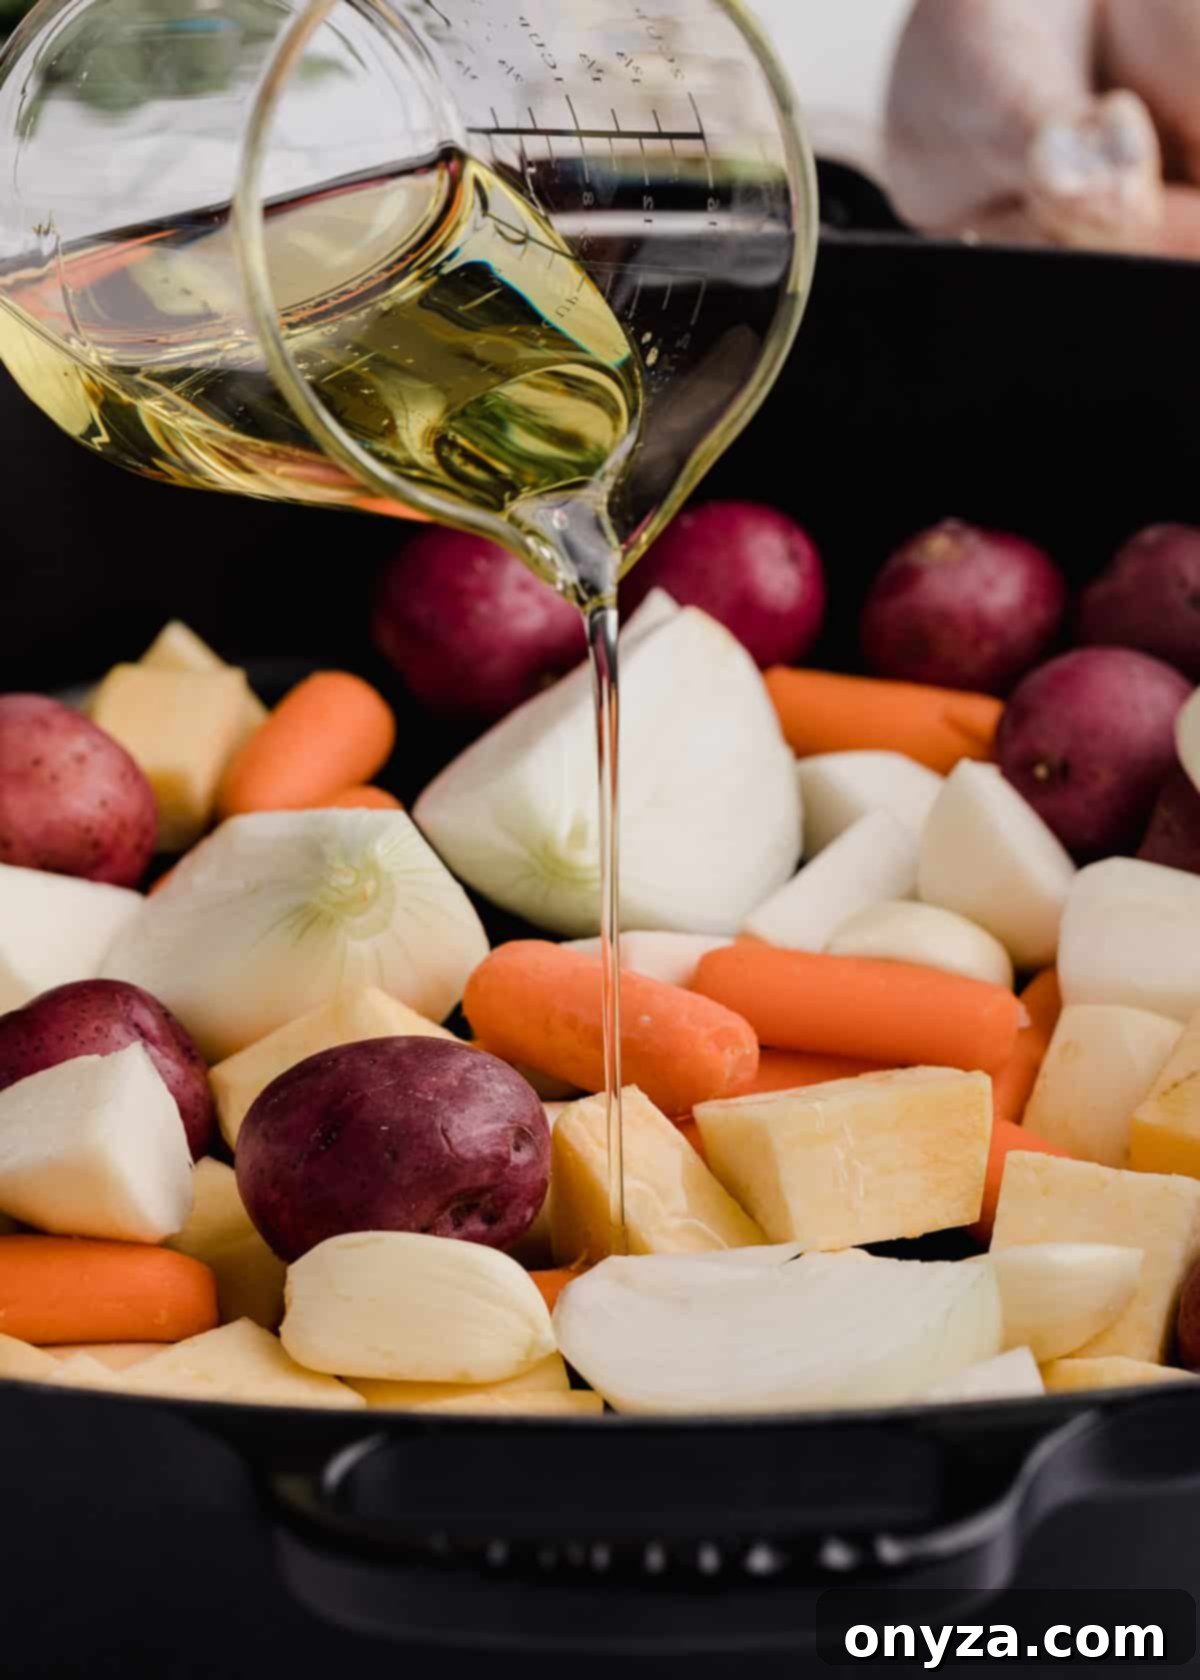
Step 3: Preparing the Pan and Arranging for Roasting
The beauty of this recipe lies in its one-pan convenience, made possible by artfully arranging the chicken and vegetables. This step ensures that every component of your meal benefits from the rich flavors developing in the roasting pan.
Begin by preparing your chosen root vegetables: peeling and trimming where necessary, then cutting them into appropriate sizes (small potatoes whole, larger ones wedged; onions quartered; rutabagas and turnips into ¾-inch wedges; baby carrots whole). Toss these prepped vegetables directly in your large roasting pan with vegetable or canola oil, fresh thyme sprigs, and the remaining whole, peeled garlic cloves. Season everything generously with salt and pepper, ensuring an even coating. Spread the seasoned vegetables across the bottom of the pan, forming a flavorful bed.
Once the vegetables are arranged, carefully place the seasoned chicken on top, nestling it comfortably amidst the vegetables. This allows the chicken to cook directly over the vegetables, letting its rendered fat and flavorful juices drip down, enriching the vegetables as they caramelize. This interaction is what truly makes this a cohesive and delicious one-pan meal.
Before placing the pan into the oven, take one final step: distribute the remaining unsalted butter in small pats over the chicken breast. This additional butter acts as a basting agent, slowly melting and coating the chicken skin, further enhancing its golden color and ensuring the breast meat remains incredibly moist without the need for constant attention during cooking.
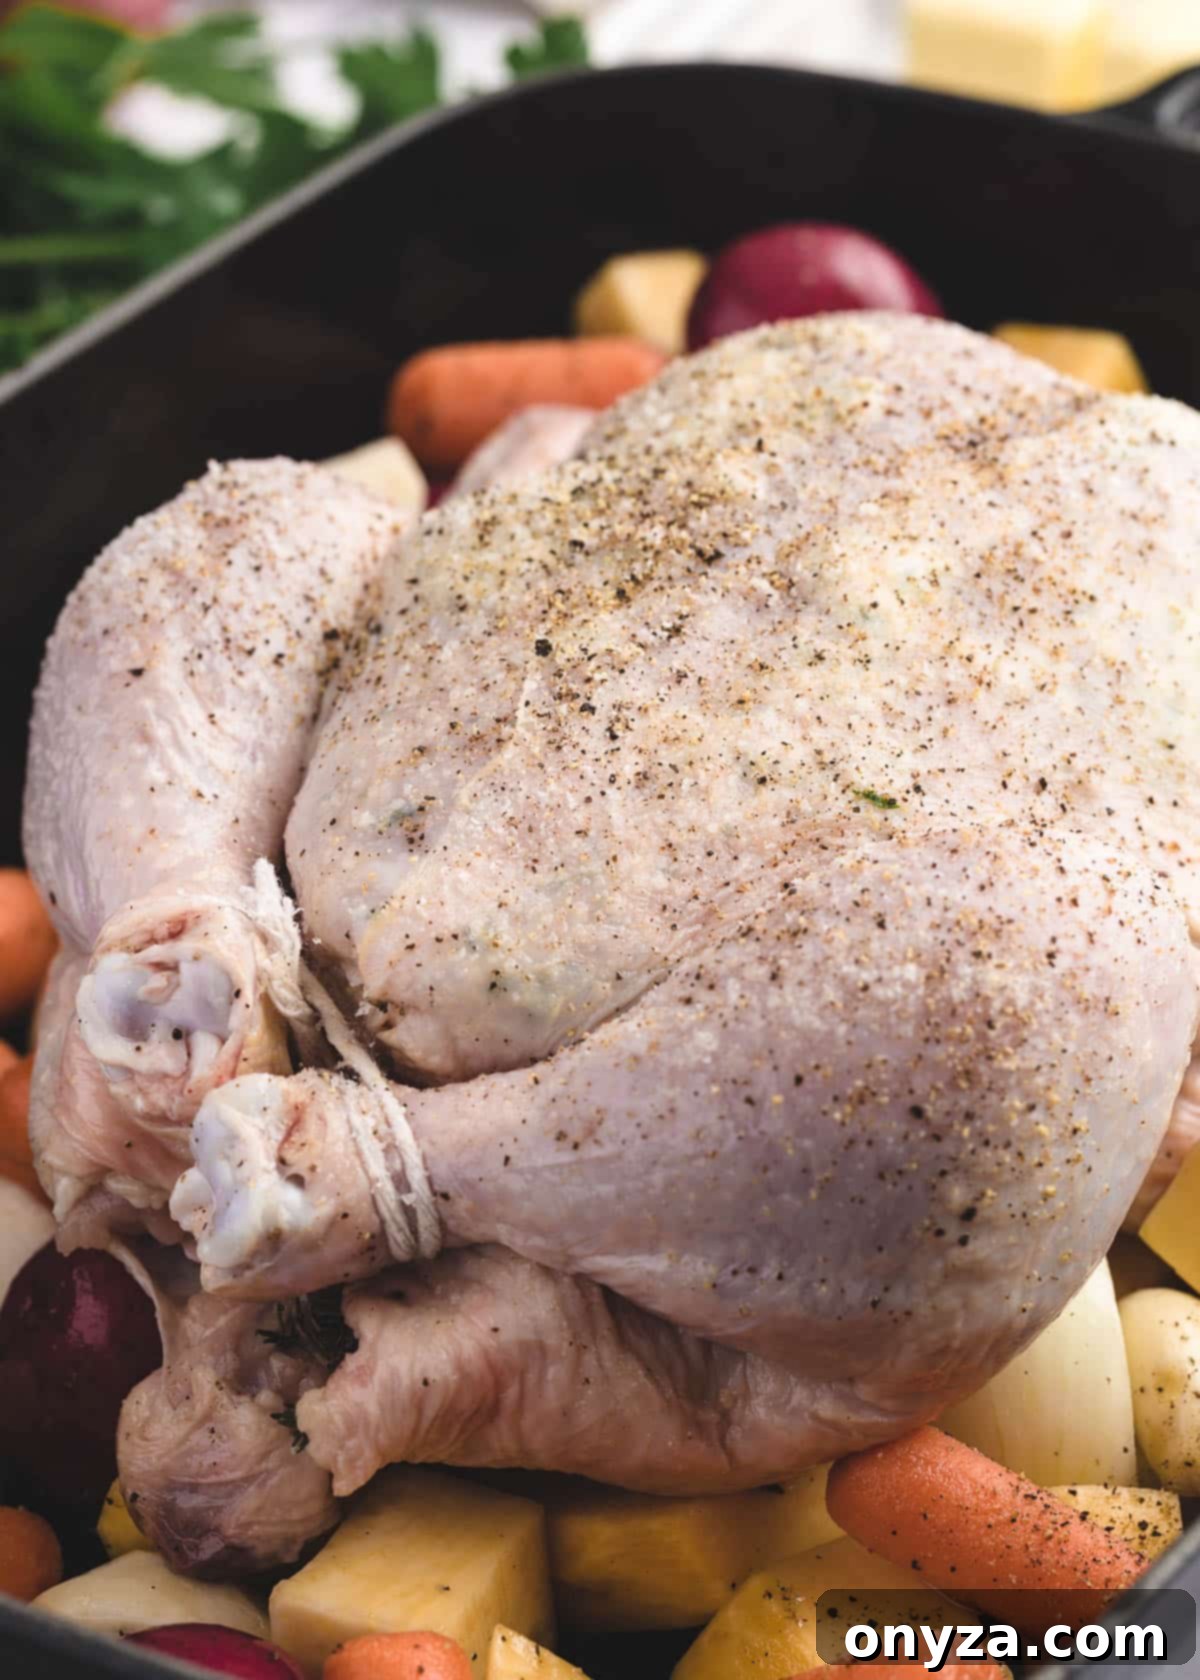
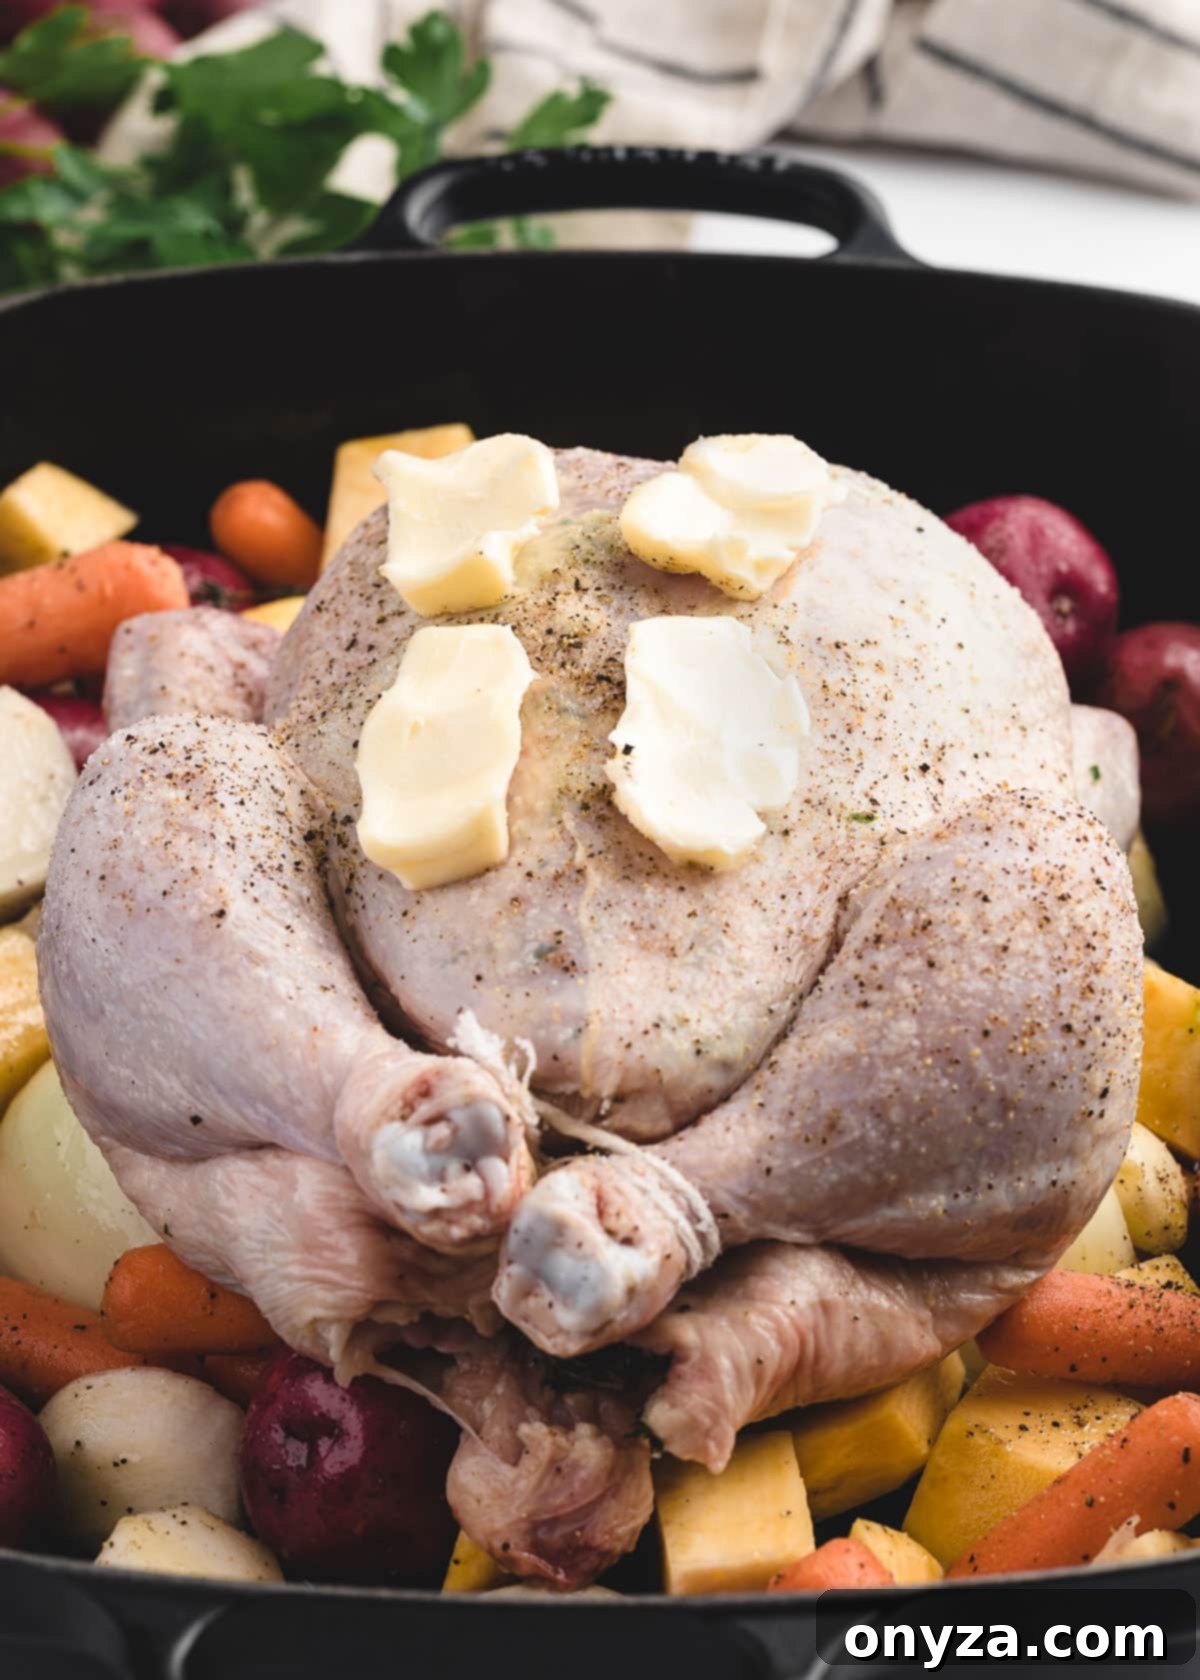
Step 4: The Two-Stage Roasting Process for Golden Perfection
Achieving a perfectly roasted chicken involves a clever two-stage cooking process designed to maximize flavor, juiciness, and crispy skin.
First, preheat your oven to a high temperature of 475°F (245°C). Once hot, place your roasting pan, with the chicken nestled on its bed of vegetables, into the preheated oven. Roast for an initial 25 minutes. This intense burst of heat is similar to searing meat on a stovetop. It rapidly renders the fat in the chicken’s skin, locks in moisture, and kickstarts the development of that beautiful golden-brown color and irresistible crispiness. This initial high heat is crucial for setting the skin and ensuring a delicious crust.
After the initial 25 minutes, lower the oven temperature to 400°F (200°C). Continue roasting for an additional 45 to 50 minutes, or until the chicken is fully cooked through. This lower temperature allows the chicken to finish cooking gently and evenly without drying out, ensuring the internal temperature reaches safe levels while the flavors meld beautifully.
Once the chicken is fully cooked, carefully remove the pan from the oven. Transfer the chicken to a carving board and tent it loosely with foil. Allow it to rest for about 15 minutes. This resting period is absolutely critical for a juicy bird. As tempting as it is to carve immediately, resisting the urge allows the internal juices, which have migrated to the center of the bird during cooking, to redistribute throughout the meat, resulting in a more tender and succulent final product.
By the time the chicken has finished roasting, your root vegetables will have caramelized beautifully, especially if you’ve used a cast iron pan. Sometimes, the vegetables directly beneath the chicken might be slightly less done than those around the edges. If needed, you can return them to the oven to finish caramelizing while the chicken rests, ensuring every part of your one-pan meal is perfect.
Should You Cover the Chicken When Roasting?
By definition, roasting is a dry-heat cooking method. Therefore, the chicken should generally be cooked uncovered to achieve that desirable golden, crispy skin. Covering the chicken from the start traps steam, which will lead to soggy skin rather than crispness. If, however, you notice the chicken skin is browning too rapidly towards the end of the second cooking stage, you can loosely tent the bird with aluminum foil to prevent it from becoming overly dark.
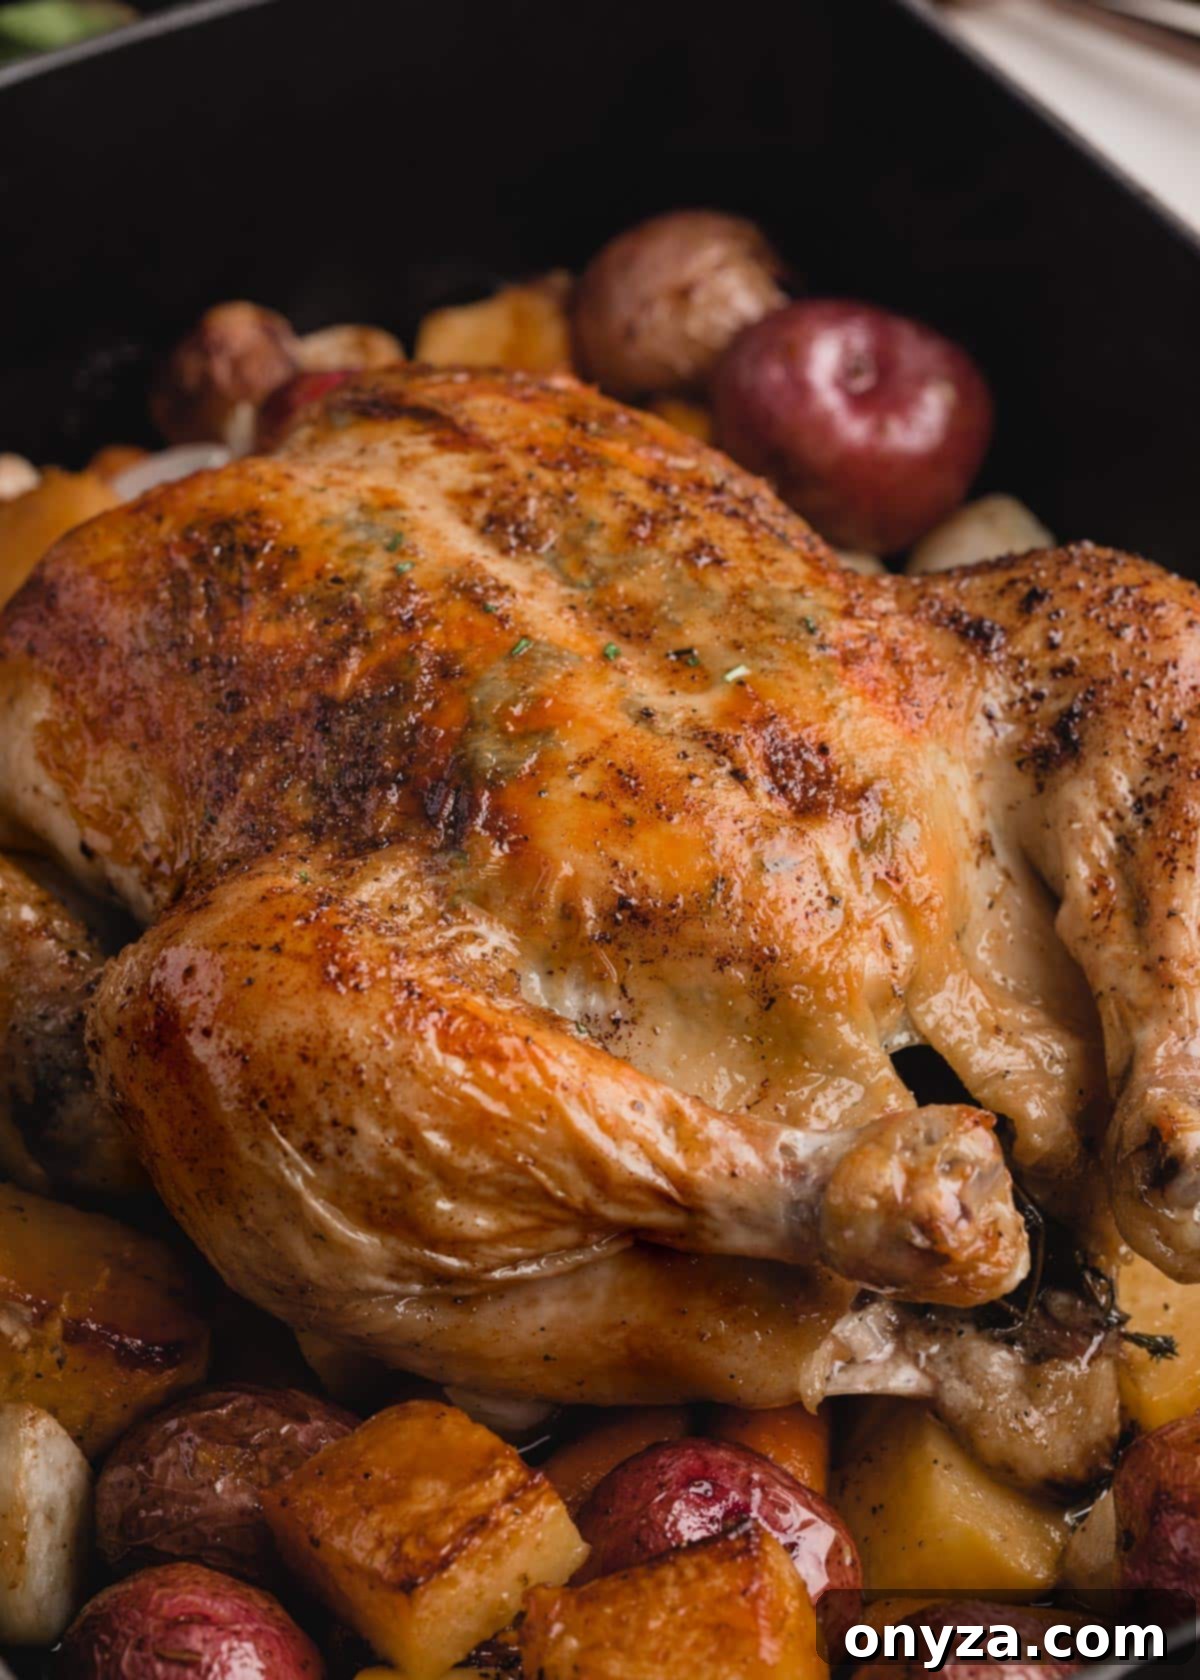
How to Determine When Your Roasted Chicken is Done
Ensuring your roasted chicken is perfectly cooked, both for safety and optimal texture, is paramount. The most accurate and reliable method to determine doneness is by using an instant-read thermometer.
Insert the thermometer probe into the thickest part of the thigh, making sure to avoid touching the bone, as bones can give a falsely high reading. The chicken is fully cooked and safe to eat when the internal temperature reads at least 165°F (74°C).
While opinions vary on the traditional “juices running clear” adage, it remains a useful secondary indicator to your thermometer. Although I look for pink juices when roasting beef, I prefer to see clear juices from chicken. Old habits, and a preference for visual cues, die hard!
If, by the end of the second cooking stage, your chicken hasn’t reached the target temperature, simply continue roasting it at 400°F (200°C). Depending on how far off the mark you are, check the internal temperature approximately every 5 minutes until it reaches 165°F (74°C). Always remember to thoroughly wash your thermometer probe between uses to maintain hygiene.
For those seeking an alternative recipe focused purely on shatteringly crisp skin without the root vegetables, Thomas Keller’s Simple Roast Chicken is a classic worth exploring.
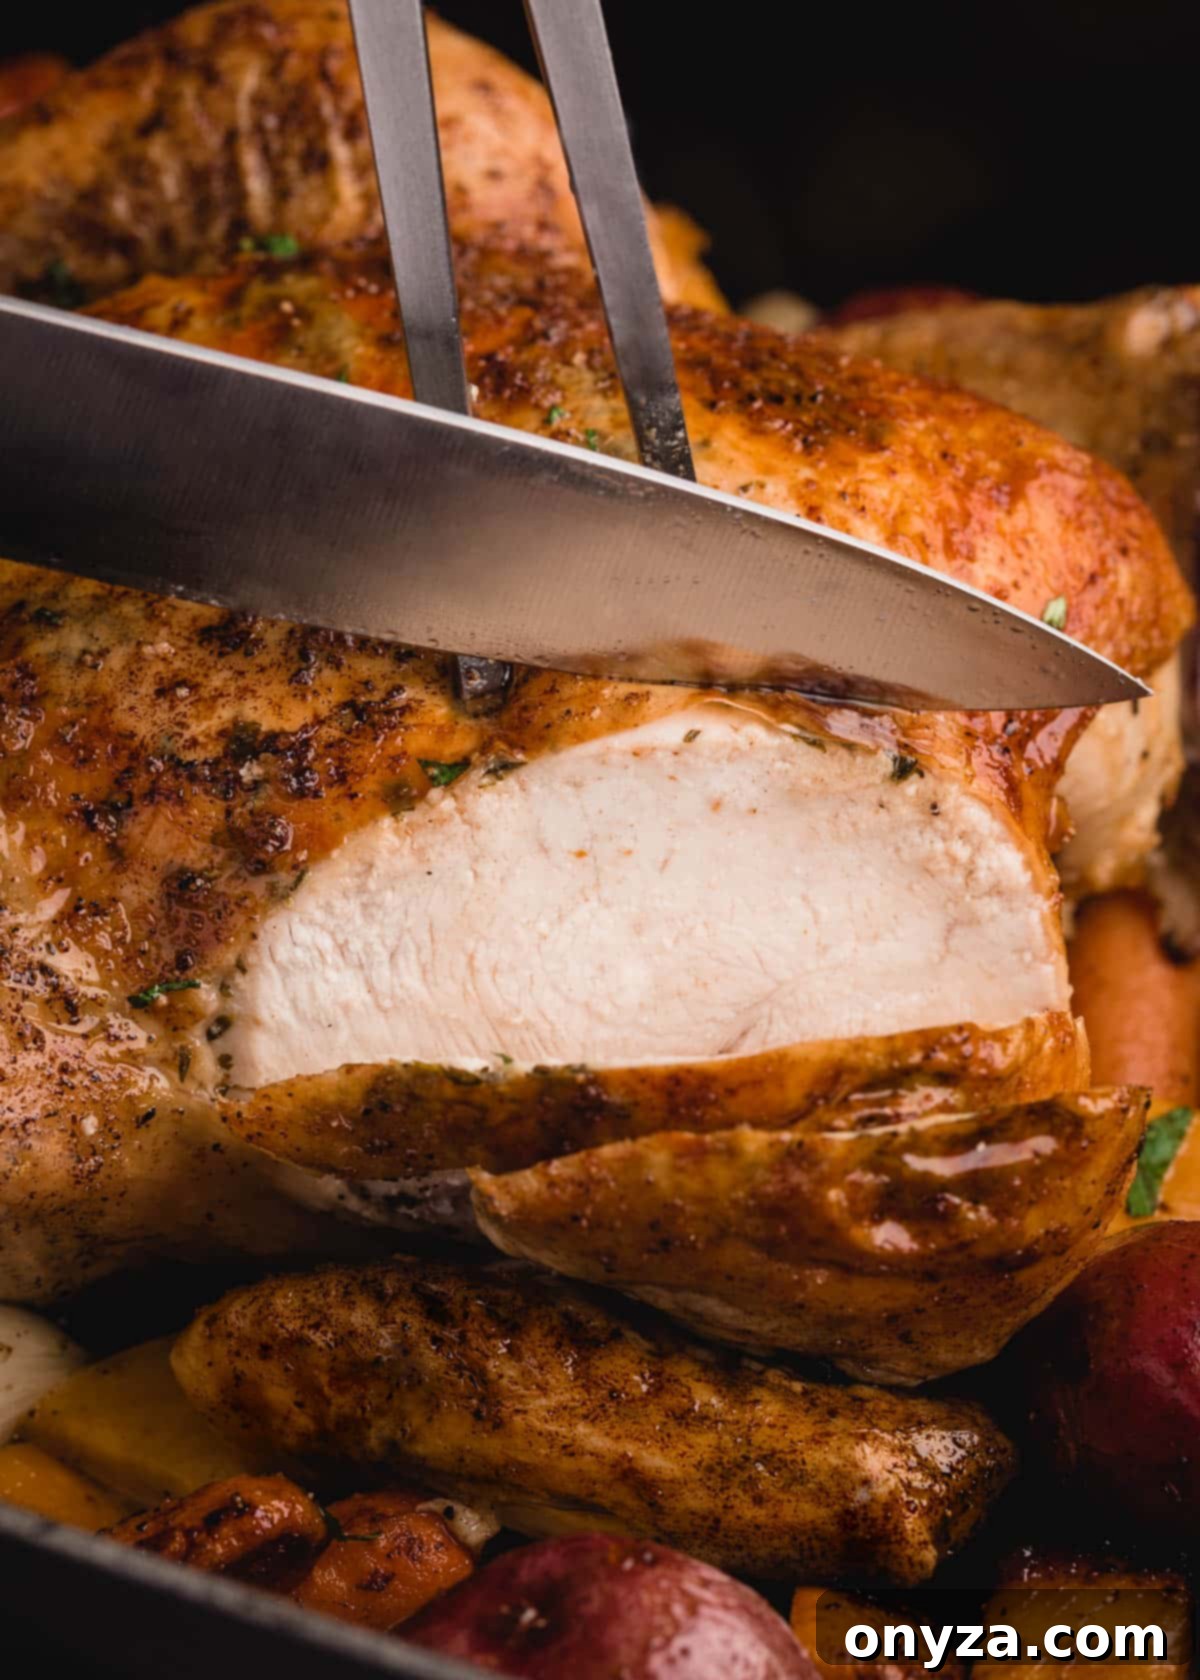
Creative Ways to Enjoy Leftover Roasted Chicken
A perfectly roasted chicken often yields delicious leftovers, which can be transformed into a variety of equally satisfying meals. Here are some of our favorite ideas for using up any remaining roast chicken:
- Cranberry Chicken Salad with Walnuts: A delightful blend of sweet and savory.
- Chicken Gnocchi Soup: Comforting and hearty, perfect for a cold day.
- Mandarin Orange Chicken Salad: A refreshing and vibrant salad with a tangy dressing.
- Harvest Cobb Salad: A seasonal twist on a classic, packed with fresh ingredients.
- Tetrazzini: Originally written for turkey, this creamy pasta bake works wonderfully with shredded chicken.
Ready to try this amazing recipe? Below you’ll find the full ingredient list and step-by-step instructions to create your own perfect roasted chicken with root vegetables.
Roasted Chicken with Root Vegetables
A simple Roasted Chicken with Root Vegetables is an essential recipe for any home cook. Juicy, tender, and only one-pan required.
Author: Amanda Biddle
Prep Time: 20 minutes
Cook Time: 1 hour 10 minutes
Resting Time: 1 hour 45 minutes (includes chicken resting and vegetables)
Total Time: 3 hours 15 minutes
Servings: 4 servings
Rating: 5 out of 5 stars (based on 2 votes)
Ingredients
- 4 to 4.5 pound whole chicken
- 8 whole garlic cloves, peeled
- 8 fresh thyme sprigs, plus 1 teaspoon chopped fresh thyme leaves
- 1 tablespoon chopped fresh flat-leaf parsley
- 1 pound rutabagas
- 1 pound turnips
- ¾ pound baby carrots
- 1 medium yellow onion
- 1 pound small red-skinned potatoes (1-1/2 inch diameter)
- 6 tablespoons vegetable or canola oil
- 4 tablespoons unsalted butter, softened and divided
- Kosher salt and freshly-ground black pepper
Instructions
- **Prepare Chicken:** Remove the neck and giblets from the chicken cavity, if included. With a pair of kitchen tweezers, remove any pinfeathers from the skin. Optional: for a neat carving presentation, cut the wishbone out of the chicken by scraping your knife along the flesh surrounding the bone and twisting it out with your fingers.
- Let the chicken stand at room temperature for 1-1/2 hours before roasting.
- **Prepare Vegetables:** Peel and trim the onion and cut it into quarters, leaving the root end intact. Peel and cut rutabagas and turnips into 3/4-inch wedges. Leave the potatoes whole if they’re 1-1/2 inches in diameter; if they’re larger, cut them into wedges. Leave the baby carrots whole.
- Toss all of the vegetables with 4 garlic cloves, 3 sprigs of thyme, and 1/4 cup oil in a large roasting pan. Season with a few pinches of salt and grinds of pepper.
- **Roast:** Preheat oven to 475°F (245°C) with the rack in the lower middle position.
- In a small bowl, combine 2 tablespoons of the softened butter with 1 teaspoon fresh thyme leaves and the parsley. Season with a pinch of salt and a few grinds of pepper.
- Using your fingertips or a spoon, gently loosen the space between the breast meat and skin. (Be careful not to tear the skin.) Evenly distribute the herb butter under the breast skin.
- Season the chicken’s cavity with a liberal sprinkling of kosher salt and pepper. Add 4 garlic cloves and 5 sprigs of thyme, and rub them against the cavity walls. Tuck the wings under the chicken and loosely tie the legs together with kitchen twine.
- Rub the remaining oil over the chicken and sprinkle generously with salt and pepper. Distribute the remaining butter over the breast in pats, “smushing” it in a bit.
- Nestle the chicken into the root vegetables and roast for 25 minutes. Decrease the oven temperature to 400°F (200°C) and continue roasting for 45-50 minutes, until the thickest part of the thigh (away from the bone) reads 165°F (74°C) when probed with an instant-read thermometer and the juices run clear. If undercooked, continue roasting until the chicken reaches temperature (thoroughly wash probe between uses).
- Place the chicken on a cutting board, loosely tent with foil, and let rest for 15 minutes to allow the juices to redistribute. Check the vegetables for doneness and return them to the oven to crisp while the chicken is resting, if needed.
- Gently toss the vegetables with the pan juices before serving. Carve the chicken and serve.
Nutrition Estimate
(Please note: Nutrition information is an estimate and may vary based on specific ingredients and preparation.)
- Calories: 897.5 kcal
- Carbohydrates: 91.58 g
- Protein: 51.43 g
- Fat: 37.04 g
- Saturated Fat: 10.49 g
- Cholesterol: 166.3 mg
- Sodium: 332.48 mg
- Potassium: 3031.88 mg
- Fiber: 13.74 g
- Sugar: 16.99 g
- Vitamin A: 12277.07 IU
- Vitamin C: 85.53 mg
- Calcium: 176.96 mg
- Iron: 6.99 mg
Nutrition information is automatically calculated and should be used as an approximation.
Please note that our recipes have been developed using the US Customary measurement system and have not been tested for high altitude/elevation cooking and baking.
This guide was originally inspired by content published on Striped Spatula in 2013 and has been updated in 2019 and 2024 to include new photos, refined techniques, and enhanced notes for the best possible roasting experience.
