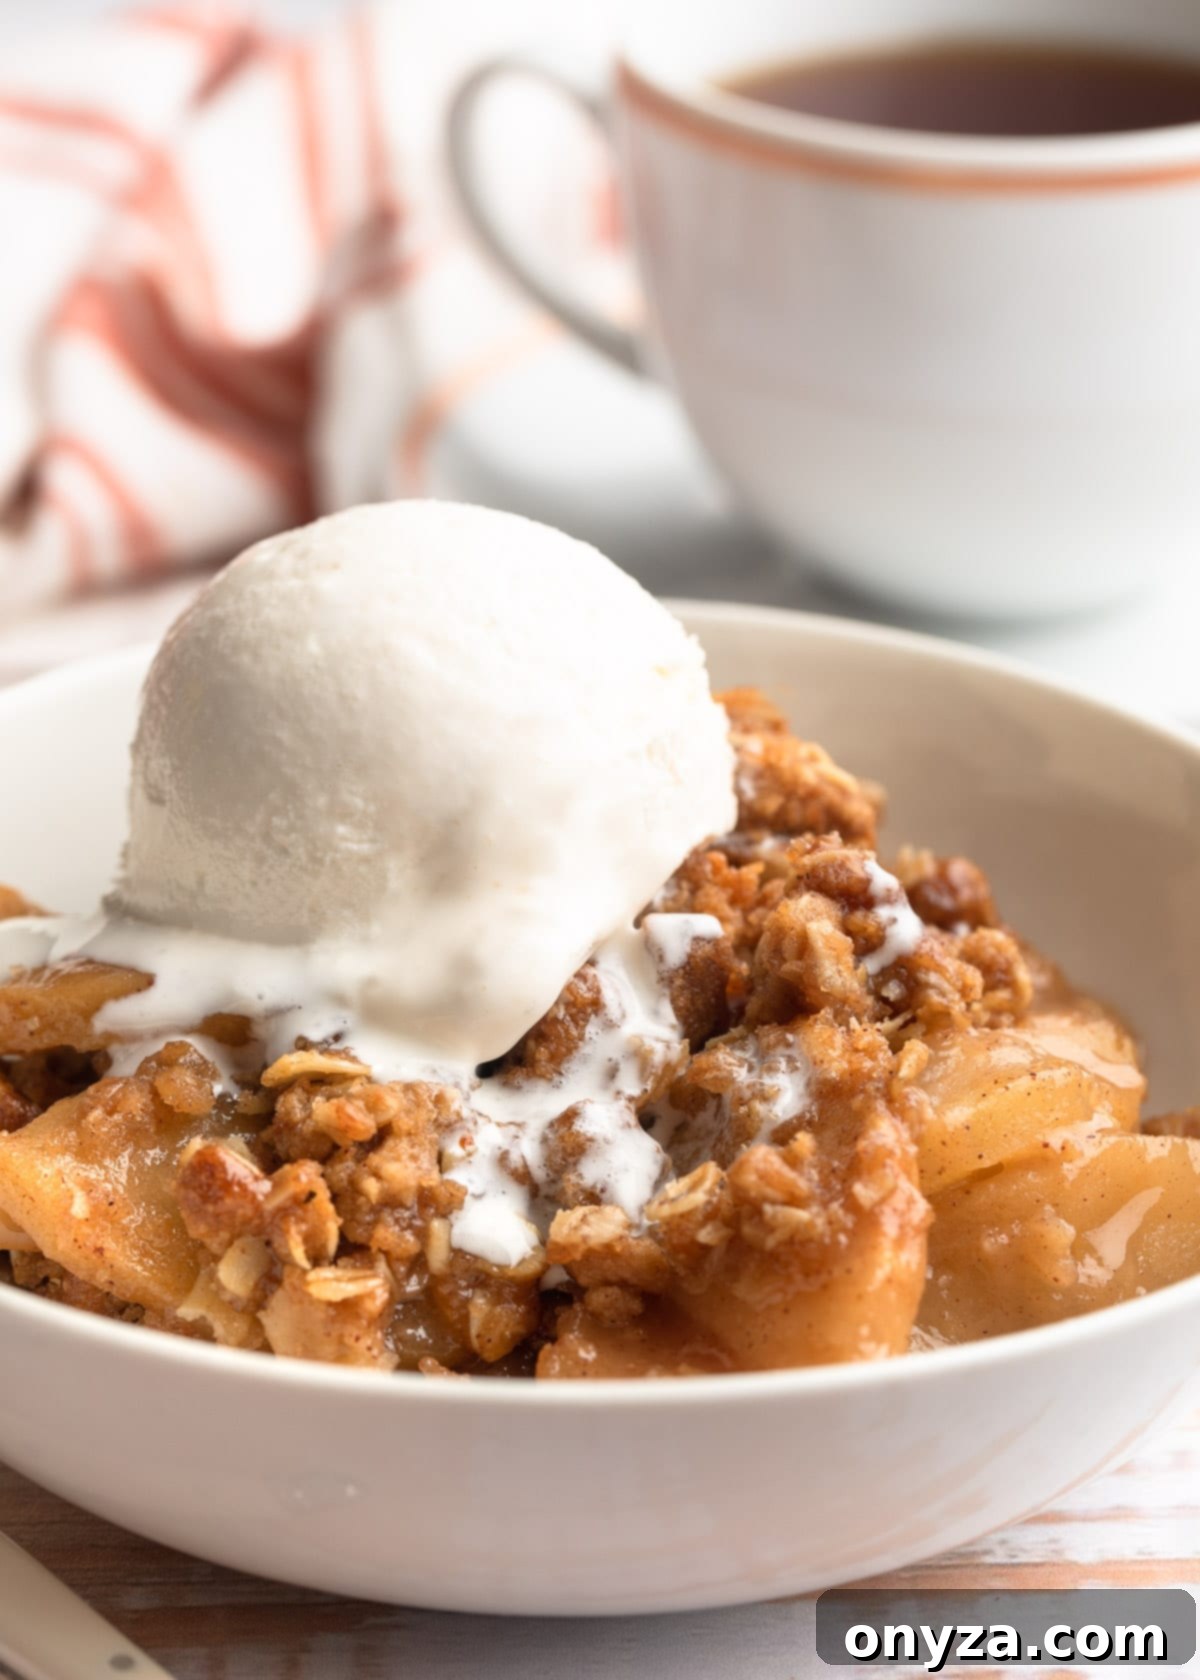
There’s nothing quite like the comforting aroma of a homemade Apple Crisp baking in the oven. This quintessential fall dessert, with its warm spices, tender apples, and irresistible crunchy oat topping, is a true celebration of autumn’s bounty. Our easy-to-follow recipe takes this classic treat to the next level with a subtle splash of bourbon, adding a depth of flavor that perfectly complements the apples and spices without being overtly “boozy.” Get ready to discover your new favorite fall tradition.
This post contains affiliate links. As an Amazon Associate, I earn a commission (at no additional cost to you) from qualifying purchases made by clicking these links. Rest assured, all recommendations and opinions expressed are genuinely my own.
What is Apple Crisp? A Timeless Autumn Dessert
Apple Crisp is a beloved American dessert that perfectly embodies rustic charm and comforting flavors. At its heart, it features a warm, spiced fruit filling, typically apples, baked beneath a sweet, crumbly topping. While often confused with an apple crumble, the defining characteristic of an apple crisp is its topping, which traditionally includes oats, providing a distinct texture that lives up to its “crisp” name.
This delightful dessert has roots dating back to World War I, a time when rationing made pie crusts less feasible. Crisps emerged as a simpler, more economical alternative, quickly gaining popularity for their ease of preparation and satisfying taste. Over time, it evolved into the comforting classic we cherish today.
While apple pies require a more intricate dough, apple crisp offers a wonderfully less fussy approach to enjoying baked fruit. It captures the essence of a warm apple pie without the commitment of mastering a perfect pastry crust. The variations are endless: some recipes opt for a very straightforward fruit base, while others, like ours, craft a self-saucing filling that truly elevates the experience, echoing the richness of a Dutch Apple Pie but without the bottom crust.
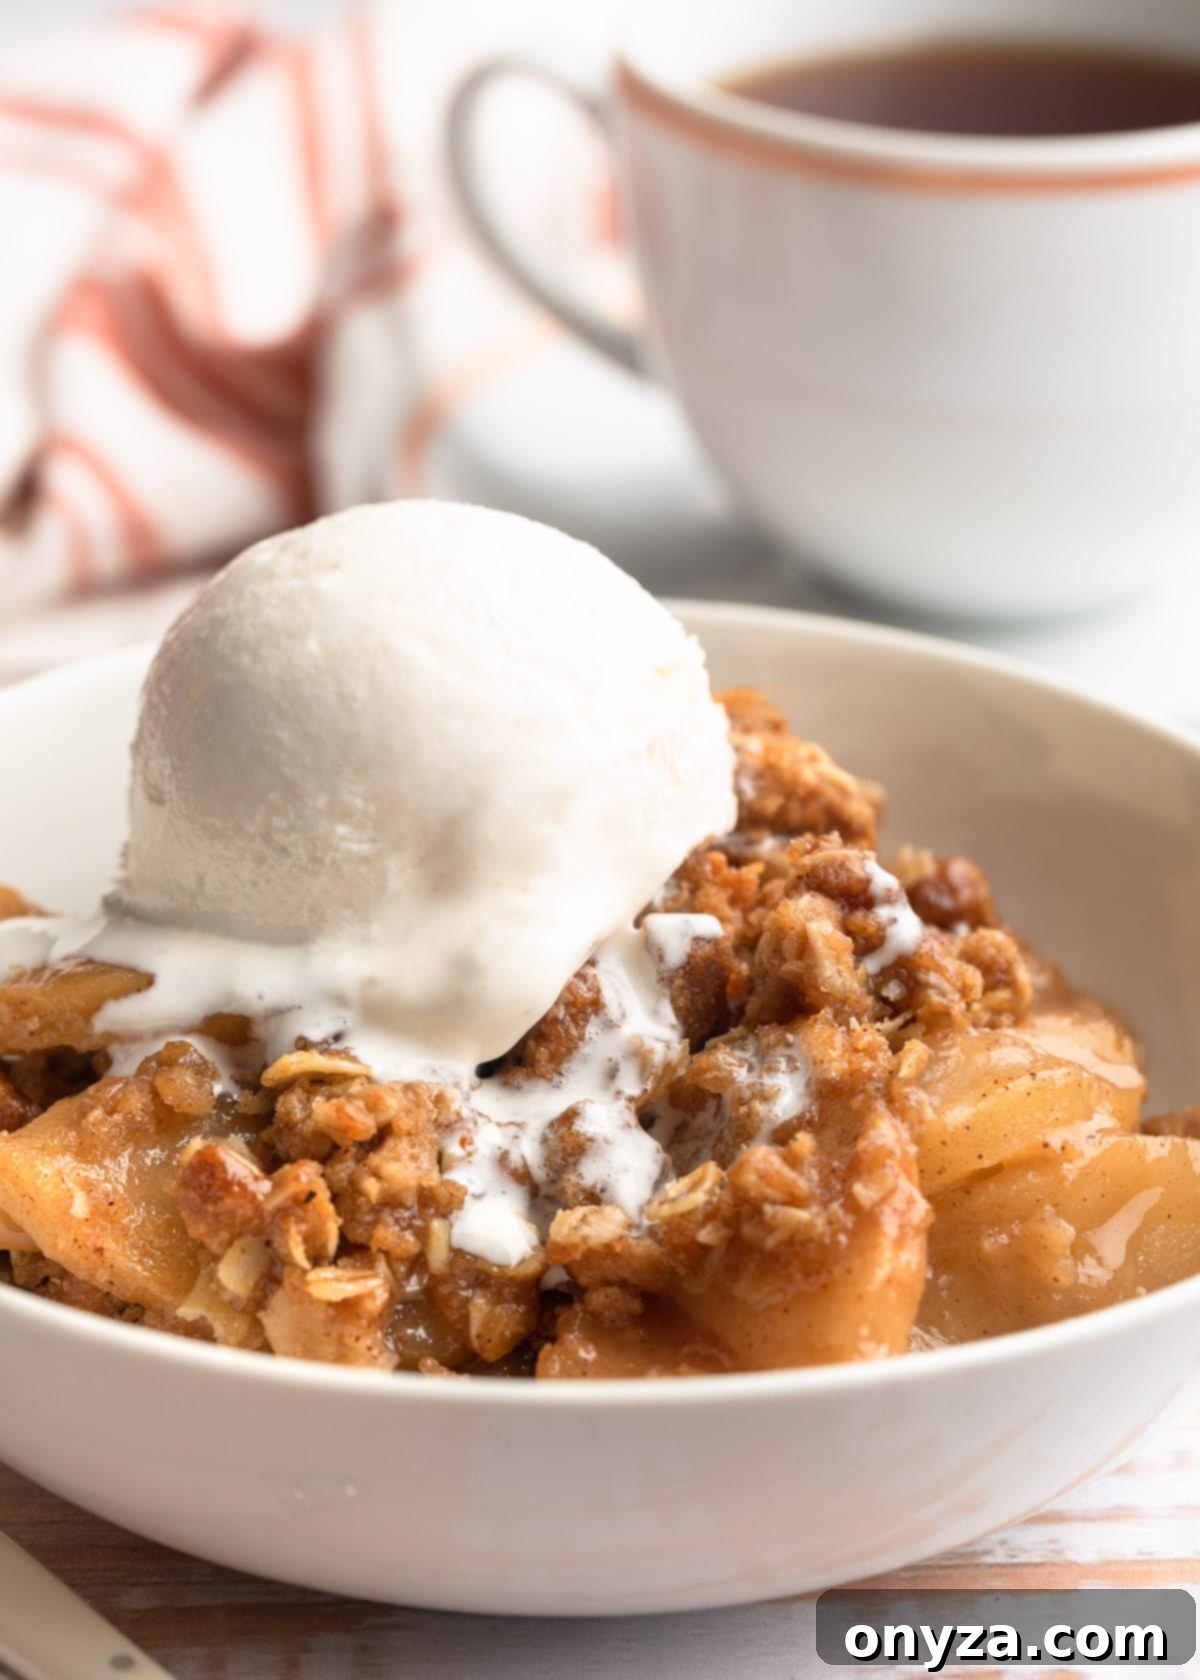
My ideal Apple Crisp features a luscious, self-saucing apple filling, beautifully infused with brown sugar, an aromatic blend of warm spices, and that unexpected yet delightful hint of bourbon. This creates a rich, complex foundation for the generous, buttery oat topping. The synergy between the gooey, spiced apples and the golden, crumbly crisp is simply irresistible, especially when paired with a melting scoop of vanilla bean ice cream.
Essential Ingredients for the Perfect Apple Crisp
Crafting an exceptional Apple Crisp begins with selecting the right ingredients. Our recipe strikes a delightful balance between sweetness and spice, creating a harmonious flavor profile that’s sure to please. Here’s a closer look at what you’ll need and why each component is vital:
- Apples: The undisputed star of the show. Choosing the right variety is crucial for texture and flavor, a topic we’ll explore in detail below.
- Sugars: We utilize both granulated sugar for clean sweetness and dark brown sugar for its rich, molasses-like notes, which add depth to both the filling and the topping. Light brown sugar can be substituted if dark isn’t available.
- Oats: Old-fashioned or rolled oats are essential for that signature rustic, chewy-crisp texture. Quick-cooking oats can be used for a finer crumb, but avoid instant oats as they can become mushy.
- All-Purpose Flour: This acts as a thickener for the apple filling, ensuring it’s beautifully saucy rather than watery. It also forms the structural base of the crisp topping. Please note that this recipe hasn’t been tested with whole wheat or gluten-free flour alternatives.
- Unsalted Butter: Softened to room temperature, butter is critical for creating a tender, crumbly topping that melts in your mouth. Using unsalted butter allows you to control the overall saltiness of the dish.
- Baking Powder: A small amount in the topping helps achieve a lighter, more delicate crumb.
- Lemon Juice: Fresh lemon juice brightens the apple filling, preventing the apples from oxidizing (browning) and adding a subtle tang that balances the sweetness.
- Warm Spices: A blend of ground cinnamon and nutmeg delivers that quintessential cozy, autumnal flavor. A pinch of kosher salt in both the filling and topping enhances all the sweet notes.
- Bourbon: Our “secret ingredient” truly sets this crisp apart. While it doesn’t make the dessert taste alcoholic, the bourbon infuses the apple filling with a warm, complex, and rounded flavor that beautifully complements the apples and spices. It adds an incredible depth you might not immediately identify but will definitely appreciate.
For baking, a sturdy 9-inch square baking dish with sides at least 2-1/4 inches deep is ideal. The deeper sides prevent the filling from bubbling over in the oven. The Staub Ceramics Square Covered Baking Dish, as featured in this post, is a fantastic choice for its even heating and beautiful presentation.
Choosing the Best Apples for Your Crisp
The success of your apple crisp heavily depends on the apples you select. The goal is to use varieties that maintain their structure during baking, providing tender chunks rather than turning into a watery applesauce-like consistency. Additionally, a good baking apple offers a balanced flavor profile, a harmonious blend of sweetness and tartness that sings when combined with spices and sugar.
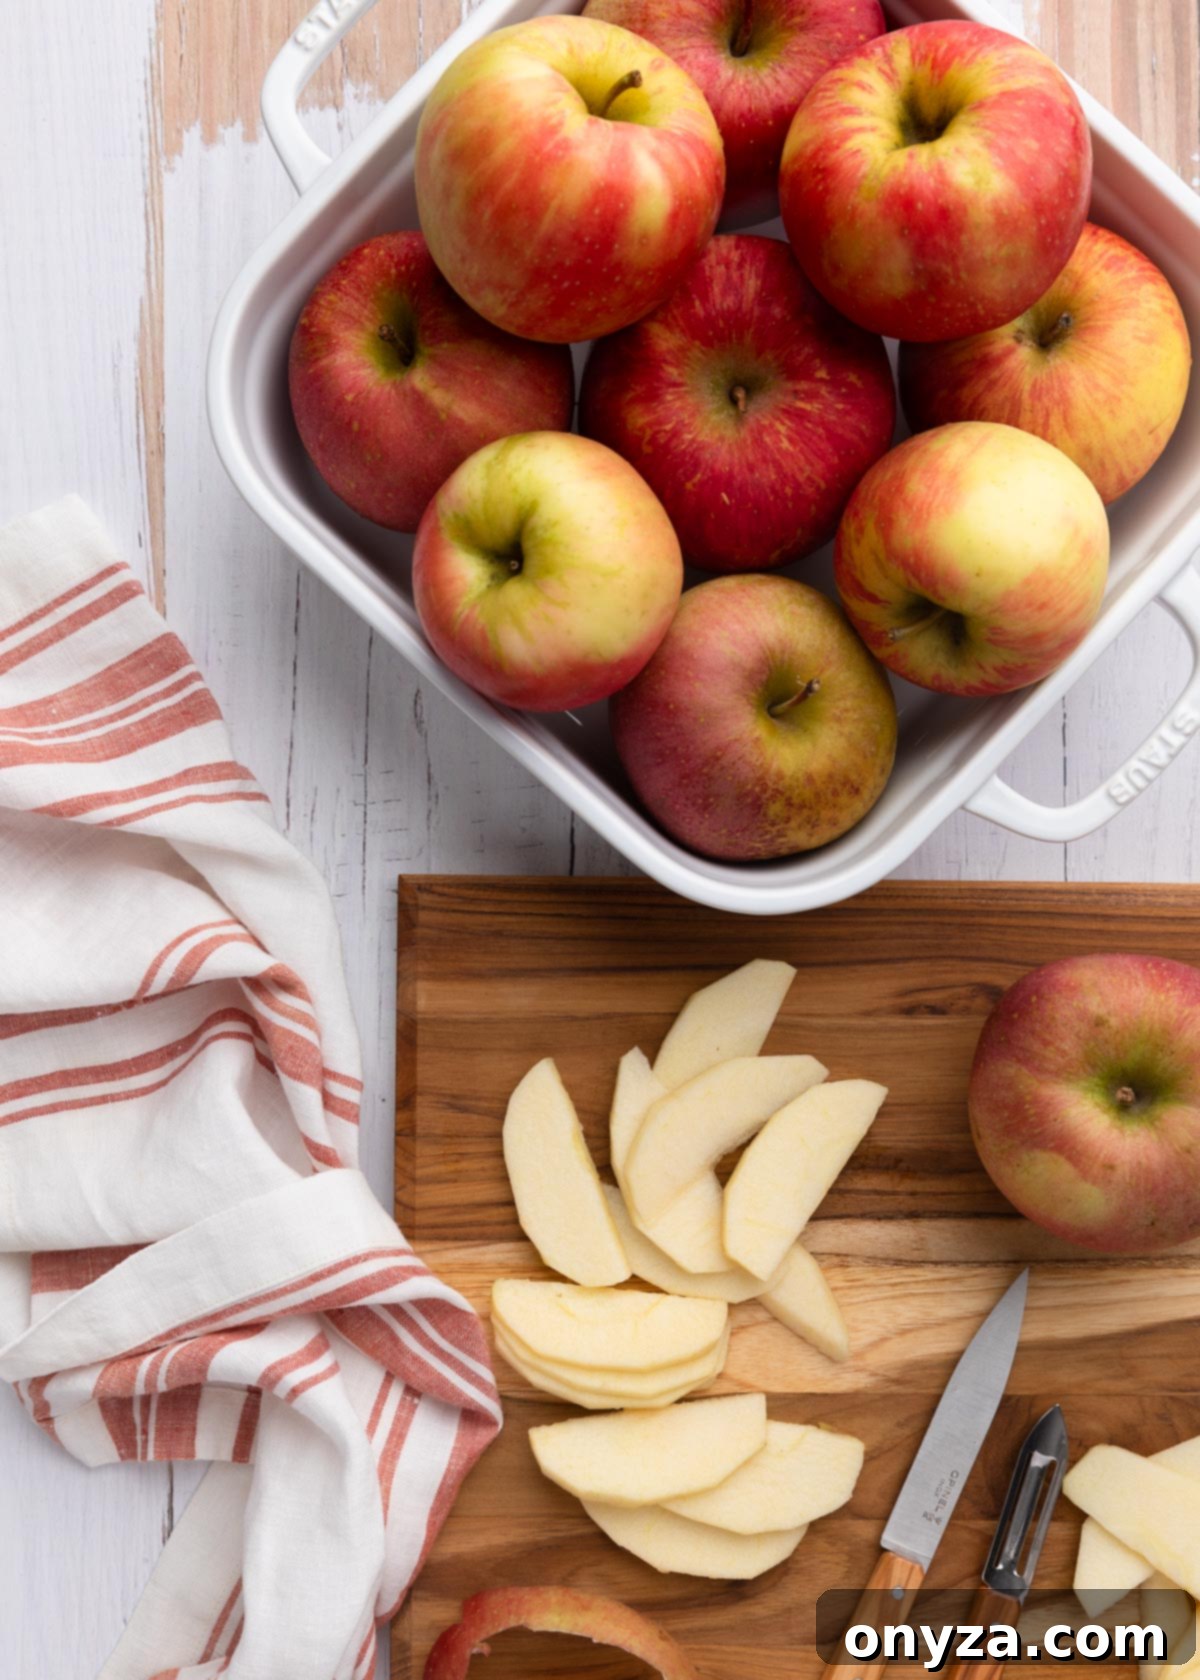
My absolute favorite, and the variety I’ve featured here, is the Honeycrisp. Renowned for its crisp texture and perfectly balanced sweet-tart flavor, Honeycrisp apples bake down to a beautiful tenderness without becoming mushy. They offer a delightful contrast to the sweet, crunchy topping. These particular Honeycrisps were sourced from Terhune Orchards in beautiful Princeton, New Jersey, showcasing the quality found directly from local growers!
Beyond Honeycrisp, several other varieties perform exceptionally well in apple crisp:
- Fuji: Sweet and very crisp, they hold their shape beautifully.
- Jonagold: A cross between Jonathan and Golden Delicious, offering a sweet-tart taste and firm texture.
- Golden Delicious: Milder in flavor and softer in texture than some, but still holds up well and contributes a lovely sweetness.
- Granny Smith: If you love a tart crisp, or prefer to mix sweet and tart apples, Granny Smith is an excellent choice. Its firm texture stands up to baking, and its tartness provides a wonderful counterpoint to a sweet topping.
- Braeburn: A crisp, sweet-tart apple that retains its shape and offers a complex flavor.
- Pink Lady (Cripps Pink): Another fantastic sweet-tart option that stays firm and adds a vibrant flavor.
Often, the best approach is to combine two or three different apple varieties to create a more complex and nuanced flavor and texture in your crisp. For instance, pairing a tart Granny Smith with a sweeter Honeycrisp or Fuji can yield a wonderfully balanced result.
Remember that you can always adjust the sugar content in the filling based on the inherent sweetness of your chosen apples and your personal preference. For a very sweet apple variety, you might reduce the total sugar in the filling (not the topping) to ¼ cup. Conversely, if you’re using very tart Granny Smith apples and enjoy a sweeter crisp, consider increasing the total sugar in the filling to ⅔ cup. Experimentation is key to finding your perfect crisp!
Curious to learn more about the diverse world of apples? Explore this comprehensive Apple Varieties guide from the Washington Apple Commission to discover the best uses for each type.
Crafting Your Delicious Apple Crisp: Step-by-Step
Making apple crisp is a straightforward and rewarding process. By following these steps, you’ll achieve a dessert that’s perfectly balanced in flavor and texture.
Creating the Perfect Oat Topping
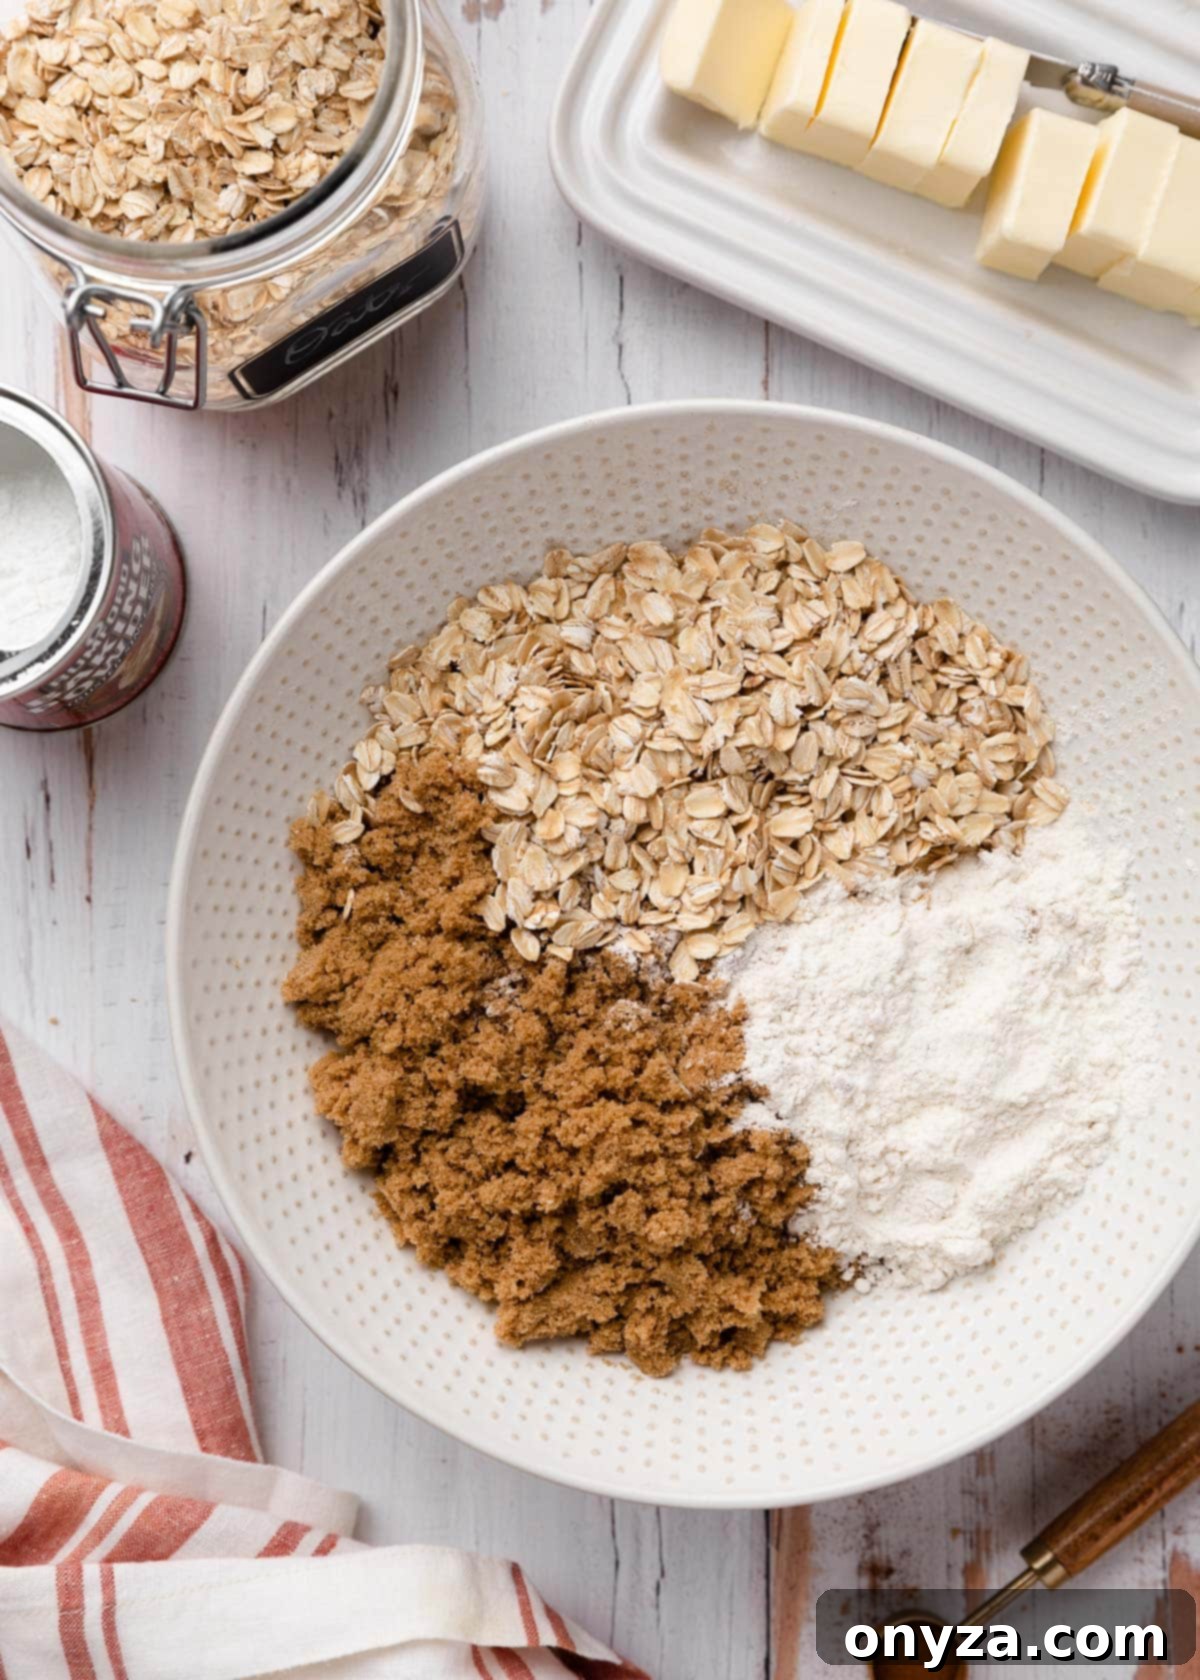
I always begin with the crisp topping, as it allows the butter to slightly chill and firm up again, which contributes to a better texture. In a medium bowl, whisk together all the dry ingredients for the topping – flour, baking powder, cinnamon, salt, brown sugar, and rolled oats. Once combined, it’s time to incorporate the softened unsalted butter.
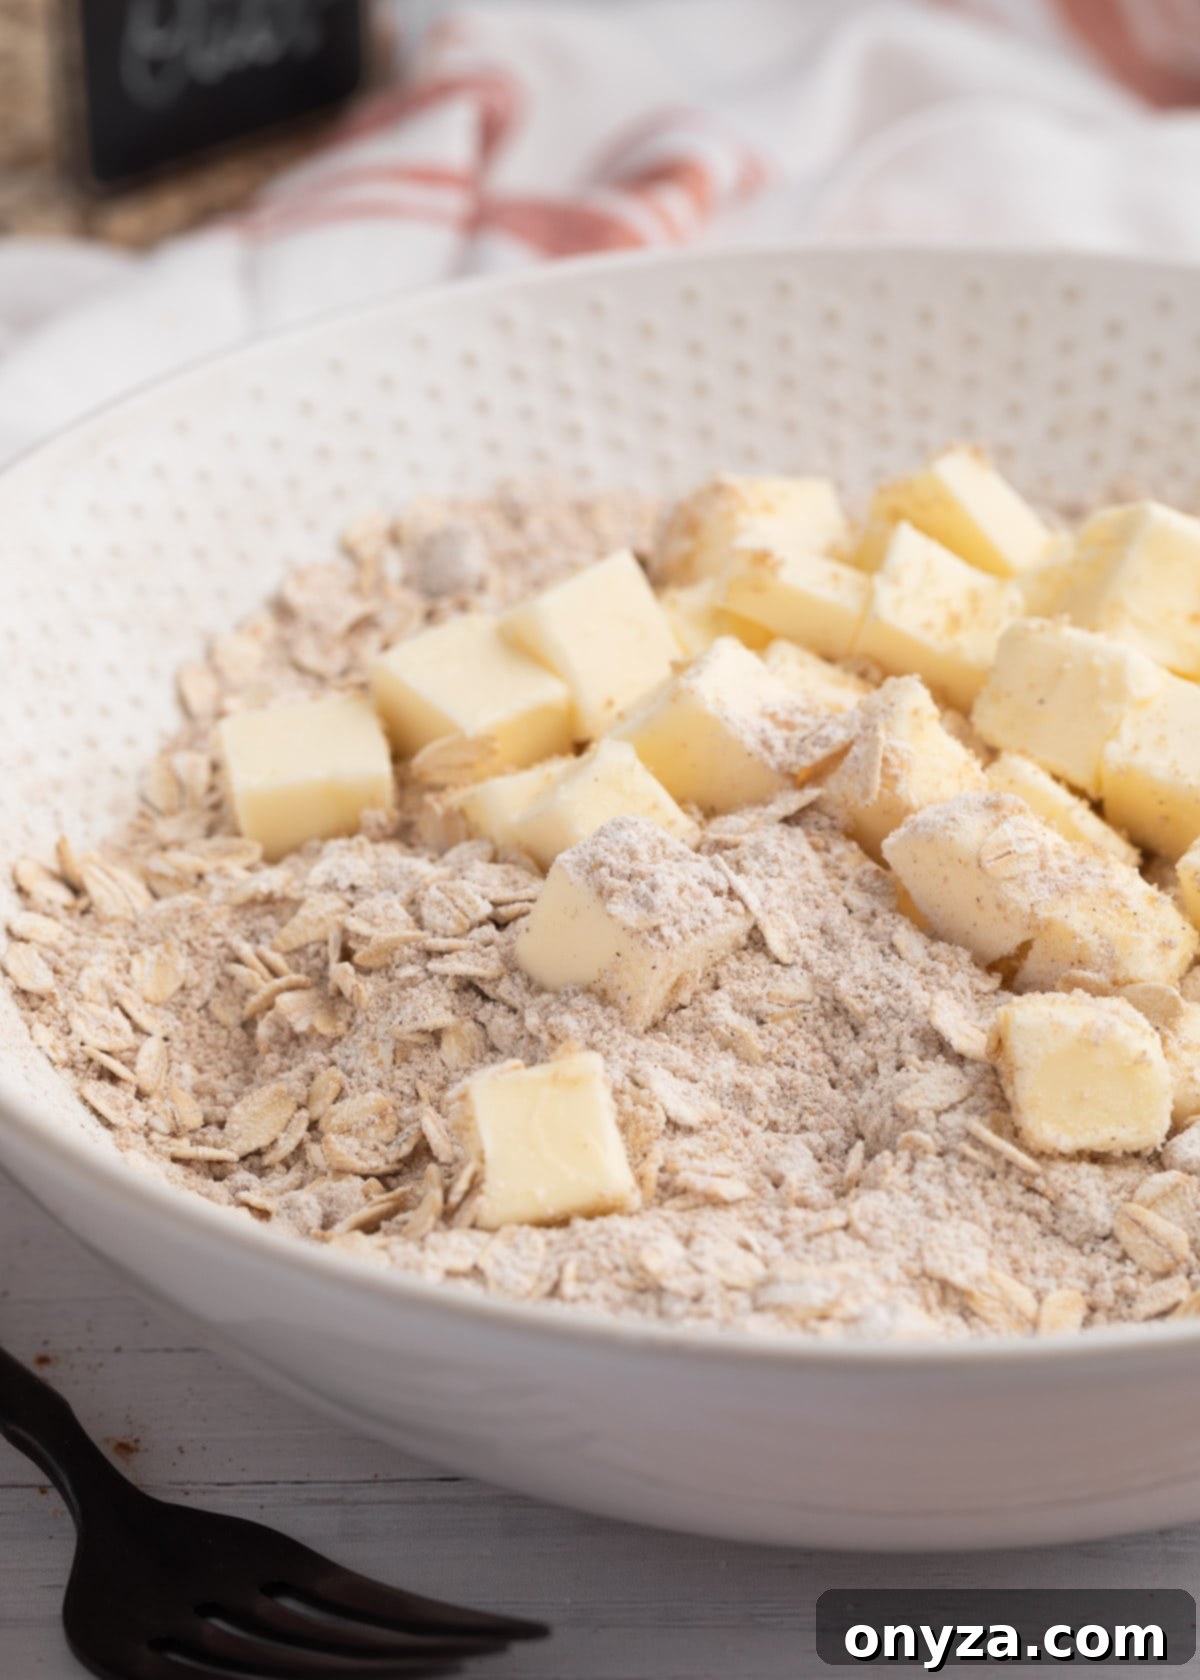
The key here is using softened, not melted, butter. While some recipes call for melted butter, I’ve found it can lead to a topping that’s overly crunchy and a bit tough. Softened butter, on the other hand, creates a crumbly streusel that bakes into a delightful balance of crispness and tenderness. You want to work the butter into the dry ingredients until the mixture resembles coarse crumbs, and when you press it between your fingers, it clumps together.
You have a few options for incorporating the butter: a fork, a pastry blender, or your clean fingertips. I often start with a pastry blender to break down the butter into smaller pieces, then switch to my fingertips. This allows me to really feel the texture and ensure the butter is evenly distributed without overworking the mixture. Once your topping is ready, set it aside while you prepare the apple filling.
Preparing the Flavorful Apple Filling
The apple filling is where all those wonderful autumn flavors come together. First, peel, core, and slice your chosen apples. Achieving a fairly uniform size and thickness, ideally around ¼-inch thick slices, is beneficial. While it’s a rustic dessert and perfection isn’t required, consistent slicing ensures the apples cook evenly and reach that perfect tender-but-not-mushy texture simultaneously.
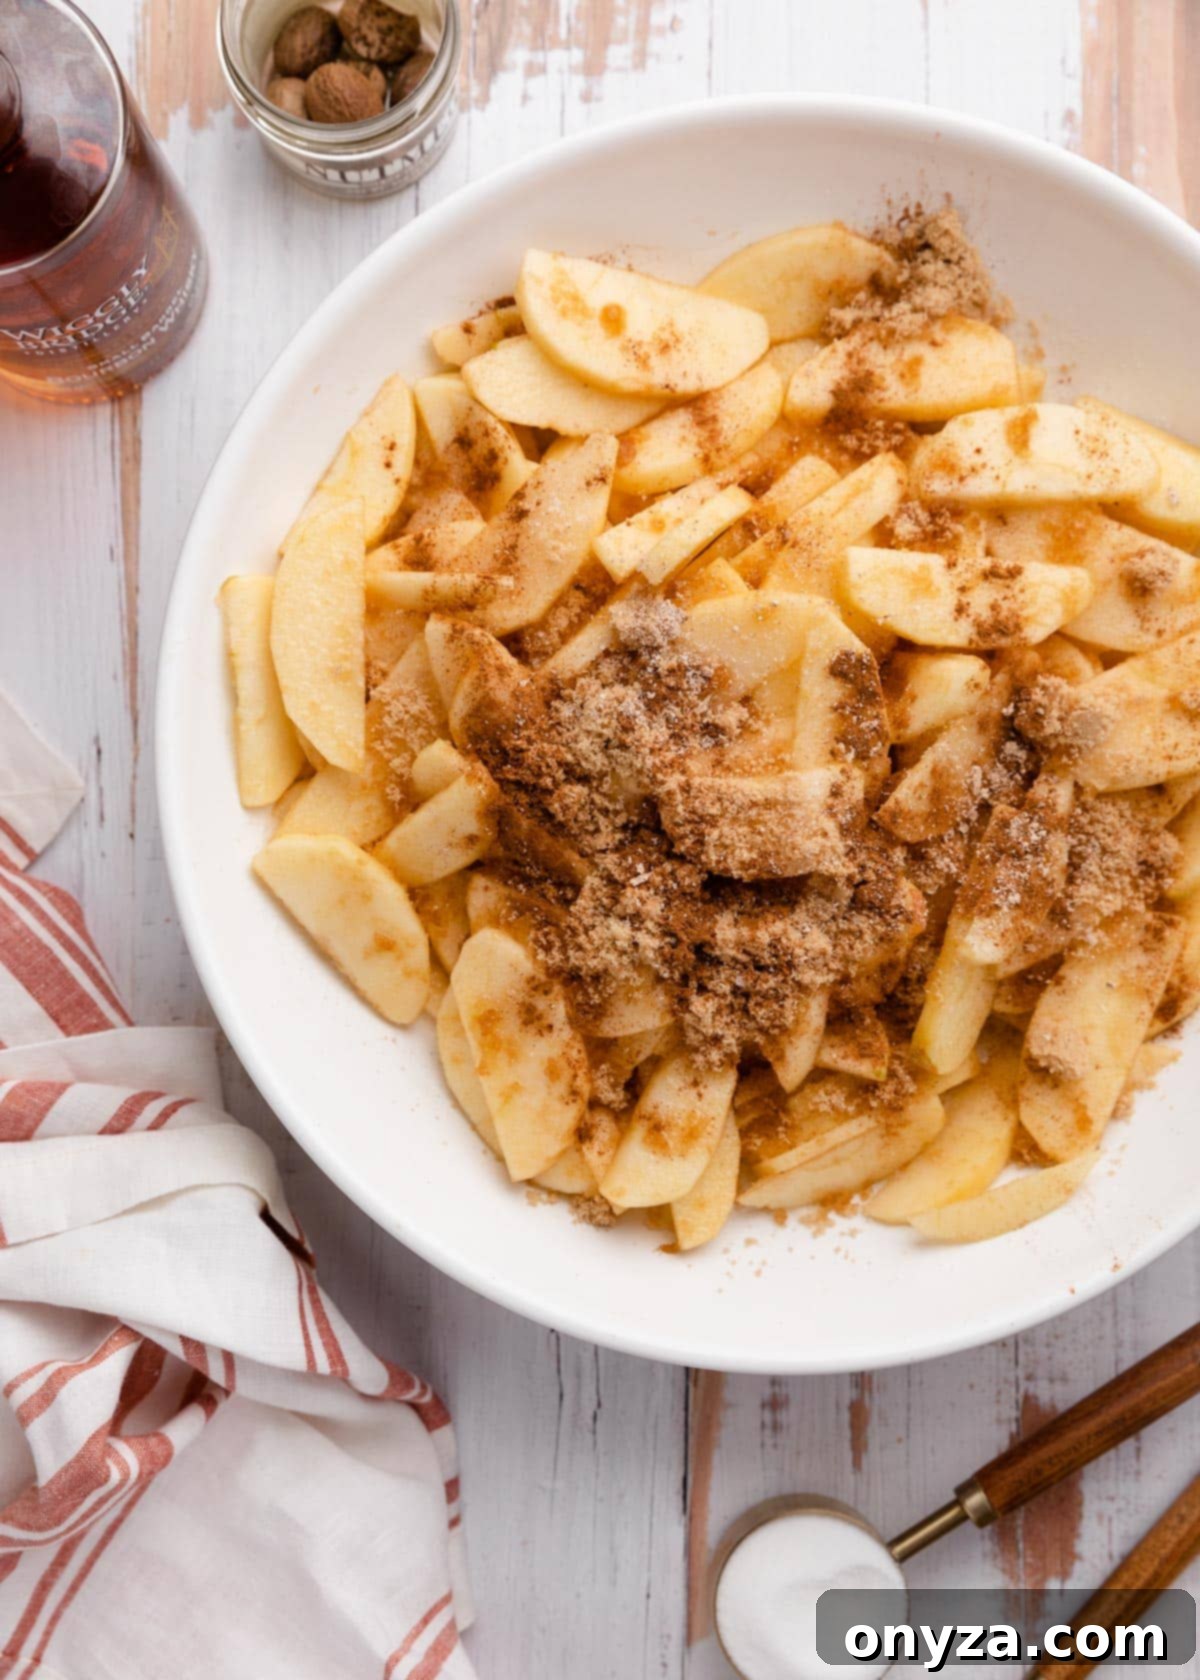
Once your apples are prepped, transfer them to a large bowl. Add the fresh lemon juice, bourbon, all-purpose flour, cinnamon, nutmeg, salt, granulated sugar, and brown sugar. Toss everything gently until the apple slices are thoroughly and evenly coated with the mixture. The lemon juice prevents browning and brightens the flavor, the flour acts as a thickener, and the sugars and spices create that irresistible saucy, aromatic base. With your filling ready, you’re just moments away from assembling and baking this delightful crisp.
Expert Tips for Baking Your Apple Crisp to Perfection
Baking apple crisp is relatively simple, but a few key tips can ensure a truly perfect outcome:
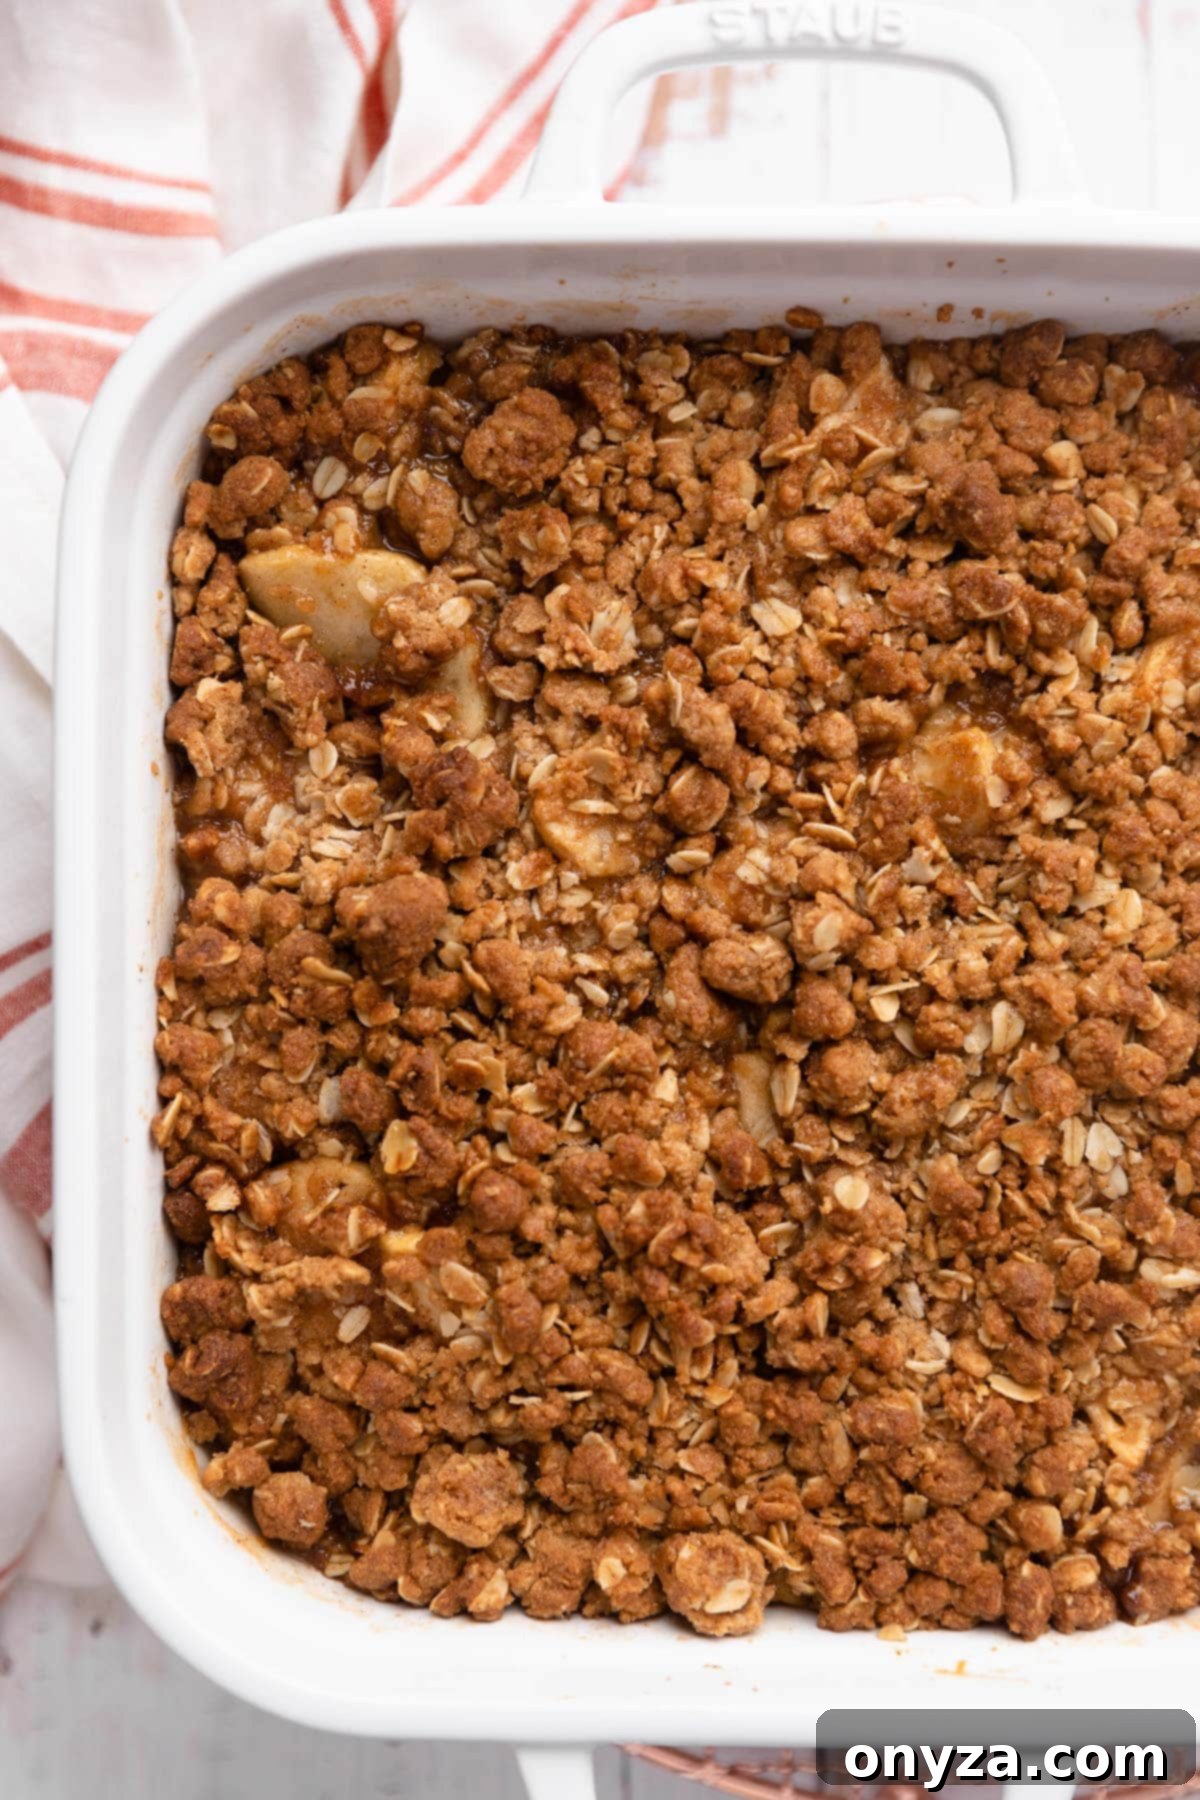
- Achieving the Ideal Texture: For the best results – meaning tender apples and a rich, saucy filling – your apple crisp needs to bake until it’s visibly bubbling not just around the edges of the pan, but also robustly in the very center. To check the apples for doneness, carefully insert a fork or the tip of a paring knife into an apple slice. They should be tender, offering little resistance, but still hold their shape without being mushy.
- Preventing Over-Browning: Oven temperatures can vary, and some crisp toppings brown faster than the apples beneath them cook. Start monitoring your crisp around the 30-minute mark. If you notice the topping is turning a deep golden brown too quickly, loosely cover the baking dish with a piece of aluminum foil. This shields the topping from direct heat while allowing the apples to continue cooking. For the last 5-8 minutes of baking, remove the foil to allow the topping to re-crisp and achieve a beautiful golden hue.
- Easy Cleanup Hack: Apple crisp fillings can sometimes bubble over, especially if your dish is very full. To save yourself from scrubbing burnt sugar off your oven floor, always place the baking dish on a foil-lined baking sheet before putting it in the oven. Any spills will be contained, making cleanup a breeze.
- Oven Temperature Consistency: Ensure your oven is fully preheated to 350°F (175°C) before placing the crisp inside. An accurately preheated oven ensures even baking from the start.
Remember that baking times are always estimates. Factors like the type of apples used, the depth and material of your baking dish, and the specific quirks of your oven can all influence the total time needed. Trust your senses: look for the bubbling, feel for the tender apples, and enjoy the delicious aromas filling your kitchen!
Serving Your Delectable Apple Crisp
The anticipation after pulling a warm apple crisp from the oven is almost unbearable, but a little patience goes a long way. While it’s tempting to dig in immediately, allowing the crisp to cool for at least 20-25 minutes after baking is crucial. This resting period gives the hot apple juices a chance to settle and thicken, ensuring that beautiful, saucy filling you worked so hard to achieve. If you serve it piping hot straight from the oven, the sauce will be too runny.
Once slightly cooled but still wonderfully warm, your Apple Crisp is ready to be enjoyed. As tradition dictates, it pairs exquisitely with a generous scoop of creamy vanilla ice cream. The cold, melting ice cream creates a delightful contrast against the warm, spiced apples and crunchy topping. Alternatively, a dollop of freshly whipped cream adds a lighter, airy touch. For those who adore an extra layer of sweetness and decadence, a drizzle of rich caramel sauce – perhaps even a homemade Apple Cider Caramel – makes for a truly unforgettable finish.
While this recipe’s leftovers can certainly be refrigerated and gently reheated the following day, I’ve found that the crisp is always at its absolute best when enjoyed fresh, straight from the oven (after its brief resting period, of course!). The topping retains its optimal crunch, and the filling its perfect saucy consistency. If you do have leftovers, a quick warm-up in a low oven or microwave will still yield a comforting treat.
Explore More Irresistible Apple Desserts
If you find yourself with an abundance of apples or simply can’t get enough of their delightful flavor, we have an array of other apple-centric desserts that are sure to inspire your baking adventures:
- Our Favorite Apple Pie: A classic done right, perfect for any occasion.
- Caramel Apple Hand Pies: Portable pockets of apple-caramel goodness.
- Miniature Apple-Raspberry Pies: A delightful blend of sweet and tart in charming individual servings.
- Homemade Caramel Apples: A fun, nostalgic treat for all ages.
Bourbon Apple Crisp Recipe
This cozy, easy-to-make apple crisp is a family favorite for fall. Featuring a luscious, self-saucing apple filling and an abundance of sweet, crunchy topping, this recipe truly defines autumn comfort food.
Yields: 6 to 8 servings
Prep Time: 30 minutes
Cook Time: 1 hour
Resting Time: 25 minutes
Total Time: 1 hour 55 minutes
Ingredients
For the Crisp Topping:
- 1 cup all-purpose flour (126 g, measured using a spoon and level method)
- ½ teaspoon baking powder
- 1 teaspoon ground cinnamon
- ¼ teaspoon kosher salt
- ¾ cup brown sugar (light or dark), lightly-packed
- ⅔ cup old fashioned (rolled) oats
- 8 tablespoons unsalted butter, cubed and softened (plus additional for greasing the pan)
For the Filling:
- 2-1/2 pounds Honeycrisp apples (or other recommended baking apples as detailed in the “Apple Varieties” section)
- 1 tablespoon fresh lemon juice
- 3 tablespoons bourbon
- 3 tablespoons all-purpose flour
- 1 teaspoon ground cinnamon
- ¼ teaspoon ground nutmeg
- Pinch of kosher salt
- ¼ cup granulated sugar
- ¼ cup brown sugar, lightly-packed
Instructions
- Prepare for Baking: Preheat your oven to 350 degrees F (175°C). Lightly butter a 9×9 inch baking dish that has sides at least 2-1/4 inches deep. For easy cleanup, place the buttered baking dish on a foil-lined baking sheet.
- Make the Crisp Topping: In a medium bowl, whisk together the flour, baking powder, cinnamon, salt, brown sugar, and rolled oats until well combined. Add the cubed, softened butter. Using a fork, pastry blender, or your clean fingertips, work the butter into the dry ingredients. Continue until the mixture forms coarse crumbs that hold together in small clumps when pressed. Set the topping aside.
- Prepare the Apple Filling: Peel, core, and slice the apples into uniform ¼-inch thick slices. In a large bowl, combine the sliced apples with lemon juice, bourbon, flour, cinnamon, nutmeg, salt, granulated sugar, and brown sugar. Toss gently until all the apple slices are evenly coated.
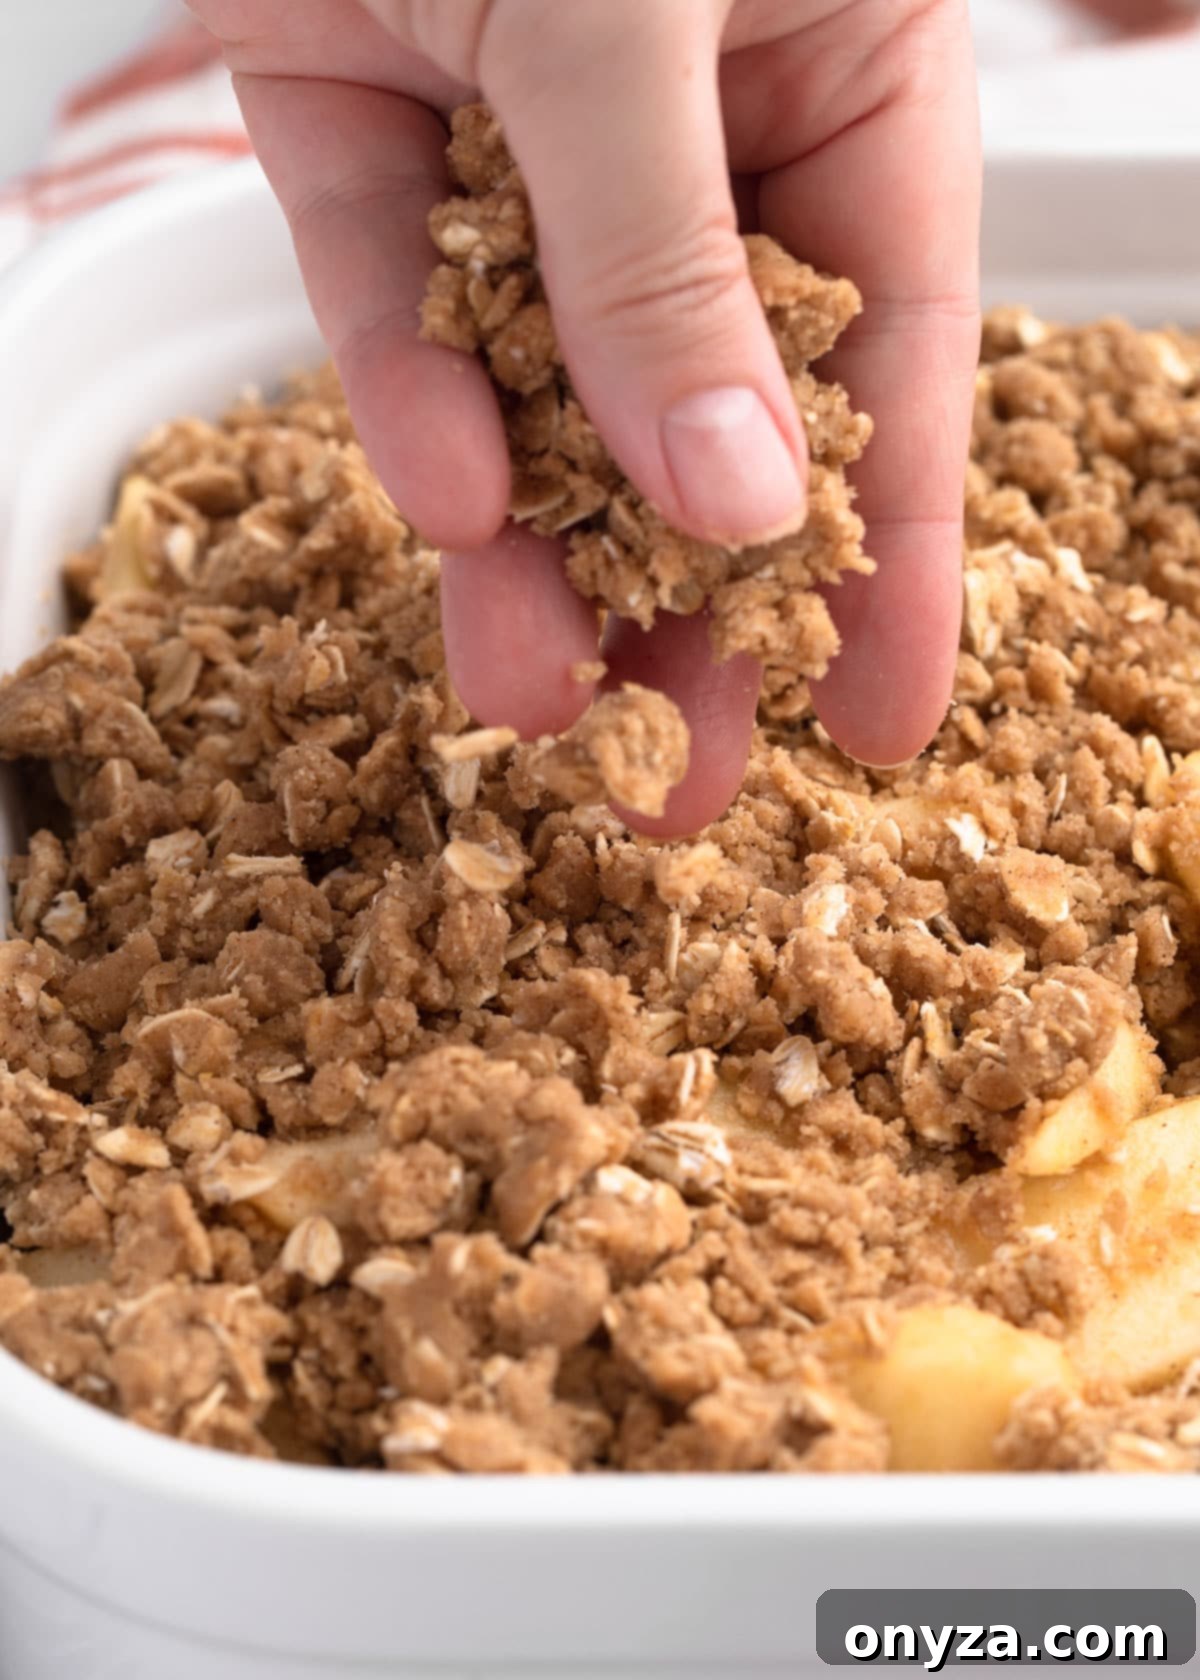
- Assemble and Bake the Crisp: Spread the coated apple slices evenly into the prepared baking dish. Scatter the oat streusel topping uniformly over the apples.
- Bake for 45-60 minutes, or until the apples are tender (test with a fork), the topping is beautifully browned and crisp, and the filling is actively bubbling in both the corners and the center of the pan. (Note that baking time can vary based on your specific apples, baking dish, and oven.)
- Monitor Browning: Keep an eye on the crisp during baking. If the topping begins to brown too quickly, especially around the 30-minute mark, loosely cover the baking dish with a piece of aluminum foil. Remove the foil for the last 5-8 minutes of baking to ensure the topping re-crisps perfectly.
- Cool and Serve: Once baked, remove the crisp from the oven and let it cool for at least 20-25 minutes. This crucial resting period allows the hot apple juices to thicken, resulting in a perfectly saucy filling. Serve warm with your favorite accompaniments, such as vanilla ice cream, whipped cream, or a drizzle of caramel sauce, if desired.
Notes
- For detailed recommendations on alternate apple varieties, please refer to the “What Kind of Apples Should I Use for Crisp?” section earlier in this article.
- If you are using a naturally sweeter apple variety than Honeycrisp, or if you simply prefer a less sweet crisp, consider reducing the sugar in the filling to 2 tablespoons granulated sugar and 2 tablespoons brown sugar.
- Conversely, if you opt for a very tart baking apple (like Granny Smith) or have a preference for a sweeter crisp, you might increase the sugar in the filling to 1/3 cup granulated sugar and 1/3 cup brown sugar.
Nutrition Estimate (per serving, based on 6 servings)
Serving: 0.166 recipe | Calories: 489kcal | Carbohydrates: 81g | Protein: 4g | Fat: 16g | Saturated Fat: 10g | Cholesterol: 40mg | Sodium: 112mg | Potassium: 218mg | Fiber: 4g | Sugar: 52g | Vitamin A: 507IU | Vitamin C: 4mg | Calcium: 68mg | Iron: 2mg
Nutrition information is automatically calculated and should only be used as an approximation.
Please note that our recipes have been developed using the US Customary measurement system and have not been tested for high altitude/elevation cooking and baking.
