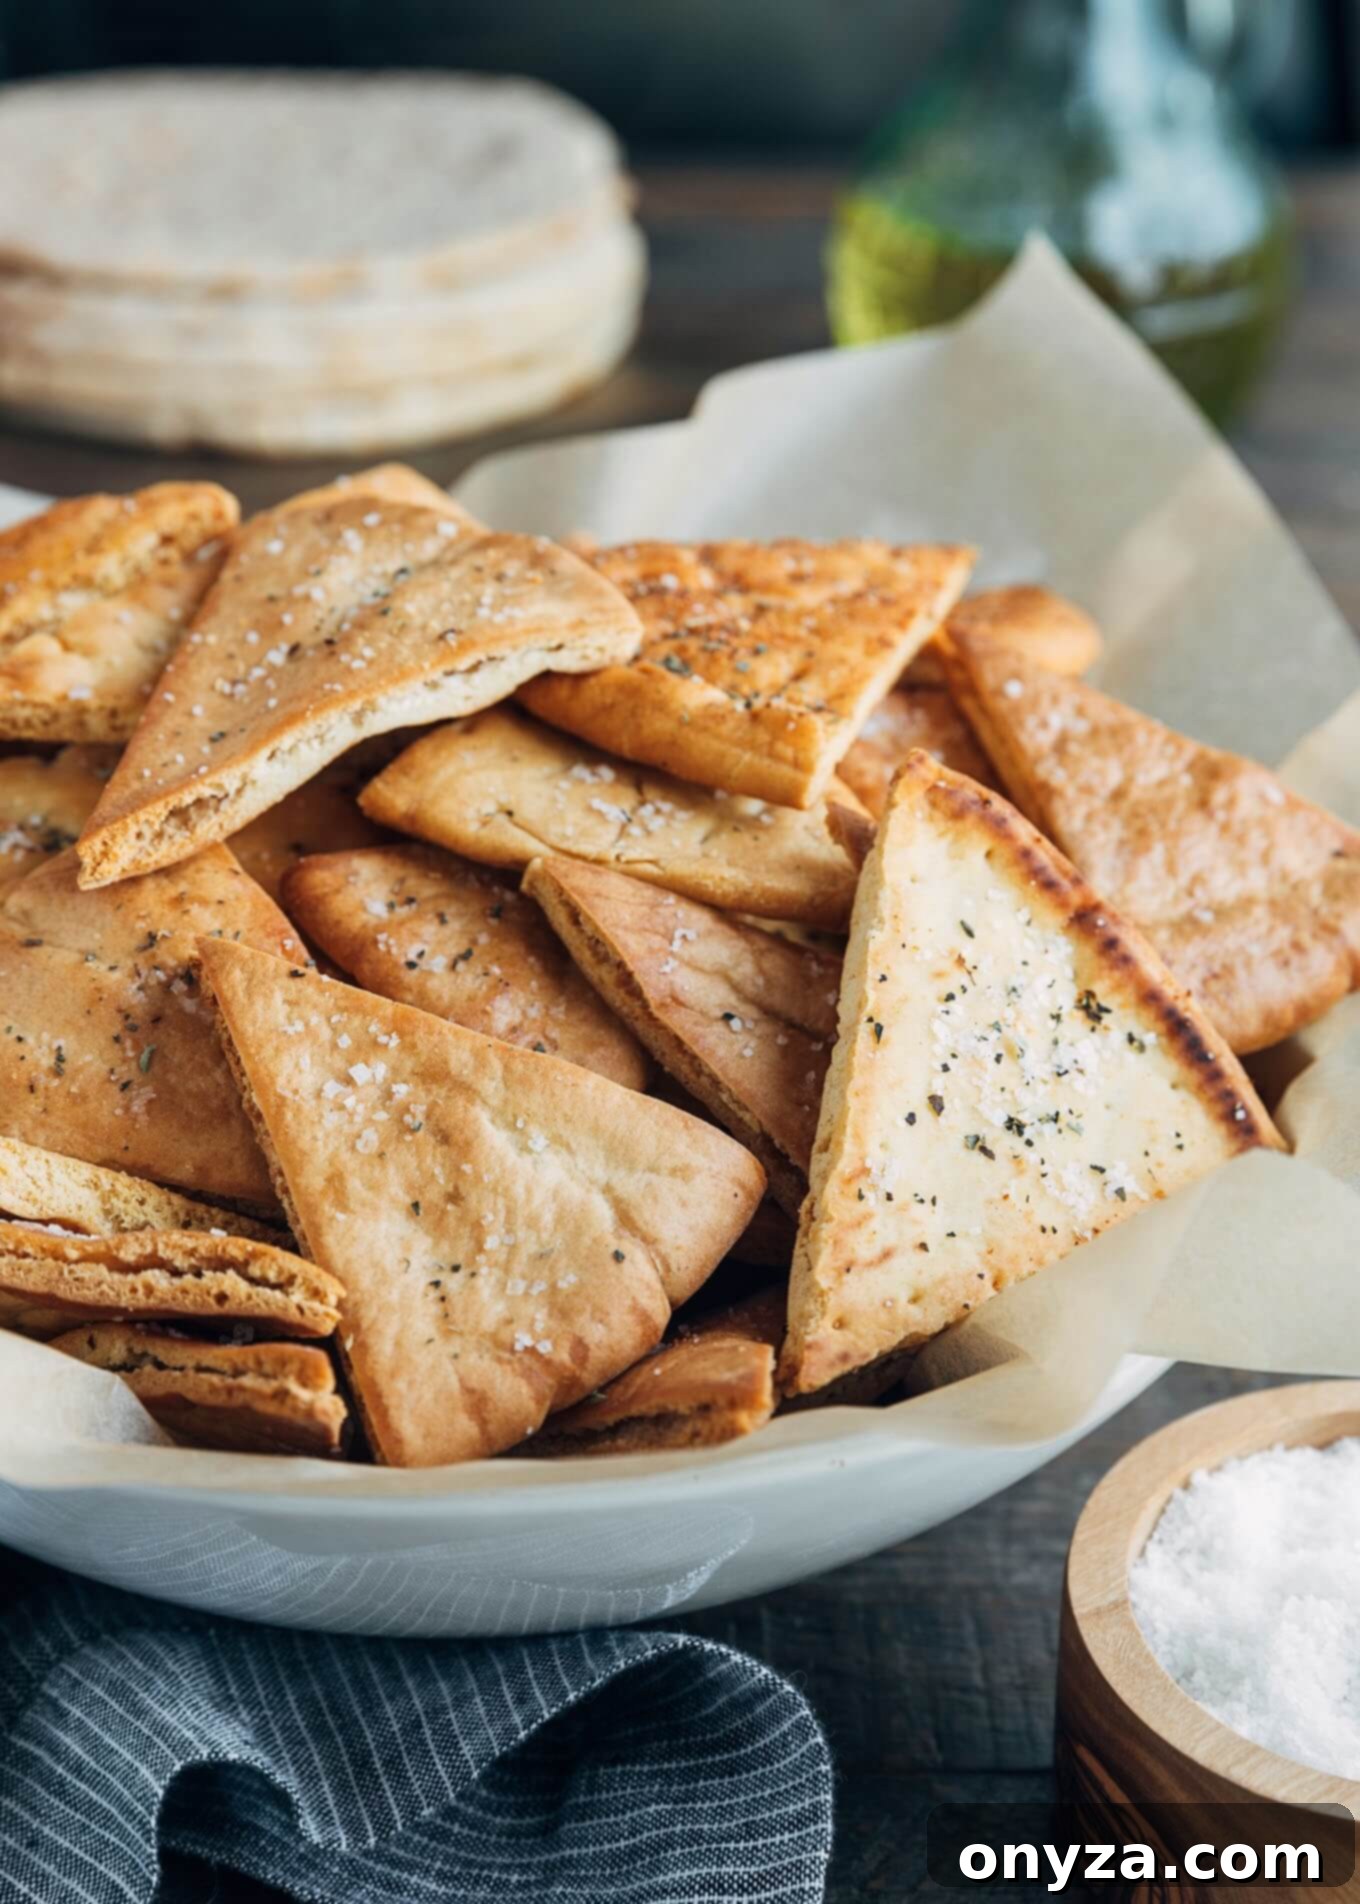
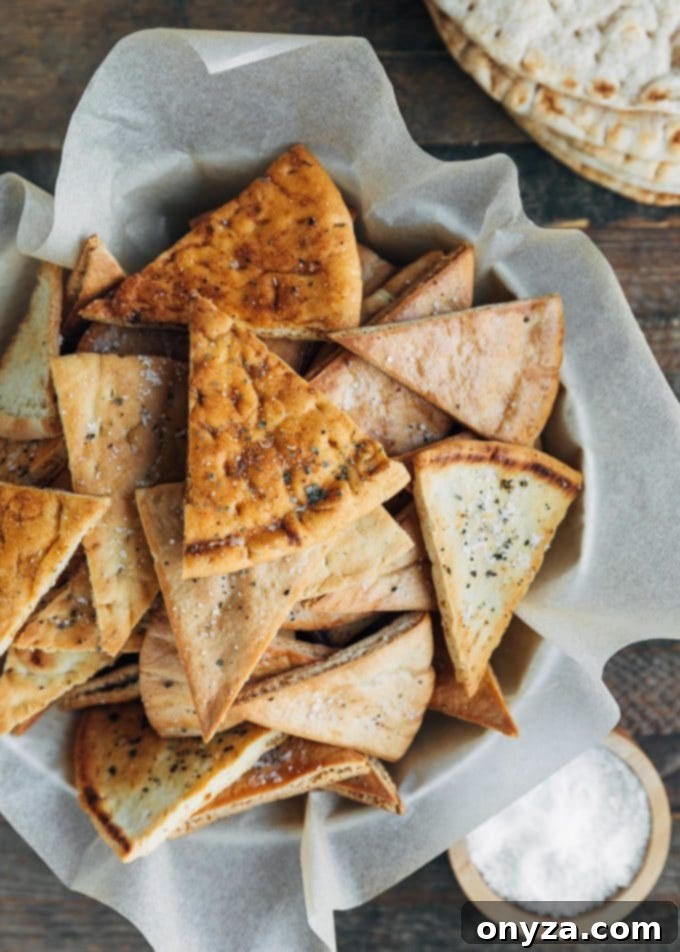
Unlock the secret to deliciously crisp, homemade pita chips with this incredibly easy recipe. Perfect for pairing with your favorite dips, elevating cheeseboards, or adding a satisfying crunch to soups and salads, these baked pita chips are ready in under 30 minutes!
The Irresistible Charm of Homemade Baked Pita Chips
There’s something uniquely satisfying about a warm, crispy pita chip. Whether you’re searching for a quick snack, a reliable vehicle for creamy dips, or a flavorful crunch to sprinkle over your evening salad, pita chips are a universal favorite. But why settle for store-bought when you can craft fresh, perfectly seasoned, and incredibly delicious homemade pita chips right in your own kitchen?
This recipe offers an effortless way to create your own batch in under 30 minutes. Forget the deep fryer; these chips are baked to golden perfection, offering a lighter yet equally satisfying crunch. The beauty of making them yourself lies not only in their superior taste and texture but also in the endless possibilities for customization. Imagine a basket of warm, aromatic pita chips, fresh from the oven, ready to be devoured.
Beyond being a fantastic healthy snack, homemade pita chips are incredibly versatile for various occasions. They shine as an appetizer for holiday gatherings, a crunchy companion for game day parties, or a simple, guilt-free midday treat. Their delicate crispness makes them a wonderful alternative to traditional croutons for soups and salads, adding a delightful textural contrast and burst of flavor.
Why Bake Your Own Pita Chips? Unlocking Freshness and Flavor
The decision to make your own pita chips versus buying them pre-packaged comes with a host of advantages that significantly enhance your snacking experience. Once you try homemade, you’ll likely never look back.
- Unbeatable Freshness and Flavor: Store-bought pita chips, while convenient, simply cannot compete with the fresh, warm aroma and superior taste of chips baked moments before serving. The difference in flavor and crispness is truly remarkable.
- Healthier Choice: By baking instead of frying, you significantly reduce the fat content, making these a much lighter and healthier snack option. You have complete control over the type and amount of oil used, as well as the sodium levels, allowing you to tailor them to your dietary preferences.
- Cost-Effective: A few rounds of pita bread are far more economical than a bag of pre-made chips. This recipe stretches your budget while delivering a premium snack experience.
- Endless Customization: This is where homemade pita chips truly shine. From savory herbs and spices to sweet cinnamon sugar, the flavor possibilities are limited only by your imagination. You can match your chips to any dip, meal, or craving.
- Quick and Easy Preparation: With a prep time of just minutes and a short baking duration, homemade pita chips are the ideal last-minute snack or appetizer. They’re perfect for impromptu gatherings or when a sudden craving strikes.
Crafting Perfect Pita Chips: A Step-by-Step Guide
Making baked pita chips at home is surprisingly simple, requiring just a few basic kitchen tools and ingredients. Follow these steps for consistently crispy and flavorful results every time.
Essential Ingredients for Your Crispy Creation
The foundation of great pita chips starts with quality ingredients:
- Pita Bread: Opt for fresh pita rounds, whether white or whole wheat. The fresher the pita, the better the texture of your chips. You can choose larger rounds for more substantial chips or smaller ones for bite-sized snacks.
- Olive Oil (Savory) or Melted Butter (Sweet): A good quality extra virgin olive oil imparts a wonderful savory flavor and helps the chips crisp up beautifully. For sweet variations, melted butter provides a richer taste and helps the sugar adhere.
- Seasonings: Flaked sea salt is a classic choice, but don’t hesitate to explore your spice rack! Garlic powder, onion powder, dried herbs like oregano and basil, paprika, or even cinnamon sugar can transform your chips.
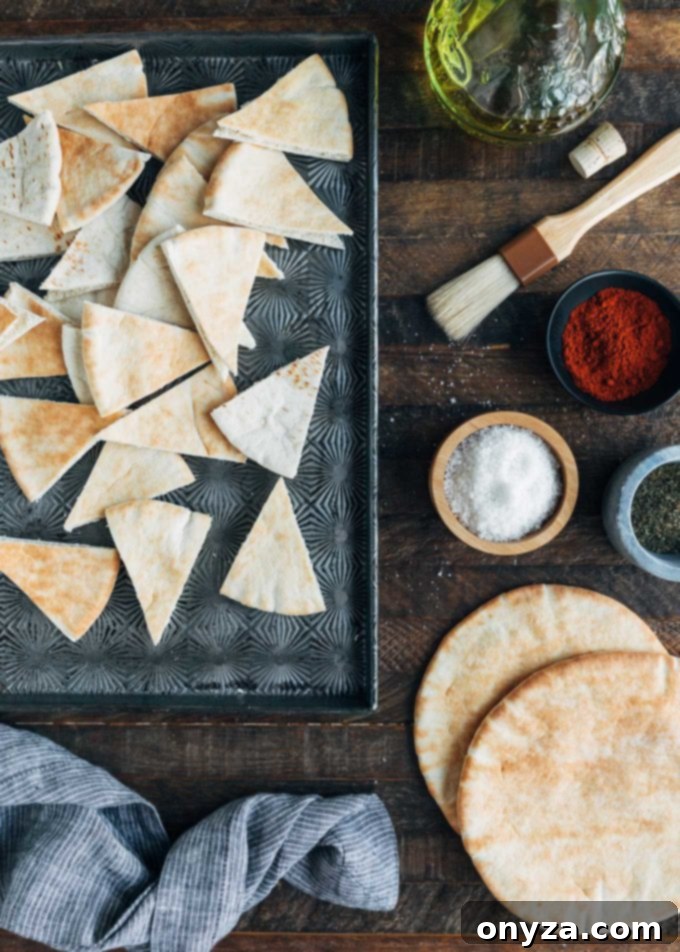
- Equipment: A parchment-lined baking sheet is crucial for easy cleanup and preventing sticking. A pastry brush ensures even coating of oil or butter. A sharp knife or pizza cutter will make quick work of slicing the pita.
Step 1: Prepare Your Workspace and Preheat the Oven
Before you begin, preheat your oven to 375°F (190°C). This ensures the oven is at the correct temperature for immediate baking once your pita chips are prepared, promoting even cooking and crispness. Line a large baking sheet with parchment paper. Parchment paper is indispensable here; it prevents sticking and makes cleanup a breeze, ensuring your chips lift off easily once baked.
Step 2: Slice Your Pita Bread to Perfection
Lay each pita round flat on a cutting board. Using a sharp knife or a pizza cutter, slice each round into 8 equal wedges, just like you would a pizza. This creates uniform, triangular chips. For those who prefer a thinner, extra-crispy chip, take pocket pita wedges and carefully separate each wedge into two layers. This makes for a lighter chip that’s fantastic with delicate dips or crumbled over salads. If you desire a thicker, sturdier chip, you have two options: either use pocket pita and leave the layers intact, creating a double-layer chip, or purchase “pocketless pita,” which is essentially a soft, single-layer flatbread. Thicker chips are ideal for heartier dips that might break a more delicate chip.
Step 3: Oil and Season for Optimal Flavor
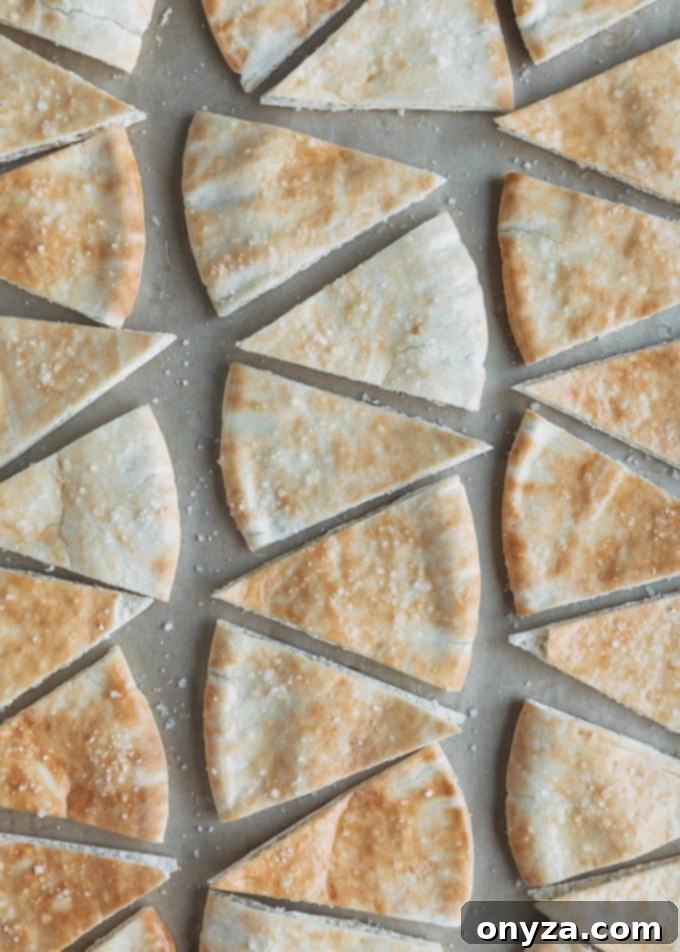
Arrange your pita wedges in a single layer on the prepared baking sheet. It’s crucial not to overcrowd the pan, as this can steam the chips instead of crisping them. If necessary, use two baking sheets. Lightly brush both sides of each pita wedge with olive oil (or melted butter for sweet chips). Don’t skip brushing the cut edges, as this helps the chips become wonderfully crisp throughout and allows the oil to slightly seep between the layers of double-layered chips, maximizing flavor. Finally, sprinkle generously with your chosen seasonings. For simple savory chips, a good quality flaked sea salt is often all you need. For more complex flavors, incorporate your herb and spice mixtures directly into the oil before brushing, ensuring an even coating.
Step 4: Arrange and Bake to Golden Perfection
Place the baking sheet(s) into the preheated oven. Bake until the chips are golden brown and largely crisped. For thin, single-layer chips, this typically takes between 6-10 minutes. Thicker or double-layer chips will require a bit longer, usually 10-20 minutes. About halfway through the baking time, gently flip the chips over to ensure even browning and crispness on both sides. Keep a close eye on them, as pita chips can go from perfectly golden to burnt very quickly.
Step 5: Cool for Ultimate Crispiness and Store
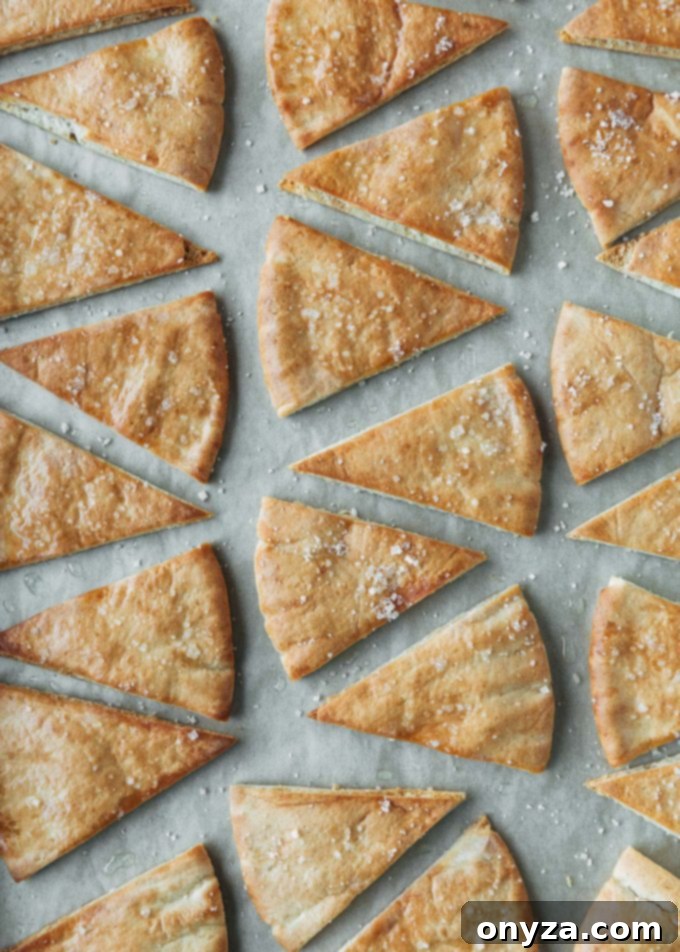
Once baked, remove the chips from the oven and immediately transfer them to a wire rack to cool completely. This cooling process on a rack is vital for achieving the ultimate crispiness, as it allows air to circulate around all sides, preventing condensation that could make them soft. While they might still feel slightly soft in certain areas straight out of the oven, they will continue to crisp up significantly as they cool. Once fully cooled, homemade pita chips can be stored in an airtight container at room temperature for up to a few days. However, their fresh-from-the-oven flavor and crunch are best enjoyed immediately.
Choosing the Right Pita Bread: Thin, Thick, or Anywhere in Between
The type of pita bread you select plays a significant role in the final texture and sturdiness of your homemade pita chips, allowing for incredible versatility to suit various culinary applications.
For those craving an incredibly light and airy crunch, opt for standard “pocket” pita bread. The magic here is to gently separate each cut wedge into two distinct layers before brushing with oil and seasoning. These thin, extra-crispy chips are perfect for delicate dipping, such as with a creamy hummus or light tzatziki. They also make an excellent, flavorful stand-in for croutons in soups, like a hearty French lentil soup, or tossed into a fresh garden salad, adding a satisfying textural contrast without being too heavy.
If your culinary adventure calls for a more robust chip – one capable of standing up to substantial, chunky dips or spreads – then you have a couple of excellent options. Firstly, you can still use pocket pita bread but choose *not* to separate the layers. This creates a double-layer chip that offers a satisfying chew alongside its crispness. Alternatively, seek out “pocketless pita” or soft flatbreads. These varieties are inherently thicker and denser, providing a sturdy foundation for weighty dips such as a rich spinach and artichoke dip, or any spread that might cause a more delicate chip to crumble. Their hearty structure also makes them a great companion for cheese boards, charcuterie spreads, or a mezze platter where they can handle the weight of various toppings.
For the truly ambitious or those seeking the freshest possible base, consider making your own pita bread from scratch. Resources like this recipe and tutorial from The Kitchn can guide you. Homemade pita offers unparalleled freshness and allows you complete control over ingredients, yielding the ultimate starting point for your chips.
Unleash Your Inner Chef: Creative Seasoning Ideas for Pita Chips
One of the most exciting aspects of making homemade pita chips is the opportunity to experiment with an array of seasonings. Your spice cabinet holds endless possibilities to transform a simple chip into a gourmet treat. Here are some of our favorite combinations:
Savory Sensations
- Classic Sea Salt: The timeless choice. Simple, elegant, and allows the natural flavor of the pita to shine. It’s the perfect canvas for pairing with any dip. Use flaked sea salt for a superior texture and burst of brininess.
- Mediterranean Herb & Garlic: A blend that transports you to the sun-drenched shores of the Mediterranean. Stir ¼ teaspoon each of dried oregano, dried basil, and garlic salt directly into the olive oil before brushing the pita. A pinch of dried thyme or a hint of lemon zest can further enhance this profile. These chips are fantastic with hummus, baba ghanoush, or a Greek yogurt dip.
- Smoked Paprika & Garlic: For a deeper, more robust flavor profile, combine ¼ teaspoon each of smoked paprika and garlic salt with your olive oil. The smoky notes pair wonderfully with hearty bean dips, roasted red pepper spreads, or a rich eggplant dip.
- Parmesan & Herb: Elevate your chips with a cheesy, herbaceous kick. Mix ¼ teaspoon each of dried oregano and dried basil into the olive oil. Before baking, generously sprinkle grated Parmesan cheese over the tops of the brushed pita wedges. The cheese will melt and crisp up, creating an irresistible savory crust.
- Everything Bagel Seasoning: A trendy and incredibly flavorful option. Brush the pita chips with either olive oil or melted butter, then liberally sprinkle with everything bagel seasoning. This blend, typically containing sesame seeds, poppy seeds, dried garlic, dried onion, and sea salt, adds a complex, aromatic crunch.
- Spicy Kick: For those who love a bit of heat, mix a pinch of cayenne pepper, chili powder, or red pepper flakes into the olive oil. Adjust the amount to your preferred spice level.
Sweet Delights
Pita chips aren’t just for savory applications; they can be transformed into a delightful dessert snack:
- Cinnamon Sugar: A timeless sweet treat. Instead of olive oil, brush your pita wedges with melted butter. In a small bowl, mix 1 tablespoon of sugar with ½ to 1 teaspoon of ground cinnamon (adjust to taste). Sprinkle this cinnamon sugar mixture generously over the butter-brushed chips before baking. These are incredible with fruit salsa, a dollop of whipped cream, or alongside a bowl of fresh berries.
- Vanilla Bean Sugar: For a more refined sweetness, use vanilla bean sugar in place of regular sugar in the cinnamon sugar variation. The subtle vanilla notes add an extra layer of gourmet flavor.
When applying seasonings, stirring them directly into the olive oil or melted butter (for savory and sweet respectively) ensures a more even distribution and helps the flavors meld as the chips bake. For dessert chips, applying the flavored sugar after brushing with butter helps it stick better.
Mastering the Bake: Tips for Achieving Crispy Pita Chips Every Time
Baking homemade pita chips is straightforward, but achieving that perfect, consistent crispness requires a keen eye and understanding of a few key factors.
It’s crucial to understand that baking times for pita chips can vary significantly. This variability is primarily dependent on the brand and thickness of the pita bread you’re using. Some brands produce naturally thicker pita, which will inevitably require a longer bake time, regardless of whether you’re making single or double-layered chips. Your oven’s calibration can also play a role, as ovens can sometimes run hotter or cooler than their set temperature.
Because pita chips can transition from perfectly golden to easily burned in a matter of moments, it’s always a good practice to start checking your first batch early. This allows you to gauge how quickly your specific brand of pita crisps up in your oven. For instance, I’ve observed thin, single-layer chips achieving optimal crispness in as little as 6 minutes at 375°F, while thicker varieties might need anywhere from 15 to 20 minutes to reach the same desired texture. Don’t be afraid to pull out the tray and inspect them closely.
You’ll know the chips are ready when they have turned a lovely golden brown color and appear largely crisped. If a few areas still feel slightly pliable, don’t fret! This is perfectly normal. The chips will continue to firm up and become completely crisp as they cool on a wire rack. Cooling on a rack is essential as it allows air to circulate, preventing steam from softening them. Once thoroughly cooled, transfer your delicious homemade pita chips to an airtight container. Stored at room temperature, they will maintain their freshness and crispness for a couple of days – assuming they last that long!
Serving Suggestions: More Than Just a Dip Companion
Homemade pita chips are incredibly versatile and can elevate a wide array of dishes and snacking occasions. While they are a quintessential partner for dips, their utility extends far beyond.
- The Ultimate Dipping Companion: This is their classic role, and for good reason! Serve them alongside creamy hummus, smoky baba ghanoush, cool tzatziki, vibrant guacamole, fresh salsa, or a rich spinach and artichoke dip. Their sturdy nature makes them perfect for scooping up generous portions.
- Elegant Platter Enhancer: Elevate your entertaining with pita chips on cheese boards, charcuterie boards, or a Mediterranean mezze platter. Their neutral or complementary flavors make them a superb addition, offering a textural contrast to soft cheeses, cured meats, and marinated vegetables.
- Crispy Topping for Soups and Salads: Forget stale croutons! Homemade pita chips, especially the thinner varieties, make an excellent crunchy topping for creamy tomato soup, hearty lentil soup, or any green salad. They add a burst of flavor and a satisfying texture.
- Stand-Alone Snack: Sometimes, simplicity is best. A basket of warm, freshly baked pita chips, especially those seasoned with herbs and spices like Mediterranean or Everything Bagel, is a delightful snack on its own.
- Breakfast or Brunch Treat: For sweet pita chips (cinnamon sugar, vanilla), pair them with yogurt and fresh fruit, a berry compote, or even a drizzle of honey for a unique breakfast or brunch offering.
Storing Your Homemade Pita Chips
To keep your homemade pita chips at their peak crispness and flavor, proper storage is key. Once they have completely cooled on the wire rack, transfer them to an airtight container. This could be a resealable plastic bag, a glass jar with a tight-fitting lid, or an airtight plastic container. Store the container at room temperature in a cool, dry place, away from direct sunlight or humidity. When stored correctly, your pita chips will remain wonderfully crisp for approximately 2-3 days. While they won’t spoil quickly, their texture will begin to soften over time. If they do lose some of their crispness, a quick refresh in a low oven (around 250°F / 120°C) for 5-10 minutes can often restore their crunch.
Homemade Pita Chips Recipe

Summary: Baked pita chips are incredibly easy to make at home, offering a perfect canvas for your favorite herbs and spices. Follow our guide for delicious, customizable results!
Author: Amanda Biddle
Prep Time: 10 minutes | Cook Time: 15 minutes | Total Time: 25 minutes
Yields: 4 servings (approx. 8 chips per serving)
Ingredients
- 4 large rounds pita bread
- 1-1/2 tablespoons olive oil (or melted butter for sweet chips)
- Flaked sea salt, or other preferred seasonings (see notes below)
Instructions
- Preheat oven to 375°F (190°C). Line a large baking sheet with parchment paper.
- Cut each pita round into 8 wedges. For thin, extra-crispy chips, use pita pockets and separate each wedge into two layers. For thicker, sturdier chips, use pocketless pita, or simply don’t separate the layers of pocket pita.
- Lightly brush each pita wedge on both sides with olive oil (or melted butter). Arrange them in a single layer on the prepared baking sheet, ensuring not to overcrowd (split between two pans if necessary). Sprinkle with flaked sea salt or your chosen seasonings on one or both sides.
- Bake until golden and crisp, turning the chips over once halfway through. Thin, single-layer chips will typically bake for 6-10 minutes. Thicker chips will need 10-20 minutes.*
- Remove chips from the oven and immediately transfer them to a wire rack to cool completely. Chips will continue to crisp as they cool. Store in an airtight container at room temperature for up to a few days.
Recipe Notes & Seasoning Variations
*Baking times can vary significantly by brand and thickness of pita, and the times provided are general guidelines. Always start checking your chips early to get a feel for the specific pita bread you’re using, as they can burn easily.
- Mediterranean Herb + Garlic: Stir 1/4 teaspoon each dried oregano, dried basil, and garlic salt into the olive oil before brushing.
- Smoked Paprika + Garlic: Stir 1/4 teaspoon each smoked paprika and garlic salt into the olive oil before brushing.
- Parmesan + Herb: Stir 1/4 teaspoon each dried oregano and dried basil into the oil. Before baking, sprinkle the tops of each chip with grated Parmesan cheese.
- Cinnamon Sugar: Brush the chips with melted butter instead of olive oil. Mix together 1 tablespoon sugar with 1/2 to 1 teaspoon ground cinnamon. Sprinkle the butter-brushed chips with the cinnamon sugar before baking.
- Everything Bagel: Brush the chips with either olive oil or melted butter. Sprinkle generously with everything bagel seasoning on just the tops of the chips before baking.
Nutrition Estimate
Calories: 180kcal | Carbohydrates: 33g | Protein: 5g | Fat: 2g | Saturated Fat: 1g | Sodium: 322mg | Potassium: 72mg | Fiber: 1g | Calcium: 52mg | Iron: 1mg
Nutrition information is automatically calculated and should only be used as an approximation.
