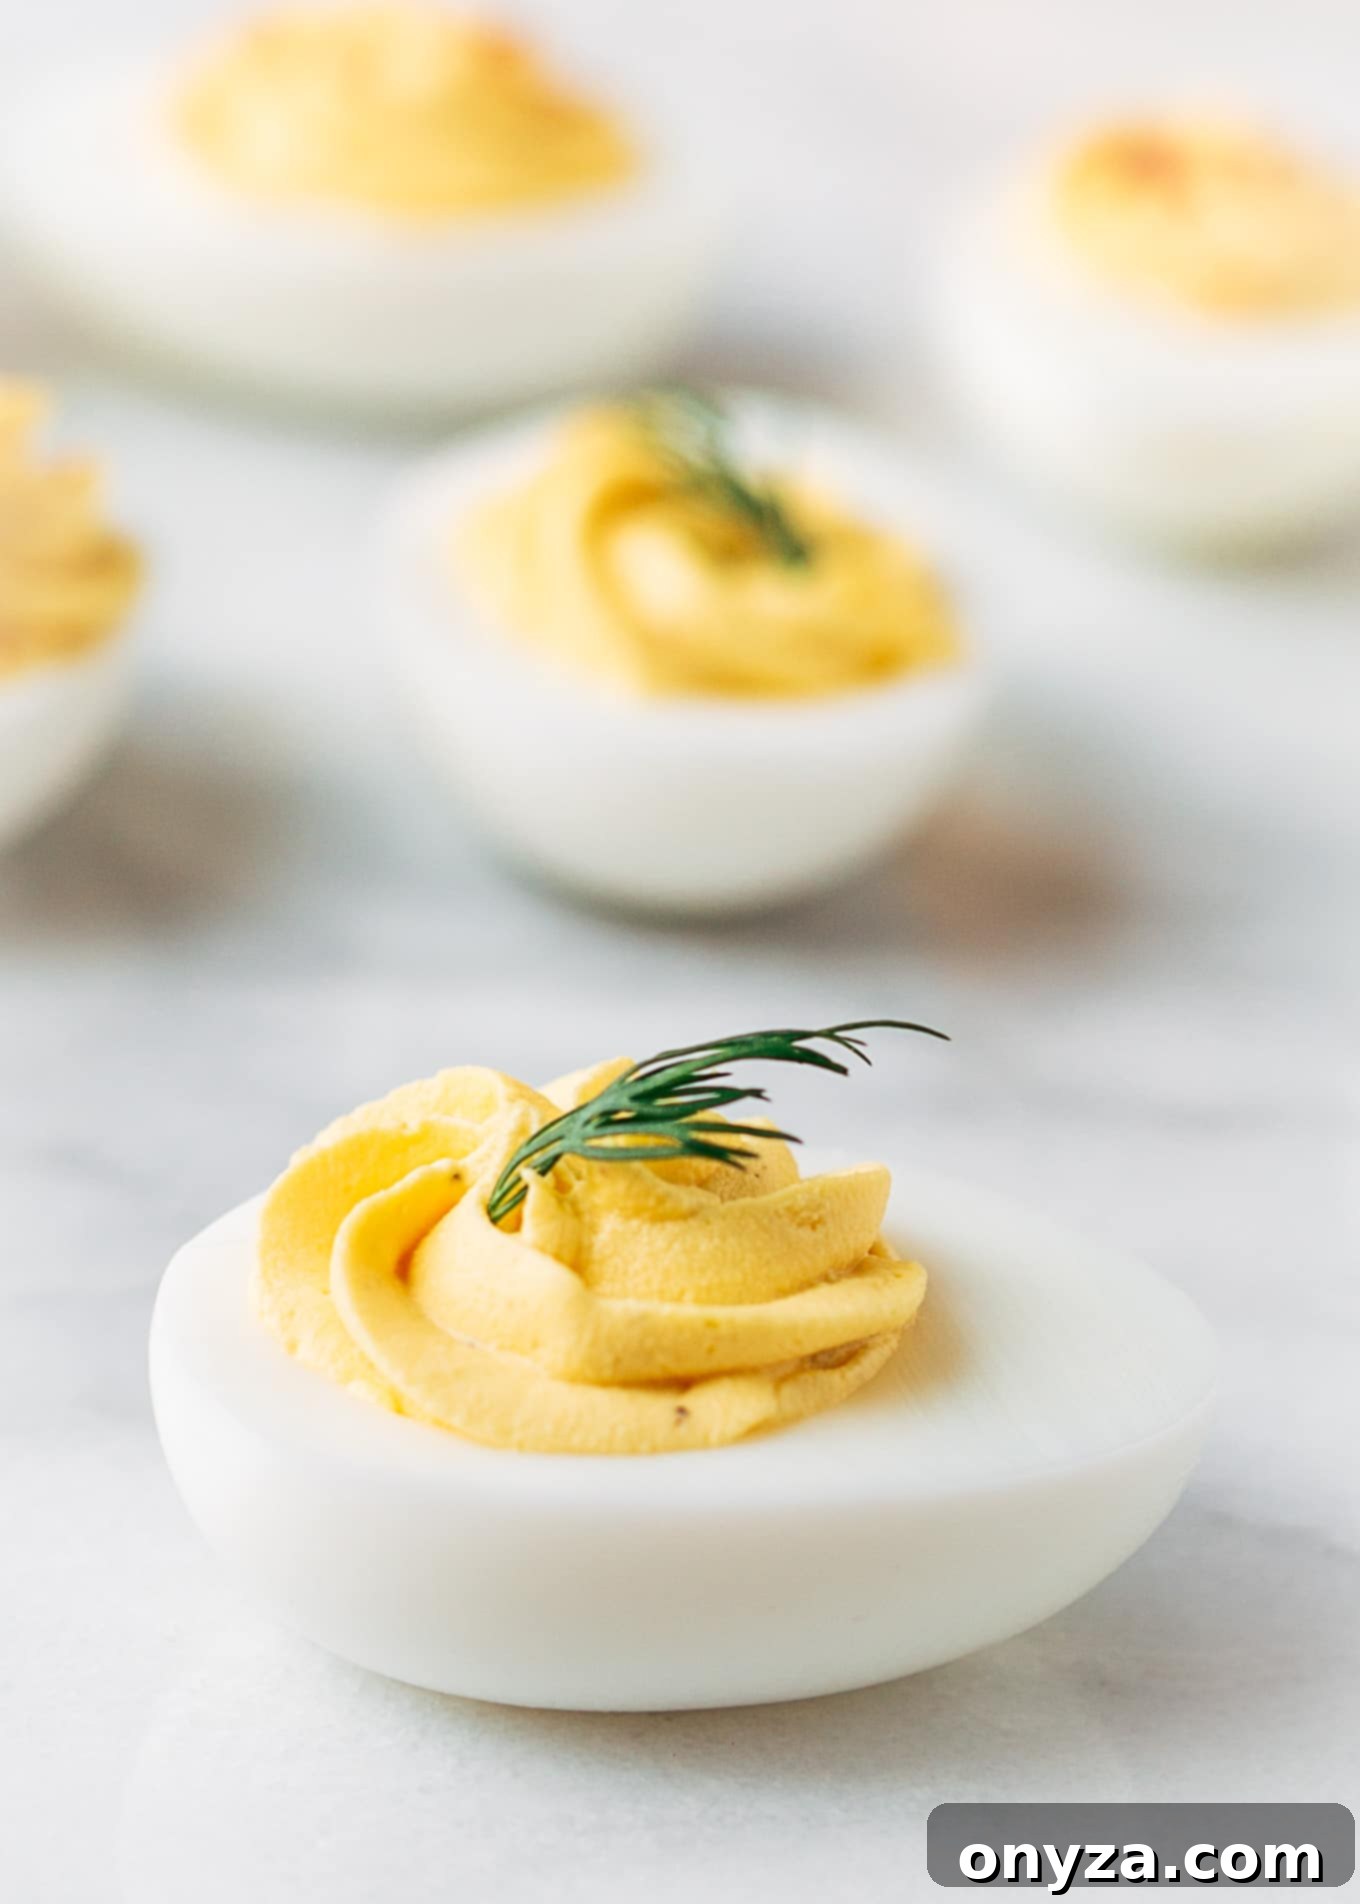
Discover the ultimate guide to crafting perfect Classic Deviled Eggs, featuring a sumptuously smooth, creamy filling brightened by the subtle tang of Dijon mustard. Effortlessly elegant and always a crowd-pleaser, these appetizers are remarkably easy to prepare (and make ahead) for any gathering.
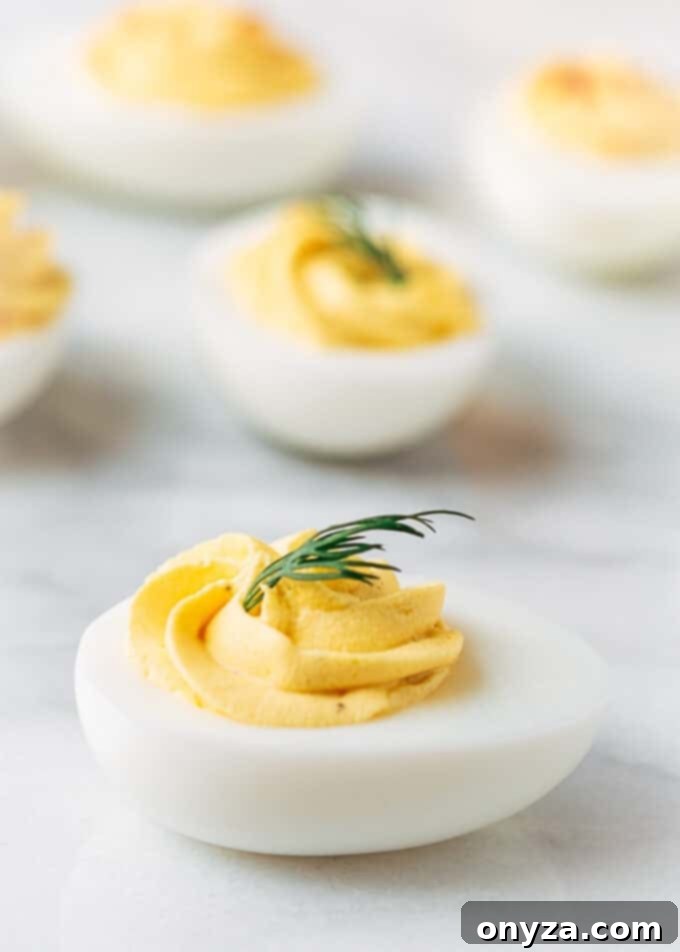
The Enduring Appeal of Classic Deviled Eggs
While the culinary world constantly introduces exciting new twists and creative variations, there’s an undeniable charm and comforting familiarity in the classic. Few appetizers evoke the same sense of nostalgia and universal delight as the humble yet magnificent deviled egg. For many, these creamy, flavorful bites are more than just a dish; they’re a timeless staple that brings back a flood of cherished memories.
My own journey with Classic Deviled Eggs harks back to childhood – the vibrant spectacle of peeling brightly colored shells on Easter Sunday, the relaxed atmosphere of summer picnics by the pool, and the palpable excitement of New Year’s Eve gatherings. They symbolize warmth, tradition, and the joy of sharing simple, delicious food with loved ones. It’s a testament to their perfection that they remain perpetually fresh and are one of those rare recipes that never seem to yield leftovers, always disappearing long before the party ends.
Their enduring popularity isn’t just about sentimentality; it’s also about their incredible versatility and straightforward preparation. Deviled eggs are effortlessly sophisticated, making them ideal for formal occasions, yet they possess a down-to-earth appeal that suits casual get-togethers. Whether you’re hosting a grand celebration or a quiet family meal, these appetizers consistently deliver on taste and presentation.
Crafting the Perfect Classic Deviled Egg Filling
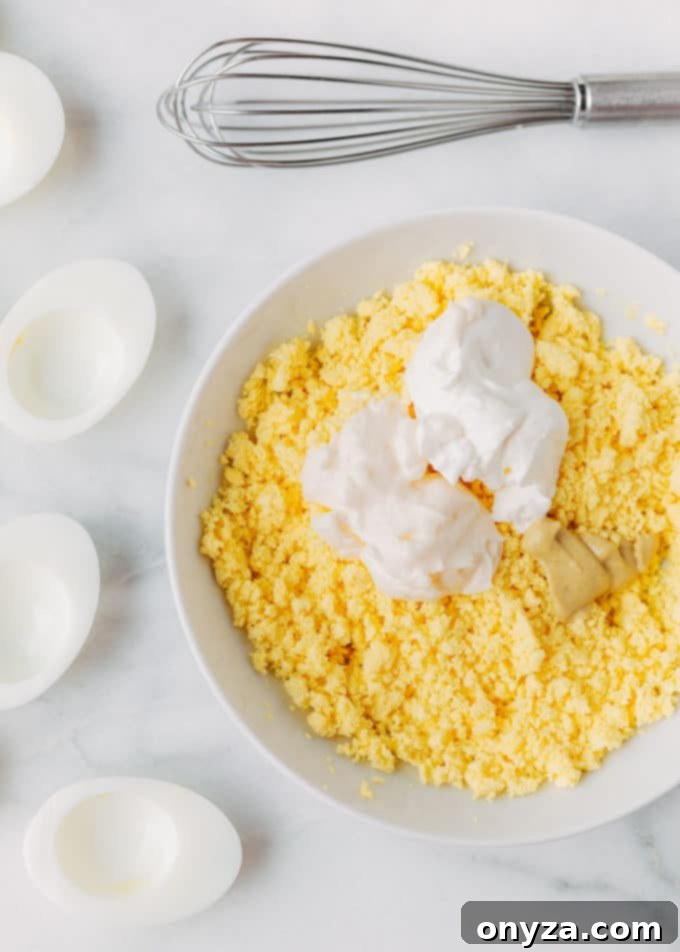
The secret to truly exceptional deviled eggs lies in the filling. For a genuinely classic experience, I advocate for simplicity, allowing the quality of each ingredient to shine. My go-to recipe calls for just a few core components: rich mayonnaise for body, a touch of sour cream to elevate the creaminess to a luxurious level, premium Dijon mustard for its distinctive tang, and the essential seasonings of salt and pepper. Occasionally, a few dashes of hot sauce are added to introduce a subtle, exciting kick, but this is entirely optional.
One of the most crucial choices in the filling is the mustard. Many traditional recipes might call for standard yellow mustard, but I strongly prefer Dijon mustard. Its superior flavor profile offers a fuller, more complex mustard aroma and a refined acidity that beautifully brightens the softer flavors in the filling without any harshness. This subtle yet significant difference elevates the classic deviled egg from good to truly extraordinary.
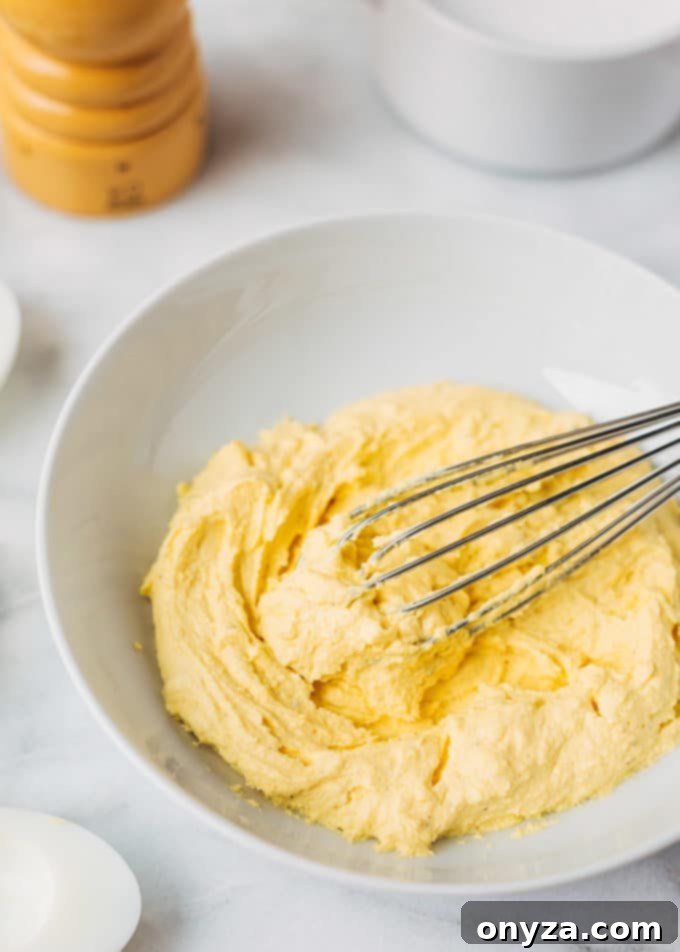
Achieving the ideal texture for the filling is paramount. I aim for a consistency that is remarkably smooth and creamy, devoid of any discernible lumps of egg yolk. To accomplish this, I typically start with a sturdy whisk, but for truly unparalleled smoothness, a hand mixer is my preferred tool. It effortlessly whips the yolks into a velvety mixture, ensuring every bite is a delight. However, if you prefer a filling with a bit more rustic texture, a spoon will suffice for mixing, allowing some of the natural egg yolk consistency to remain.
Presentation is key, especially when dealing with classic recipes that don’t rely on numerous additional ingredients. For an impressive and elegant finish, I highly recommend using a pastry bag fitted with a large star piping tip to fill the egg white halves. The ruffled edges created by the star tip beautifully complement the creamy filling, making each deviled egg look like a culinary masterpiece. It’s a simple technique that yields stunning results.
For a comprehensive breakdown of advanced tips and techniques for preparing deviled eggs, be sure to explore my dedicated tutorial: How To Make Deviled Eggs: The Ultimate Guide.
Elevating Your Deviled Eggs with the Perfect Garnish
Once your beautifully piped egg white halves are filled, the final touch comes with the garnish. Even in its classic form, garnishing adds both visual appeal and a delicate layer of flavor that complements the creamy filling. Time-honored choices include a sprinkle of vibrant paprika or a scattering of fresh herbs. Tiny sprigs of fresh dill lend a lovely, delicate green touch and a subtle herbaceous note, while snipped chives or tarragon offer a mild oniony or anise-like freshness respectively. These garnishes not only make your platter look more enticing but also contribute to the overall sensory experience.
Paprika is a particularly classic choice. A light dusting not only adds a warm pop of color, ranging from bright orange to deep red, but also imparts a subtle hint of smokiness, depending on the type of paprika used. For those who can’t decide, a combination of paprika and chives is a fantastic option; the contrasting colors and flavors work harmoniously. I find that chives, whether long, elegant segments or small, finely snipped pieces, pair exceptionally well when combined with paprika.
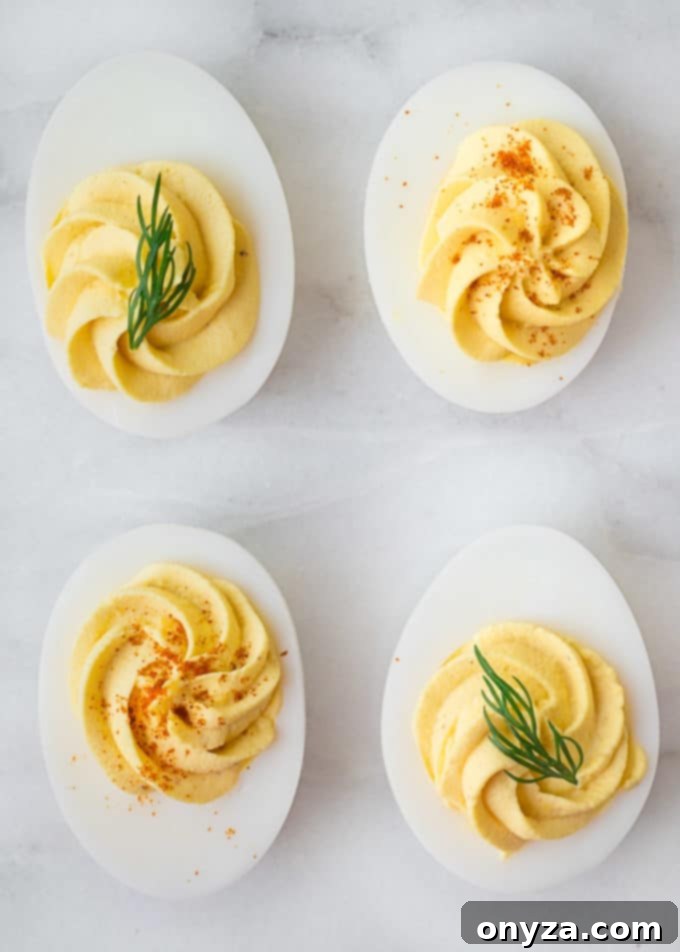
One of the most remarkable aspects of classic deviled eggs, with their simple yet profound filling, is their role as a magnificent canvas for creative garnishing. Because the core flavors are so balanced and unassuming, there’s little risk of conflicting tastes when you introduce more adventurous toppings. If a particular ingredient generally pairs well with eggs, chances are it will be a stellar garnish for your deviled eggs.
Over the years, after countless batches served at numerous appetizer tables, we’ve delighted in experimenting with a wide array of garnishes. Some of our absolute favorites that wonderfully complement the classic creamy filling include delicate ribbons of smoked salmon, luxurious dollops of caviar, thinly-sliced peppery radishes, finely diced fiery jalapeños, briny olives (especially Kalamata or green olives), and shards of intensely savory crispy prosciutto. These additions not only elevate the flavor profile but also transform your deviled eggs into show-stopping gourmet appetizers.
For even more inspiring ideas on how to finish your deviled eggs with flair, explore Brenda Score’s excellent resource: 12 Ways to Garnish Deviled Eggs.
Essential Tips for Perfect Hard-Boiled Eggs
The foundation of any great deviled egg recipe is, undoubtedly, a perfectly cooked hard-boiled egg. Overcooked eggs can result in a rubbery texture and an unappetizing greenish-gray ring around the yolk, while undercooked eggs are difficult to peel and too soft for the filling. Here’s a method for consistently flawless hard-boiled eggs:
- **Start with Cold Water:** Place your eggs in a heavy-bottomed pot and cover them with cool water, ensuring the water level is about 1 to 2 inches above the eggs.
- **Bring to a Gentle Boil:** Place the pot over high heat with the lid slightly vented. Bring the water just to a rolling boil.
- **Cover and Rest:** As soon as the water reaches a boil, remove the pot from the heat immediately. Cover the pot completely with the lid and let it stand for 12 minutes (for large eggs). This gentle residual heat method ensures even cooking without overcooking.
- **Ice Bath Shock:** Promptly transfer the cooked eggs to a large bowl filled with ice water. Let them sit in the ice bath for at least 10 minutes. This step is crucial for two reasons: it stops the cooking process to prevent the green ring, and it helps the egg shells peel off much more easily.
- **Easy Peeling:** Once cooled, peel the eggs under cold running water. The running water helps to wash away shell fragments and slips between the membrane and the egg white, making the process smoother.
Using slightly older eggs (about a week old) can also aid in easier peeling, as fresher eggs tend to cling more to their shells.
Make-Ahead and Storage Guidance
Deviled eggs are an ideal appetizer for entertaining because many of the components can be prepared in advance, saving you precious time on the day of your event. This allows you to focus on the final assembly and presentation, ensuring your deviled eggs are as fresh and beautiful as possible.
- **Boil Eggs in Advance:** You can hard-boil your eggs up to two days before you plan to serve them. After cooling and peeling, store the whole peeled eggs in an airtight container in the refrigerator.
- **Prepare the Filling Ahead:** The creamy yolk filling can also be made up to two days in advance. Once prepared, transfer it to an airtight container or, even better, directly into a piping bag (without the tip attached, sealed tightly) and refrigerate.
- **Assemble on Serving Day:** For the best taste and presentation, it’s recommended to slice the egg whites, fill them with the prepared yolk mixture, and add garnishes on the day of your party, ideally just an hour or two before serving. This prevents the whites from drying out and the garnishes from wilting or becoming soggy.
- **Storage After Assembly:** Once assembled, deviled eggs should be kept refrigerated until ready to serve. They are best consumed within 1-2 days of assembly, though they are always freshest within hours of being made. Ensure they are covered to prevent them from absorbing odors from other foods in the refrigerator.
Recipe Video:
Watch this space for a visual guide on making these delicious Classic Deviled Eggs!
Pin This Recipe | Print Recipe
Rating: 5 out of 5 stars (Based on 2 votes)
Classic Deviled Eggs
by Amanda Biddle
These creamy, classic deviled eggs with mayonnaise, sour cream, and Dijon mustard, are easy to make and a guaranteed crowd-pleaser.
Prep Time: 45 minutes | Cook Time: 15 minutes | Total Time: 1 hour
Servings: 6 servings (2 halves per serving)
Ingredients
- 6 large eggs
- 2 tablespoons mayonnaise
- 2 tablespoons sour cream
- 1-1/4 to 1-1/2 teaspoons Dijon mustard, to taste (I recommend Maille or Fallot)
- A few dashes of hot sauce, to taste (optional)
- Kosher salt and freshly-ground black pepper
- Paprika and/or chopped fresh herbs (like dill or chives), for garnish
Instructions
- Place eggs in a heavy-bottomed pot and cover with cool water by 1 to 2 inches. Vent lid and bring just to a boil. Cover pot completely, lower heat, and simmer for 30 seconds. Remove from heat and let stand, covered, 12 minutes. Transfer eggs to a bowl of ice water and let stand for 10 minutes before peeling under cold running water.
- Slice eggs in half lengthwise. Gently separate the egg yolks from the whites and place the yolks in a bowl.
- Use a small whisk to mash the egg yolks with mayonnaise, sour cream, and Dijon mustard until smooth. For an exceptionally smooth and creamy filling, a hand mixer is the preferred method. Season to taste with hot sauce (if using), salt, and pepper.
- Using a spoon, a pastry bag fitted with a star or plain tip, or a zip-top plastic bag with one bottom corner snipped off, fill each egg white half with some of the yolk mixture. Sprinkle each egg with a pinch of paprika and/or chopped fresh herbs for garnish. (Refer to the blog post above for additional creative garnish ideas.)
Notes
For more detailed tips and techniques, don’t miss my Ultimate Guide to Deviled Eggs.
If you prefer a more pronounced acidity in your Deviled Eggs, you can incorporate a small amount of white wine vinegar or lemon juice. Always taste the filling first, and begin with just 1/4 teaspoon of vinegar or juice. Since Dijon mustard already contributes a lovely tang to the recipe, it’s best to add any further acidic elements conservatively and adjust to your personal taste.
Prep Ahead:
You can efficiently prepare these deviled eggs in advance. Boil and peel the eggs, and make the creamy filling up to two days before you intend to serve. Store the egg white halves and the yolk filling separately in airtight containers within the refrigerator. On the day of your event, simply fill the whites and apply your chosen garnishes for a fresh and appealing presentation.
Nutrition Estimate
Calories: 121kcal | Protein: 7g | Fat: 9g | Saturated Fat: 2g | Cholesterol: 214mg | Sodium: 125mg | Potassium: 78mg | Vitamin A: 330IU | Calcium: 36mg | Iron: 1mg
Nutrition information is automatically calculated and should be used as an approximation only.
Please note that all our recipes have been developed using the US Customary measurement system and have not been specifically tested for high altitude/elevation cooking and baking adjustments.
⭐️ Like this recipe? Rate and comment below! ⭐️
