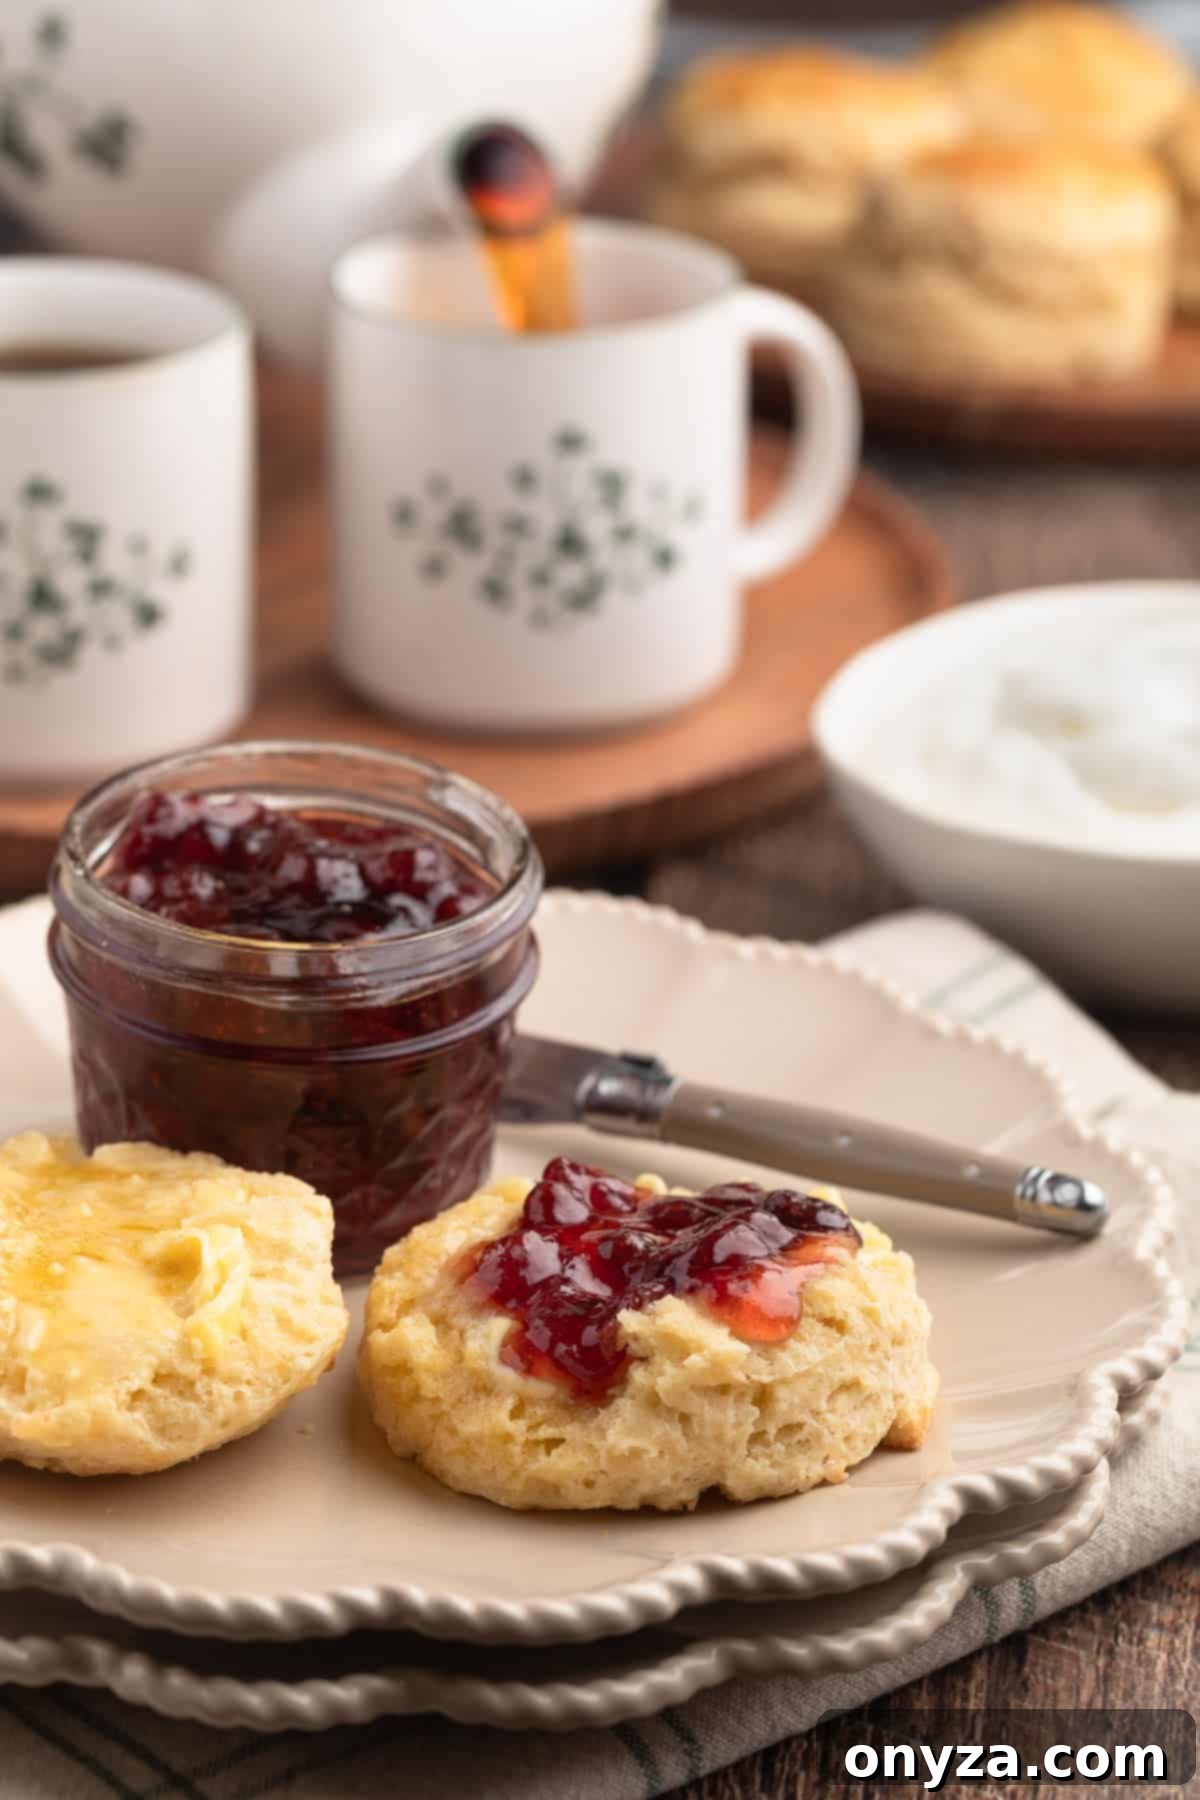
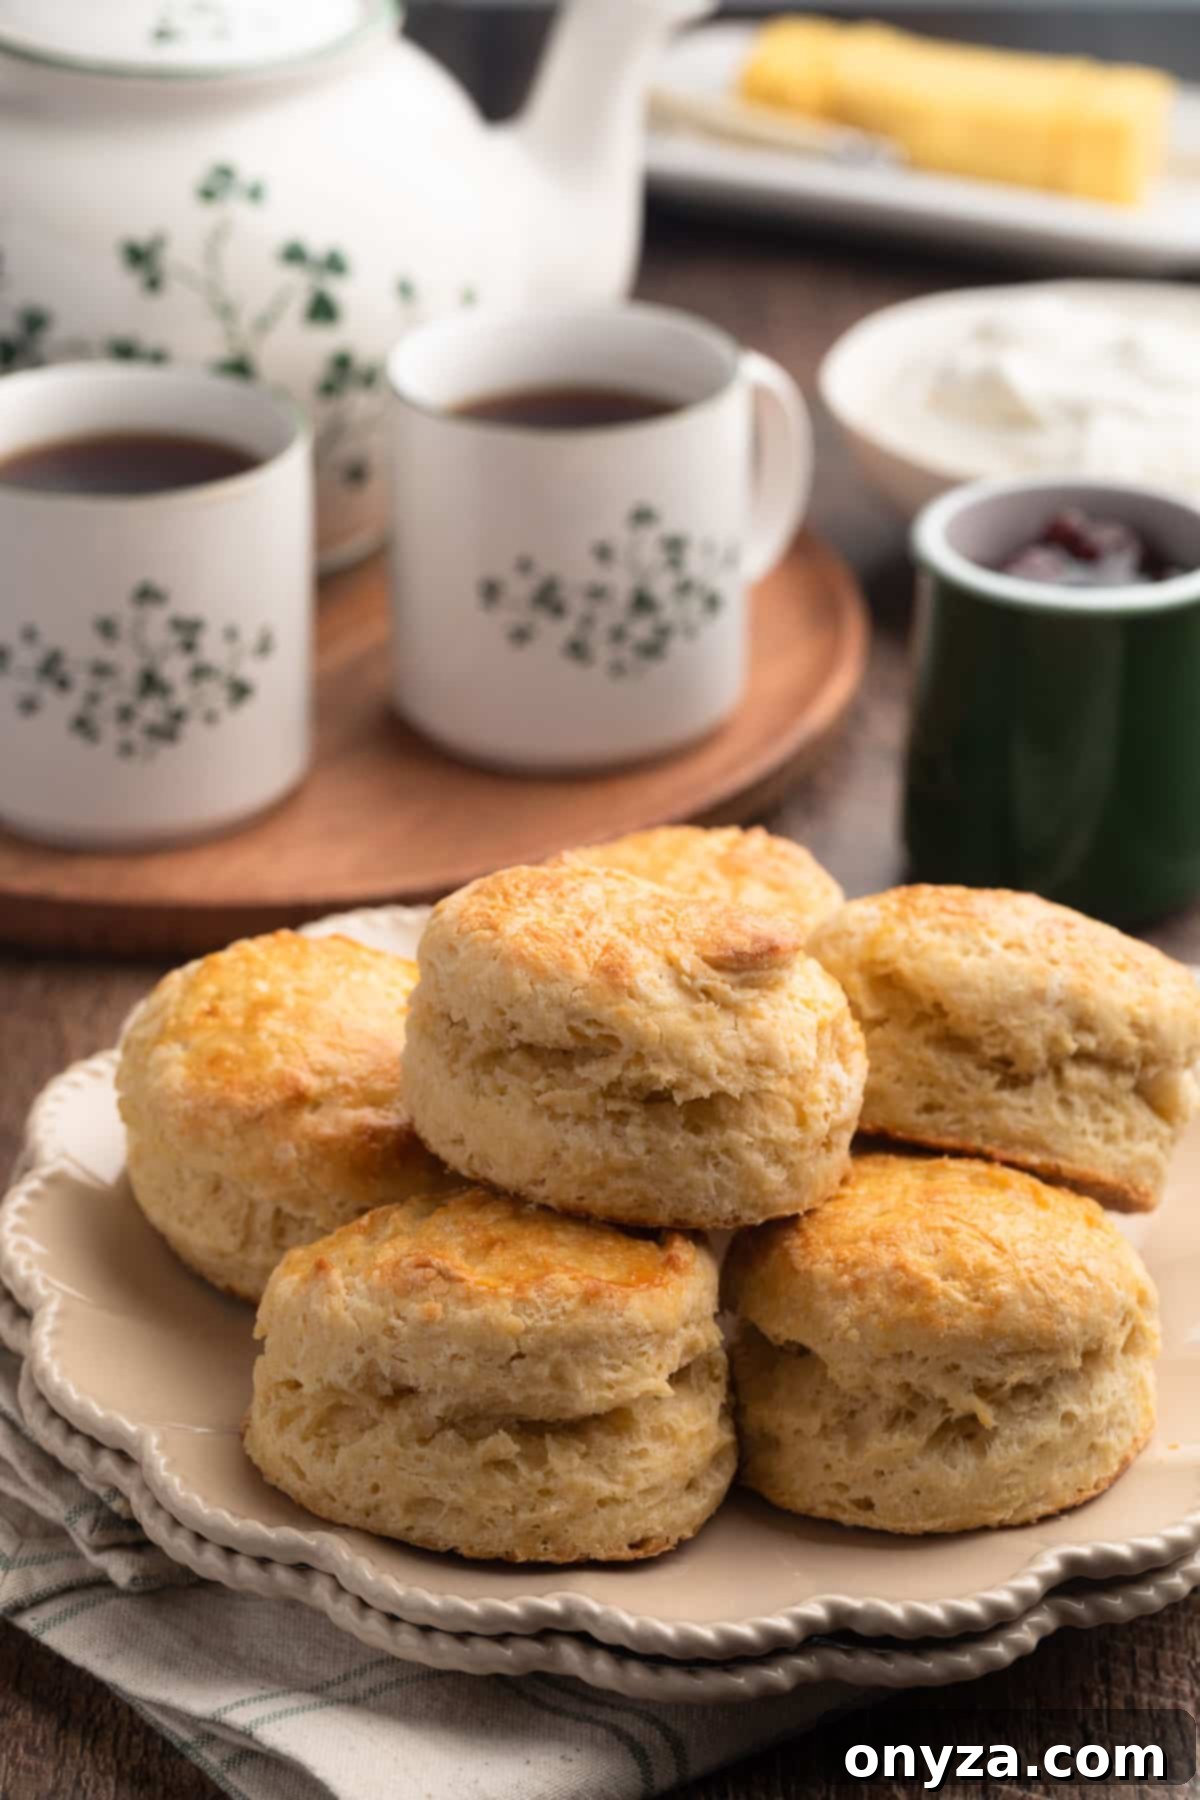
Easy to make with a handful of staple ingredients, Irish Scones are a traditional teatime treat. Lightly sweet with a tender crumb, serve these scones warm or at room temperature with jam, butter, whipped cream, or clotted cream.
Are you making these scones as part of your St. Patrick’s Day festivities? Enhance your celebration with more of our festive favorites, such as Colcannon, Beer-Braised Corned Beef with Whiskey-Mustard Glaze, Irish-American Soda Bread, and Guinness Beef Stew.
In this Post:
- What Are Irish Scones?
- The Quest for Authenticity: Crafting the Perfect Scone
- Key Ingredients for Superior Scones
- Crafting Your Irish Scones: A Step-by-Step Guide
- The Perfect Accompaniments: Serving Irish Scones
- Scone FAQs and Creative Variations
- Irish Scones Recipe Card
What Are Irish Scones? Understanding a Timeless Treat
For many, the mention of “scones” conjures images of delicate baked goods served with a comforting cup of tea. Yet, the characteristics of a scone can vary significantly depending on where you are in the world. As our readership is predominantly based in the United States, it’s helpful to distinguish between the scones commonly found in America and their traditional counterparts across the Atlantic, particularly in Ireland and the UK.
In Ireland and the United Kingdom, scones are typically much closer to what Americans might describe as a biscuit. They are generally less sweet, possessing a subtly rich flavor profile that acts as the perfect canvas for indulgent toppings. These traditional scones are almost always served with a generous dollop of jam, alongside either whipped cream or luxurious clotted cream. Sometimes, dried fruits like raisins (often called sultanas in the UK) or currants are incorporated into the dough, adding a pleasant chewiness and extra burst of flavor.
American scones, on the other hand, often present a sweeter, richer profile. They frequently feature sweet additions such as strawberries, blueberries, or chocolate chips, and are commonly finished with a sweet glaze. Their butterier, crumblier texture makes them enjoyable on their own, often served as a breakfast item or a coffee shop treat without the need for additional spreads.
Culturally, scones hold a central place in the afternoon tea tradition throughout Ireland and the UK. They are the star of both “afternoon tea” and “cream tea” experiences, symbolizing a moment of relaxation and indulgence. In the US, while still enjoyed, their role is often relegated to a quick breakfast or a pairing with coffee, lacking the same ceremonial significance.
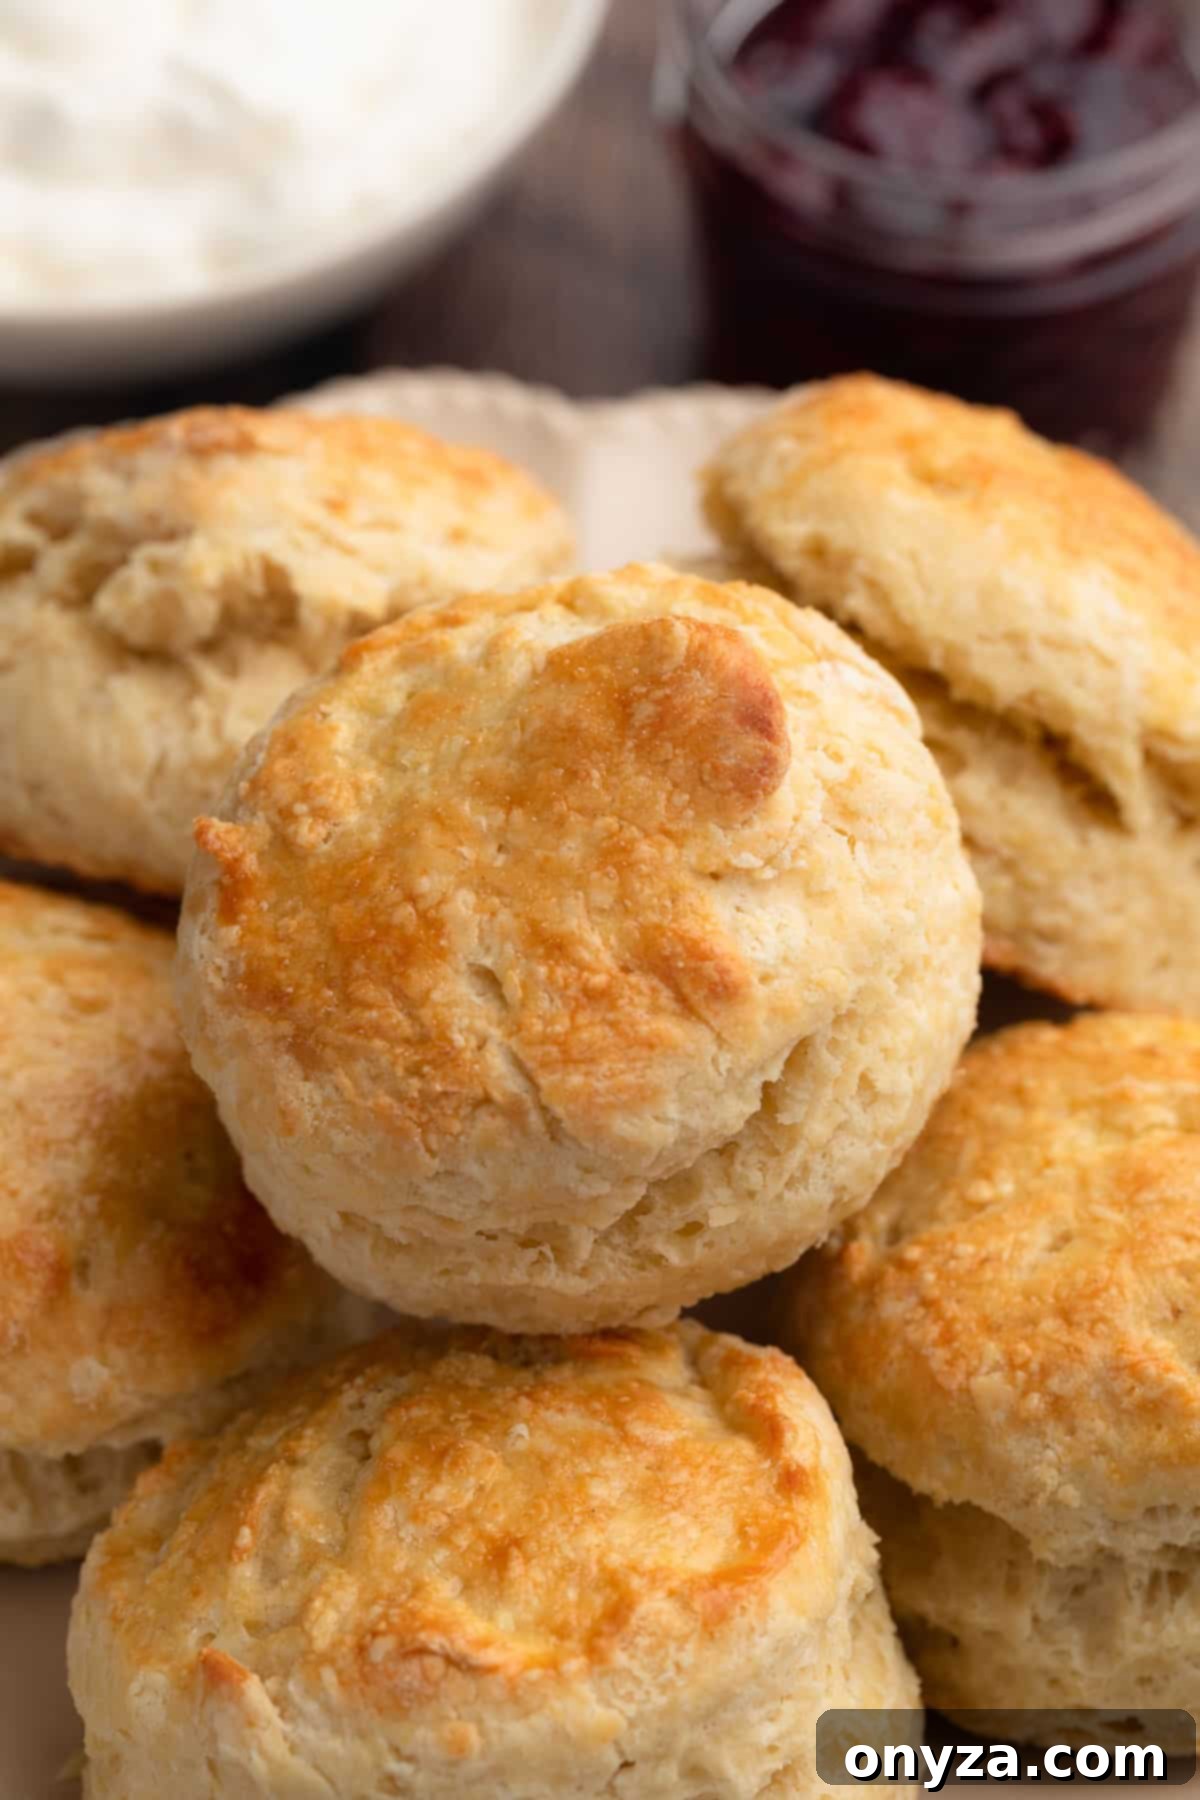
When comparing British and Irish scone recipes, a common distinction is that Irish scones tend to be slightly less sweet and often use a bit less leavening agent. However, it’s worth noting that “Irish Scones” encompass a wide array of family recipes and regional variations within Ireland itself. There’s no single, universally agreed-upon formula, with each household often having its cherished version passed down through generations.
The Quest for Authenticity: Crafting the Perfect Scone
Though I may not hail from the Emerald Isle, my passion for authentic baking led me on a deep dive into the world of Irish scones. This recipe is the culmination of extensive research and, I confess, many enjoyable test batches (my family certainly didn’t object to this part of the process!). My goal was to capture the true essence of an Irish scone – a light, tender crumb with a delicate flavor, perfect for accompanying a warm cup of tea.
My primary inspirations for this particular recipe draw from highly respected Irish culinary traditions. I studied the works of the renowned Allen family, particularly Myrtle and Darina Allen, and their esteemed Ballymaloe Cookery School, including recipes like “Mummy’s Sweet White Scones.” I also consulted Jp McMahon’s “Scones” from page 304 of The Irish Cookbook and David Bowers’ “White Scones” on page 227 of Real Irish Food: 150 Classic Recipes From the Old Country. These foundational sources provided invaluable insights into the traditional techniques and the subtle balance of flavors that define an authentic Irish scone.
By blending elements from these diverse, trusted sources, I’ve developed a recipe that I believe honors the spirit of Irish baking. It’s a testament to the comforting simplicity and delicious heritage of these beloved treats, bringing a taste of Ireland directly to your kitchen.
Key Ingredients for Superior Scones
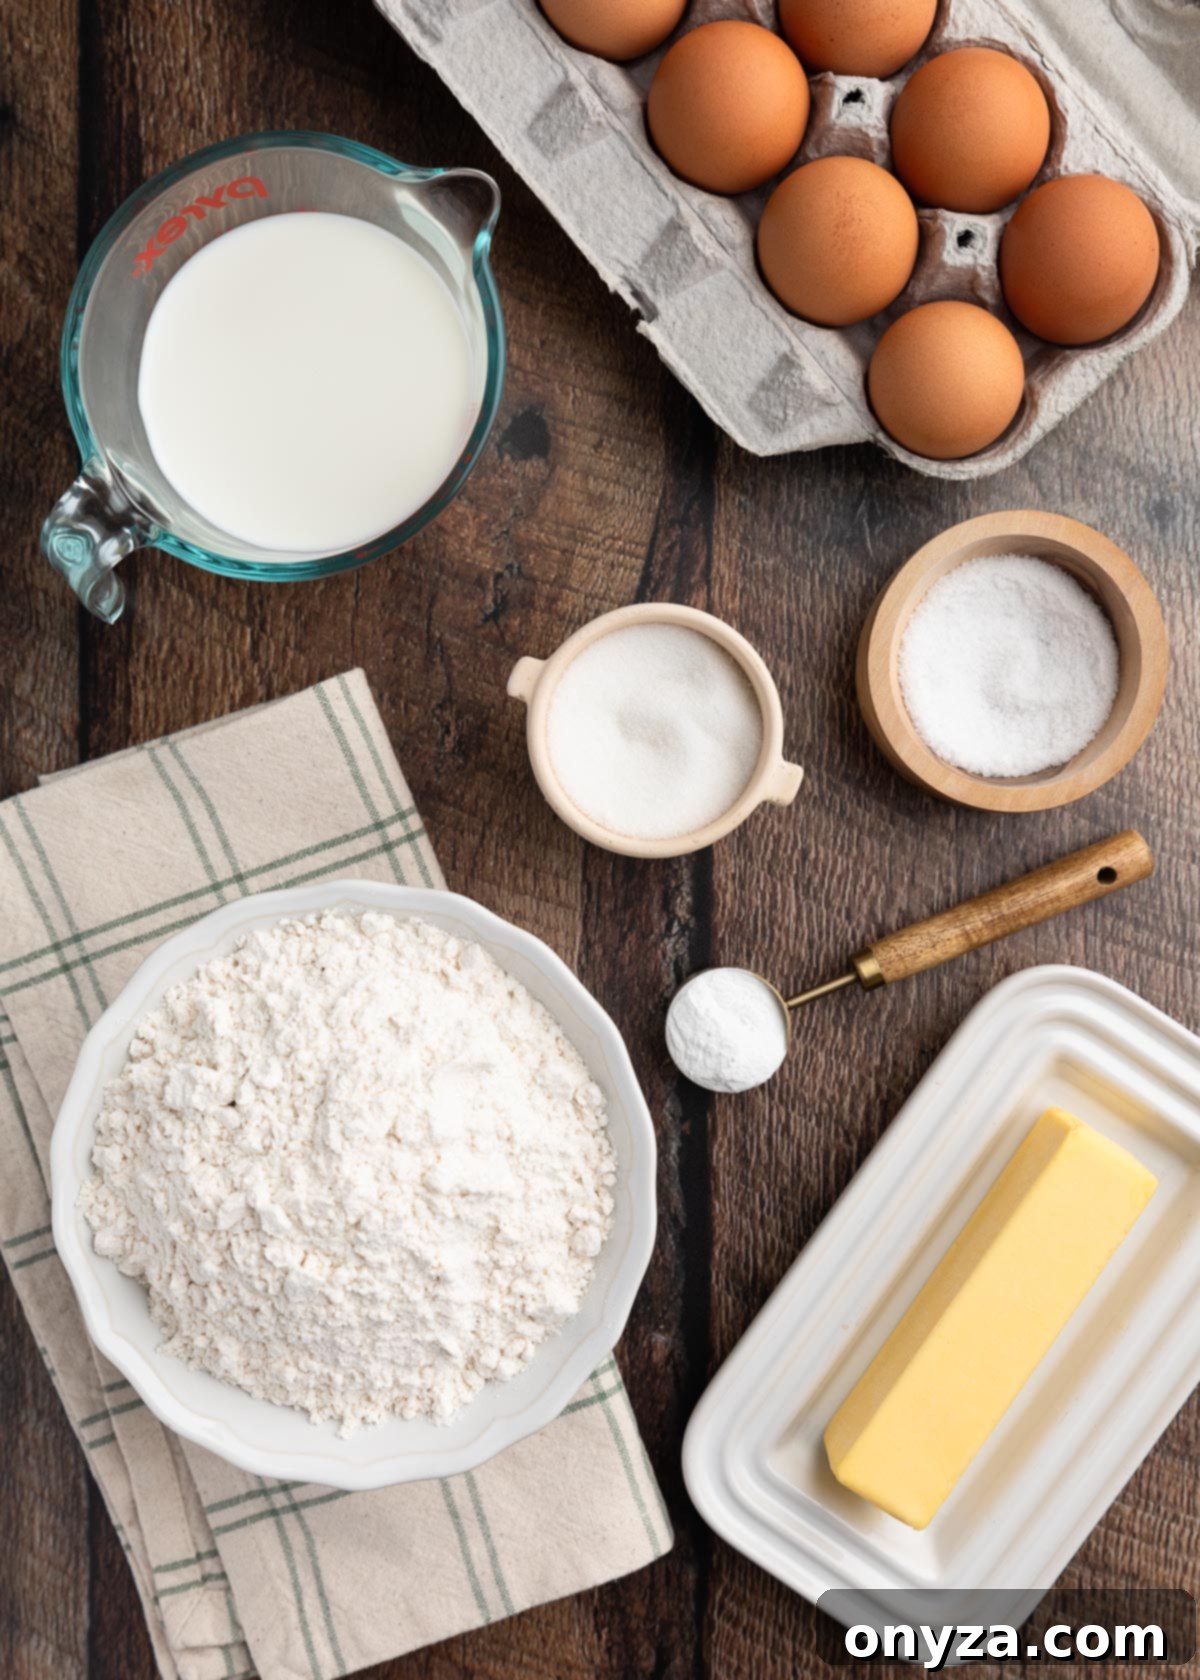
The beauty of Irish scones lies in their simplicity, relying on a few high-quality staple ingredients to create a truly exceptional result. Here’s a closer look at what you’ll need and why each component matters:
- All-purpose Flour: While some traditional recipes might call for self-rising flour, I advocate for using plain (all-purpose) flour and adding the leavening agent separately. This approach guarantees the freshness and potency of your baking powder, leading to a more consistent rise. For precise baking, weighing your flour with a kitchen scale is always recommended. If you’re measuring by volume, remember to fluff the flour in its container, then spoon it gently into your dry measuring cup and level it off with a straight edge (the “spoon and sweep” method). This prevents over-packing, which can lead to dense scones. See my detailed notes below for selecting the ideal flour.
- Baking Powder: Crucial for the scone’s lift and airy texture, choose an aluminum-free baking powder, such as Rumford, for the best flavor. Aluminum-based baking powders can sometimes impart a metallic aftertaste, which you definitely want to avoid in delicate baked goods like scones.
- Granulated Sugar: The sweetness level in traditional Irish scones is a nuanced affair. Some historical recipes, like McMahon’s, omitted sugar entirely, while others used up to a quarter cup. Irish scones are designed to be subtly sweet, complementing rich jams and creams rather than competing with them. After extensive testing, we found that 3 tablespoons of granulated sugar struck the perfect balance for a tender crumb that pairs beautifully with various toppings.
- Salt: A pinch of salt is essential to enhance the flavors of the other ingredients and balance the sweetness. I prefer using fine sea salt for its clean taste, but Diamond Crystal Kosher Salt can be used as a direct substitute.
- Unsalted Butter: The quality of your butter significantly impacts the flavor and texture of your scones. For an authentic taste, I highly recommend using Irish butter, such as Kerrygold. Its higher fat content and rich, creamy flavor are unparalleled. Ensure your butter is very cold, as cold butter is key to creating flaky layers.
- Milk: Whole milk is the preferred choice for Irish scones. Its higher fat content contributes to a richer, more tender crumb and a more luxurious mouthfeel compared to lower-fat milk alternatives.
- Eggs: The inclusion of eggs in Irish scones can be a point of debate among traditionalists. Some cooks firmly believe eggs have no place in a true scone. However, my research into esteemed Irish recipes revealed varying approaches. Bowers’ recipe uses one egg, Ballymaloe suggests one to two for a similar amount of flour, and McMahon’s recipe surprisingly calls for four. My family and I found that one large egg adds a delightful richness and structure to the dough, resulting in a scone that is both tender and holds its shape beautifully. You’ll also need a second egg for the egg wash, which provides a beautiful golden finish during baking.
Amanda’s Notes About Flour: Achieving the Perfect Scone Texture
The type of flour you use plays a pivotal role in the final texture of your Irish scones. During my research, I investigated the “plain white” or “cream flour” varieties commonly sold in Ireland. Most of these, such as Odlum’s, typically have a protein content of around 10%. Protein content is a crucial factor, as it directly influences flour strength and gluten development, which, in turn, dictates the crumb structure of your baked goods.
Higher protein flours create stronger gluten networks, leading to more structure and chewiness – ideal for breads like my Homemade White Bread or pizza dough. Conversely, lower protein flours, such as cake flour, result in softer, more tender baked goods. For the delicate, tender crumb characteristic of authentic Irish scones using readily available American ingredients, I recommend choosing an unbleached all-purpose flour with a medium protein content.
Brands like Gold Medal Unbleached All-Purpose Flour, which has approximately 10.5% protein, are excellent choices. For comparison, King Arthur All-Purpose Flour tends to be slightly stronger at about 11.7% protein, which might yield a slightly chewier scone. Given that European flours are often milled from softer wheat varieties than their American counterparts, I also experimented with white pastry flour. My test batches using Wegman’s house brand of pastry flour, with its similar 10.5% gluten-forming protein content, produced wonderfully light and tender scones. While both the all-purpose and pastry flour versions were delicious, the pastry flour scones were noticeably lighter and more delicate.
In summary: For optimal results and that signature tender Irish scone texture, aim for a medium-protein all-purpose flour (around 10% gluten-forming protein). Alternatively, you can experiment with soft white pastry flour or even a 50/50 blend of all-purpose and pastry flour to achieve an even lighter, more delicate scone.
Crafting Your Irish Scones: A Step-by-Step Guide
Baking perfect Irish scones is a delightful process that emphasizes gentle handling and meticulous preparation. Follow these steps to achieve light, flaky, and utterly delicious results.
Step 1: Prepare the Dry Ingredients and Butter
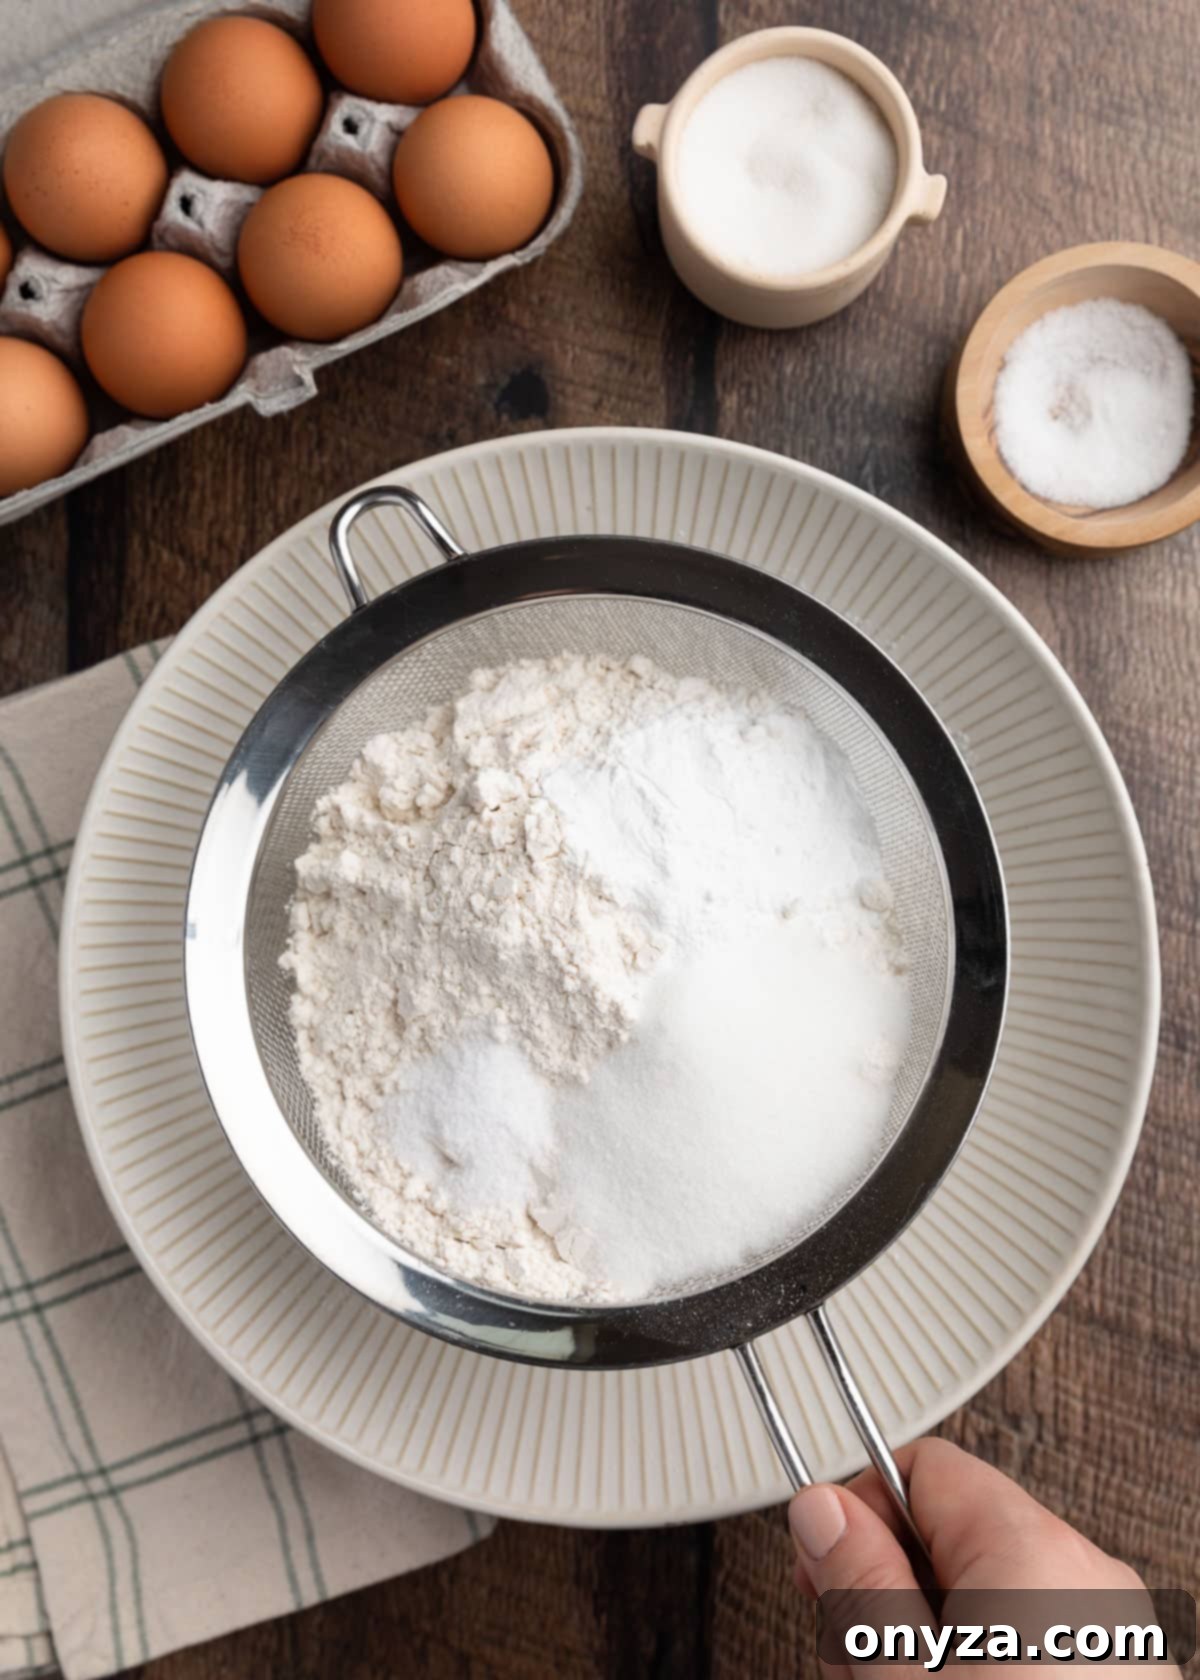
Begin by preheating your oven to 450°F (230°C) with the oven rack positioned in the middle. Line a half sheet pan with parchment paper to prevent sticking and ensure even baking. In a large mixing bowl, combine your all-purpose flour, baking powder, granulated sugar, and salt. It’s crucial to sift these dry ingredients together using a fine mesh sieve or a flour sifter. Sifting not only ensures all components are thoroughly mixed but also aerates the flour, which is a key step towards achieving a light and tender crumb. Some traditional recipes even suggest sifting the mixture multiple times for ultimate airiness!
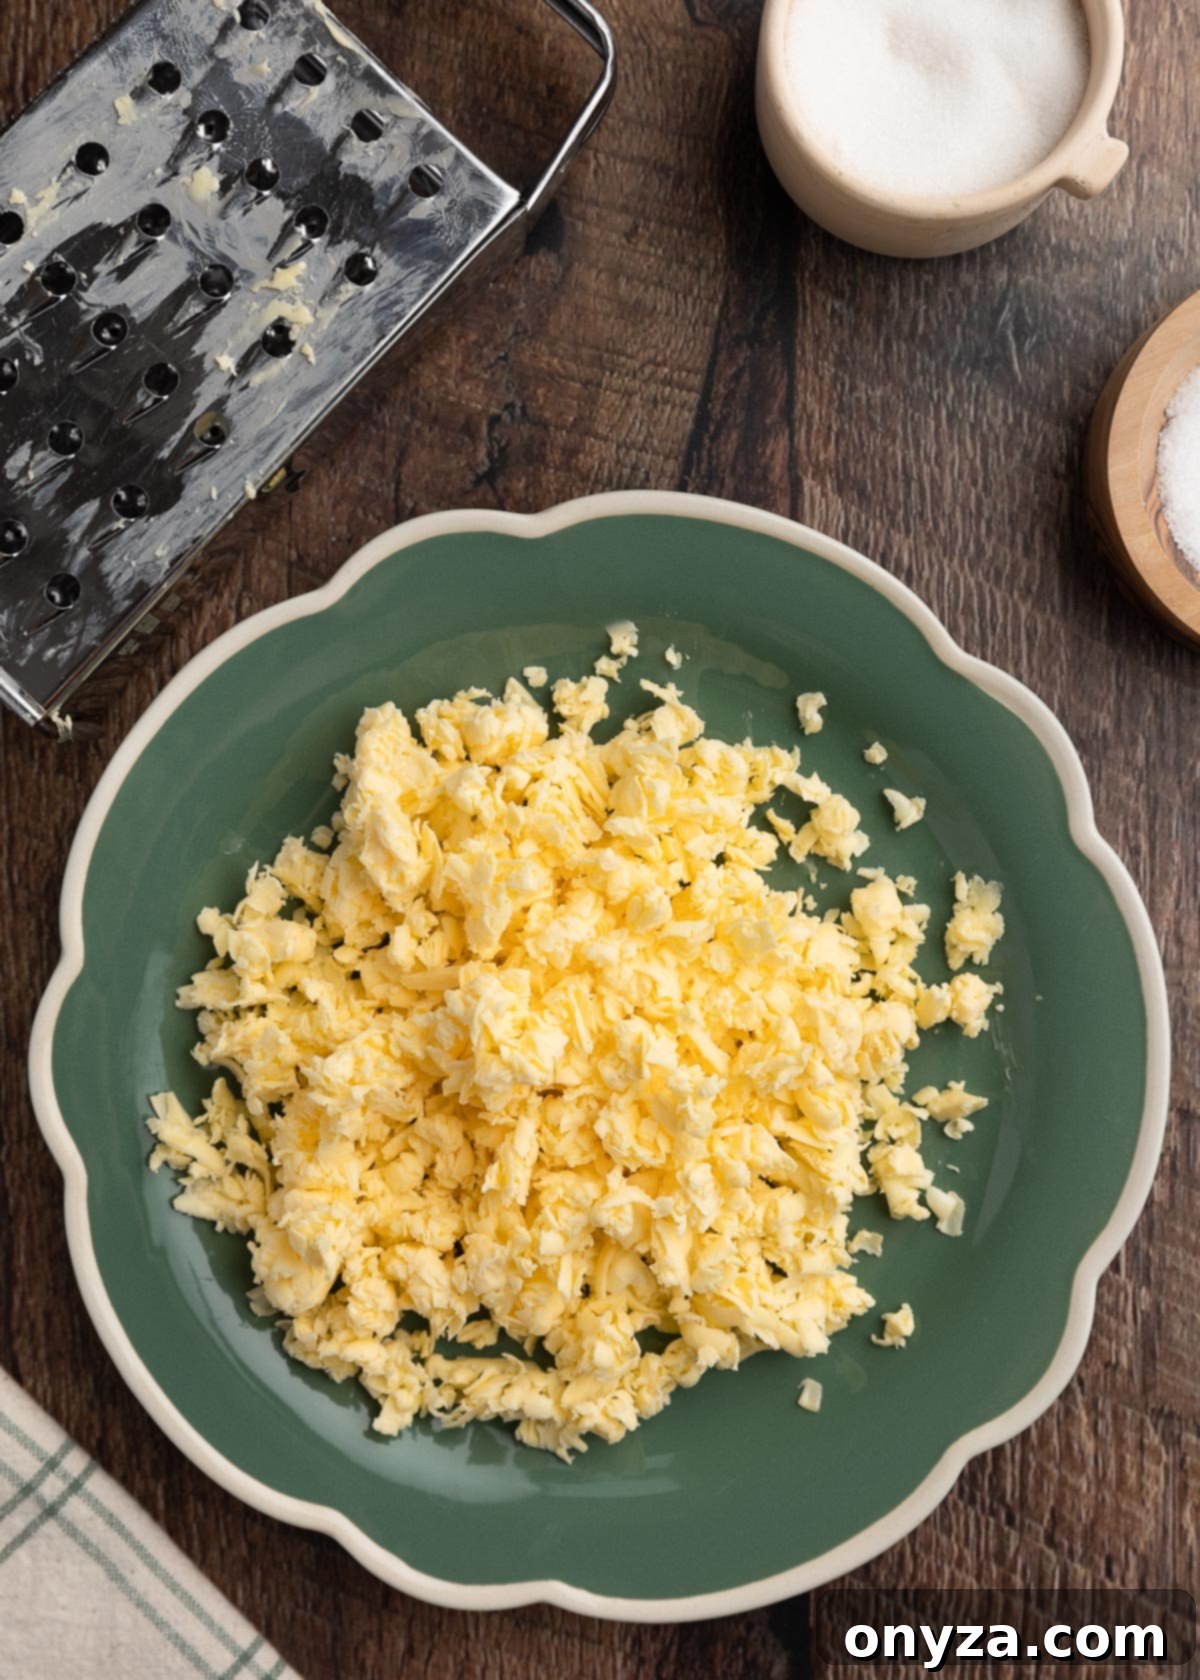
Next, prepare your unsalted butter. For years, I’ve relied on a fantastic tip for making biscuits and scones: grating frozen butter. This technique, which I believe I picked up from either Cooks Illustrated or Alton Brown, works wonders, even if it’s not a strictly authentic Irish method. Grating the butter keeps it exceptionally cold and allows it to blend seamlessly into the dry ingredients without softening prematurely. These tiny, cold butter fragments melt slowly in the oven, creating pockets of steam that result in a beautifully tender and subtly flaky scone.
To grate the frozen butter, unwrap the stick and use the large holes of a box grater or the coarse shredding disc of your food processor. If grating by hand, you can grate directly into your bowl of sifted dry ingredients or onto a piece of parchment paper for easier transfer. As you near the end of the butter stick, when it becomes too small to grate safely, simply chop the remaining piece into small bits with a sharp knife and add it to the grated butter. If you prefer a more traditional approach, ensure your butter is very well chilled in the refrigerator, then cut it into small cubes instead of grating.
Step 2: Incorporate the Butter into the Flour Mixture
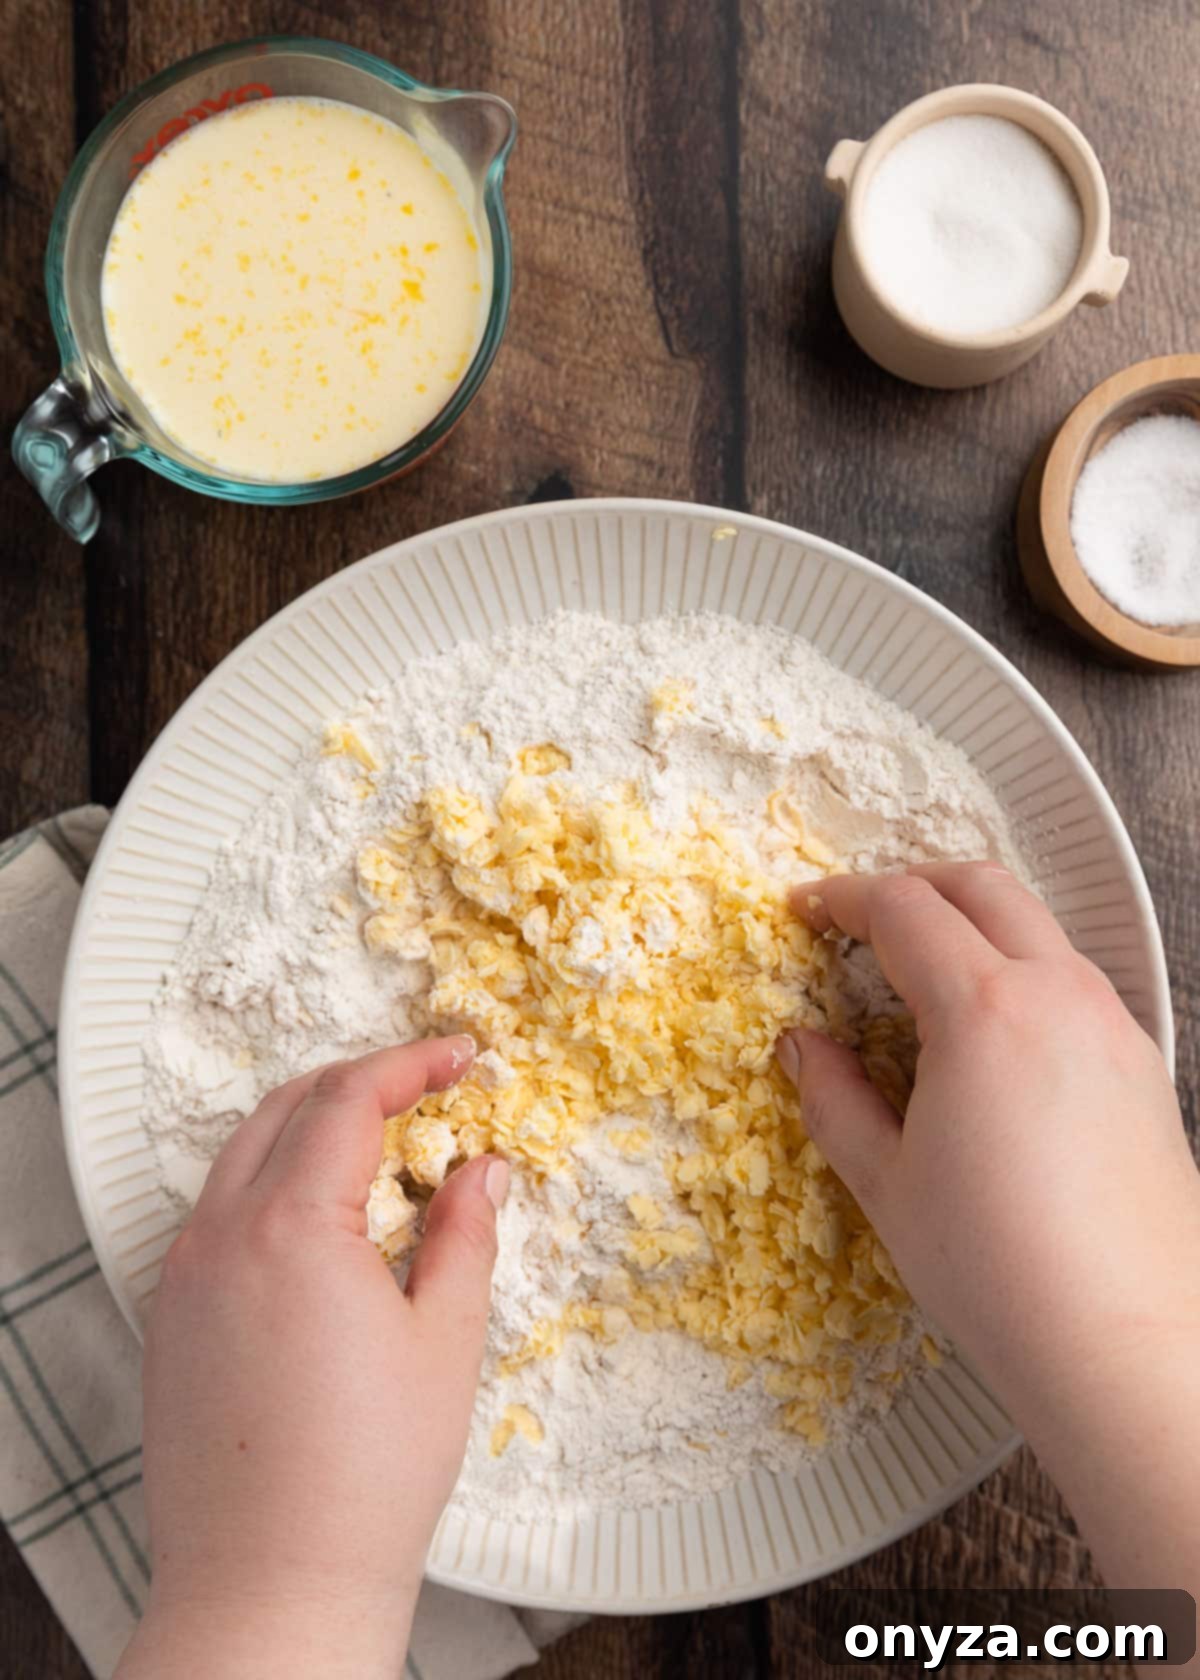
Once your butter is prepared, gently incorporate it into the dry ingredients. If using frozen grated butter, use your clean fingertips to quickly and lightly toss the grated butter with the flour mixture. The goal is to break up any butter clumps and ensure that each tiny piece of grated butter is evenly distributed and thoroughly coated in flour. This gentle handling helps prevent the butter from melting and keeps the dough cold.
If you opted for chilled cubed butter, use a pastry blender or your fingertips to “rub” the butter into the flour. Work quickly, breaking down the butter pieces until the mixture resembles coarse crumbs. The largest butter pieces should be no bigger than small peas. Again, avoid overworking the mixture, as excessive handling can warm the butter and develop too much gluten, leading to tough scones.
Step 3: Add the Wet Ingredients to Form the Dough
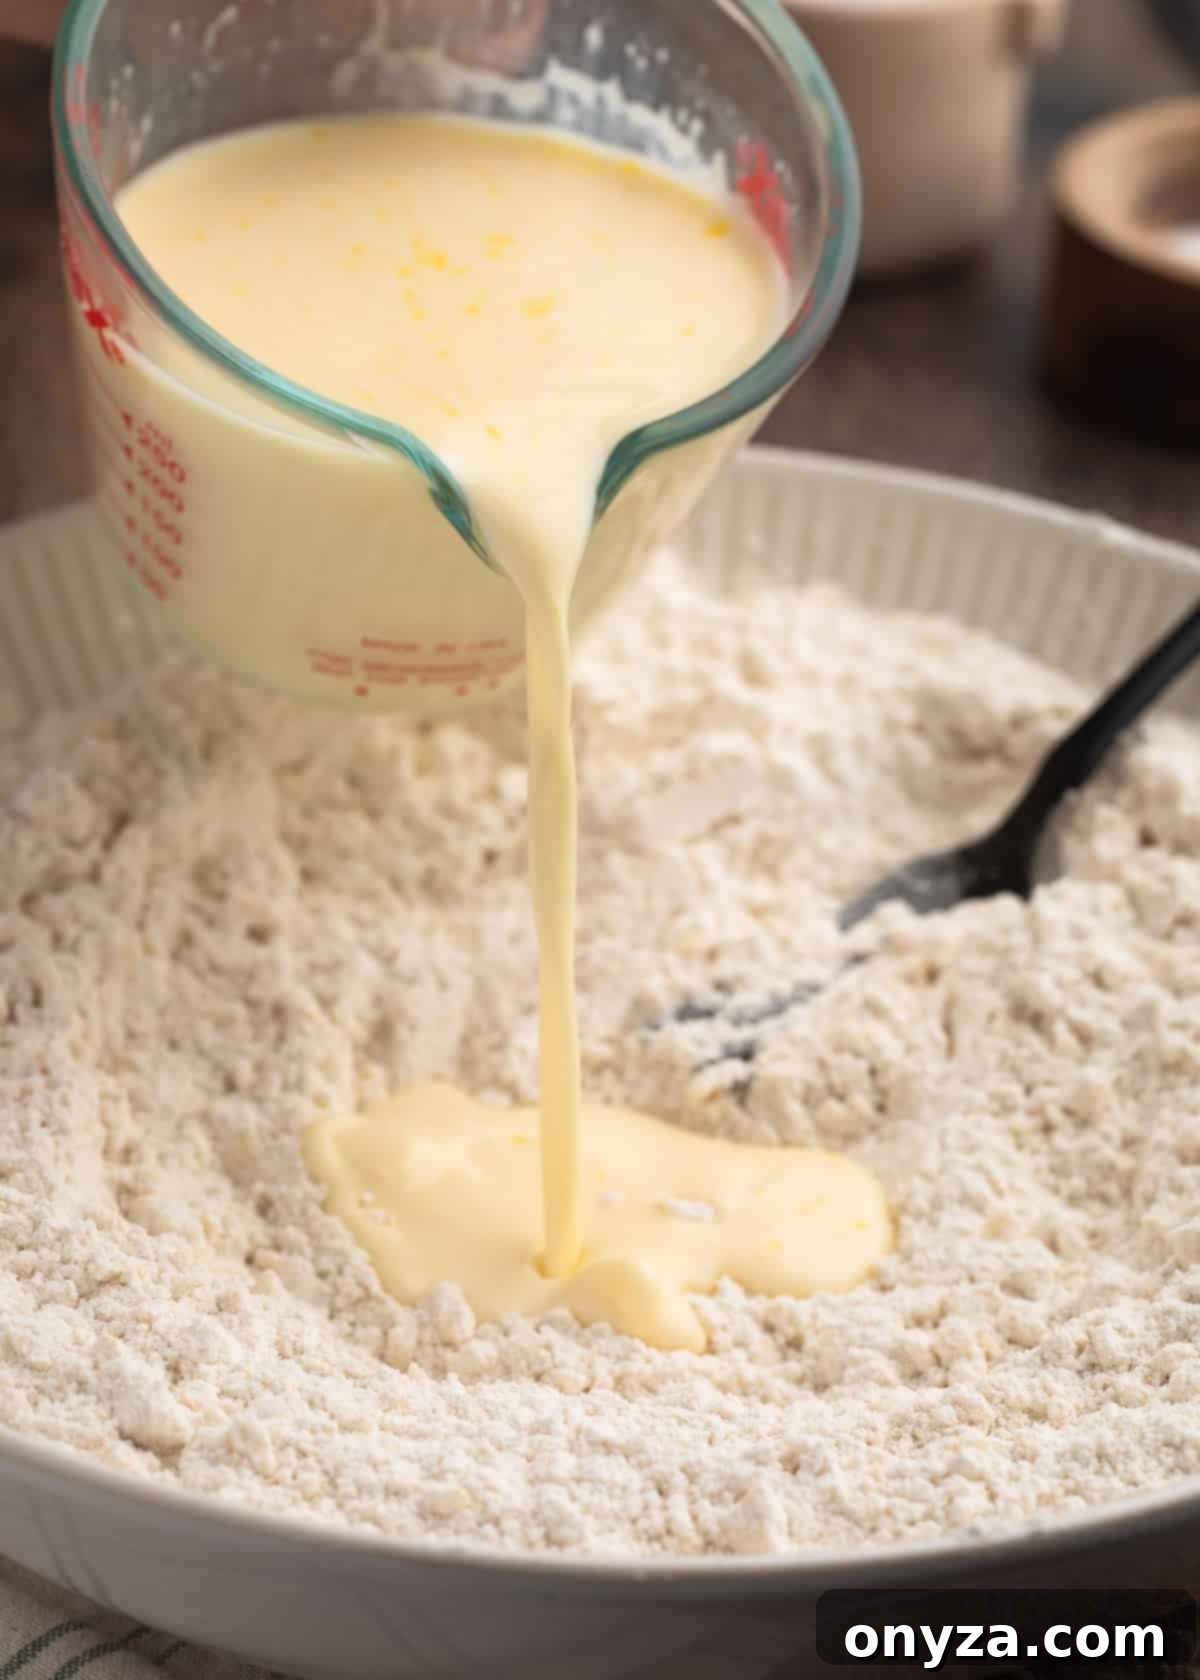
In a separate measuring cup, whisk together the cold whole milk and one large egg until well combined. Create a shallow well in the center of your butter-flour mixture and pour in the milk and egg combination. Using a fork or your hands, gently mix the wet and dry ingredients. Stir just until a soft, shaggy dough begins to form. The key here is minimal mixing – overworking the dough will activate too much gluten, resulting in dense and tough scones rather than the desired tender crumb. Some dry patches are perfectly acceptable at this stage; they will come together during the rolling process.
Step 4: Roll and Cut Your Scones
Turn the soft dough out onto a lightly floured surface. A silicone pastry mat is incredibly helpful here, as its nonstick surface often means you’ll need less additional flour for rolling, keeping your scones tender. Gently pat the dough into a cohesive ball, then roll it out evenly to a thickness of approximately one inch. This thickness is ideal for achieving a good rise and a satisfying scone.
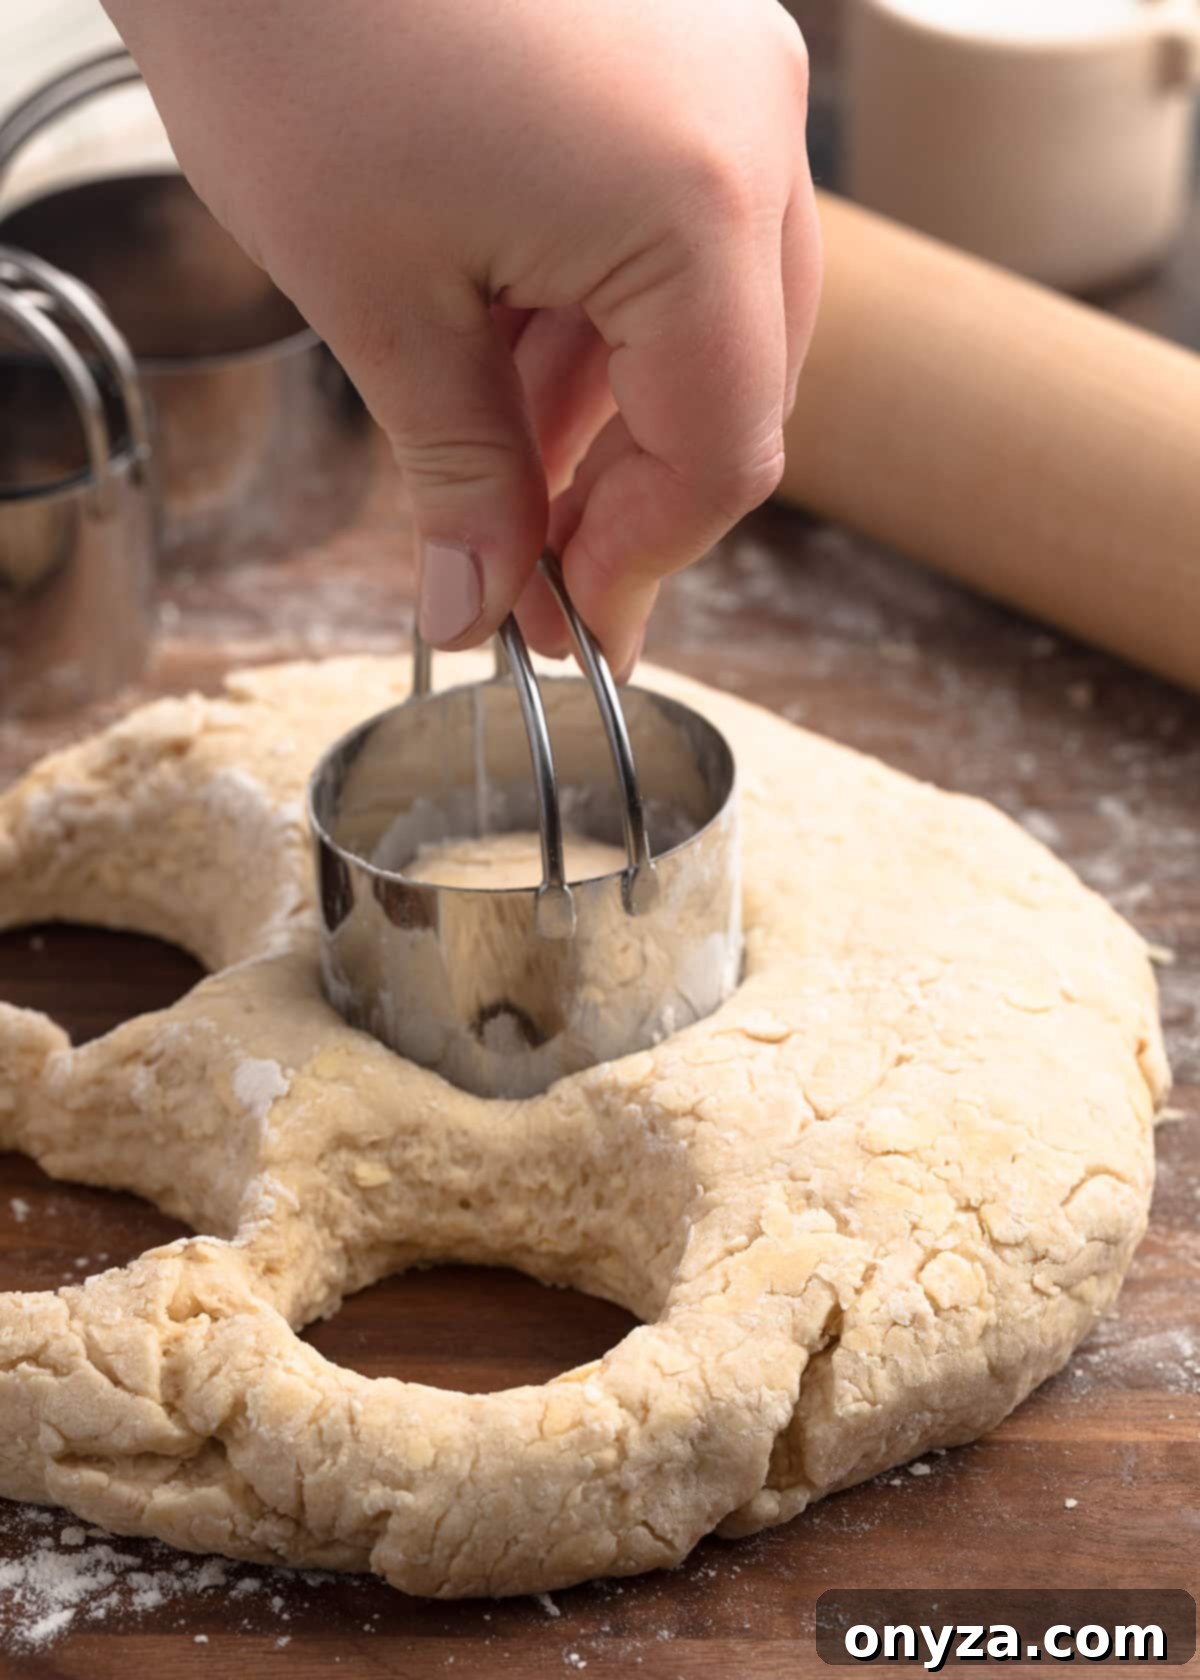
Now, it’s time to cut your scones. Use a 2-1/4 to 2-1/2 inch diameter biscuit cutter to create classic round Irish Scones. You can opt for a flat-edged or straight biscuit cutter, as shown in the images, or one with wavy/fluted edges. However, be aware that the dough often doesn’t retain the fluted shape much after baking. To prevent the cutter from sticking to the dough, dip it into flour between each cut. Position your cuts as closely together as possible on the dough round to maximize the number of scones you get from the initial roll. These first few scones will be the most tender, as the dough has been handled the least.
As you cut each scone, carefully transfer it to the prepared baking sheet lined with parchment paper. Once you’ve cut all you can from the first round, gently gather the dough scraps into a ball. Avoid kneading or overworking the scraps; just bring them together. Re-roll the gathered dough to a 1-inch thickness and continue cutting until all the dough is used. You should yield between 10 to 12 scones from this recipe.
Need new biscuit cutters? I highly recommend investing in a set of stainless steel cutters. They are durable, easy to clean, and typically available in sets of 3 to 5 (or more) sizes. I find having at least 5 different sizes offers excellent versatility for various baking projects. Consider a set like the Hulisen Flat 5-Piece Set.
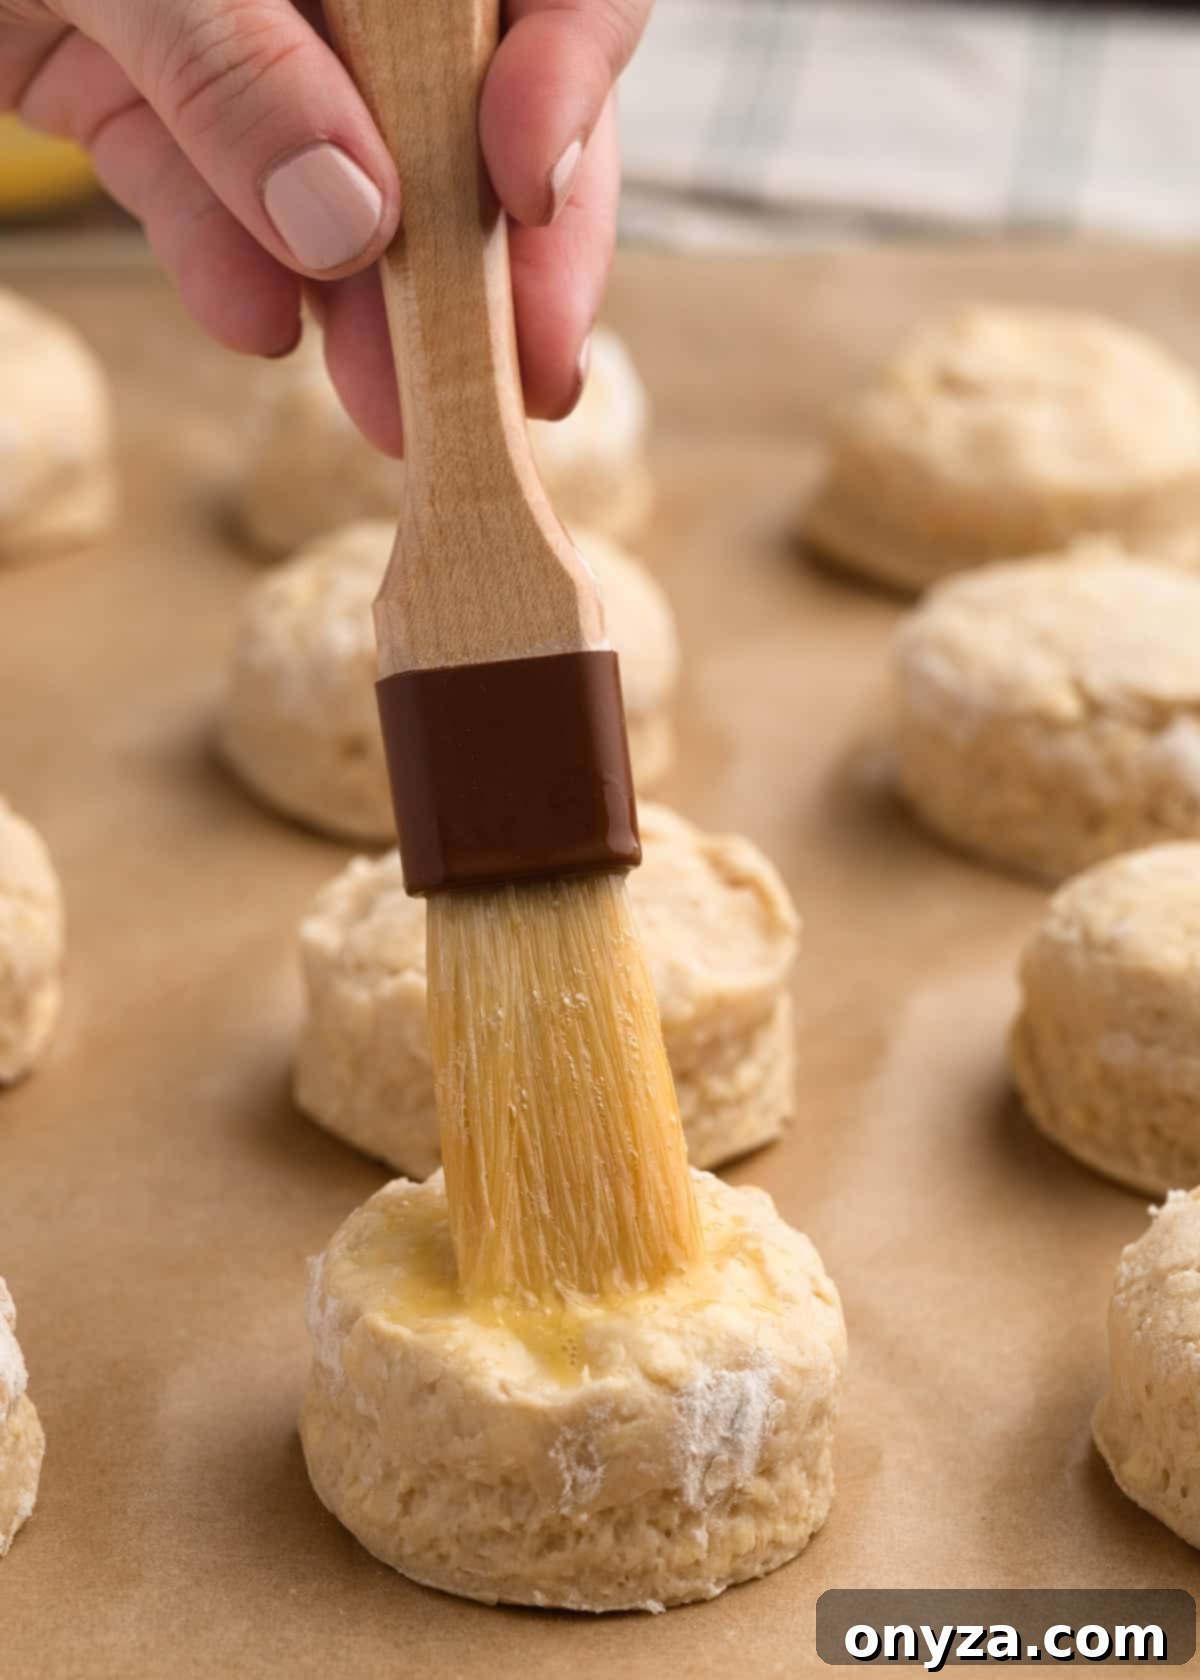
For a beautiful golden finish, whisk together the remaining large egg with about 1 teaspoon of milk in a small bowl to create an egg wash. Using a pastry brush, lightly brush the tops of your cut scones with this wash. This simple step will give them a lovely sheen and help them brown perfectly as they bake.
Step 5: Bake to Golden Perfection
Carefully place the baking sheet of prepared scones into your preheated 450°F (230°C) oven. Bake for approximately 12 to 15 minutes. The exact baking time may vary slightly depending on your specific oven and the type of bakeware you are using. You’ll know they are done when they have risen beautifully and are a rich golden brown on both their tops and bottoms. There’s a delicate balance to strike here: underbaked scones can be disappointingly gummy in the center, while overbaked ones risk becoming dry and tough. As Jp McMahon wisely advises in his recipe, a perfectly baked scone should sound hollow when gently tapped on the bottom.
Once baked, transfer the golden scones to a wire rack to cool for at least 10 minutes. While the aroma of freshly baked scones might tempt you to devour them immediately (and I wouldn’t blame you!), they are truly at their best when they are just warm, allowing their tender crumb and subtle flavors to fully develop. Cooling them slightly also makes them easier to split and serve.

The Perfect Accompaniments: Serving Irish Scones
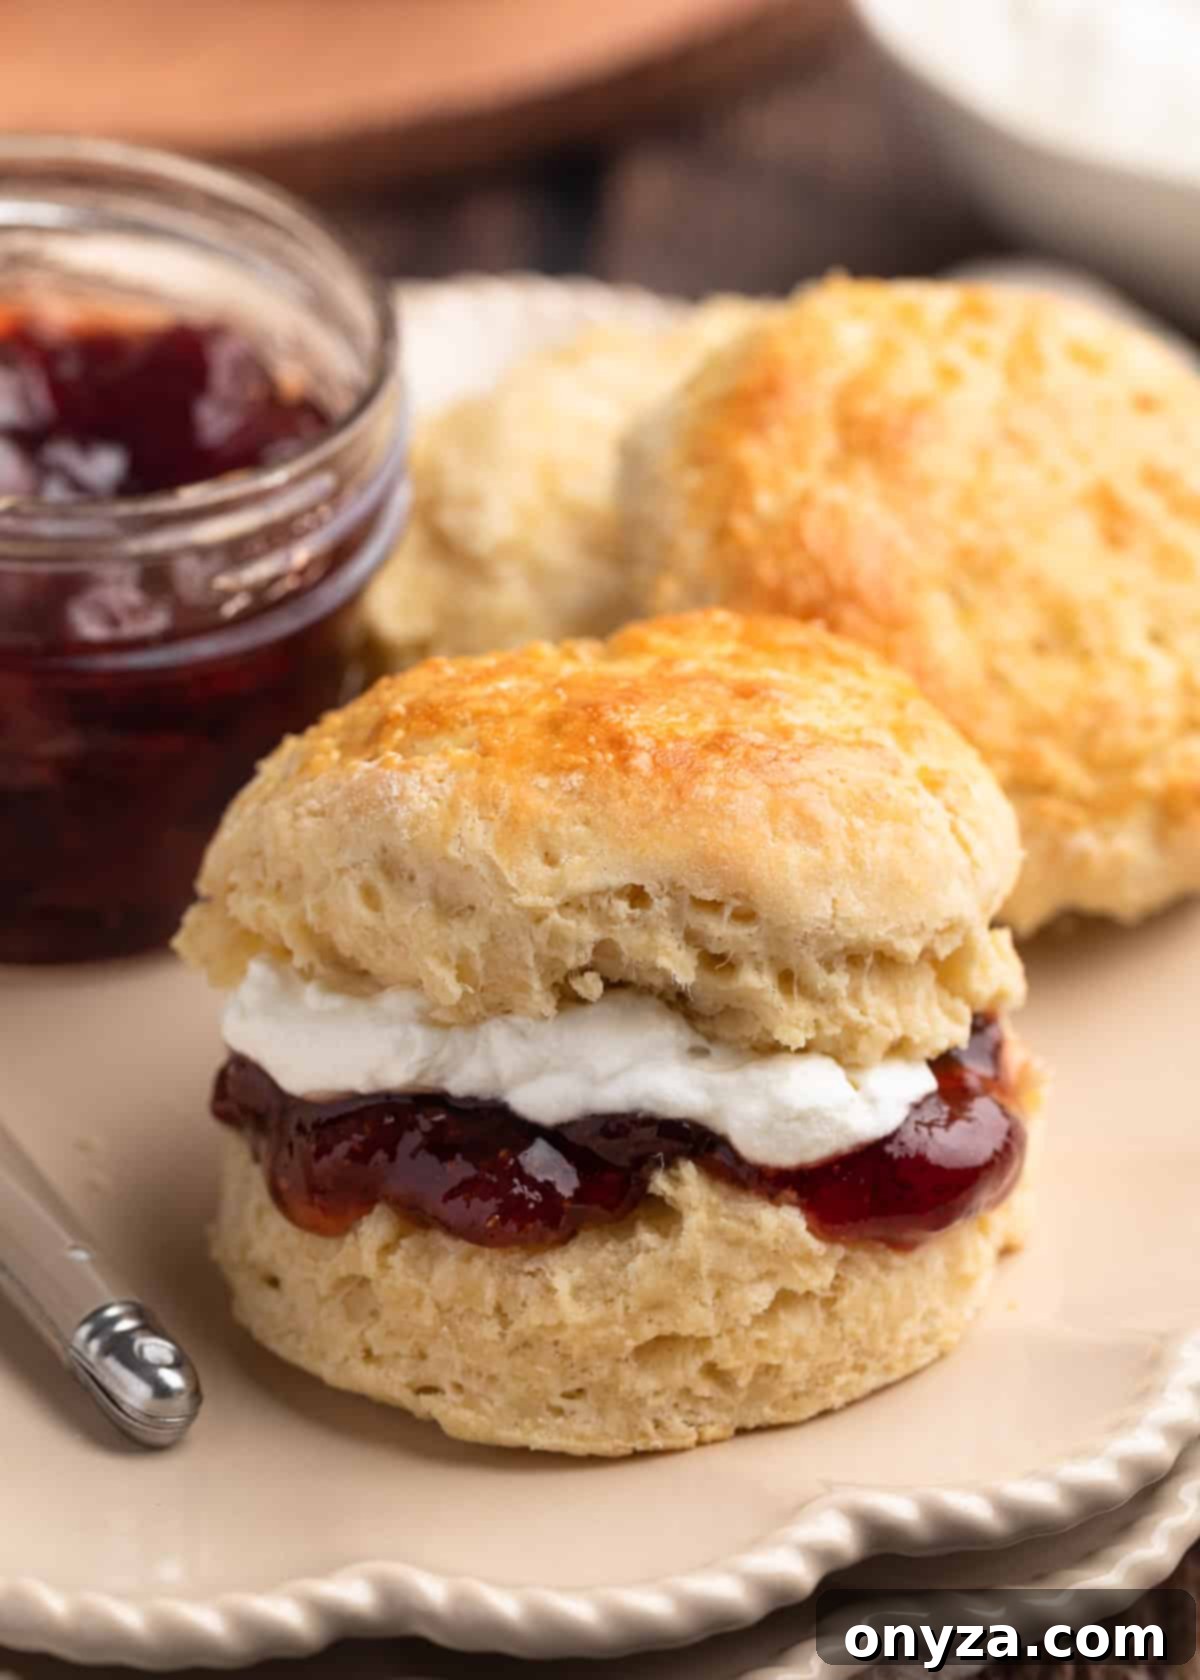
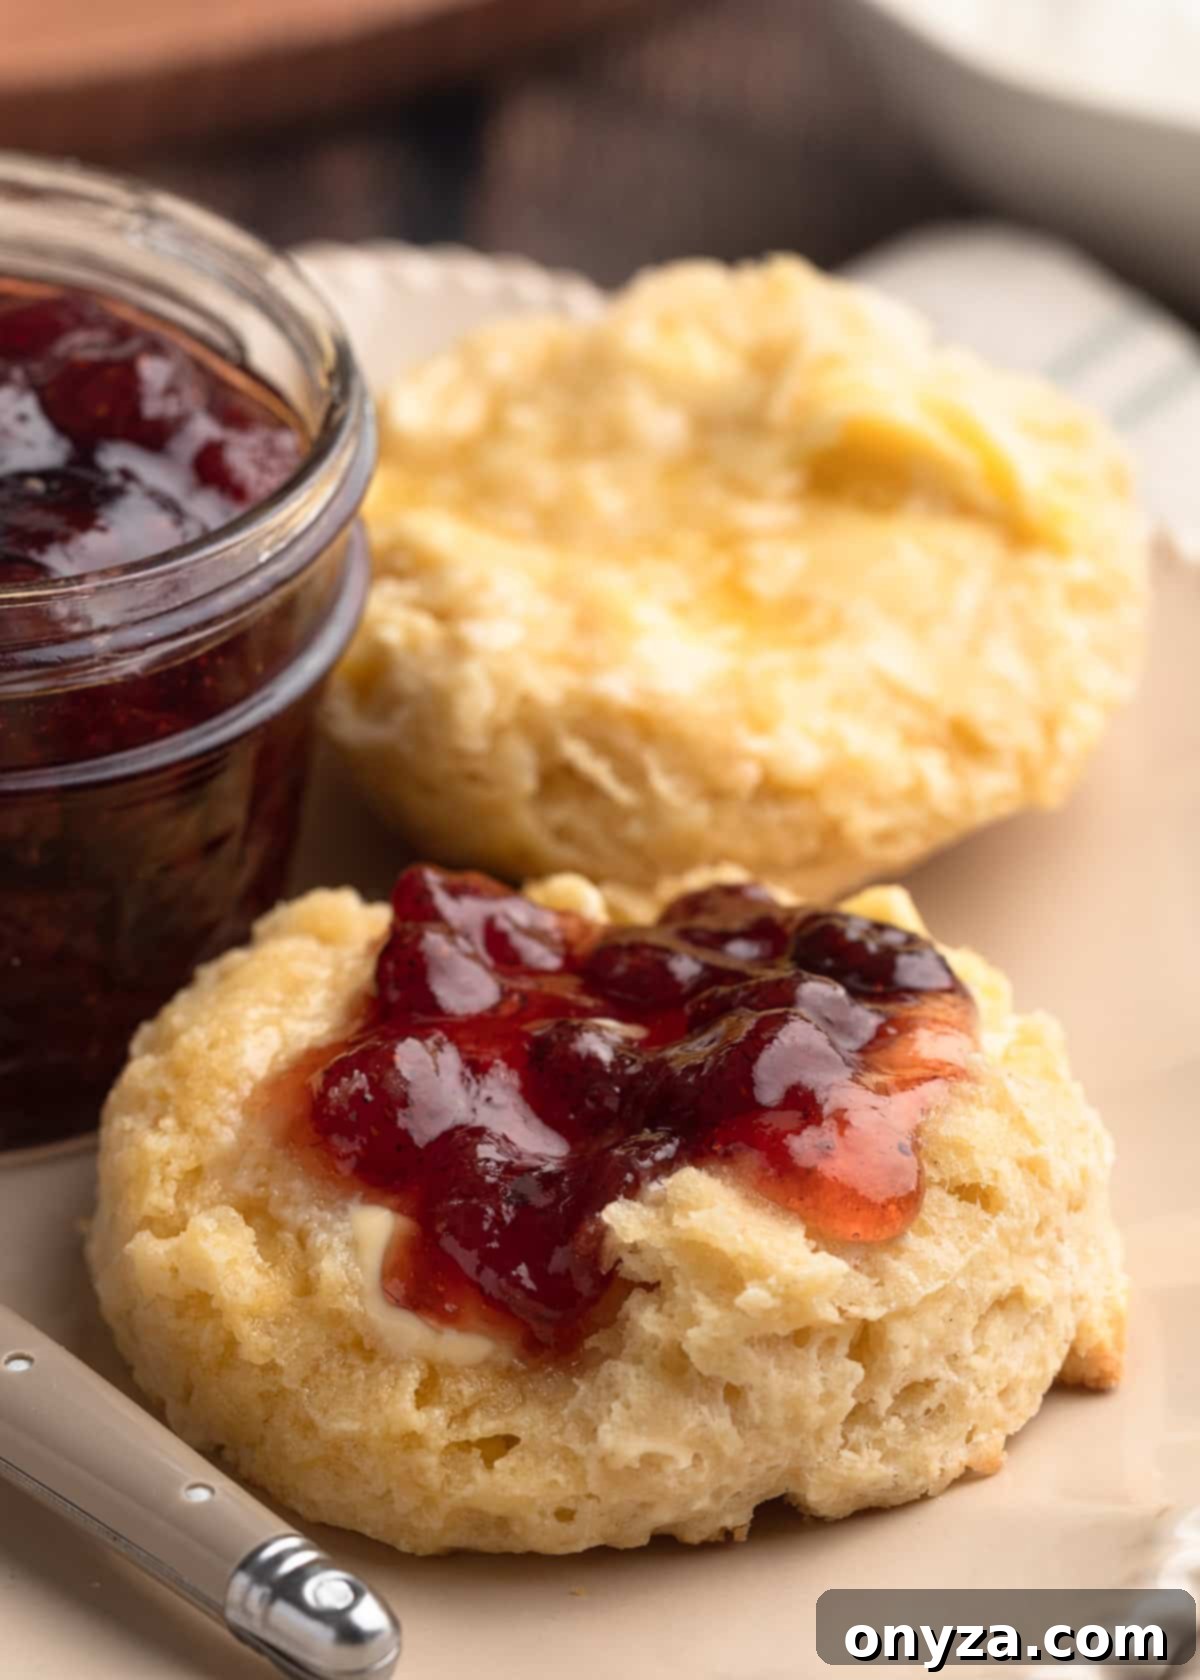
Serving Irish scones is an art in itself, transforming a simple baked good into a delightful culinary experience. To prepare them for serving, gently split each scone in half while it’s still warm. You can do this by carefully pulling them apart with your fingers, or for a cleaner cut, use a serrated knife.
Here are the classic and most delicious ways to enjoy your freshly baked Irish Scones:
- Traditional Jam: A dollop of good quality jam is indispensable. If you can find it, Follain is a highly recommended brand of Irish jam, with strawberry, blackberry, or black currant being popular and delicious choices. You might be able to source Follain jams online from specialty retailers like Food Ireland and Bewley Irish Imports. If Irish jam isn’t readily available, the English Tiptree brand offers an excellent alternative; their Little Scarlet Strawberry Preserves are a long-time favorite for their intense fruit flavor.
- Lightly Whipped Cream: A simple, unsweetened whipped cream provides a lovely contrast to the jam. Spread a layer of your chosen jam or preserves on the bottom half of the scone, then crown it with a generous dollop of softly whipped cream. The coolness and delicate texture of the cream perfectly complement the scone.
- Luxurious Clotted Cream: For the ultimate authentic experience, clotted cream is a must. This thick, rich, and velvety cream boasts a subtle, natural sweetness that adds an unparalleled layer of luxury to scones. While you can find recipes to make clotted cream at home, it’s also available pre-packaged in jars at many gourmet grocery stores, often found in the specialty cheese section.
- Creamy Irish Butter: Don’t underestimate the simple pleasure of good butter. A generous slather of rich, creamy Irish butter (like Kerrygold) applied directly to the warm scone, perhaps beneath your chosen jam, is always a delicious addition that enhances the scone’s inherent flavor.
No Irish scone experience is complete without a proper cup of tea. For an authentic pairing, consider brewing a cup of Barry’s Tea Gold Blend, imported directly from Ireland. This popular blend can often be found in the international or coffee/tea aisles of American grocery stores, providing the perfect warm beverage to accompany your homemade treat.
Scone FAQs and Creative Variations
Here are some common questions and ideas for adapting your Irish Scones:
Q. Can Irish Scones be reheated?
A. For the absolute best taste and texture, Irish scones are truly at their peak within a few hours of being baked. However, you can certainly store them for later enjoyment. Wrap them tightly in plastic wrap or place them in an airtight container at room temperature for up to one or two days. To reheat, place them in a preheated oven or toaster oven at 350°F (175°C) for just 3-5 minutes, until they are warmed through. This will help restore some of their fresh-baked goodness, though they won’t be quite as tender as when freshly made.
Q. Can I turn these into fruit scones?
A. Absolutely! While this recipe focuses on classic plain white scones, adding dried fruits is a popular and delicious variation in Ireland. To make fruit scones, simply incorporate 1/2 cup of dried currants or raisins (sultanas) into the dry ingredients after you’ve rubbed in the butter. The dried fruit will plump up slightly during baking, adding a wonderful chewiness and natural sweetness to your scones.
Q. Can I use buttermilk in this recipe?
A. Some traditional Irish scone recipes do indeed call for buttermilk instead of whole milk, such as David Bowers’ “White Scones” that I referenced earlier. However, the proportions and leavening agents typically differ when using buttermilk. Buttermilk scones often utilize baking soda, or a combination of baking soda and baking powder, to react with the acidity of the buttermilk. This particular recipe has been developed and tested specifically with whole milk and baking powder. While I haven’t tested it with buttermilk and these exact proportions, experimenting with a direct substitution without adjusting the leavening may yield different results. I plan to develop and publish a dedicated recipe for Irish Soda Scones, which traditionally use buttermilk, at a later time.
CRAVING MORE? Subscribe to my newsletter and join me on Facebook, Pinterest, and Instagram for the latest recipes and news.

Irish Scones
Ingredients
- 3-1/2 cups all purpose flour (450 grams)* (see note for flour selection)
- 1 tablespoon baking powder (preferably, aluminum free)
- 3 tablespoons granulated sugar
- ½ teaspoon fine sea salt or Diamond Crystal kosher salt
- 8 tablespoons unsalted butter (preferably, Irish—I use Kerrygold), frozen (see note for grating instructions)**
- ½ cup whole milk
- 1 large egg
- egg wash (1 large egg beaten with 1 teaspoon milk)
Instructions
- Preheat oven to 450 degrees F (230°C) with the rack in the middle position. Line a half sheet pan with parchment paper.
- In a large bowl, sift together the flour, baking powder, sugar, and salt. Set aside.
- Unwrap the frozen butter and grate it on the large holes of a box grater. (Alternately, you can use the coarse side of your food processor’s shredding disc.) You can either grate the butter directly into the bowl of dry ingredients or onto a piece of parchment. When you get to the end of the stick and can no longer safely use the grater, cut the remaining butter into small pieces with a knife.
- Toss the frozen butter with the dry ingredients, breaking up any clumps or large pieces with your fingertips and lightly rubbing the butter into the flour to ensure that the pieces are fully coated.
- In a measuring cup, whisk together the milk and 1 large egg. Make a well in the center of the dry ingredients and pour in the milk-egg mixture.
- Using a fork or your hands, combine the wet ingredients into the dry, just until a soft dough forms. For tender scones, don’t overwork the dough.
- Turn the dough out onto a lightly floured board. Pat it into a ball and then roll it into a 1-inch thick disc. Use a 2-1/4 to 2-1/2 inch biscuit cutter dipped in flour to cut the scones from the dough round. As you cut the scones, transfer them to the prepared baking sheet. Dip the cutter into flour between each cut.
- Gather the dough scraps and re-roll them to a 1-inch thick disc. Repeat the cutting and rolling process until all of the dough is used.
- Lightly brush the tops of the scones with egg wash. Bake for 12-15 minutes, until the scones have risen and the tops and bottoms are golden. They will sound hollow when tapped.
- Transfer scones to a wire rack and cool for at least 10 minutes. Serve slightly warm or at room temperature with jam and Irish butter, whipped cream, or clotted cream.
Notes
**Frozen grated butter isn’t an authentic technique for Irish scones, but I use it for most of my scone and biscuit recipes to easily work the butter into the dry ingredients. If you prefer a more traditional method, refrigerate the butter instead of freezing it and cut it into small cubes. Then, rub the butter into the flour using a pastry blender or your fingertips. When combined, the butter pieces should be no larger than small peas, and the mixture will look like coarse crumbs.
See the article above for FAQ’s and Variations.
Nutrition Estimate
Nutrition information is automatically calculated, so should only be used as an approximation.
Please note that our recipes have been developed using the US Customary measurement system and have not been tested for high altitude/elevation cooking and baking.
