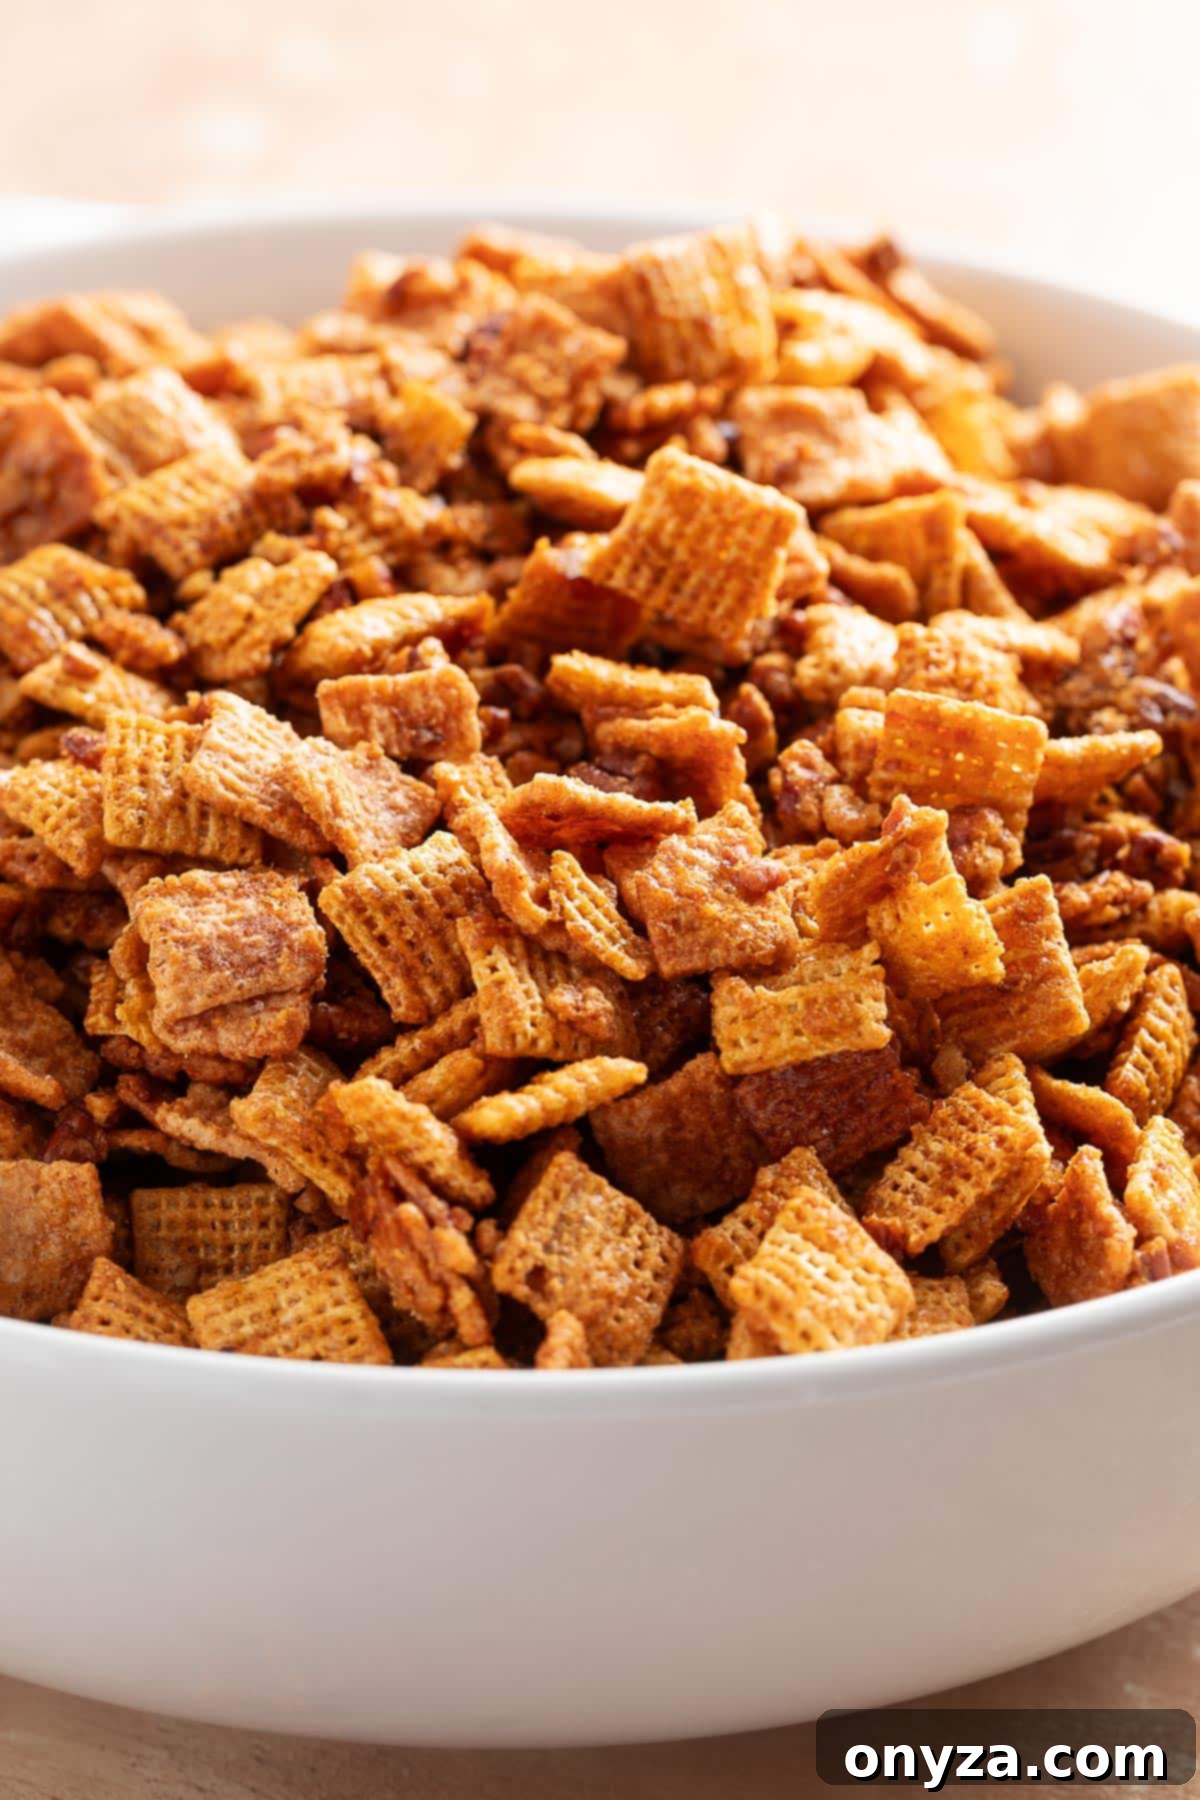
Welcome to the ultimate guide for creating the most irresistible snack mix you’ll ever encounter: the Cinnamon Praline Crunch Snack Mix. Imagine a symphony of sweet, buttery, and subtly spiced flavors, perfectly harmonized with the satisfying crunch of two distinct cereals and toasted pecans. This delightful homemade treat features a luxurious, candy-like praline glaze that transforms simple ingredients into an extraordinary culinary experience. Whether you’re preparing for a cozy movie night, hosting a lively game day gathering, or searching for the ideal sweet indulgence during the holidays, this Praline Crunch Snack Mix is guaranteed to be the first to disappear. Its addictive quality and versatile appeal make it a favorite for all ages and occasions. Get ready to discover a simple yet spectacular recipe that will become a staple in your snack repertoire and a much-requested homemade gift!
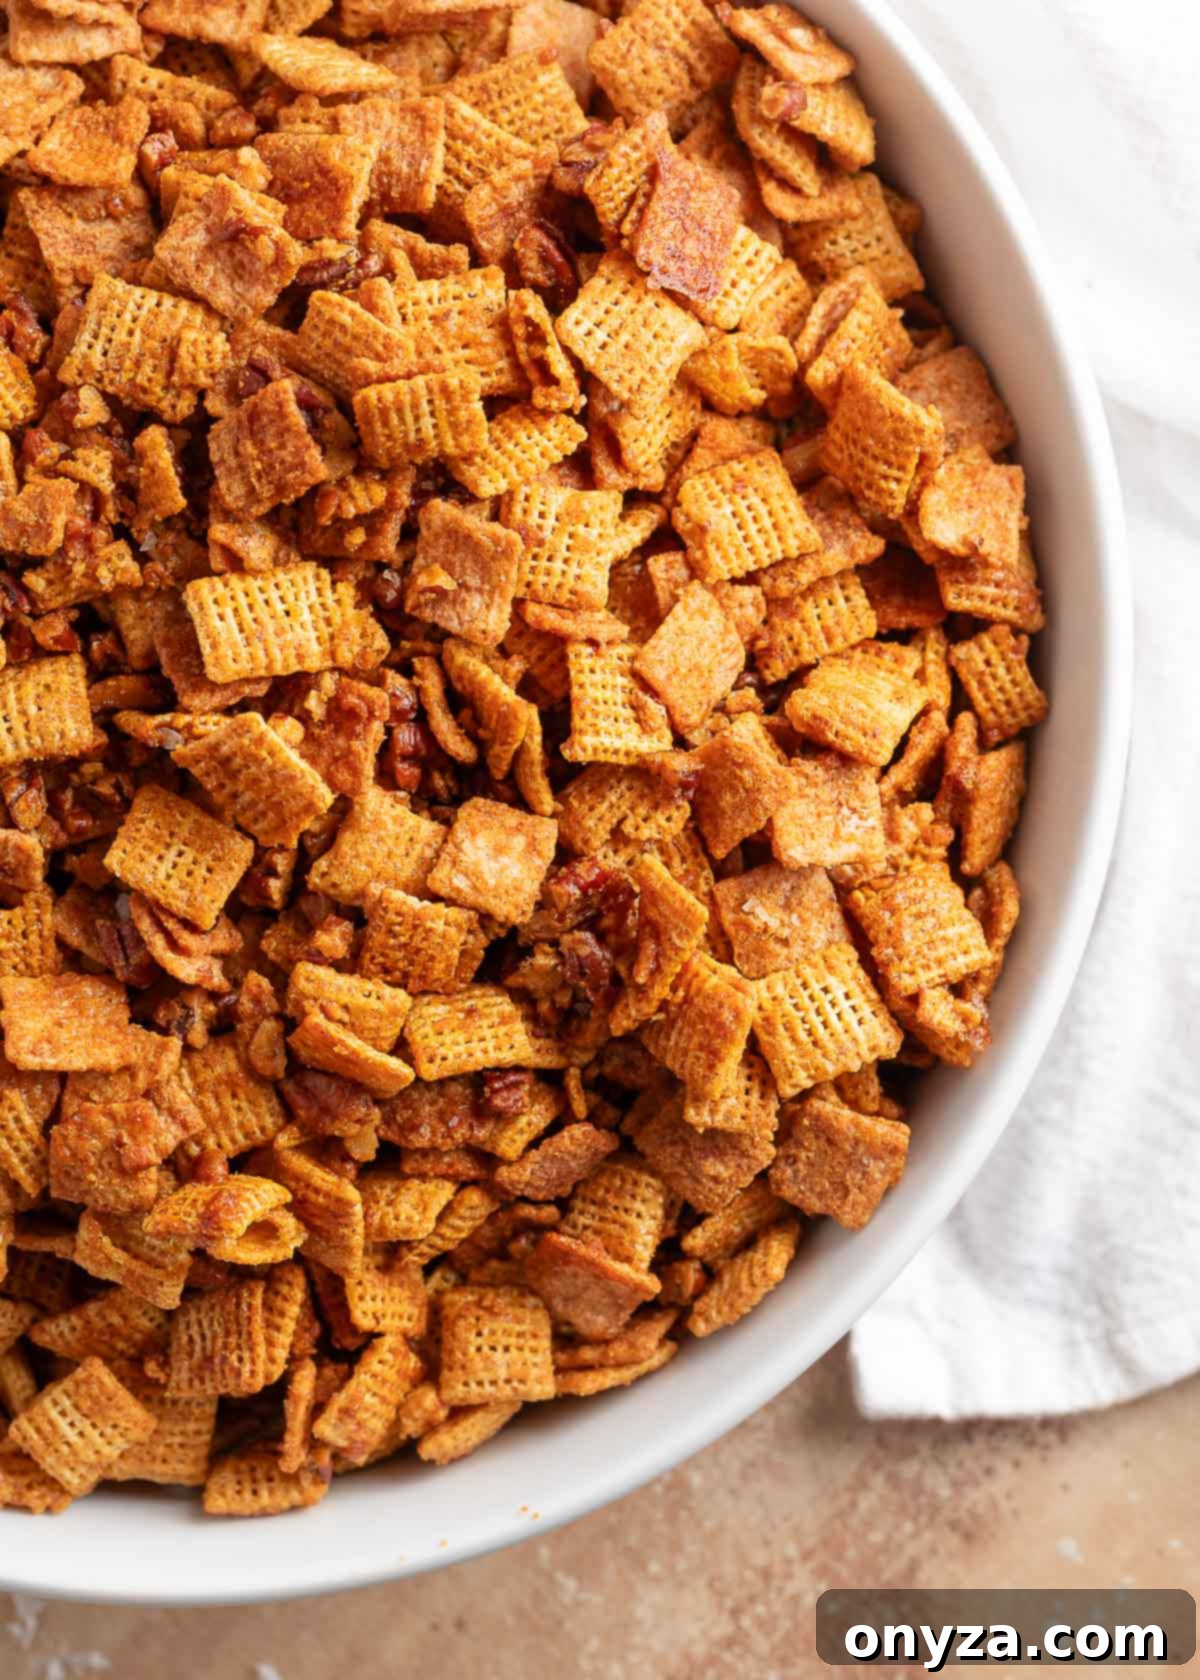
Essential Tips for a Perfect Praline Crunch
Achieving that coveted crisp, candy-like coating is all about understanding a few key steps. Before you dive into mixing and baking, take a moment to review these crucial tips that will ensure your Cinnamon Praline Crunch Snack Mix turns out perfectly every time.
- A Simple Two-Step Process: The magic of this recipe unfolds in two distinct stages. First, you’ll create the rich, buttery praline coating either on your stovetop or conveniently in the microwave. This initial cooking of the glaze is vital for its texture. Second, you’ll bake the coated cereal and pecans until they achieve a beautiful golden hue and an irresistible crispness. This sequential approach ensures a deep flavor and the ideal crunchy consistency.
- The Importance of a Full Boil for the Praline Glaze: This is arguably the most critical step for success. Whether you opt for the microwave or stovetop method, it is absolutely essential that your praline coating reaches a full, rolling boil before you remove it from the heat. This vigorous bubbling stage isn’t just a visual cue; it’s a scientific process that ensures the sugars properly cook and caramelize. Skipping this step or under-boiling will result in a sticky, soft coating rather than the crisp, glossy, candy-like finish we’re aiming for. Keep a close eye on it and ensure it’s truly boiling.
- Patience During Cooling is Key: Don’t be alarmed if your snack mix doesn’t feel immediately crunchy when it comes straight out of the oven. The true crispness develops as the mixture cools down completely. The sugars in the praline glaze need time to solidify and set, transforming the coating from soft to delightfully brittle. For best results, allow the mix to cool undisturbed on the baking pans until it reaches room temperature. Resist the urge to break it apart or package it too early, as this can compromise the final texture.
Crafting Your Irresistible Cinnamon Praline Crunch Snack Mix
Making this delightful snack mix is a straightforward and rewarding process. Follow these detailed steps to create a batch of Cinnamon Praline Crunch that will have everyone reaching for more. Each stage is designed to build flavor and achieve that perfect, crunchy texture.
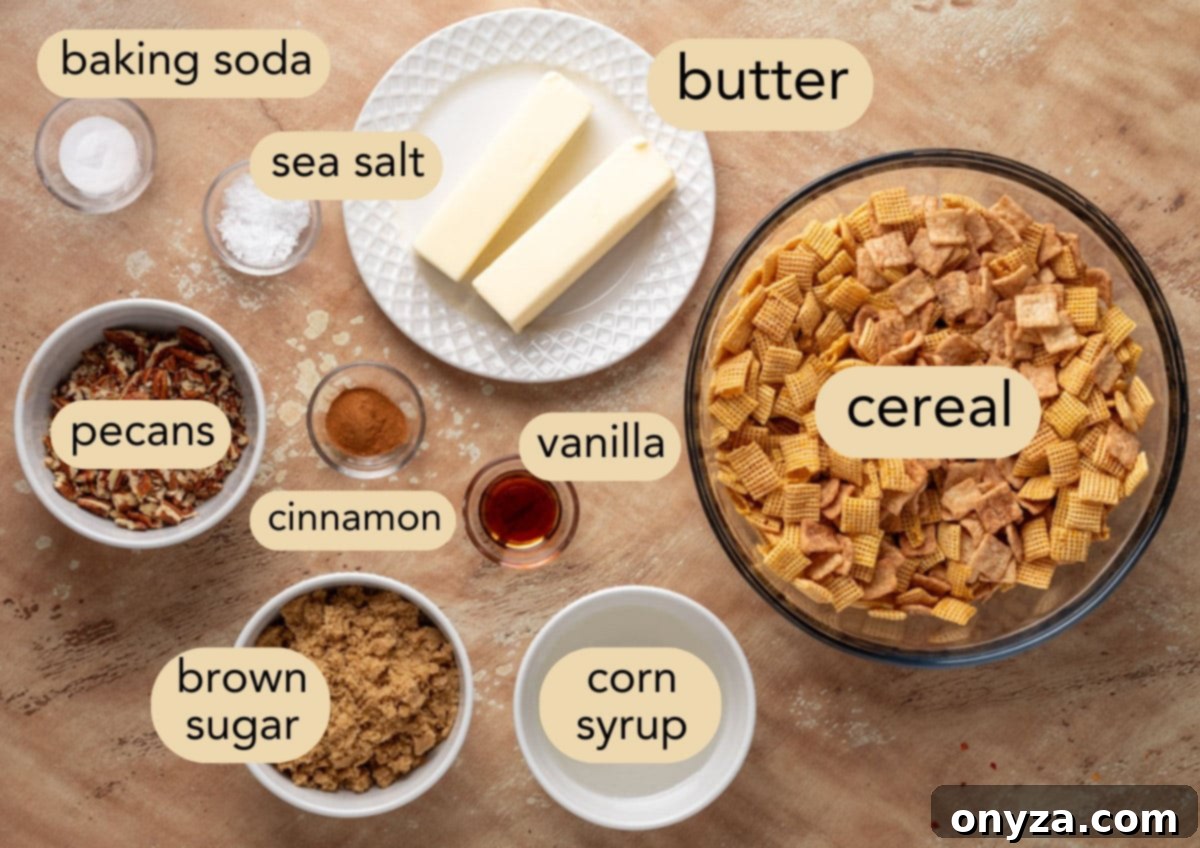
Step 1: Prepare Your Crispy Cereal and Nut Base
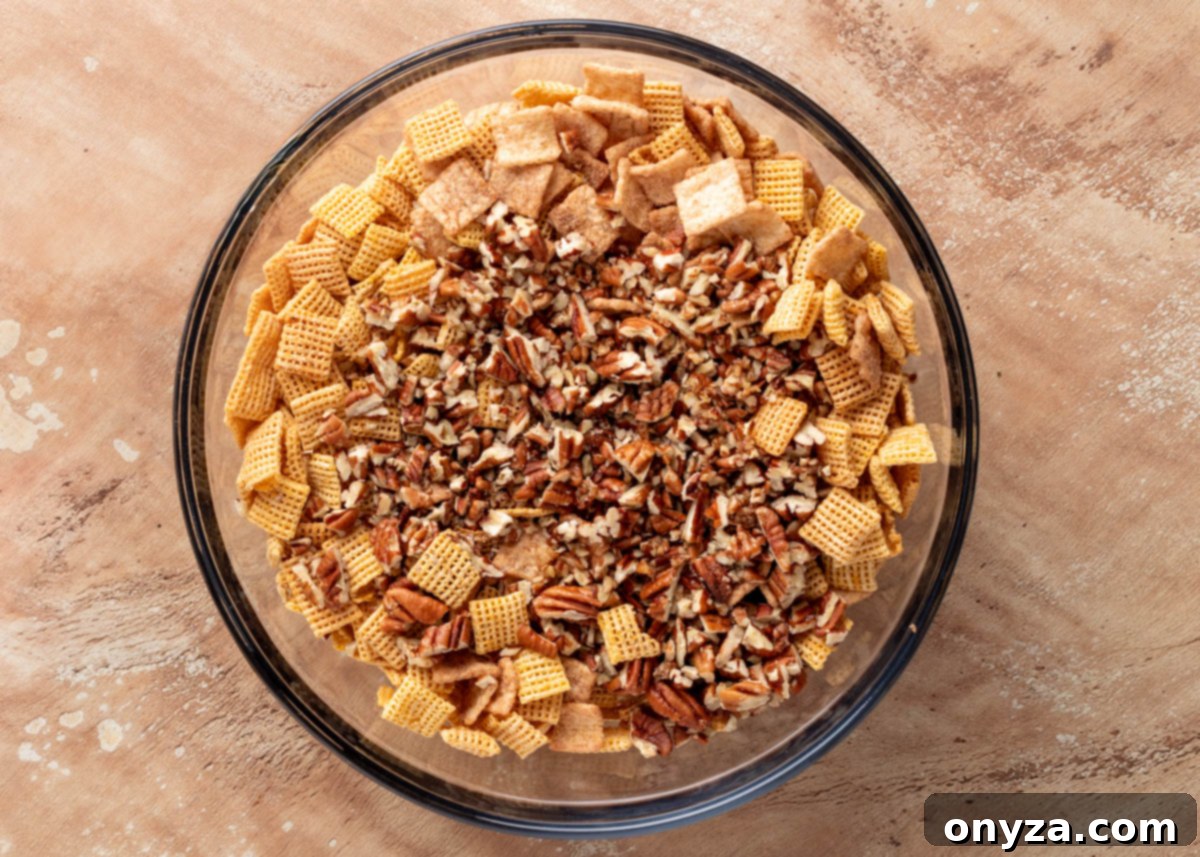
The foundation of our Praline Crunch Snack Mix is a harmonious blend of cereals and nuts. You will need one 12-ounce box of Cinnamon Toast Crunch for its distinctive spiced sweetness and one 12-ounce box of Corn Chex for its classic, mild crispness. To complete the base, add pecan halves, which should be roughly chopped or broken into smaller pieces to ensure they integrate well with the cereal and get evenly coated. The rich, buttery flavor of pecans perfectly complements the praline glaze.
This recipe yields a substantial batch, enough to fill two standard half-sheet pans. To ensure every piece of cereal and every pecan is beautifully coated with the praline glaze, I highly recommend dividing your cereal and nut mixture into two separate large mixing bowls. This approach provides ample space for thorough stirring, guaranteeing an even distribution of the coating. If you happen to possess an exceptionally large mixing bowl or a roomy roasting pan, you might manage to mix everything at once, but for most home cooks, splitting the batch simplifies the coating process significantly.
If you’re opting to split the batch, simply combine half of the Cinnamon Toast Crunch, half of the Corn Chex, and half of your prepared pecans into each bowl. Give each bowl a gentle toss to mix the dry ingredients evenly. Once combined, set these bowls aside and proceed to prepare the star of our snack mix: the luscious praline coating.
Step 2: Crafting the Silky Praline Coating
The heart of our Cinnamon Praline Crunch lies in its sweet, buttery coating. You have the flexibility to prepare this delicious praline sauce using either your microwave or the stovetop, depending on your preference and what feels most convenient. Both methods are remarkably easy and yield excellent results, as long as you follow the crucial boiling step.
Microwave Method for Praline Coating
For a quick and convenient approach, begin by combining light brown sugar, unsalted butter (pre-cut into tablespoon-size pieces for faster melting), and light corn syrup (such as Karo syrup, known for its consistent results) in a generously sized microwave-safe bowl. Place the bowl in the microwave and heat on HIGH power for precisely 1½ minutes. After this initial heating, carefully remove the bowl (it will be hot!) and stir the mixture thoroughly with a heat-resistant spatula until the butter is completely melted and smoothly integrated with the sugars and corn syrup. This ensures a uniform base.
Return the bowl to the microwave and continue heating the sauce for an additional 1 to 2 minutes on HIGH. During this stage, it’s vital to watch the mixture through your microwave door. The exact timing can vary significantly based on your microwave’s wattage and power. The goal here is to achieve a full, rolling boil, where bubbles are actively breaking across the entire surface of the mixture. This bubbling indicates that the sugars are properly cooking, which is paramount for a crisp, rather than sticky, praline coating. Do not remove it until a full boil is evident.
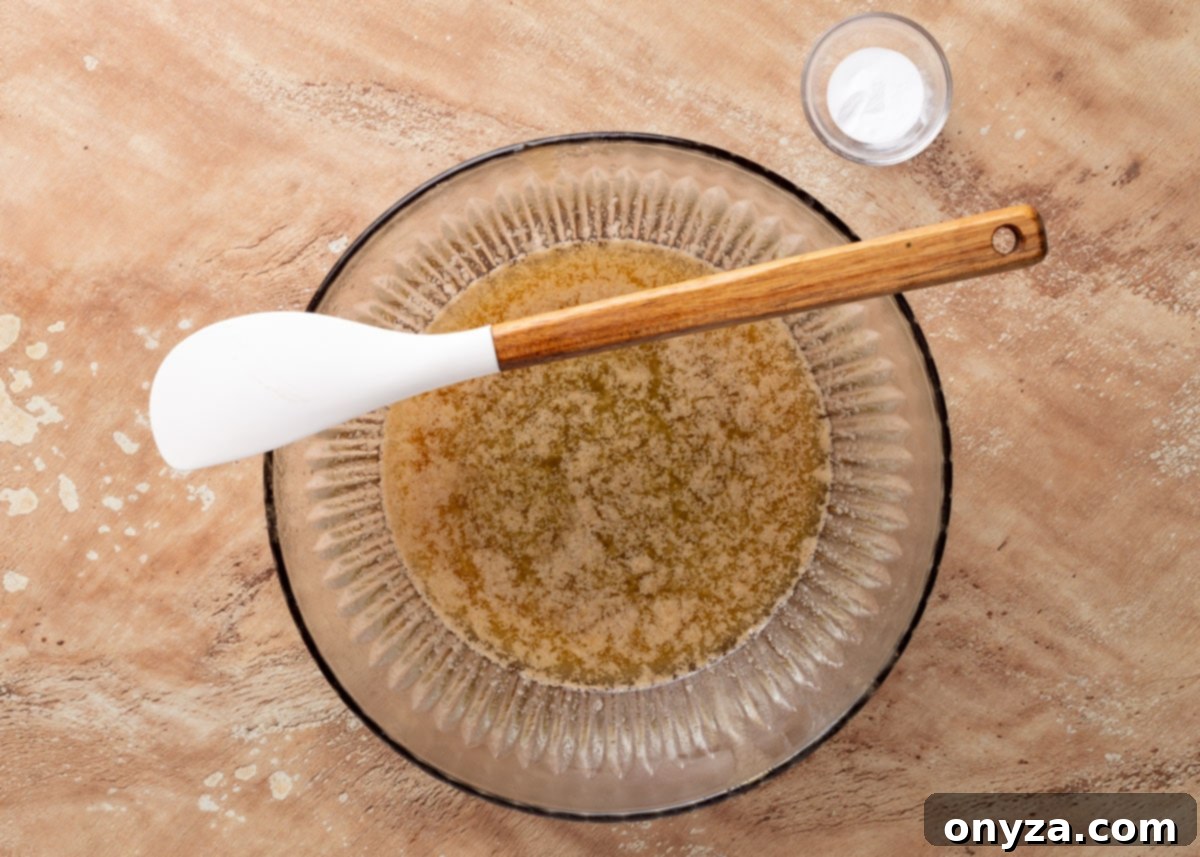
Once the mixture has reached a full boil, immediately and carefully remove the bowl from the microwave. Without delay, stir in the remaining key flavor components: baking soda, pure vanilla extract, and ground cinnamon. As you stir, you’ll observe a fascinating transformation: the mixture will visibly puff up and foam slightly. Simultaneously, it will lighten in color, thicken in consistency, and become more opaque. This reaction, triggered by the baking soda, is what gives the praline its signature airy, candy-like texture once the snack mix is baked and cooled, ensuring it’s delightfully crisp and never overly hard.
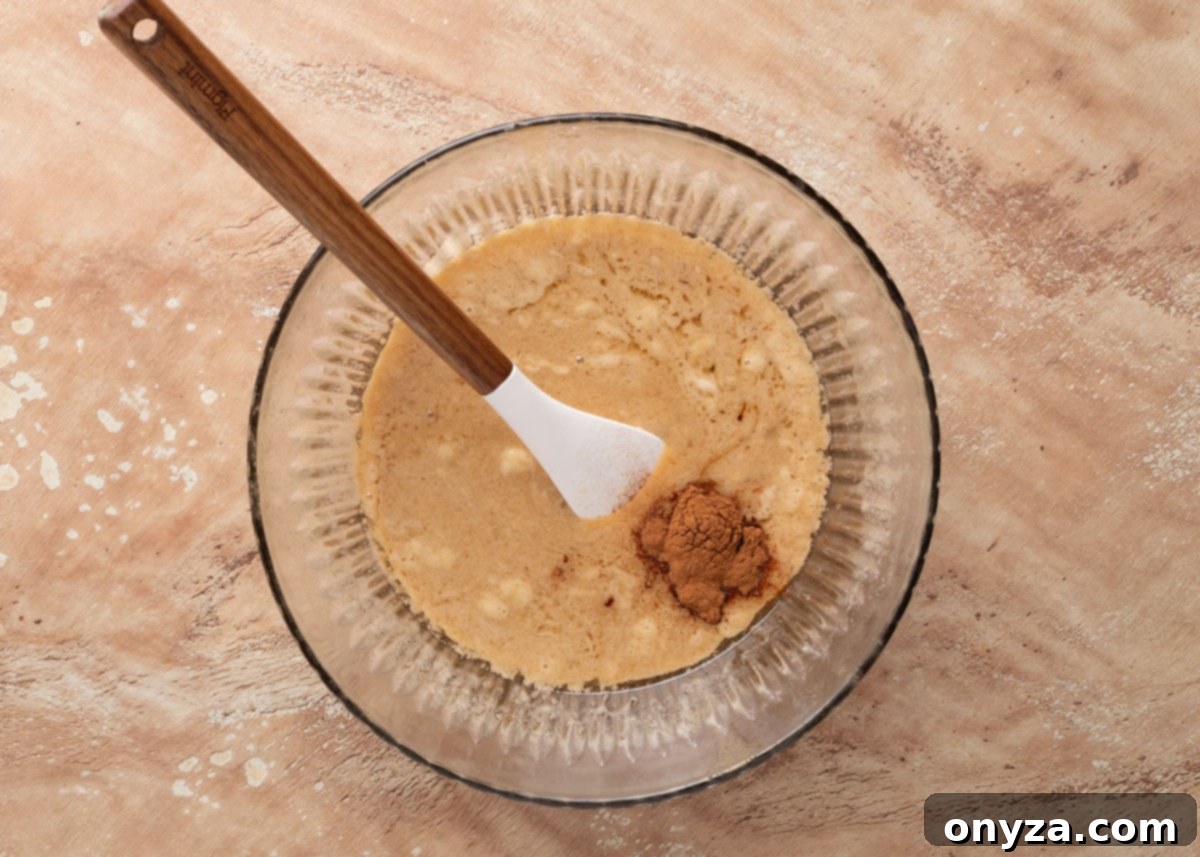
Stovetop Method for Praline Coating
If you prefer the classic stovetop method, choose a deep, heavy-bottomed saucepan to prevent boil-overs and ensure even heating. Begin by melting your unsalted butter over medium heat. Once the butter is fully melted, stir in the light brown sugar and light corn syrup until well combined. Increase the heat to medium-high and bring the mixture to a rolling boil, stirring occasionally to help the sugar dissolve and prevent scorching. Ensure the mixture is smooth and without any undissolved sugar crystals at the bottom of the pan.
Once a consistent, rolling boil is achieved, allow it to continue boiling vigorously for approximately 30 seconds. This crucial boiling period is essential for the sugars to reach the correct temperature and consistency, ensuring your praline glaze hardens to a crisp finish. After 30 seconds, immediately remove the saucepan from the heat. Without delay, stir in the baking soda, pure vanilla extract, and ground cinnamon. Similar to the microwave method, the mixture will react by puffing up, foaming slightly, and transforming into a lighter, thicker, and more opaque consistency. This chemical reaction is key to developing the airy, crunchy texture of the finished snack mix.
Step 3: Uniting the Cereal Base with the Praline Glaze
Now comes the exciting part: bringing your crispy cereal base and the warm, aromatic praline sauce together. While the praline sauce is still wonderfully warm and pourable, carefully pour half of it over half of your prepared cereal-nut mixture in one of the large mixing bowls. This ensures maximum coverage and avoids overwhelming the cereal with too much liquid at once.
Using a sturdy rubber spatula, gently fold and stir the mixture. Take care not to crush the delicate cereal pieces. Continue stirring until every single piece of cereal and every pecan is thoroughly and evenly coated with the rich praline glaze. The goal is to achieve a uniform, glistening layer over all the ingredients.
Once coated, spread this batch in a single, even layer onto one of your prepared parchment- or foil-lined rimmed half-sheet pans. The lining is crucial for easy removal and cleanup, preventing the sticky glaze from adhering to the pan. Ensure the mixture is spread out thinly so it can bake and crisp evenly.
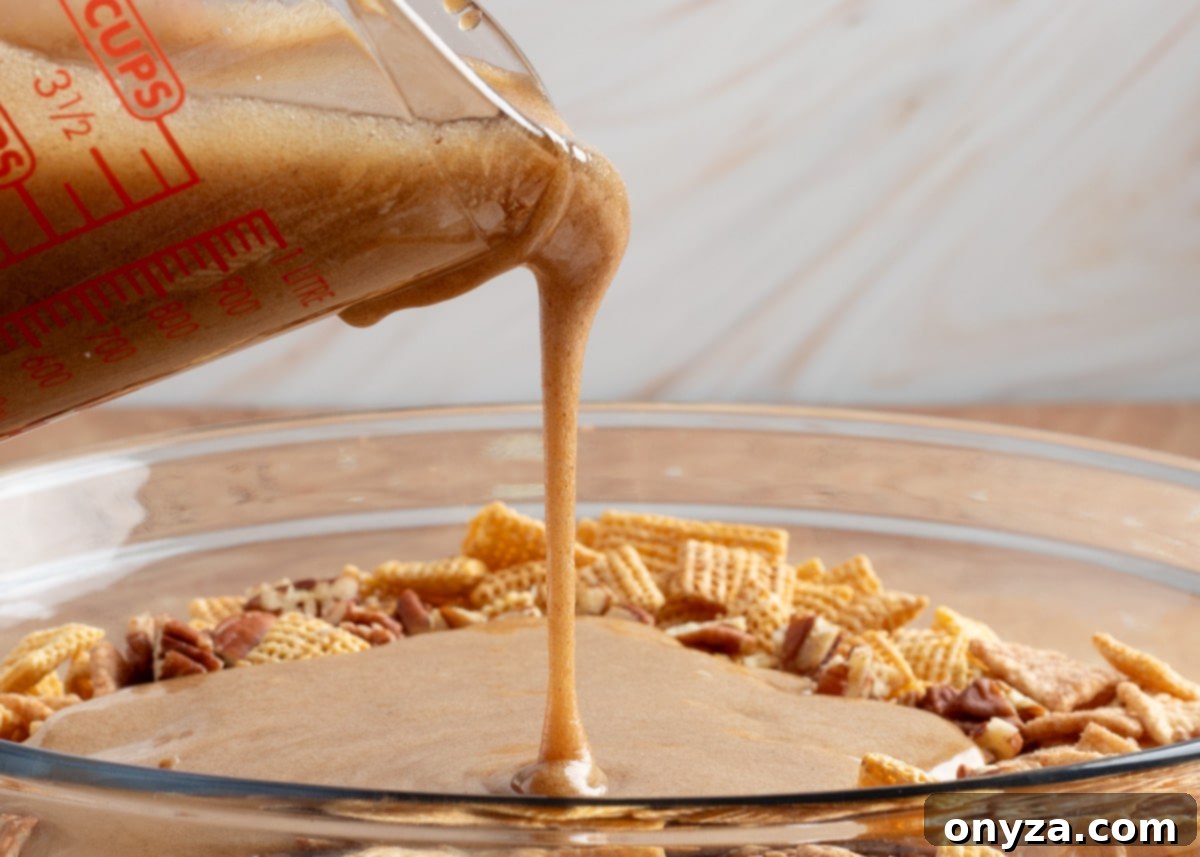
Repeat this entire process with the remaining half of your cereal, pecans, and the rest of the praline mixture, using the second lined sheet pan. Having two pans allows the snack mix to spread out sufficiently, promoting optimal airflow and even crisping during baking. Resist the urge to overcrowd one pan, as this can lead to a chewy or unevenly baked result.
Step 4: The Art of Baking and Perfect Cooling
With your two pans of coated snack mix ready, it’s time for the final transformation in the oven. Bake both pans simultaneously in your preheated oven at 250°F (120°C) for a total of 1 hour. The low and slow baking temperature is key to gently toasting the cereal and allowing the praline glaze to caramelize without burning.
During this hour-long bake, it is essential to stir the mixture every 20 minutes. This regular stirring ensures that all sides of the cereal and pecans are exposed to the heat, promoting incredibly even crisping and a uniform golden-brown color. It also helps to redistribute the praline coating, ensuring every piece is perfectly glazed.
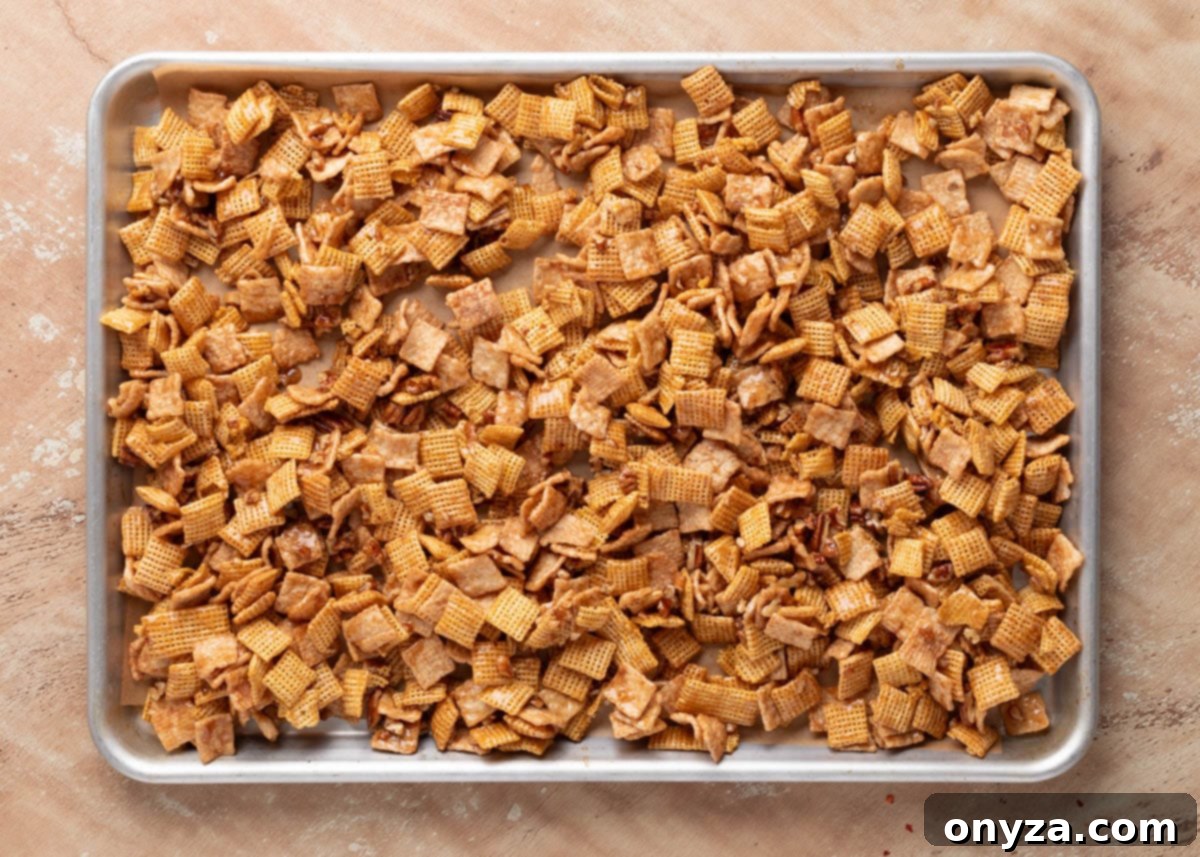
During the initial two stirs, you might observe that the praline mixture appears to bubble actively and even pool slightly on the pan. This is perfectly normal! Simply give the mixture a good, thorough mix with your spatula to redistribute the bubbling glaze evenly amongst the cereal. By the time you reach the final stir, you’ll notice a remarkable change: the glaze will have significantly thickened and clung beautifully to the cereal and pecans, indicating it’s well on its way to becoming that irresistible crunch.
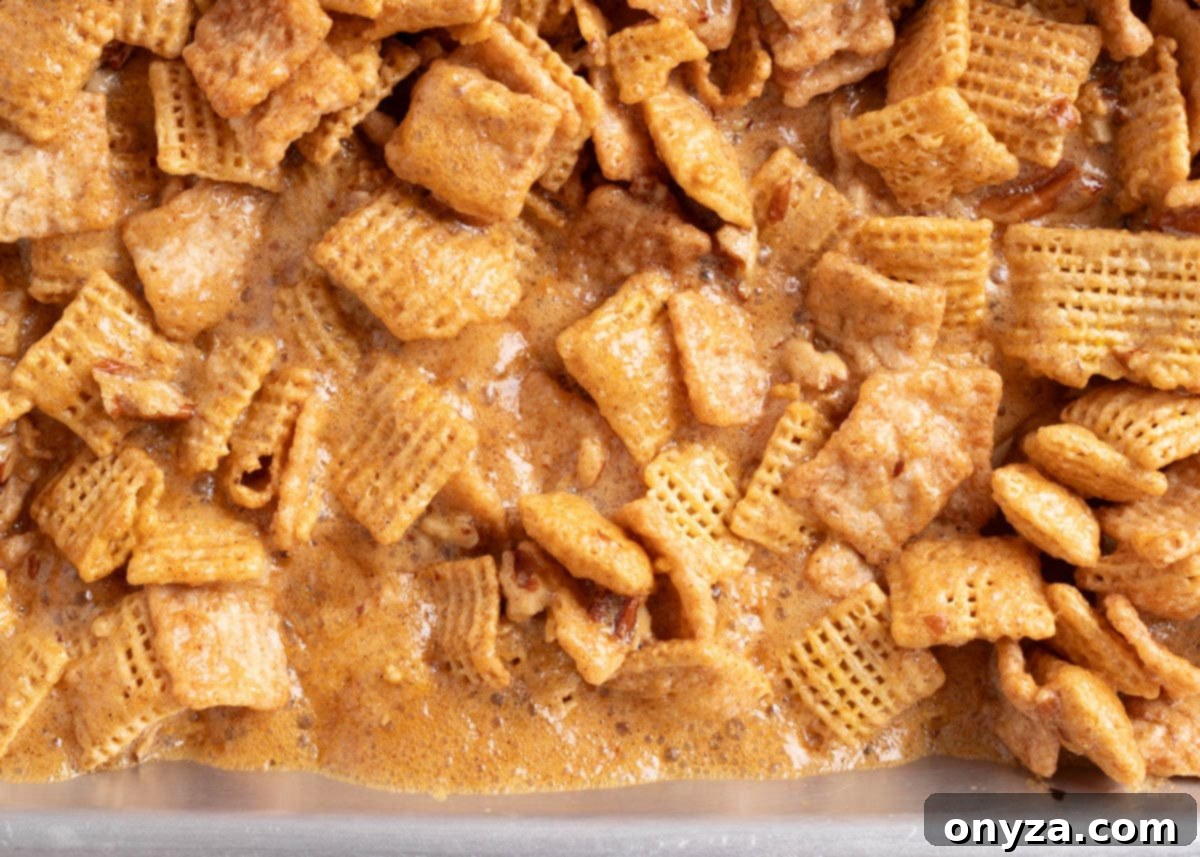
Once the baking time is complete, carefully remove both pans from the oven. This is an optional but highly recommended moment to enhance your snack mix: while it’s still warm, you can delicately sprinkle a pinch or two of flaked sea salt over the top. This simple addition introduces a subtle yet delightful sweet-and-salty contrast, elevating the flavor profile and making each bite even more complex and satisfying. This step is completely optional, but for those who appreciate balanced flavors, it’s a game-changer.
Now, the most crucial part of achieving that signature crunch: allow the mix to cool completely and undisturbed on the pans. As mentioned earlier, it’s natural for the coating to feel somewhat soft when it first comes out of the oven. Do not worry! The magic truly happens during the cooling process. As the sugars in the praline glaze firm up and crystallize, the entire mix develops that irresistible, crisp, and truly candy-like texture that makes this snack mix so incredibly addictive. This patience will be amply rewarded.
Once your Cinnamon Praline Crunch has cooled down completely and hardened, gently break it up into convenient bite-sized chunks. It’s now ready for serving in a festive bowl, packaging into individual portions for gifts, or simply enjoyed straight from the pan!
Delicious Customizations: Making Your Praline Crunch Your Own
One of the best aspects of this Cinnamon Praline Crunch Snack Mix recipe is its incredible adaptability. While the classic combination is divine, feel free to get creative and customize it to your personal preferences or what you have on hand. Here are some fantastic variations to inspire you:
Cereal Substitutions: The original recipe calls for Cinnamon Toast Crunch and Corn Chex, but the world of cereal offers endless possibilities! Feel free to mix and match your favorites. Rice Chex or Crispix make excellent substitutes for Corn Chex, offering a similar crisp texture. If you decide to omit the Cinnamon Toast Crunch, you can easily maintain that warm spice profile by simply adding a little extra ground cinnamon to your praline mixture. Many enthusiasts also find great success making Praline Crunch with Quaker Oat Squares Cereal, which provides a heartier texture and a slightly different flavor dimension.
Nutty Alternatives: While pecans are my personal go-to for their rich, buttery flavor that harmonizes perfectly with the praline, you’re certainly not limited to them. A variety of nuts can work wonderfully here. Consider incorporating walnuts for a slightly more earthy note, peanuts for a classic crunch, cashews for their creamy texture, or almonds (sliced or whole) for a different kind of snap. If you choose peanuts, you’ll find they don’t even require chopping; their natural size is usually perfect as-is for easy mixing and coating.
Sweet Chocolate Add-Ins: For an extra layer of indulgence and sweetness, consider stirring in some chocolate after the mix has fully cooled. The key is to add them *after* cooling to prevent melting. Classic chocolate chips (milk, semi-sweet, or dark) are always a hit. Alternatively, M&M’s add a delightful pop of color and an extra candy crunch. This is especially fun for dressing up your snack mix for various holidays or events! Think red and green M&M’s for Christmas, pastels for Easter or spring gatherings, or even team colors for a spirited game day snack. When it comes to add-ins like these, feel free to “measure with your heart” – add as much or as little as you desire to achieve your perfect sweet balance.
Serving Suggestions & Smart Storage Solutions
Once your Cinnamon Praline Crunch Snack Mix is perfectly cooled and broken into delightful chunks, it’s ready to be enjoyed! This versatile treat is equally at home on a sophisticated holiday dessert table as it is in a casual bowl for a family movie night. Here are some ideas for serving and ensuring its freshness for as long as possible.
Serving Your Praline Crunch
This sweet, crunchy delight is a guaranteed crowd-pleaser for any occasion. It’s an ideal addition to festive holiday gatherings, where its warm cinnamon and nutty notes truly shine. For game day festivities, serve it alongside savory snacks on a large snack board to offer a perfect sweet counterpoint. And for those cozy evenings in, simply place a generous amount in a large bowl for an elevated movie night treat that everyone can share.
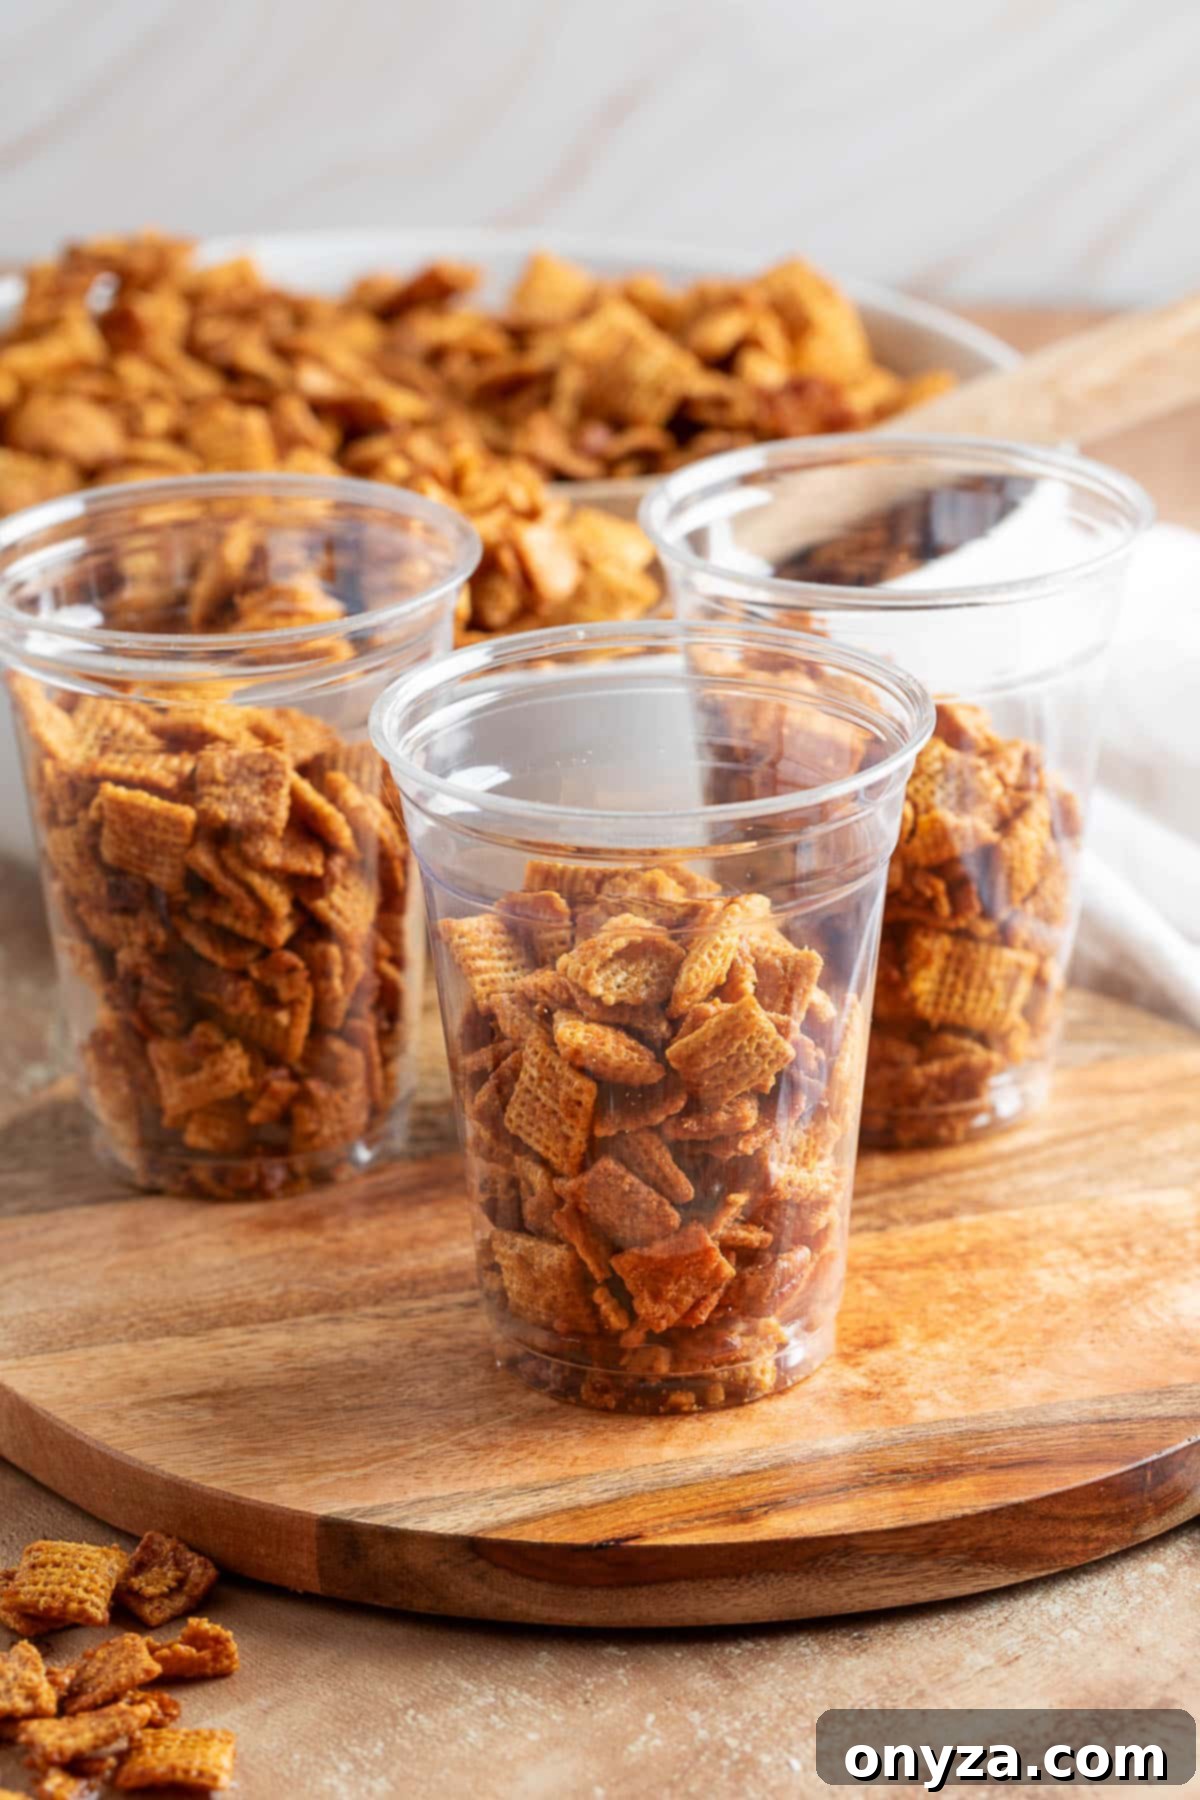
When you’re serving this snack mix at parties or larger events, a thoughtful presentation can make all the difference. I often like to set out small paper cups or charming treat bags right next to the main serving bowl. This allows guests to easily scoop individual portions, making it more hygienic and convenient, while also adding a touch of elegance to your spread.
Optimal Storage for Maximum Freshness
To maintain the irresistible crispness and flavor of your cooled Praline Crunch Snack Mix, proper storage is key. Store the mixture in an airtight container at room temperature. When stored correctly, it will remain deliciously fresh and crunchy for up to 1 week. However, be warned: this snack has a magical way of disappearing much faster, especially when shared during the festive holiday season!
For those times you want to prepare ahead or simply want to keep a stash for longer enjoyment, this snack mix freezes beautifully. Simply transfer the completely cooled mix into zip-top freezer bags. Ensure you remove as much air as possible before sealing to prevent freezer burn. It can be safely stored in the freezer for up to 3 months without compromising its quality. When you’re ready to indulge, just remove it from the freezer and allow it to come to room temperature before serving. There’s no need to reheat; it will thaw to its original crunchy perfection.
Thoughtful Gifting: Packaging Your Praline Crunch
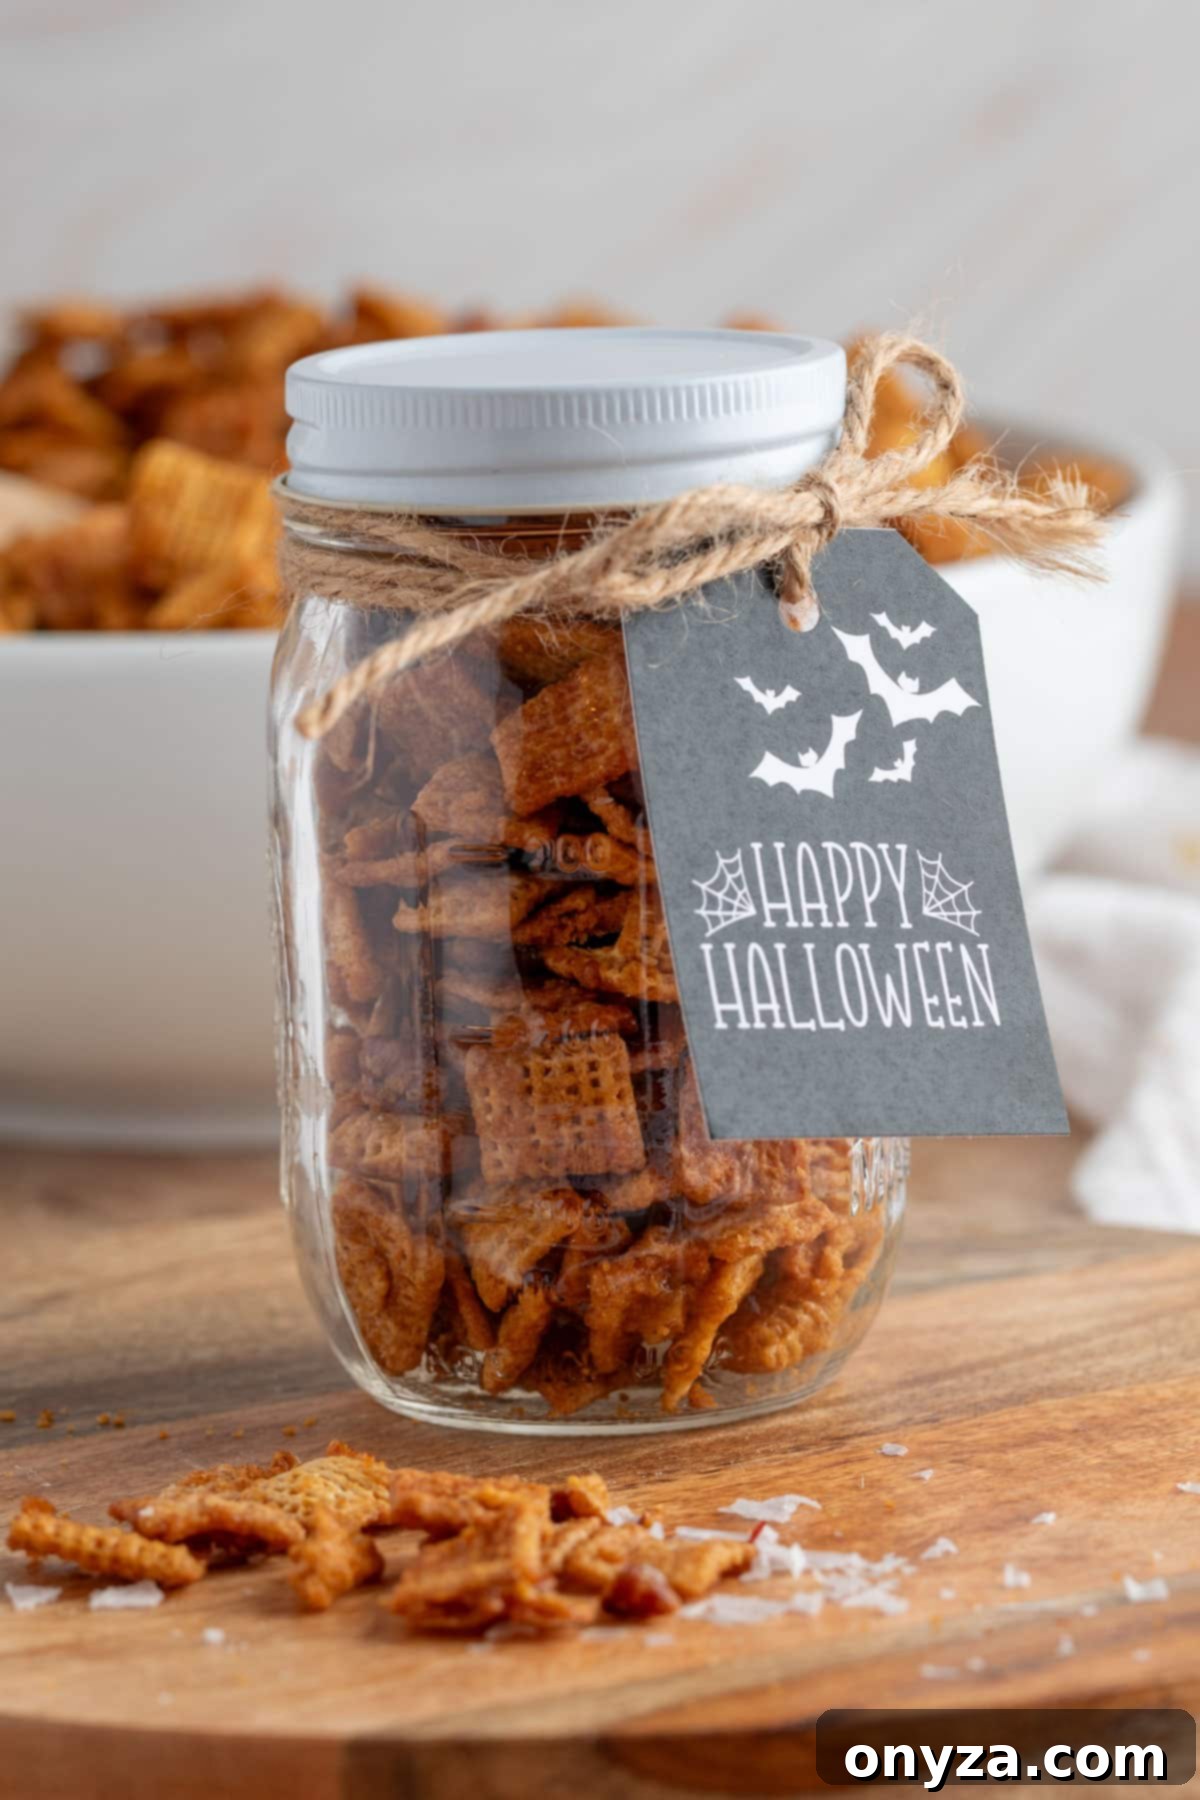
This Cinnamon Praline Crunch Snack Mix doesn’t just make a fantastic personal treat; it also transforms into an exquisite and truly heartwarming homemade gift. Once the mix has completely cooled and set, portion it into charming and presentable containers. Some popular choices include clear cellophane bags, classic and reusable mason jars, or stylish small takeout-style boxes. To elevate the presentation, tie a festive ribbon or rustic baker’s twine around your chosen container. For an extra personal touch, add a handwritten tag with a sweet message. This thoughtful gesture turns a simple snack into an easy, memorable, and much-appreciated treat that everyone on your gift list will absolutely adore. It’s perfect for teachers, neighbors, hosts, or as a delightful stocking stuffer!

Discover More Irresistible Handheld Snacks
If you’ve fallen in love with the easy-to-make, satisfying crunch of this Cinnamon Praline Snack Mix, you’re in for a treat! Our collection of handheld snacks offers a variety of flavors and textures, perfect for any craving or occasion. From spicy and savory to sweet and salty, there’s always something new to discover and enjoy. Explore these other fantastic recipes that are perfect for sharing, gifting, or simply keeping all to yourself!
- Cajun Spiced Mixed Nuts: A fiery, flavorful blend of nuts with a kick.
- Spiced Pepitas: Crispy pumpkin seeds seasoned to perfection.
- BBQ Snack Mix: A savory, smoky, and utterly addictive snack.
- Dill Ranch Crackers: Flavor-packed crackers with a zesty ranch and dill seasoning.
- Ranch Pretzels: Crunchy pretzels coated in a tangy, herby ranch blend.
Cinnamon Praline Crunch Snack Mix
by Amanda Biddle
Made with crispy cereal, toasted pecans, and a buttery brown sugar glaze flavored with cinnamon and vanilla, this Praline Crunch Snack Mix is perfect for sharing or gifting.
Prep Time: 15 minutes
Cook Time: 1 hour
Cooling Time: 30 minutes
Total Time: 1 hour 45 minutes
Servings: 36 servings (1/2 cup)
Ingredients
- 1 cup unsalted butter (2 sticks), cut into tablespoon-size pieces
- 1 cup light corn syrup (I use Karo)
- 1 cup light brown sugar, packed
- 2 teaspoons pure vanilla extract
- 1 teaspoon ground cinnamon
- 1 teaspoon baking soda
- 12 ounce box Corn Chex cereal (approximately 10 cups)
- 12 ounce box Cinnamon Toast Crunch cereal (approximately 8 cups)
- 4 cups roughly chopped pecans (or pecan halves broken into small pieces)
Instructions
- Preheat the oven to 250°F (120°C). Line two rimmed half-sheet pans with parchment paper and set aside.
Make the Praline Sauce (Microwave Option)
- In a large microwave-safe mixing bowl, combine the butter, brown sugar, and corn syrup. Microwave on HIGH for 1½ minutes, then carefully stir. (The bowl will be hot!)
- Return to the microwave and heat for another 1–2 minutes, until the mixture comes to a full boil. (Time will depend on your microwave’s wattage.)
- Remove from the microwave and immediately stir in the baking soda, vanilla, and cinnamon. The mixture will foam slightly, thicken, and turn lighter and opaque.
Make the Praline Sauce (Stovetop Option)
- In a heavy-bottomed pot with high sides, melt the butter over medium heat. Stir in the brown sugar and corn syrup, and bring to a full rolling boil. Let it boil for 30 seconds, then remove from the heat.
- Stir in the baking soda, vanilla, and cinnamon. Like the microwaved sauce, the stovetop sauce will foam up and take on a lighter, creamy look.
Coat the Cereal
- In a large mixing bowl (or two medium bowls), combine half of the Corn Chex, half of the Cinnamon Toast Crunch (about 5 cups Chex and 4 cups Cinnamon Toast Crunch), and 2 cups chopped pecans.
- Gradually pour half of the warm praline sauce over the cereal mixture. Use a rubber spatula to fold the sauce in until evenly coated.
- Spread the coated cereal in an even layer on one of the prepared baking sheets.
- Repeat the process with the remaining cereal, pecans, and sauce, using the second baking sheet.
Bake and Cool
- Bake for 1 hour, stirring every 20 minutes to help the cereal and coating toast evenly. Remove from the oven and cool completely on the pans. The coating will seem soft at first but will turn crisp and crunchy as it cools.
- Once cooled, break the mixture into bite-sized chunks. Store in an airtight container at room temperature. It’ll stay crispy for about 1 week.
Notes
Mixing Tip: If you have a large roasting pan or an extra-large bowl that comfortably fits all the cereal and pecans, you can mix everything at once instead of dividing it into two batches.
Sweet-Salty Option: Lightly sprinkle the warm snack mix with a pinch or two of flaky sea salt right after it comes out of the oven for a sweet-salty finish.
Freezer Storage: Freeze cooled snack mix in zip-top freezer bags for up to 3 months. Let thaw to room temperature before serving.
Nutrition Estimate (Approximate)
Serving: 0.5 cup | Calories: 252kcal | Carbohydrates: 30g | Protein: 2g | Fat: 15g | Saturated Fat: 4g | Polyunsaturated Fat: 3g | Monounsaturated Fat: 7g | Trans Fat: 0.2g | Cholesterol: 14mg | Sodium: 158mg | Potassium: 79mg | Fiber: 2g | Sugar: 17g | Vitamin A: 469IU | Vitamin C: 2mg | Calcium: 76mg | Iron: 3mg
Nutrition information is automatically calculated and should only be used as an approximation.
Please note that our recipes have been developed using the US Customary measurement system and have not been tested for high altitude/elevation cooking and baking.
⭐ Like this recipe? Please consider rating it and leaving a comment below!
