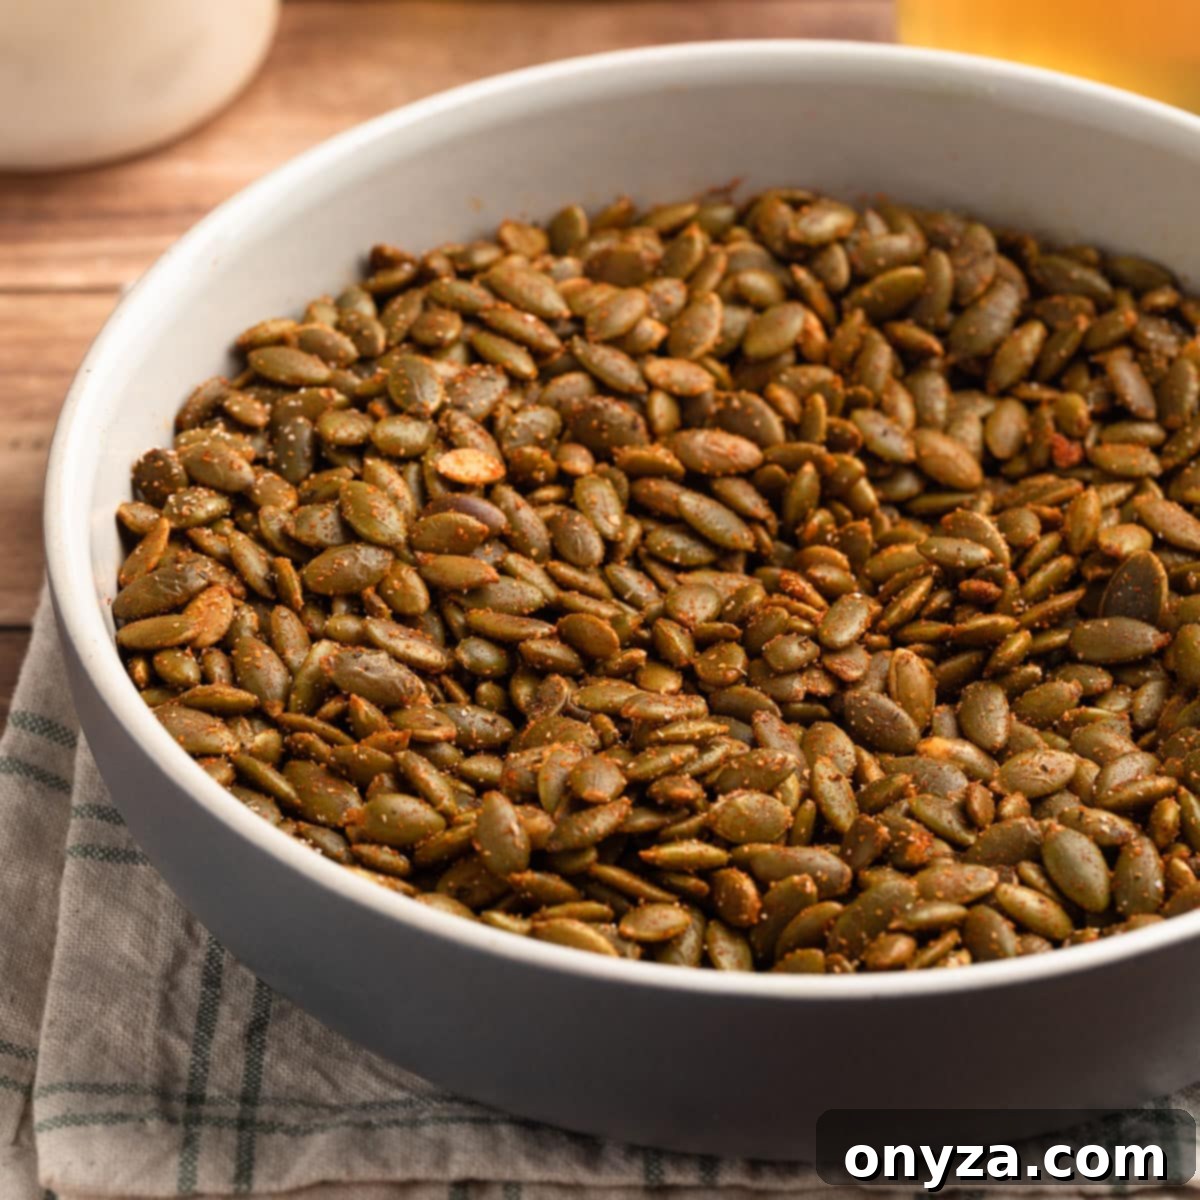
Unlock a world of flavor with these incredibly simple yet utterly delicious Spiced Pepitas. Perfect for any season, but especially a hit during fall, these roasted pumpkin seeds are light, delightfully crispy, and packed with a nutty, savory taste that can be customized to your preferred level of warmth. Whether you’re seeking a wholesome snack, a crunchy topping for your favorite dishes, or a sophisticated addition to a holiday platter, these homemade spiced pepitas are a versatile and irresistible choice. Skip the store-bought versions and create your own batch of perfectly seasoned, oven-roasted pepitas that are guaranteed to become a household favorite.
Understanding Pepitas: What They Are and Why They’re Perfect for Roasting
Before we dive into the cooking process, let’s clarify what pepitas are. The term “pepita” literally translates to “little seeds of squash” in Spanish. These are the small, vibrant green seeds found inside specific varieties of pumpkins, particularly “hull-less” types like Styrian pumpkins. Unlike traditional pumpkin seeds, which typically have a tough, white outer shell that needs to be removed before eating, pepitas are naturally shell-free, making them wonderfully convenient for snacking and cooking.
While you can certainly use whole pumpkin seeds (with their shells) for this recipe, you’ll find them significantly chewier. For that ideal crisp texture and concentrated nutty flavor, raw pepitas are undoubtedly the superior choice. Their delicate structure allows them to crisp up beautifully in the oven, absorbing all the delicious spices. You can usually find raw pepitas in the bulk bins or natural foods section of most grocery stores, often labeled as “shelled pumpkin seeds” or “raw pepitas.” Opt for those that are bright green and plump, as these indicate freshness and superior quality.
Beyond their delightful taste and texture, pepitas are also nutritional powerhouses. They are rich in magnesium, zinc, iron, and beneficial plant compounds, making them a smart and satisfying snack choice. Incorporating them into your diet can support bone health, immune function, and overall well-being. This recipe not only makes them incredibly delicious but also a guilt-free indulgence.
How to Make Irresistible Spiced Pepitas: A Simple Guide
Crafting your own batch of seasoned pepitas is remarkably straightforward, requiring minimal effort for maximum flavor. The process involves just a few easy steps, transforming raw seeds into a crunchy, aromatic treat that’s far superior to anything store-bought.
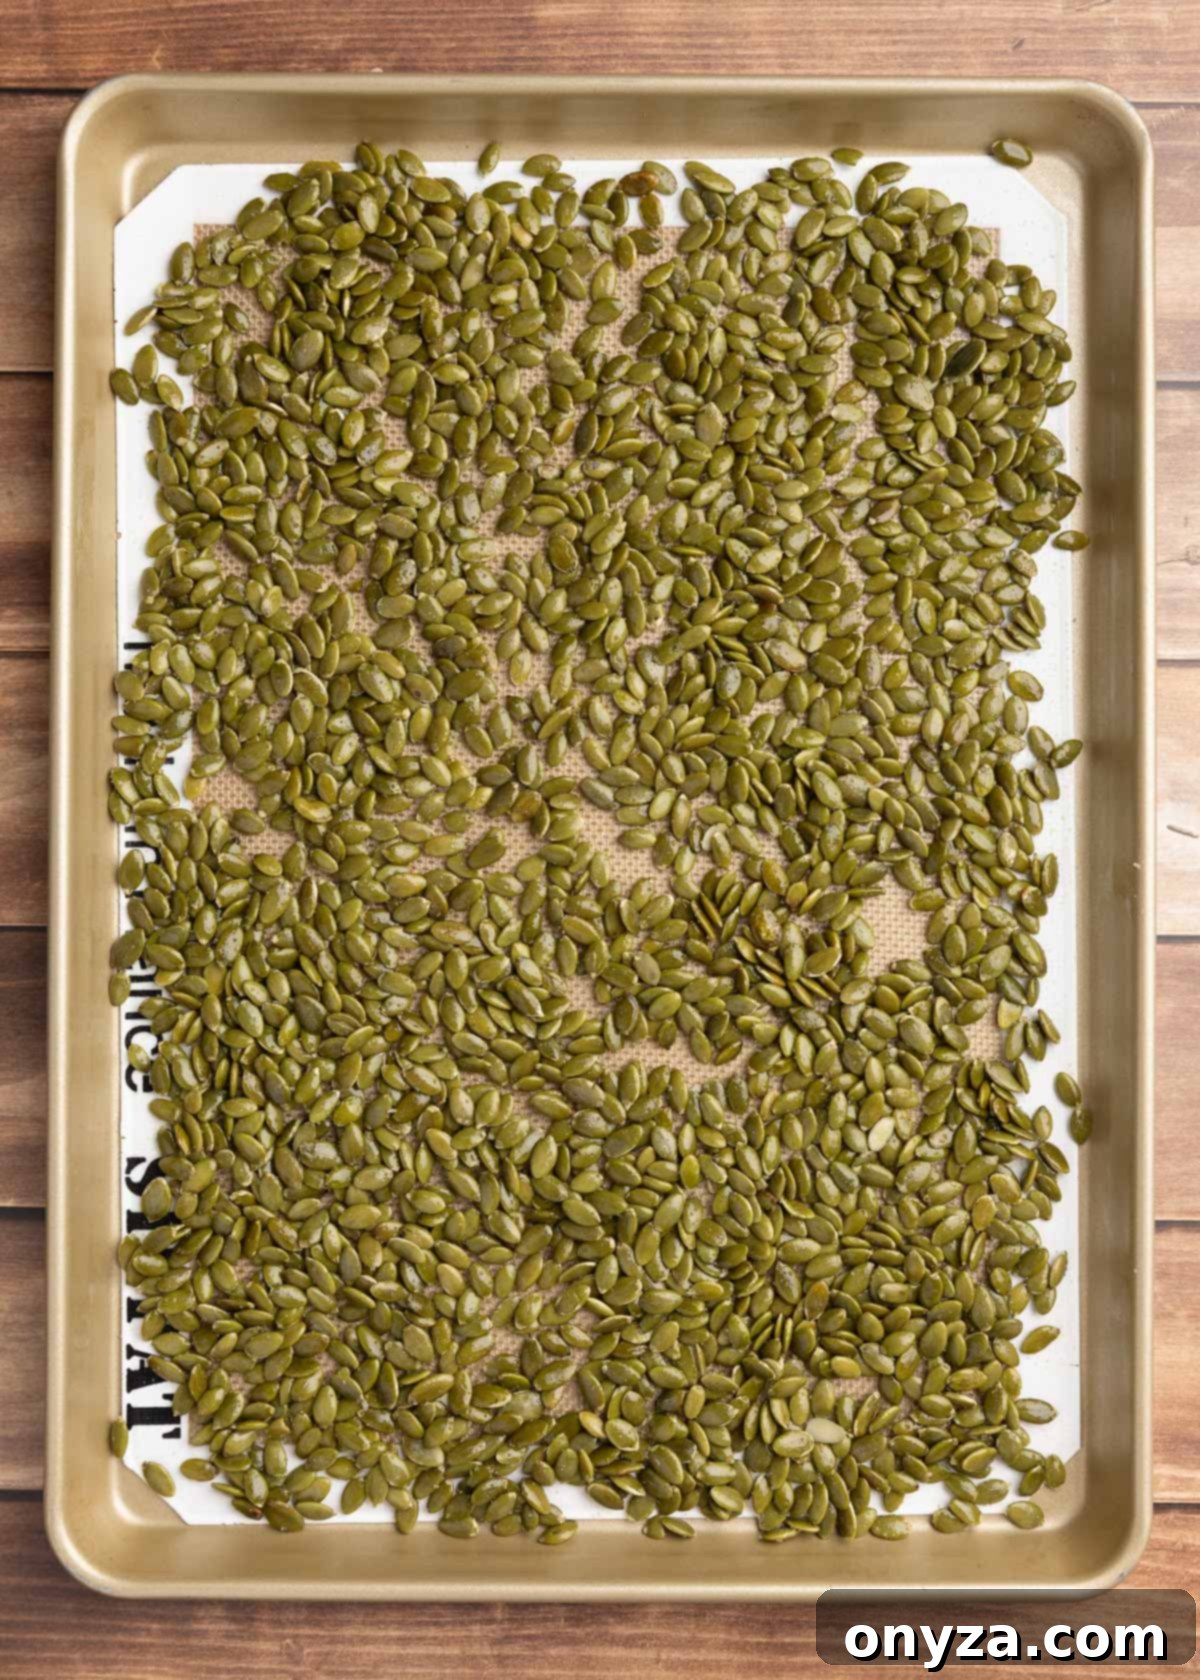
Begin by preheating your oven to 350°F (175°C) and positioning a rack in the middle. This ensures even heat distribution, crucial for perfectly roasted seeds. Next, take a rimmed baking sheet—a standard half-sheet pan works best. To simplify cleanup and prevent sticking, I highly recommend lining your baking sheet with either parchment paper or a silicone baking mat. This creates a non-stick surface that makes it incredibly easy to transfer the toasted pepitas once they’re done.
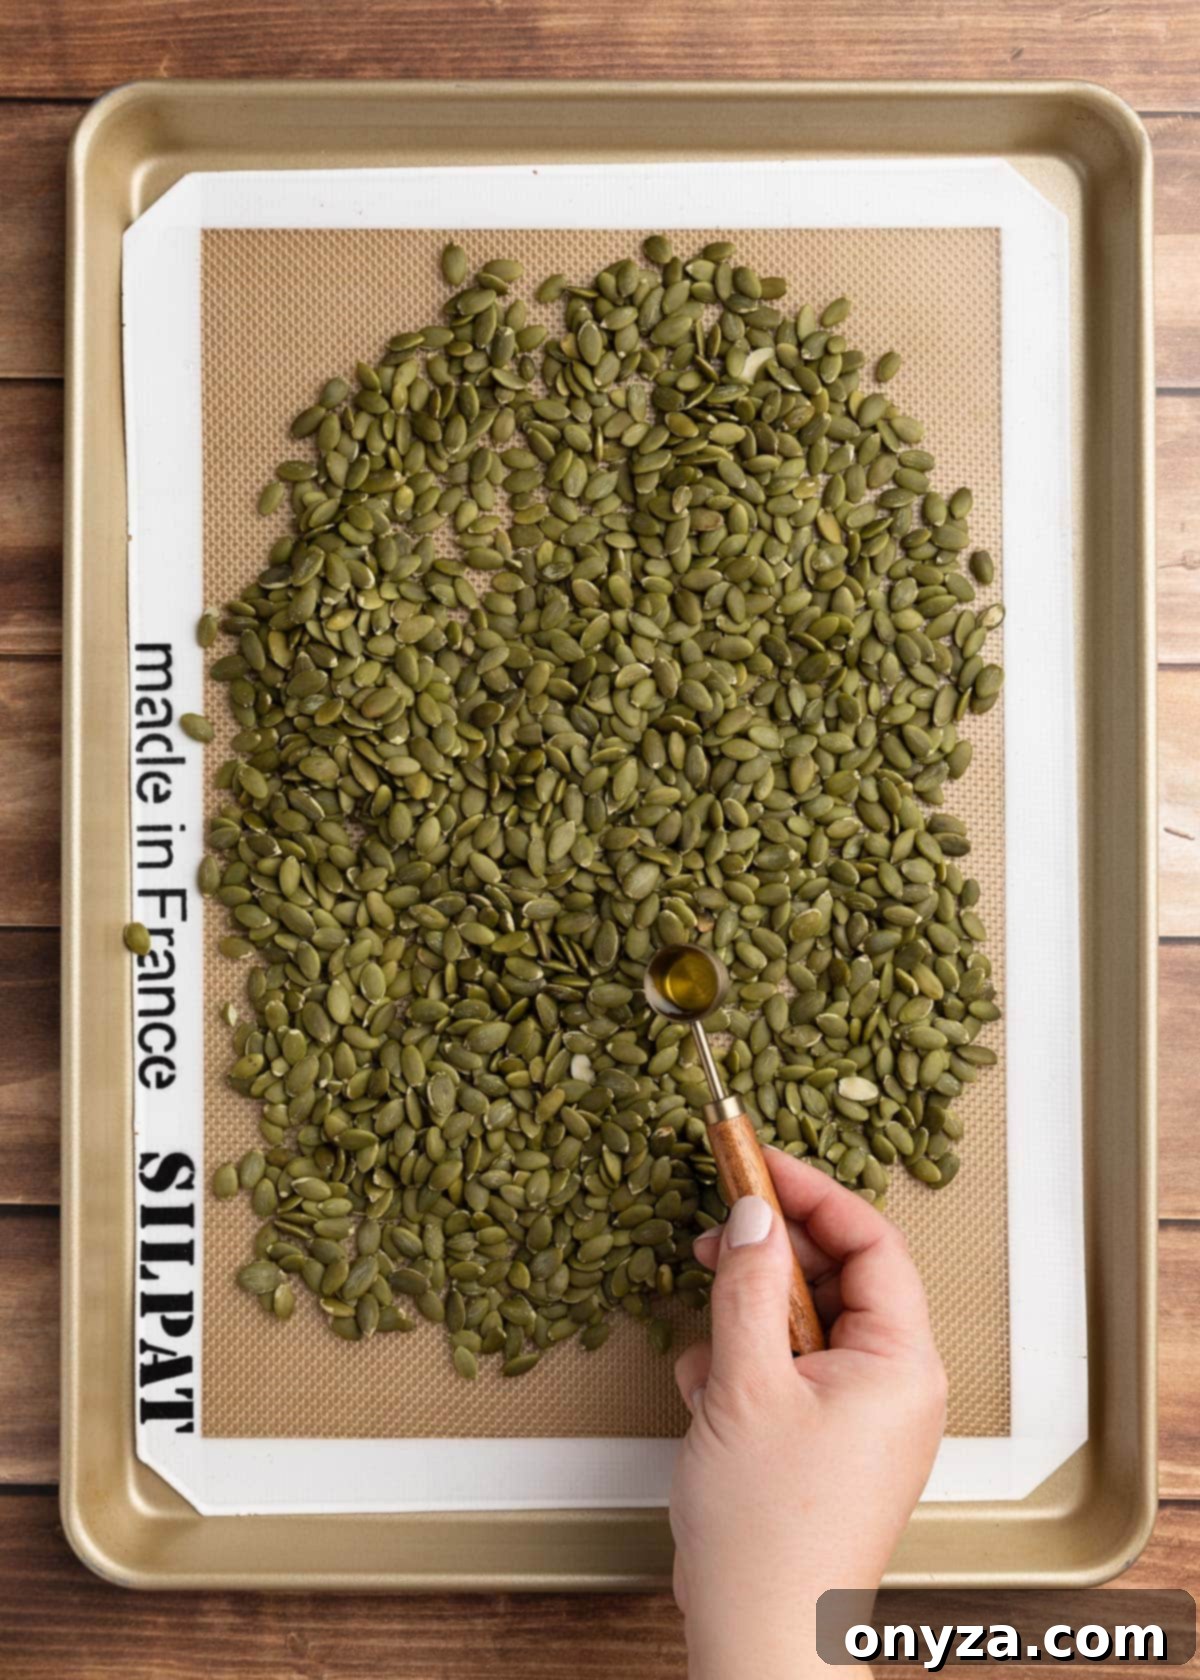
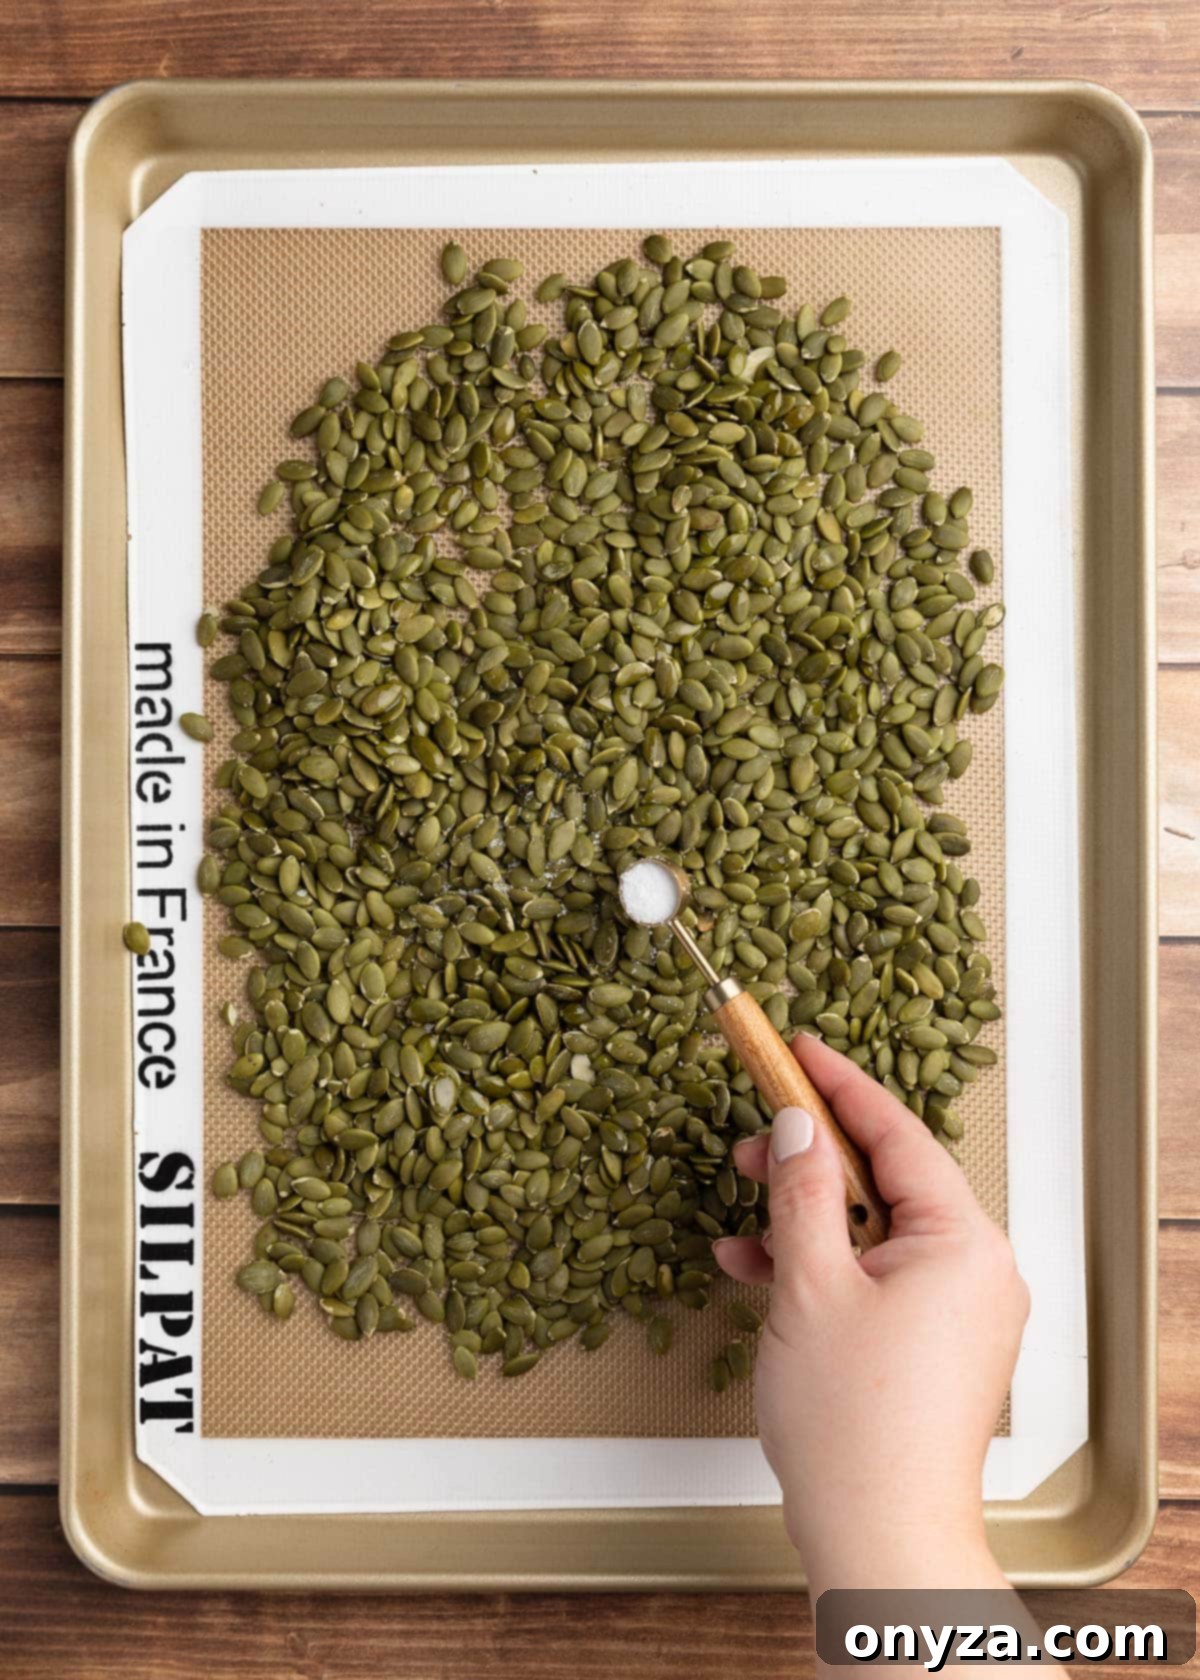
Spread your raw pepitas evenly across the prepared baking sheet. Drizzle them with a quality olive oil (or another light-flavored oil like grapeseed for a neutral base) and sprinkle generously with kosher salt or fine sea salt. The oil helps the spices adhere later and aids in even browning, while the salt enhances the natural nuttiness of the pepitas. Use your hands or a spatula to toss everything together thoroughly, ensuring each pepita is coated. The goal is a single layer of seeds across the pan; overcrowding will lead to steaming instead of roasting, preventing them from achieving that desired crispiness.
Place the baking sheet in the preheated oven and roast the pepitas for approximately 10-15 minutes. Roasting time can vary slightly depending on your oven, so pay close attention to visual and aromatic cues. You’re looking for the pepitas to turn a light golden color in spots and become wonderfully fragrant. To ensure uniform roasting and prevent any burning, remove the pan from the oven every 5 minutes and give the pepitas a thorough stir. This simple step helps them toast evenly on all sides. Don’t be alarmed if you hear a gentle crackling or popping sound as they roast; this is perfectly normal and indicates that the seeds are expanding and crisping up.
While your pepitas are toasting to perfection, it’s the ideal time to prepare your custom seasoning blend. This mix of aromatic spices is what truly elevates these seeds from simple toasted pepitas to an extraordinary snack. For this recipe, we’ll combine:
- Hungarian Paprika: My go-to is typically sweet paprika, which offers a vibrant color and mild, fruity warmth. However, if you prefer a deeper, more earthy, and smoky flavor profile, smoked paprika is an excellent substitute that adds another layer of complexity.
- Dried Basil and Thyme: These classic herbs contribute a fragrant, slightly peppery, and subtly minty note, complementing the savory base. Always ensure your dried herbs are fresh; old, dusty herbs lose their potency and won’t impart as much flavor.
- Onion and Garlic Powders: These essential pantry staples provide a foundational savory depth. They deliver the robust flavor of fresh onion and garlic without the added moisture, ensuring your pepitas remain crispy.
- Ground Chipotle Powder or Cayenne Pepper: This is where you can truly personalize the heat level of your spiced pepitas. Chipotle powder offers a smoky, medium heat, adding a rich, earthy undertone. Cayenne pepper, on the other hand, provides a more direct and brighter spicy kick. Feel free to adjust the quantity to your liking—increase it for a fiery bite, or decrease it for a subtle warmth. For a completely mild, savory seasoning, you can omit the chili powder entirely.
Combine all these spices in a small bowl and mix them well, ensuring an even distribution of flavors. Set this aromatic blend aside, ready for the moment the pepitas emerge from the oven.
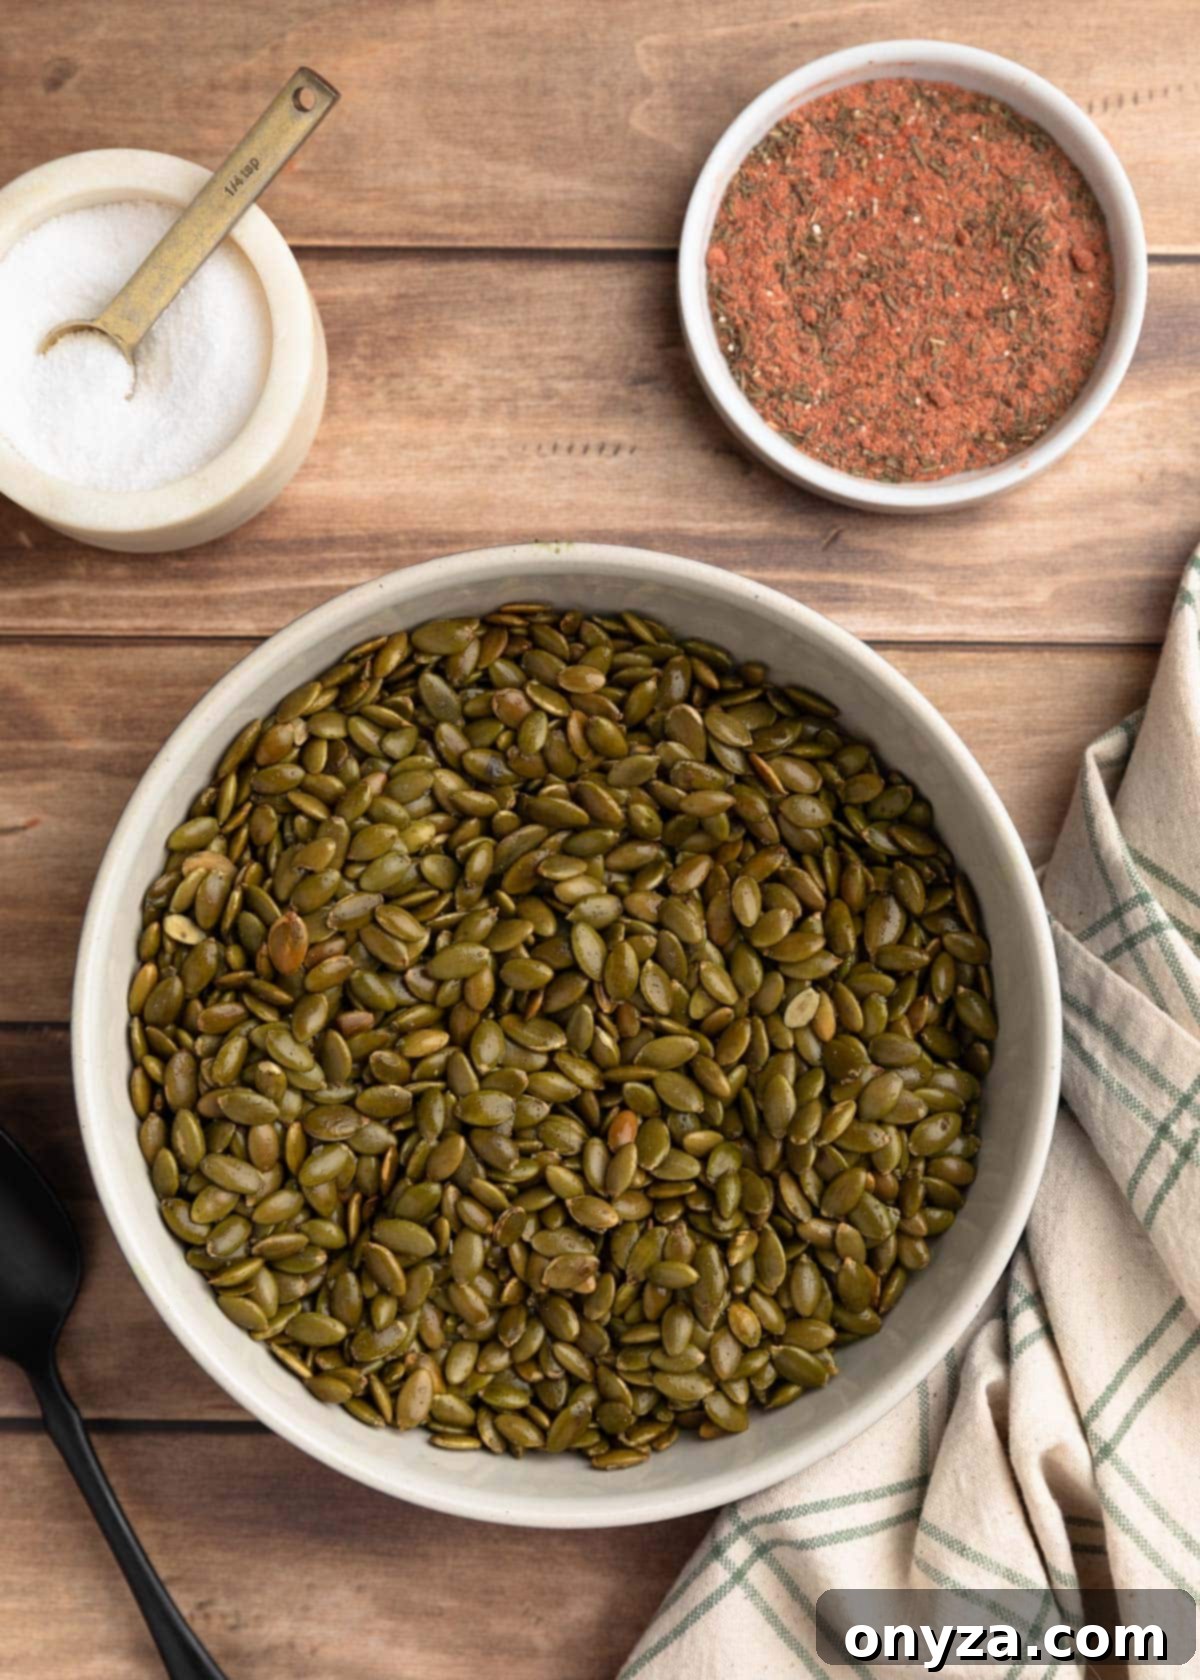
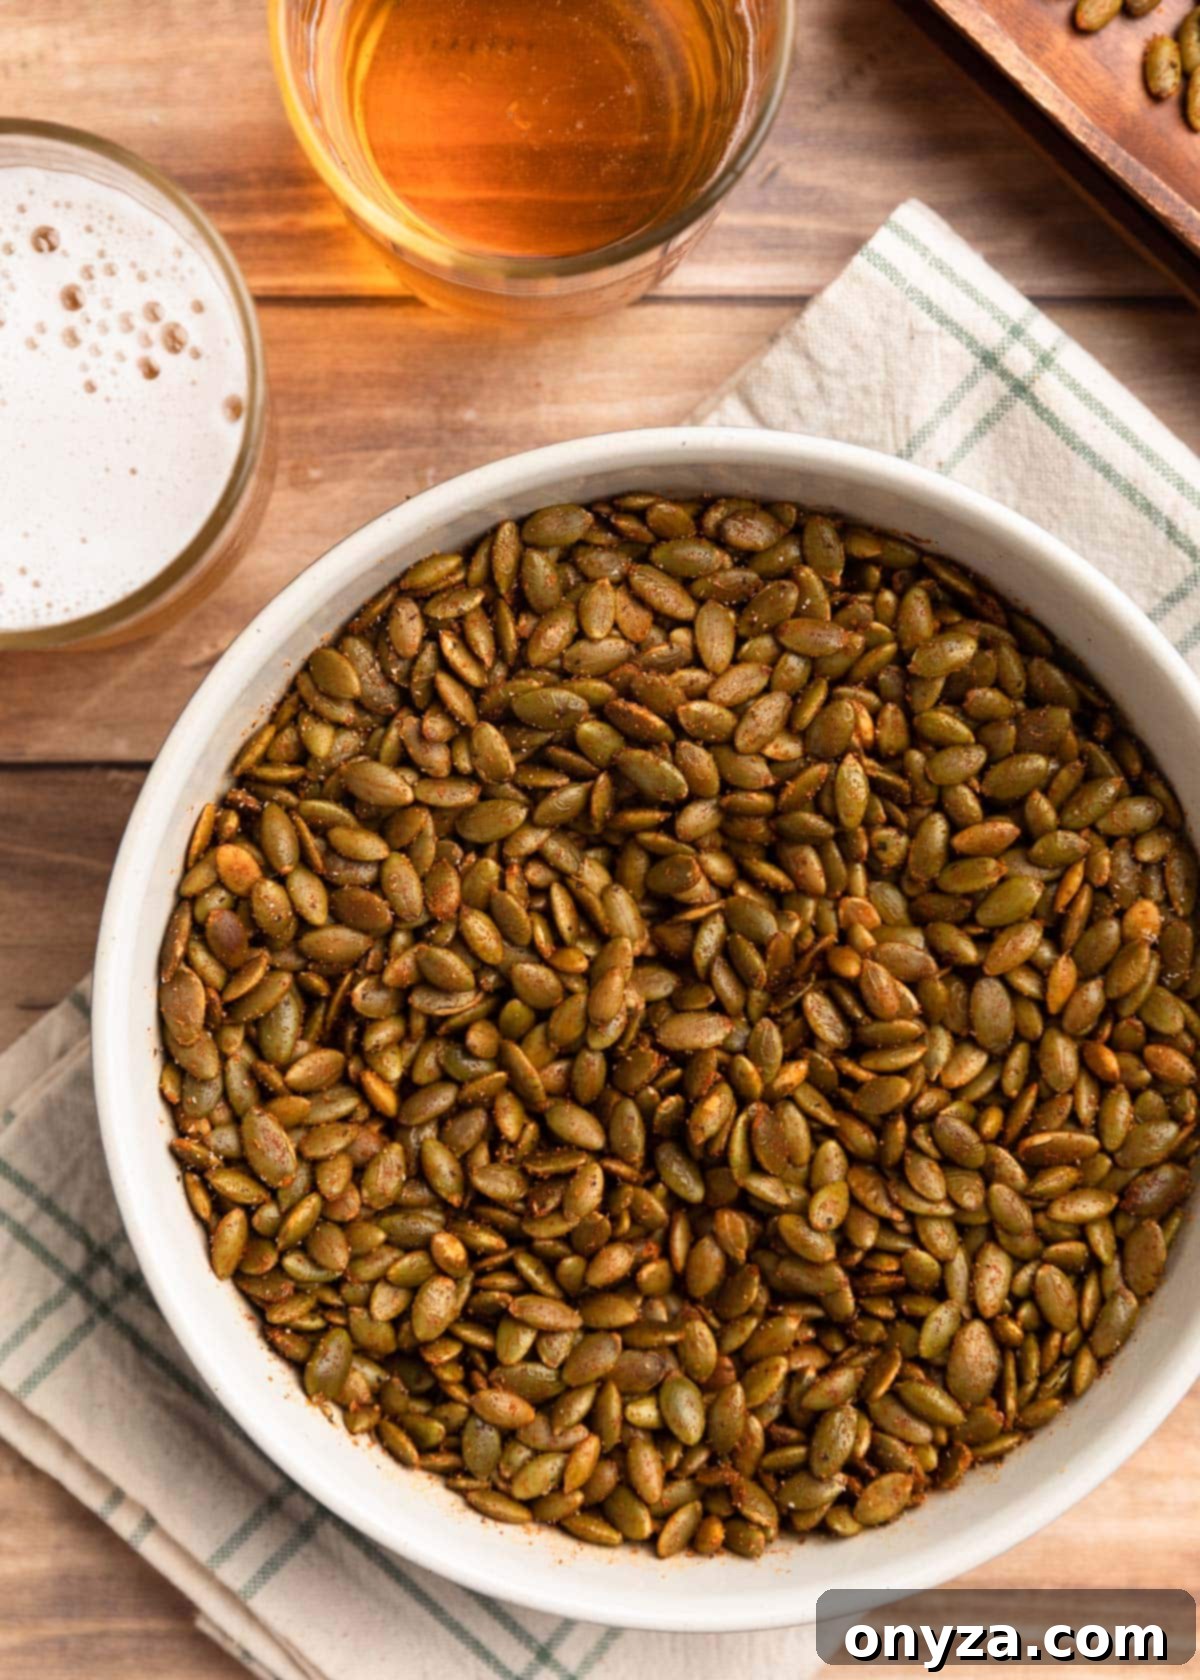
The timing here is key for superior flavor adhesion. As soon as the pepitas are removed from the oven, carefully transfer them to a heat-safe bowl. You might hear a few more delightful crackles and pops as they settle. Immediately sprinkle your prepared spice mix over the warm pepitas. Using a wooden spoon or a rubber spatula, toss the seeds thoroughly, ensuring every single pepita is beautifully coated with the aromatic seasoning. The residual heat from the freshly roasted seeds helps the spices to “bloom” and stick, creating an irresistible savory crust.
Once coated, taste a few pepitas. This is your chance to fine-tune the seasoning. You might find they need a little more salt to truly pop, or perhaps a dash more chipotle or cayenne if you prefer a bolder heat. Adjust to your personal preference. Allow the spiced pepitas to cool slightly before serving; they are wonderful served warm, but equally delicious at room temperature once the spices have fully melded.
Got a surplus of pepitas? Don’t let them go to waste! Beyond this fantastic snack, they also make a wonderful addition to my Pumpkin Granola for a wholesome breakfast or topping!
Serving and Storing Your Perfectly Spiced Pepitas
These Spiced Pepitas are so incredibly addictive that they rarely last long in my home, but knowing how to properly store them ensures you can enjoy their freshness for as long as possible. Once cooled completely, transfer your spiced pepitas to an airtight container. They will maintain their delicious crunch and flavor at room temperature for up to a week. For longer storage, you have the option to freeze them for up to a year. Simply thaw at room temperature when ready to enjoy, or rewarm briefly in a 350°F oven for 2-3 minutes for a freshly roasted feel.
Packed with essential vitamins, minerals, and powerful antioxidants, Spiced Pepitas are more than just a tasty treat; they’re a genuinely healthy snack you can feel good about. While they are utterly delightful eaten by the handful straight from the bowl, their versatility makes them an excellent addition to a wide array of dishes. Here are some of our favorite ways to enjoy these savory delights:
- Elevate Your Cheese Boards: During fall and holiday gatherings, swap out traditional spiced nuts for these pepitas. Their unique flavor and crisp texture offer a refreshing alternative that pairs incredibly well with rich cheeses like aged gouda or a sharp cheddar, adding a zesty, unexpected bite to your appetizer spread.
- Crunchy Soup Topping: Transform creamy, comforting soups into a textural masterpiece. Sprinkling spiced pepitas over a bowl of velvety Butternut Squash Soup, Sweet Potato Soup, or even a classic tomato bisque provides a delightful crunch that contrasts beautifully with the smooth texture of the soup.
- Homemade Holiday Gifts: Package these exquisite spiced pepitas in charming mason jars, tied with a festive ribbon, to create thoughtful and delicious homemade holiday gifts. They’re a gourmet touch that friends, family, and colleagues will truly appreciate.
- Garnish for Salads: Forget ordinary croutons! Add a handful of these spiced pepitas to your favorite fall salads for an explosion of flavor and crunch. They are especially magnificent in a Harvest Cobb Salad or a Delicata Squash Salad, complementing the seasonal ingredients beautifully.
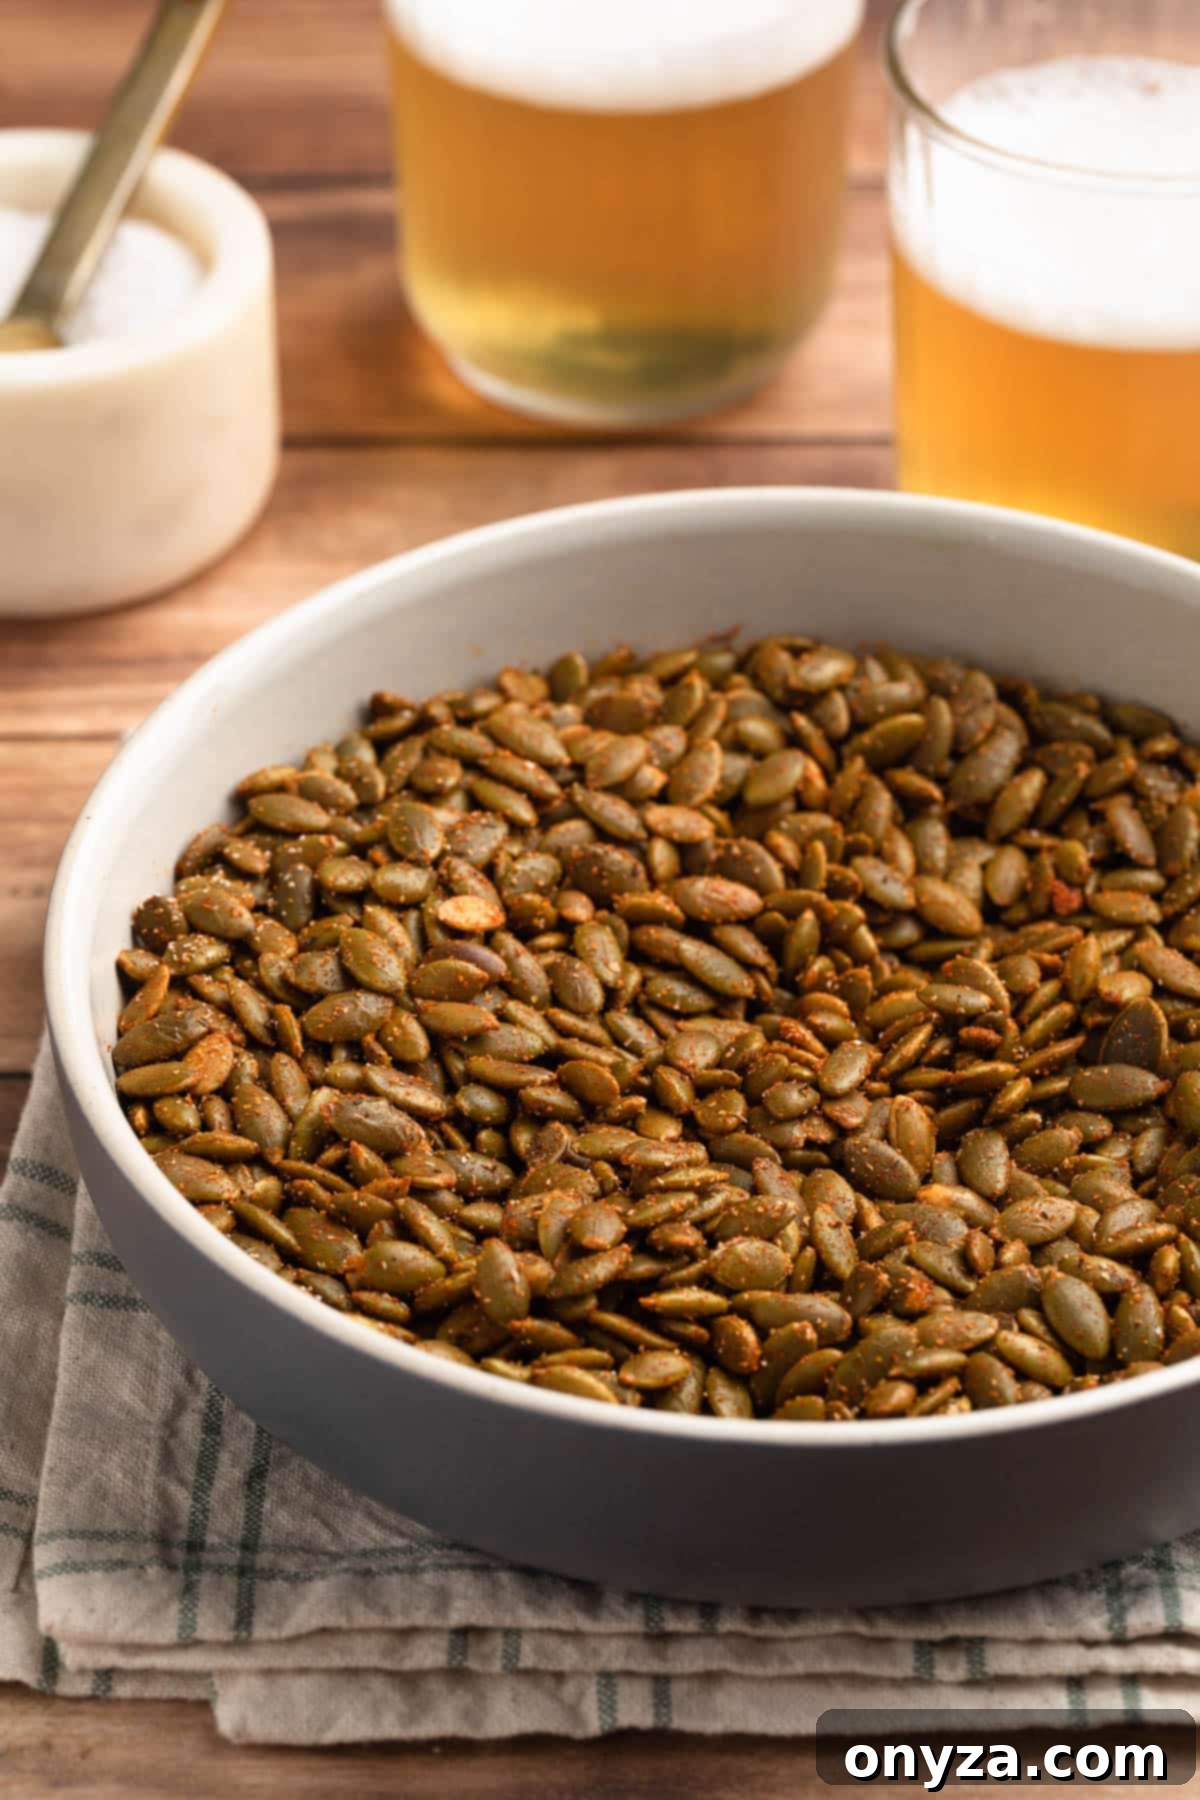
- Game Day or Home Bar Snack: Serve them alongside hard cider, your favorite craft beer, or a refreshing lager as a sophisticated and satisfying snack during game days, casual get-togethers, or simply for an evening at home. Their savory profile makes them an excellent companion to beverages.
- Avocado Toast Upgrade: Take your breakfast or brunch to the next level. Sprinkle spiced pepitas over a fall-themed avocado toast, perhaps on multigrain bread with a scattering of dried cranberries and crumbled goat cheese, for an irresistible combination of textures and flavors.
- Yogurt and Oatmeal Enhancement: For a savory twist on breakfast or a quick snack, add a spoonful of spiced pepitas to plain yogurt or oatmeal. They provide a surprising burst of flavor and a satisfying crunch.
- Sprinkle over Roasted Vegetables: Finish off roasted Brussels sprouts, green beans, or sweet potatoes with a scatter of spiced pepitas for an extra layer of texture and a kick of savory spice.
Frequently Asked Questions About Spiced Pepitas
Can I use pre-roasted pepitas for this recipe?
While you theoretically could, it’s highly recommended to start with raw pepitas. Pre-roasted pepitas might become over-toasted or even burn when roasted again, and they won’t absorb the oil and spices as effectively. Raw pepitas ensure the best texture and flavor.
What other spices can I use?
The beauty of this recipe is its flexibility! Feel free to experiment with your favorite spice combinations. Smoked paprika, cumin, chili powder, curry powder, or even a touch of brown sugar for a sweet and savory twist are all excellent additions. Play around to find your perfect blend!
My spices aren’t sticking well to the pepitas. What went wrong?
The most common reason for spices not sticking is allowing the pepitas to cool too much before adding the seasoning. It’s crucial to toss them with the spice mix immediately after they come out of the oven, while they are still warm and the oil is still tacky.
Are spiced pepitas healthy?
Absolutely! Pepitas are rich in essential nutrients like magnesium, zinc, iron, and antioxidants. When prepared with healthy fats like olive oil and natural spices, they make a fantastic, nutrient-dense snack that supports overall health and well-being.
Can I make these in a skillet instead of the oven?
Yes, you can toast pepitas on the stovetop in a dry skillet over medium heat, stirring constantly until fragrant and lightly browned. However, roasting in the oven typically provides a more even toast and crispier texture, especially when coating them with oil and spices.
How long do homemade spiced pepitas last?
When stored in an airtight container at room temperature, spiced pepitas will stay fresh and crispy for about one week. For longer storage, you can freeze them in a freezer-safe bag or container for up to a year, though they are usually too delicious to last that long!
More Delicious Snacks To Eat By the Handful
If you’ve enjoyed these Spiced Pepitas, you’ll love exploring other easy-to-make, satisfying snacks perfect for any occasion. From savory to sweet, there’s a crunchy treat waiting to be discovered:
- Cajun Spiced Mixed Nuts
- Caramelized Pecans
- BBQ Snack Mix
- Ranch Crackers with Dill
Print Recipe
Spiced Pepitas
Amanda Biddle
5 minutes
15 minutes
20 minutes
8
servings (1/4 cup)
Ingredients
- 2 cups raw pepitas (hulless pumpkin seeds), 10 ounces
- 1 tablespoon regular olive oil (or another light-flavored oil, such as grapeseed)
- 1 teaspoon kosher salt or fine sea salt , plus additional to taste
- 1-1/4 teaspoons Hungarian (sweet) paprika
- ½ teaspoon dried basil
- ½ teaspoon dried thyme
- ½ teaspoon onion powder
- ¼ teaspoon garlic powder
- pinch cayenne or chipotle powder , or more to taste
Instructions
- Preheat oven to 350°F (175°C) with the rack in the middle position. On a rimmed half-sheet pan (see note below), toss raw pepitas with olive oil and 1 teaspoon salt until evenly coated. Spread the seeds into a single layer.
- Bake for 10-15 minutes, stirring every 5 minutes, until lightly toasted and fragrant. You might hear crackling and popping sounds as the pepitas roast; this is normal.
- While the pepitas are in the oven, mix together paprika, basil, thyme, onion powder, garlic powder, and cayenne or chipotle powder (if using). Set aside.
- Carefully transfer the hot toasted pepitas to a heat-safe bowl and sprinkle immediately with your spice mix. Use a spoon or spatula to toss the seeds with the seasonings until they are well-coated. Add additional salt (I usually add up to 1/2 teaspoon) and chipotle or cayenne pepper, to taste.
- Let cool and serve slightly warm or at room temperature. Roasted pepitas can be stored in an airtight container at room temperature for about a week. To rewarm before serving, spread onto a baking sheet and pop into a 350°F (175°C) oven for 2-3 minutes.
Notes
Ground Cayenne or Chipotle Powder: Adjust the heat level of these pepitas to taste, adding more or less hot pepper as needed. Chipotle powder will add a smoky flavor in addition to heat. For a savory, no-heat mix, omit the hot pepper entirely.
This recipe originally appeared on Striped Spatula on November 16, 2015.
Nutrition Estimate
Calories: 106kcal |
Carbohydrates: 2g |
Protein: 5g |
Fat: 10g |
Saturated Fat: 2g |
Polyunsaturated Fat: 4g |
Monounsaturated Fat: 4g |
Trans Fat: 0.01g |
Sodium: 292mg |
Potassium: 135mg |
Fiber: 1g |
Sugar: 0.2g |
Vitamin A: 36IU |
Vitamin C: 0.4mg |
Calcium: 11mg |
Iron: 2mg
Nutrition information is automatically calculated, so should only be used as an approximation.
Please note that our recipes have been developed using the US Customary measurement system and have not been tested for high altitude/elevation cooking and baking.
