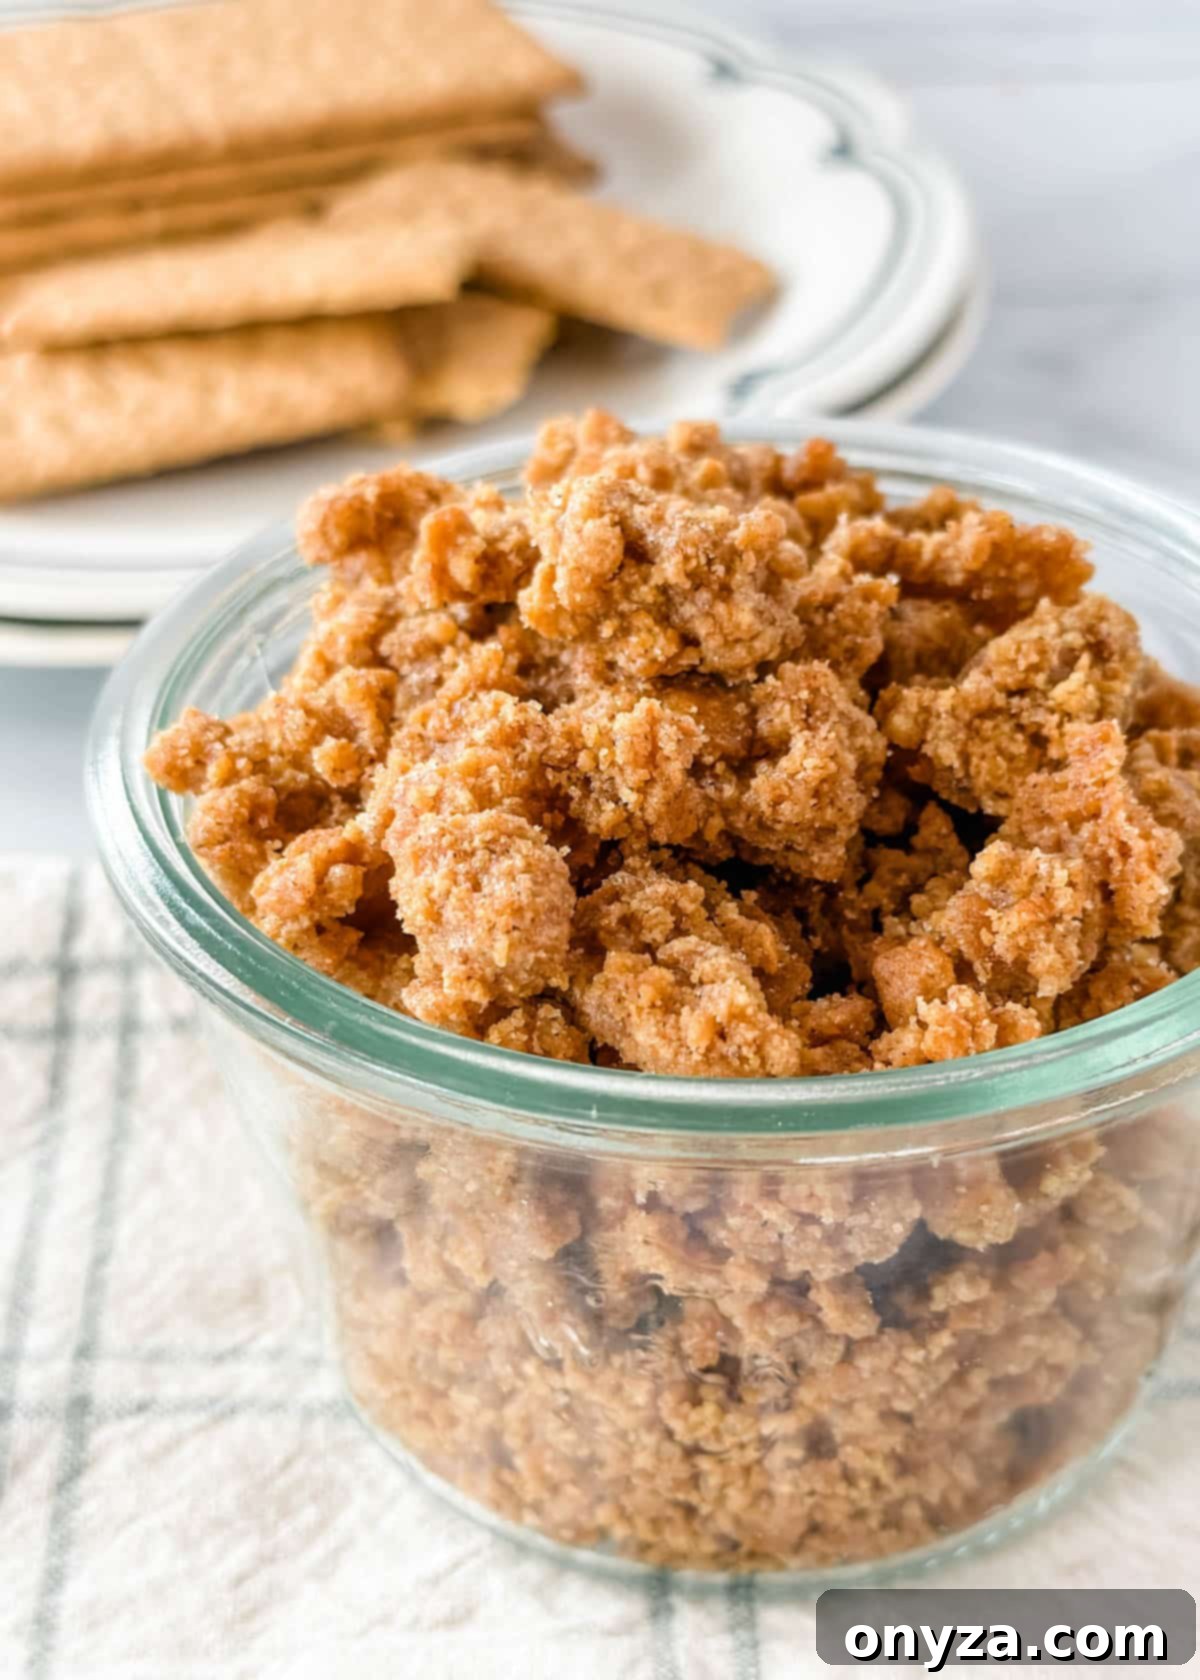
Craving that delightful crunch to elevate your favorite desserts? Look no further than this incredibly simple yet utterly irresistible Graham Cracker Crumble. Transform a humble sleeve of graham crackers into a golden, buttery, and sweet topping that will become your secret weapon for enhancing everything from decadent ice cream sundaes and layered breakfast parfaits to elegant fruit desserts and beyond. This homemade crumble is a game-changer, offering a textural contrast and a comforting flavor that store-bought alternatives simply can’t match.
Making your own graham cracker crumble is a breeze, requiring minimal ingredients and effort, yet delivering maximum flavor impact. It’s the perfect addition to any sweet treat, promising a satisfying crunch with every bite. Get ready to discover how easy it is to create this versatile and delicious topping that will have everyone asking for your recipe.
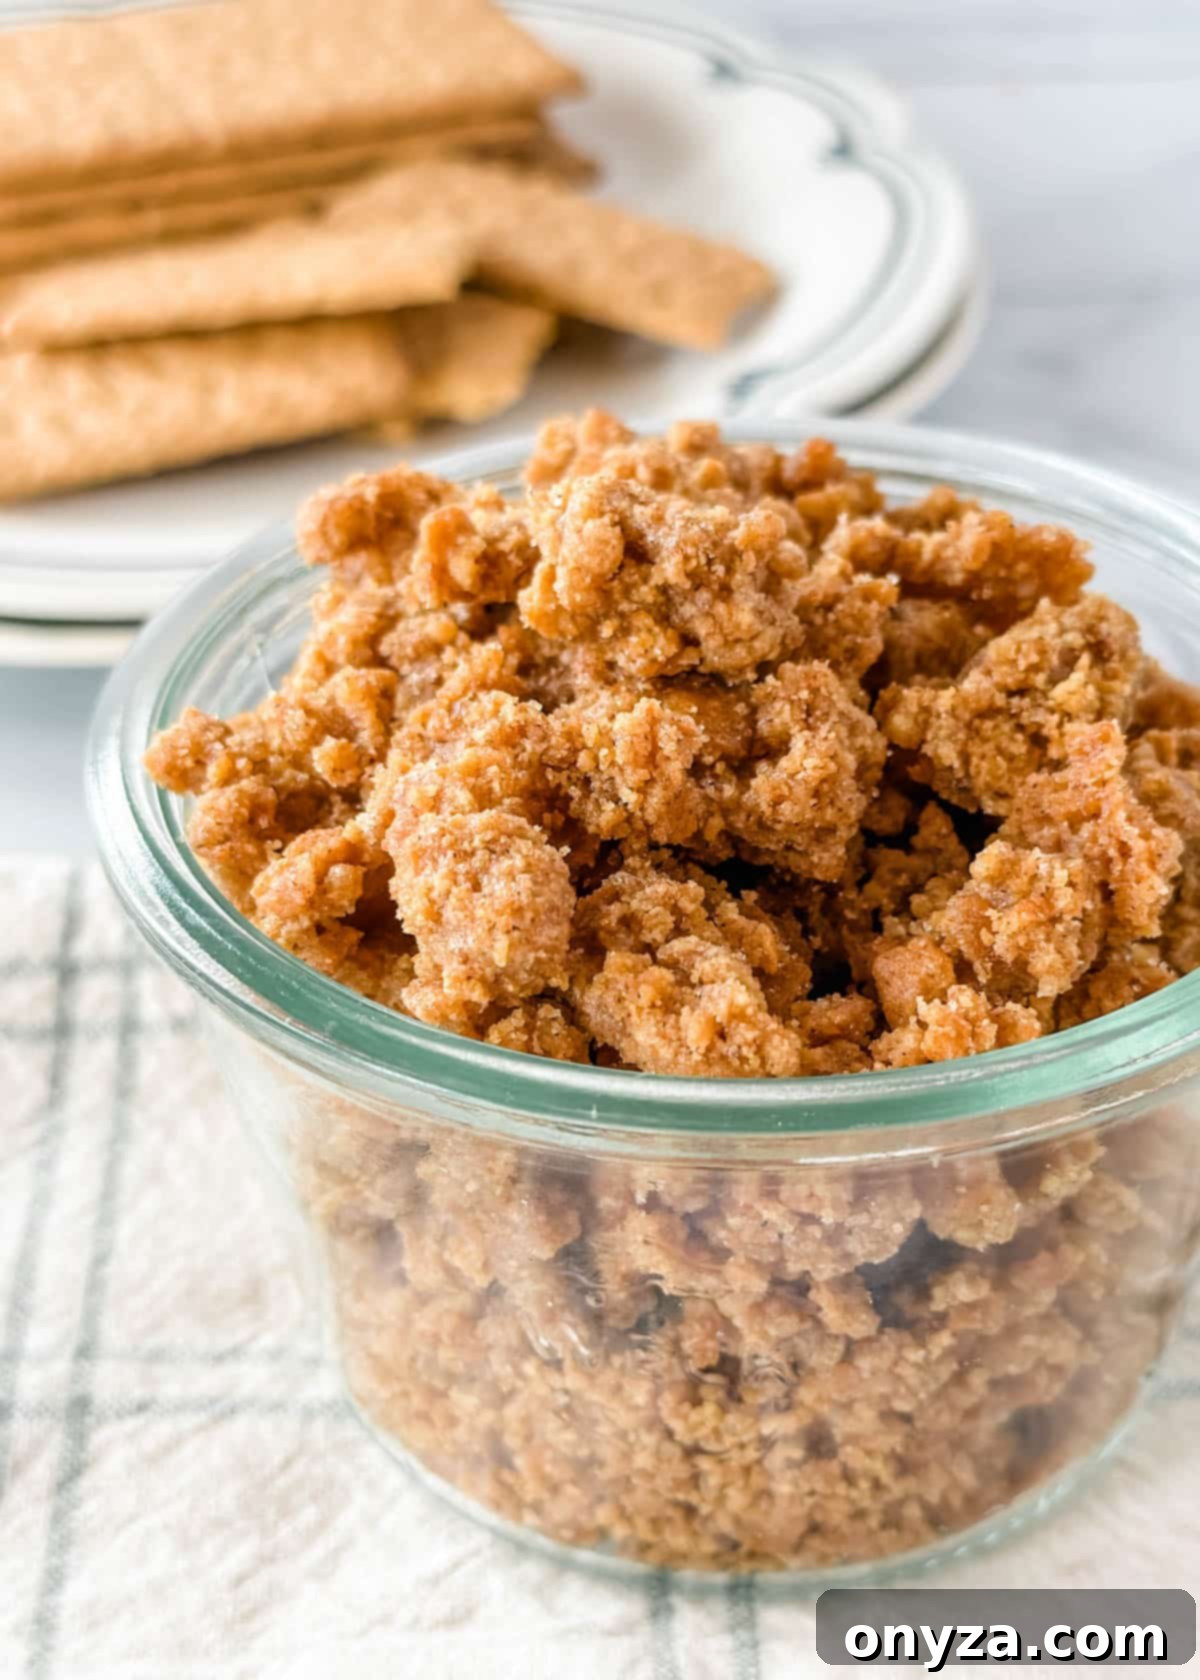
Why This Easy Graham Cracker Crumble Will Become Your Favorite Topping
As someone who believes a good dessert is often defined by its textures, I’m always on the hunt for the perfect crunchy element. Whether it’s adding a crispy topping to a creamy macaroni and cheese, a casserole, or a sweet dessert, that satisfying crunch makes all the difference. This homemade Graham Cracker Crumble is not just a topping; it’s an experience, bringing a delightful textural contrast and rich flavor to any dish. Here’s why this recipe is bound to become a staple in your kitchen:
- Perfect for Using Leftovers & Reducing Waste: Do you often find yourself with a partial sleeve of graham crackers after making a pie crust or s’mores? This recipe is the ideal solution! It’s a fantastic way to utilize those leftover graham crackers or even pre-crushed crumbs, ensuring nothing goes to waste while creating something truly delicious.
- Effortless Preparation & Make-Ahead Convenience: With just a few simple steps and minimal active time, this graham cracker crumble comes together quickly. Even better, it’s perfect for meal prepping. You can whip up a batch ahead of time and store it, ensuring you always have a sweet, crunchy topping ready for those moments when you’re short on time but still crave a special treat. Plus, it freezes beautifully for even longer storage!
- Incredibly Versatile for Any Meal or Snack: Break free from your usual breakfast or dessert routine with this dynamic crumble. It’s not just for ice cream! Imagine it sprinkled over creamy yogurt, layered in vibrant fruit parfaits, or adding a sophisticated touch to baked goods. Its adaptability means you can enjoy it in countless ways, transforming everyday items into extraordinary delights.
- Highly Customizable to Suit Your Taste: This recipe serves as a fantastic base, allowing for endless customization. Experiment with different varieties of graham crackers – from classic honey and warm cinnamon to rich chocolate. Adjust the type of sugar for varying levels of sweetness and caramel notes, and infuse it with your favorite spices to create a truly unique flavor profile tailored to your preferences.
- Elevates Simple Desserts to Gourmet Status: Sometimes, the simplest additions make the biggest impact. A sprinkle of this buttery, toasted graham cracker crumble can transform a plain bowl of vanilla ice cream, a basic fruit salad, or a humble cup of pudding into a gourmet-level dessert that tastes like it came from a high-end bakery.
Essential Ingredients for Your Perfect Graham Cracker Crumble
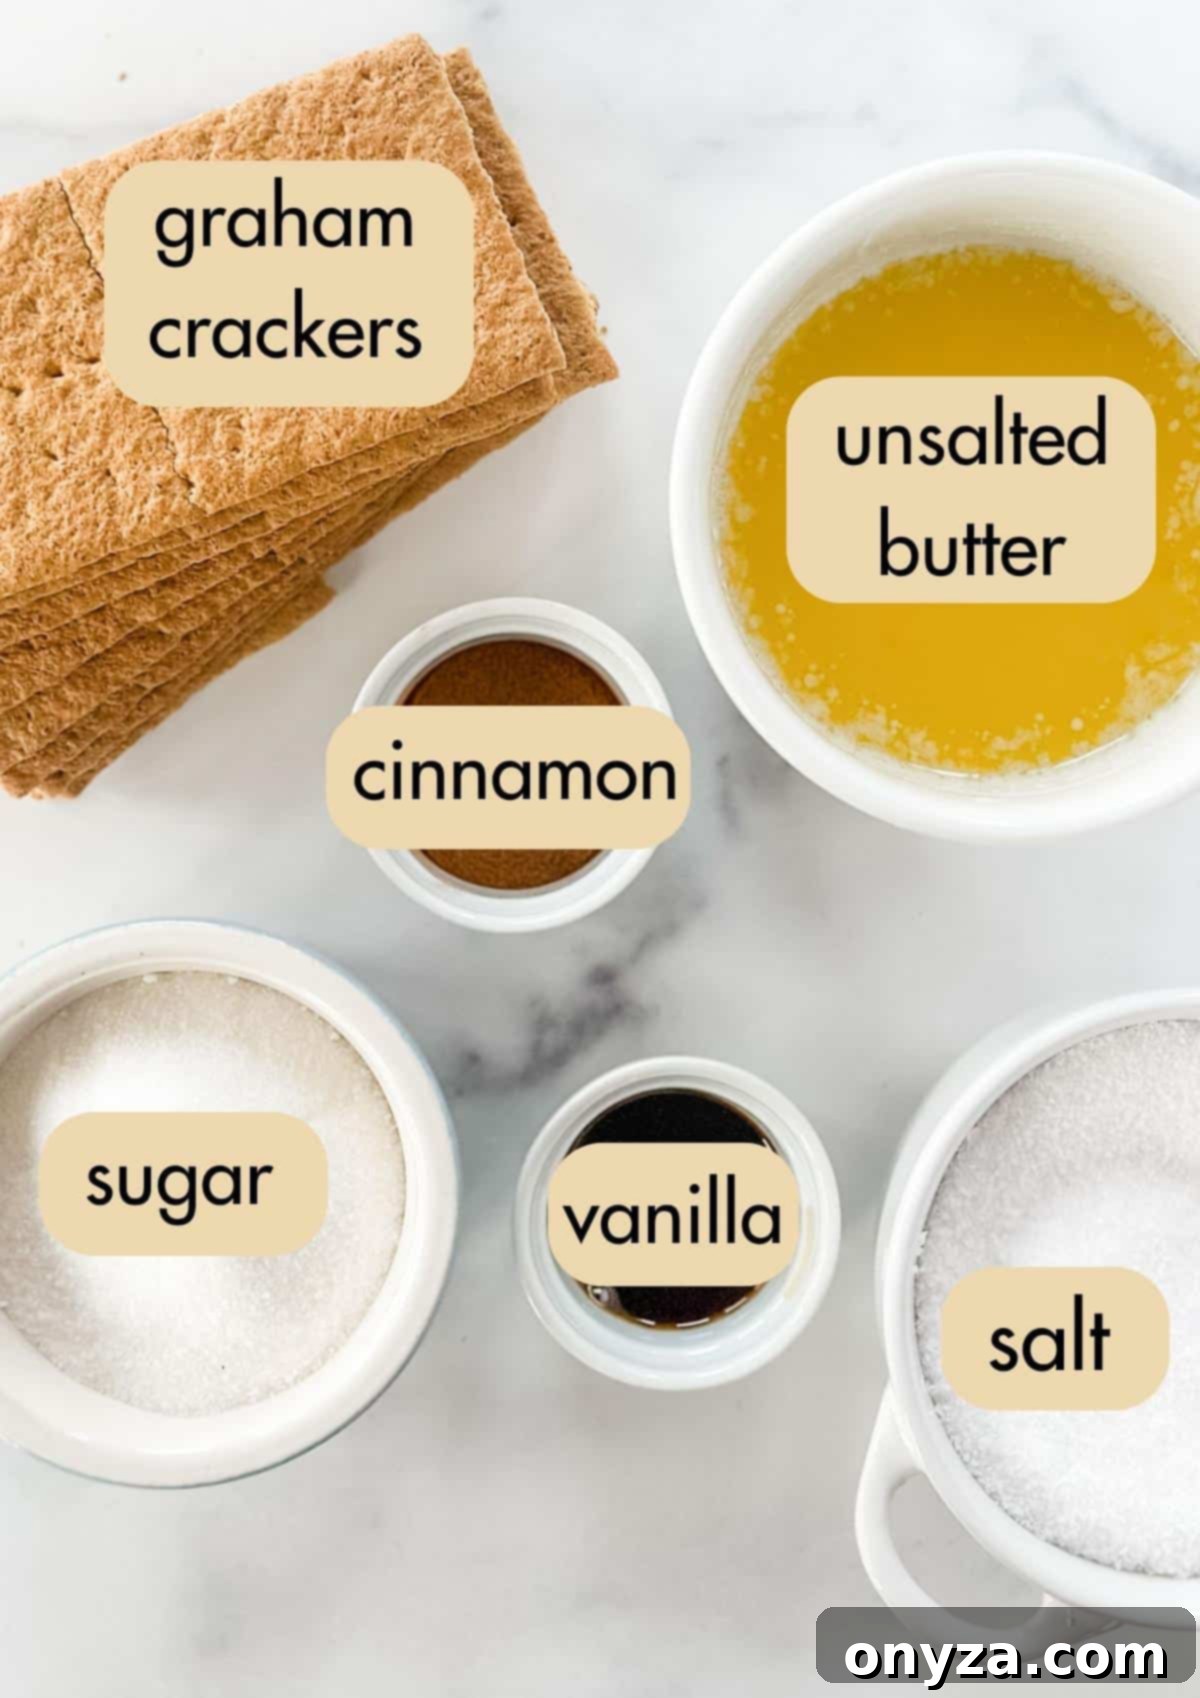
Crafting this irresistible graham cracker crumble requires just a handful of common pantry staples. The magic lies in the quality of these ingredients and how they come together to create a harmonious blend of sweet, buttery, and crunchy textures. Here’s a closer look at what you’ll need:
- Graham Crackers: The star of our crumble! You have the freedom to choose any of your preferred graham cracker varieties. While “classic” or honey grahams are a fantastic starting point, don’t hesitate to experiment with cinnamon, chocolate, or even whole wheat versions for different flavor dimensions. My personal go-to is Nabisco Original Graham Crackers, made with molasses, as they evoke a nostalgic taste from my childhood and provide a robust base flavor that pairs beautifully with the other ingredients. The type of graham cracker you choose will subtly influence the final taste, so feel free to explore!
- Unsalted Butter: Butter is crucial here, acting as the binding agent that transforms individual crumbs into delightful, cohesive clusters. Tossing the crushed graham crackers with melted unsalted butter ensures they toast evenly in the oven, developing a rich, golden-brown hue and a deeply satisfying, buttery flavor. Using unsalted butter gives you complete control over the saltiness of your crumble.
- Sugar: This recipe is wonderfully flexible when it comes to sweeteners. You can opt for classic white granulated sugar for a clean sweetness, or choose light or dark brown sugar for added depth and a hint of caramel. When I use molasses-based graham crackers, I typically stick with granulated sugar to let their natural flavor shine. However, if I’m working with honey grahams and desire a more complex, subtly chewy texture, I’ll reach for brown sugar. Feel free to adjust the amount to your desired sweetness level.
- Kosher or Sea Salt: A tiny pinch of salt might seem counterintuitive in a sweet dish, but it’s absolutely essential. It skillfully balances the sweetness of the crumble, preventing it from being overly cloying and enhancing all the other flavors. Don’t skip this crucial ingredient; it truly makes a difference.
- Vanilla Extract (Optional): Depending on the specific brand or flavor of graham crackers you’re using, a splash of pure vanilla extract can provide a wonderful boost of aromatic warmth and complexity. It’s particularly effective if your chosen graham crackers have a milder flavor profile and could use a little extra “oomph” to make the crumble truly shine.
- Cinnamon (Also Optional): For those who love a cozy, warm spice note, ground cinnamon is a fantastic addition. If you’re not using cinnamon-flavored grahams, a sprinkle of ground cinnamon will infuse your crumble with a delightful, comforting aroma and taste. It complements the buttery sweetness beautifully, adding another layer of inviting flavor.
Want to try your hand at making graham crackers from scratch? Discover the joy of homemade goodness with this recipe for Homemade Graham Crackers from The Kitchn, perfect for a deeper dive into this classic cookie.
Step-by-Step Guide: Crafting Your Perfect Graham Cracker Crumble
Creating this irresistible graham cracker crumble is surprisingly quick and simple, requiring only about 10 minutes of active preparation and an additional 8-12 minutes in the oven. Follow these easy steps to achieve a golden, crunchy topping that will impress:
1. Crushing the Graham Crackers for Optimal Texture
The first step is to transform your whole graham crackers into crumbs. You have a couple of excellent options for achieving the perfect texture:
- Manual Method (Recommended for Varied Texture): Place the graham cracker sheets into a sturdy plastic zip-top bag. Seal the bag, pressing out any excess air. Then, use a rolling pin or the bottom of a heavy measuring cup to crush the crackers. This method allows you to control the size of the crumbs, which is key to a superior crumble.
- Food Processor Method (For Speed and Finer Crumbs): For a quicker approach, you can pulse the graham crackers in a food processor. Be careful not to over-process them into a fine powder, especially if you prefer a more varied texture.
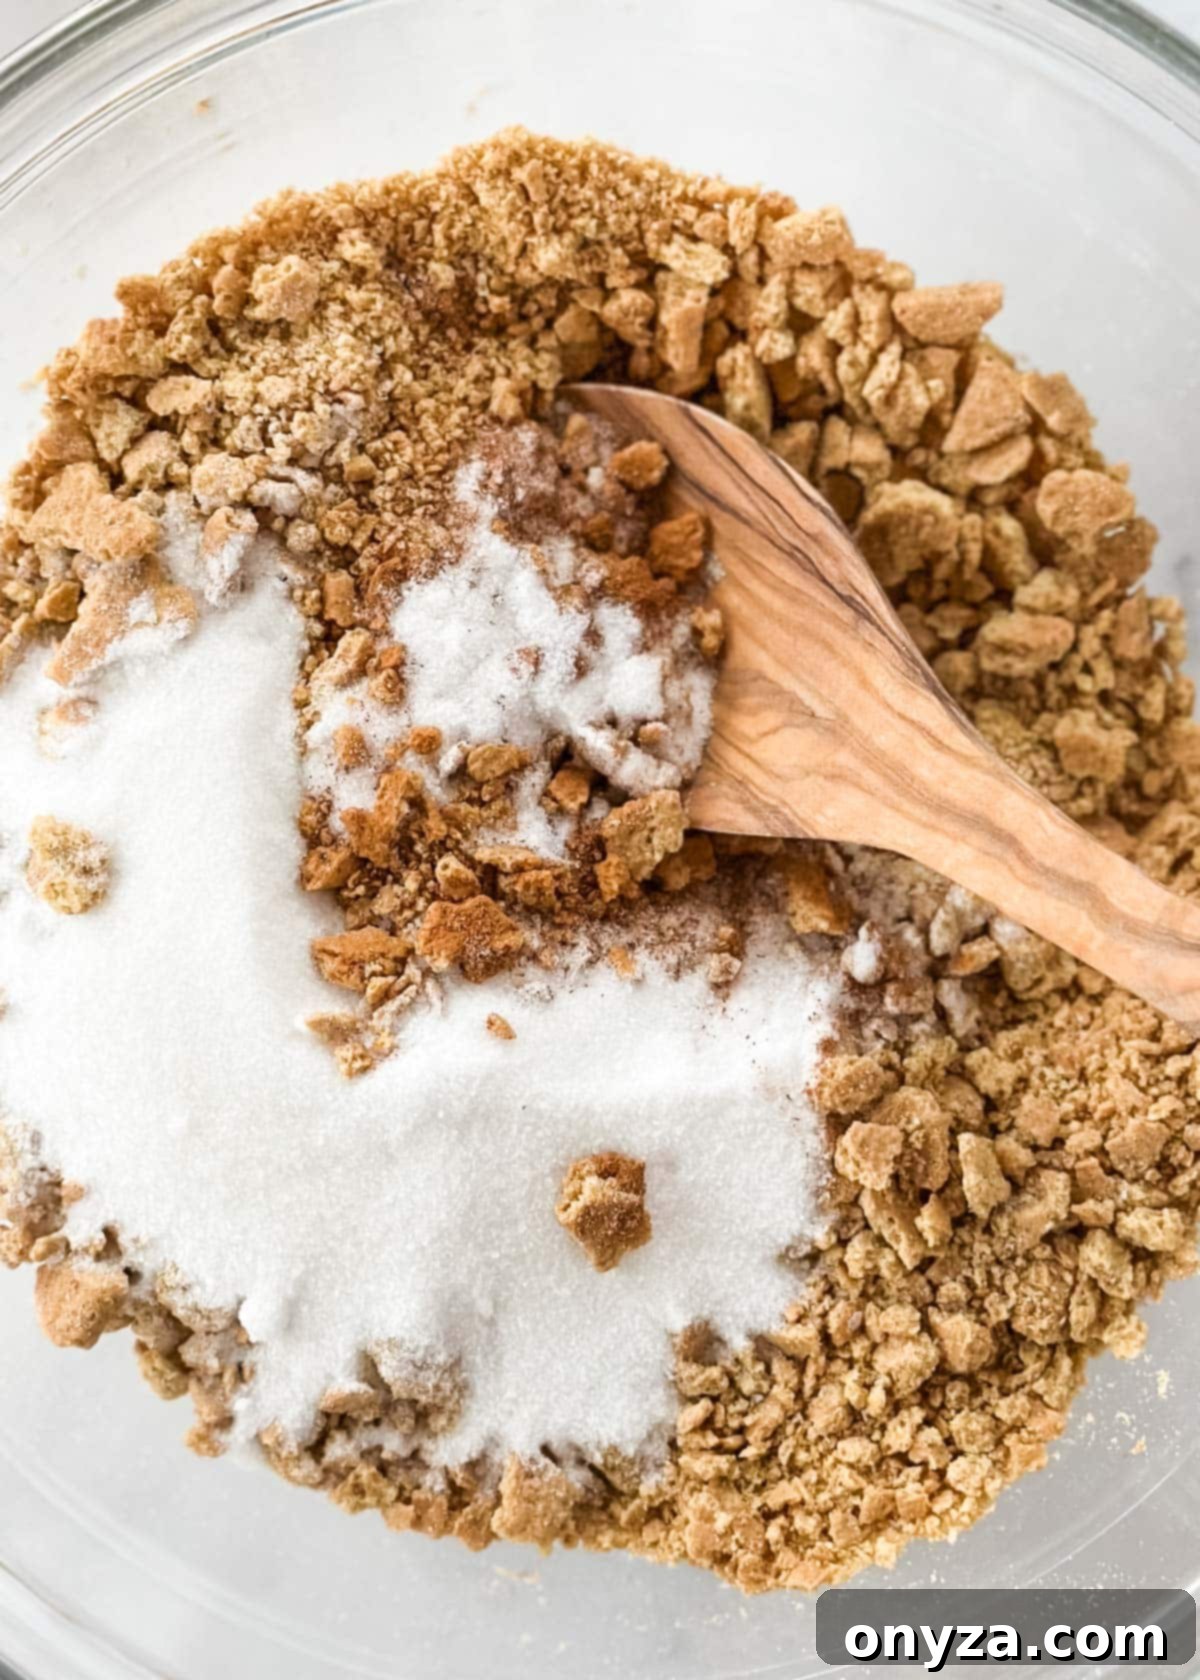
I personally prefer the manual method, aiming for a mix of fine crumbs and slightly chunkier pieces. This gives the finished crumble a more interesting and satisfying texture, offering delightful pockets of crunch that are missing if all the crumbs are uniformly fine (as you might desire for a traditional graham cracker pie crust). This textural variation is what sets a great crumble apart.
2. Combining Dry and Wet Ingredients
Once your graham crackers are crushed to your liking, transfer them to a medium-sized mixing bowl. Add your chosen sugar (granulated or brown), the pinch of kosher or sea salt, and the optional ground cinnamon. Toss these dry ingredients together until they are well combined.
Next, pour in the melted unsalted butter and the optional vanilla extract. Stir everything thoroughly until all the graham cracker crumbs are evenly coated with the buttery sugar mixture. You’ll notice the crumbs start to clump together slightly, which is exactly what we want for those delicious toasted clusters.
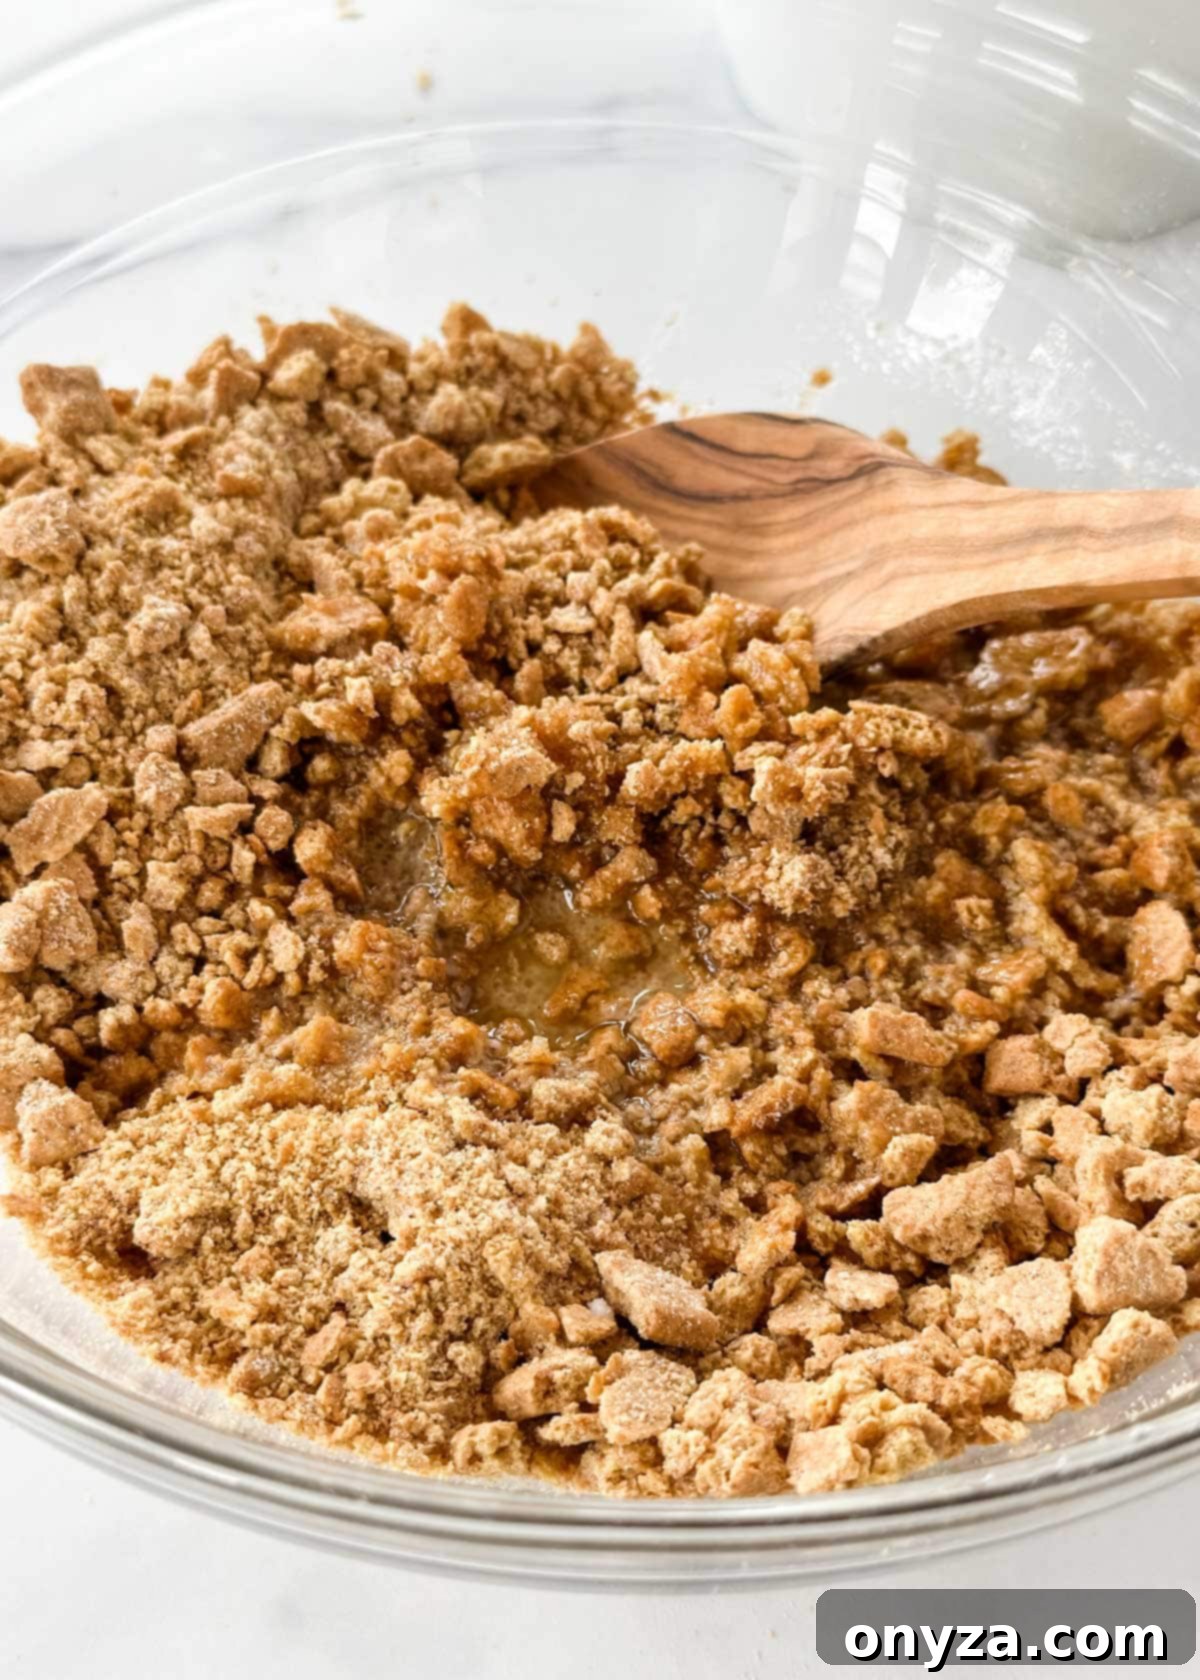
3. Baking to Golden Perfection
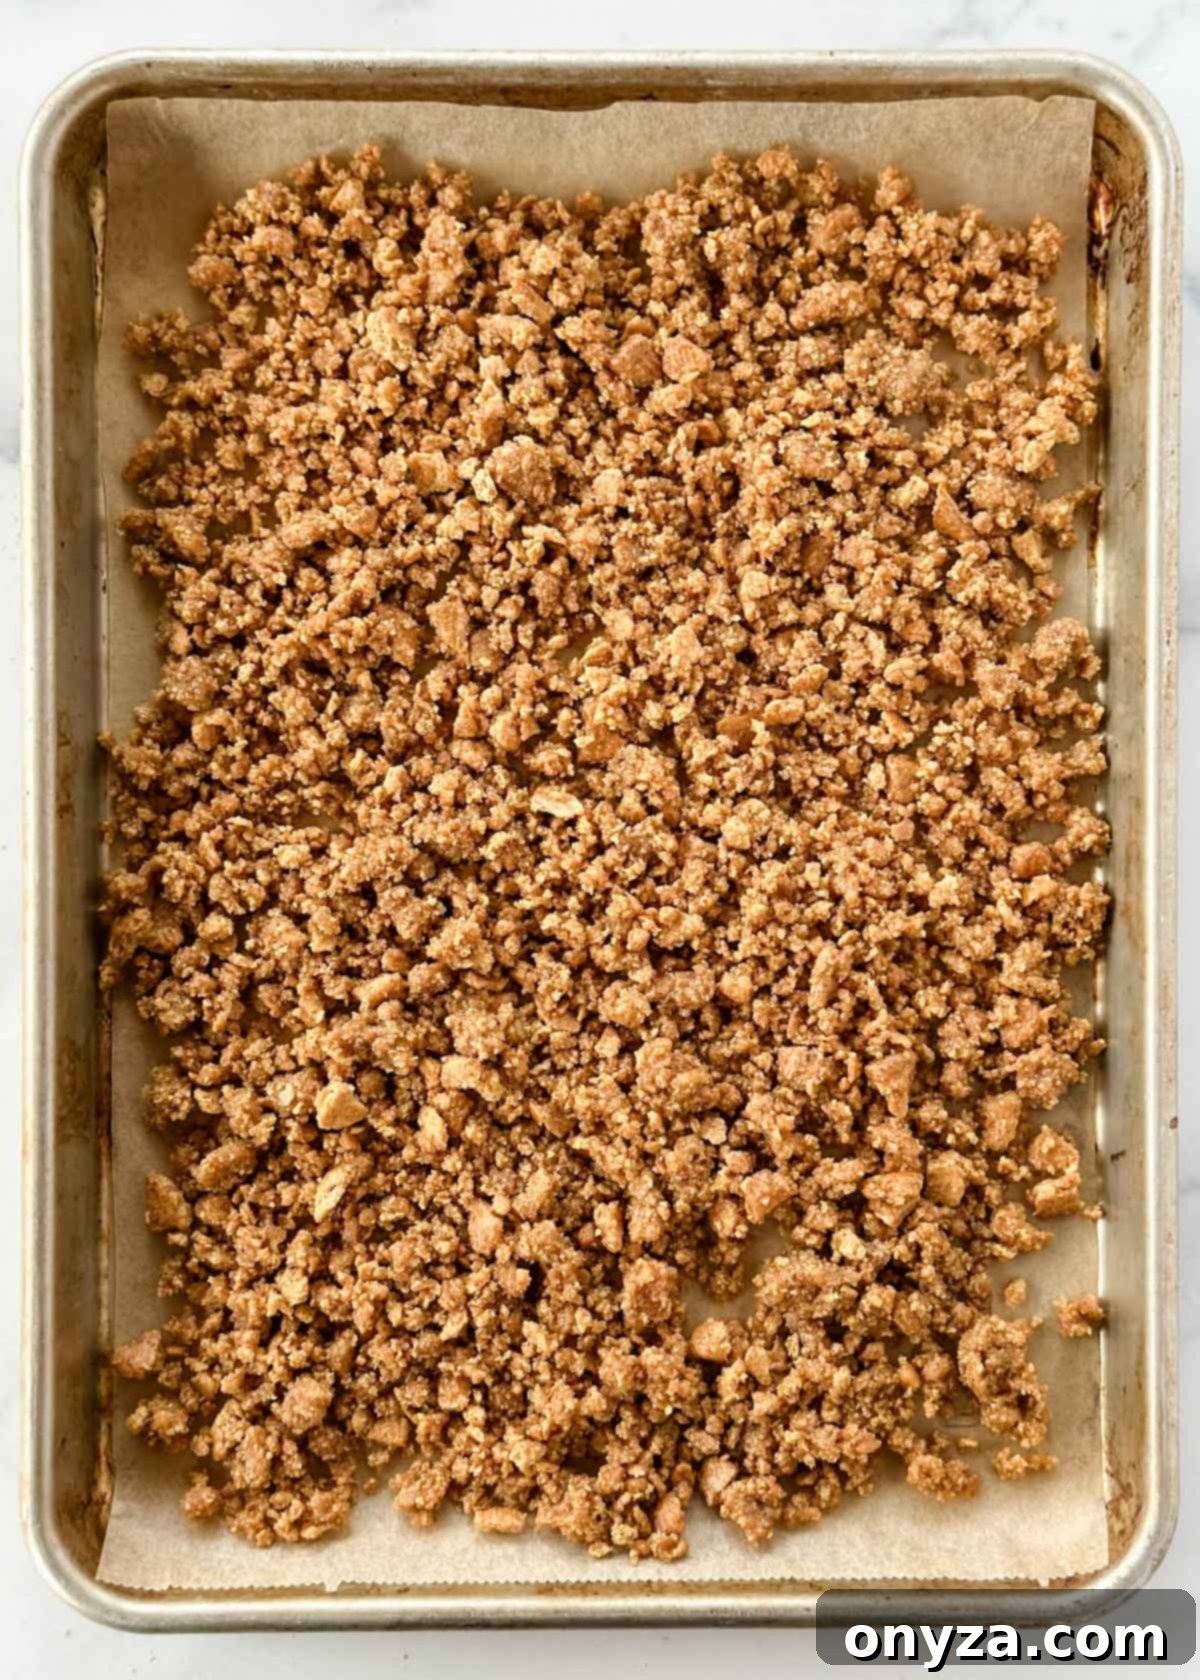
Line a baking sheet with parchment paper to prevent sticking and ensure easy cleanup. Spread the buttery graham cracker mixture onto the prepared baking sheet in a single, even layer. This even distribution is crucial for uniform baking and crispness.
Bake the crumble in a preheated oven at 325 degrees F (160 degrees C) for approximately 8-12 minutes. Baking times can vary depending on your oven’s calibration and the brand of graham crackers used, so vigilance is key. The crumble is perfectly done when it achieves a beautiful light golden-brown color and fills your kitchen with a wonderfully toasty, fragrant aroma.
It is highly recommended to start checking the pan around the 8-minute mark. Graham crackers can go from perfectly golden to burnt very quickly, so keep a close eye on them to prevent overbaking.
4. Cooling and Storing Your Delicious Crumble
An important note: When you first remove the graham cracker crumble from the oven, it will appear soft and slightly pliable. Do not be alarmed! As it cools to room temperature on the baking sheet, it will gradually crisp up and develop that delightful crunch we’re aiming for.
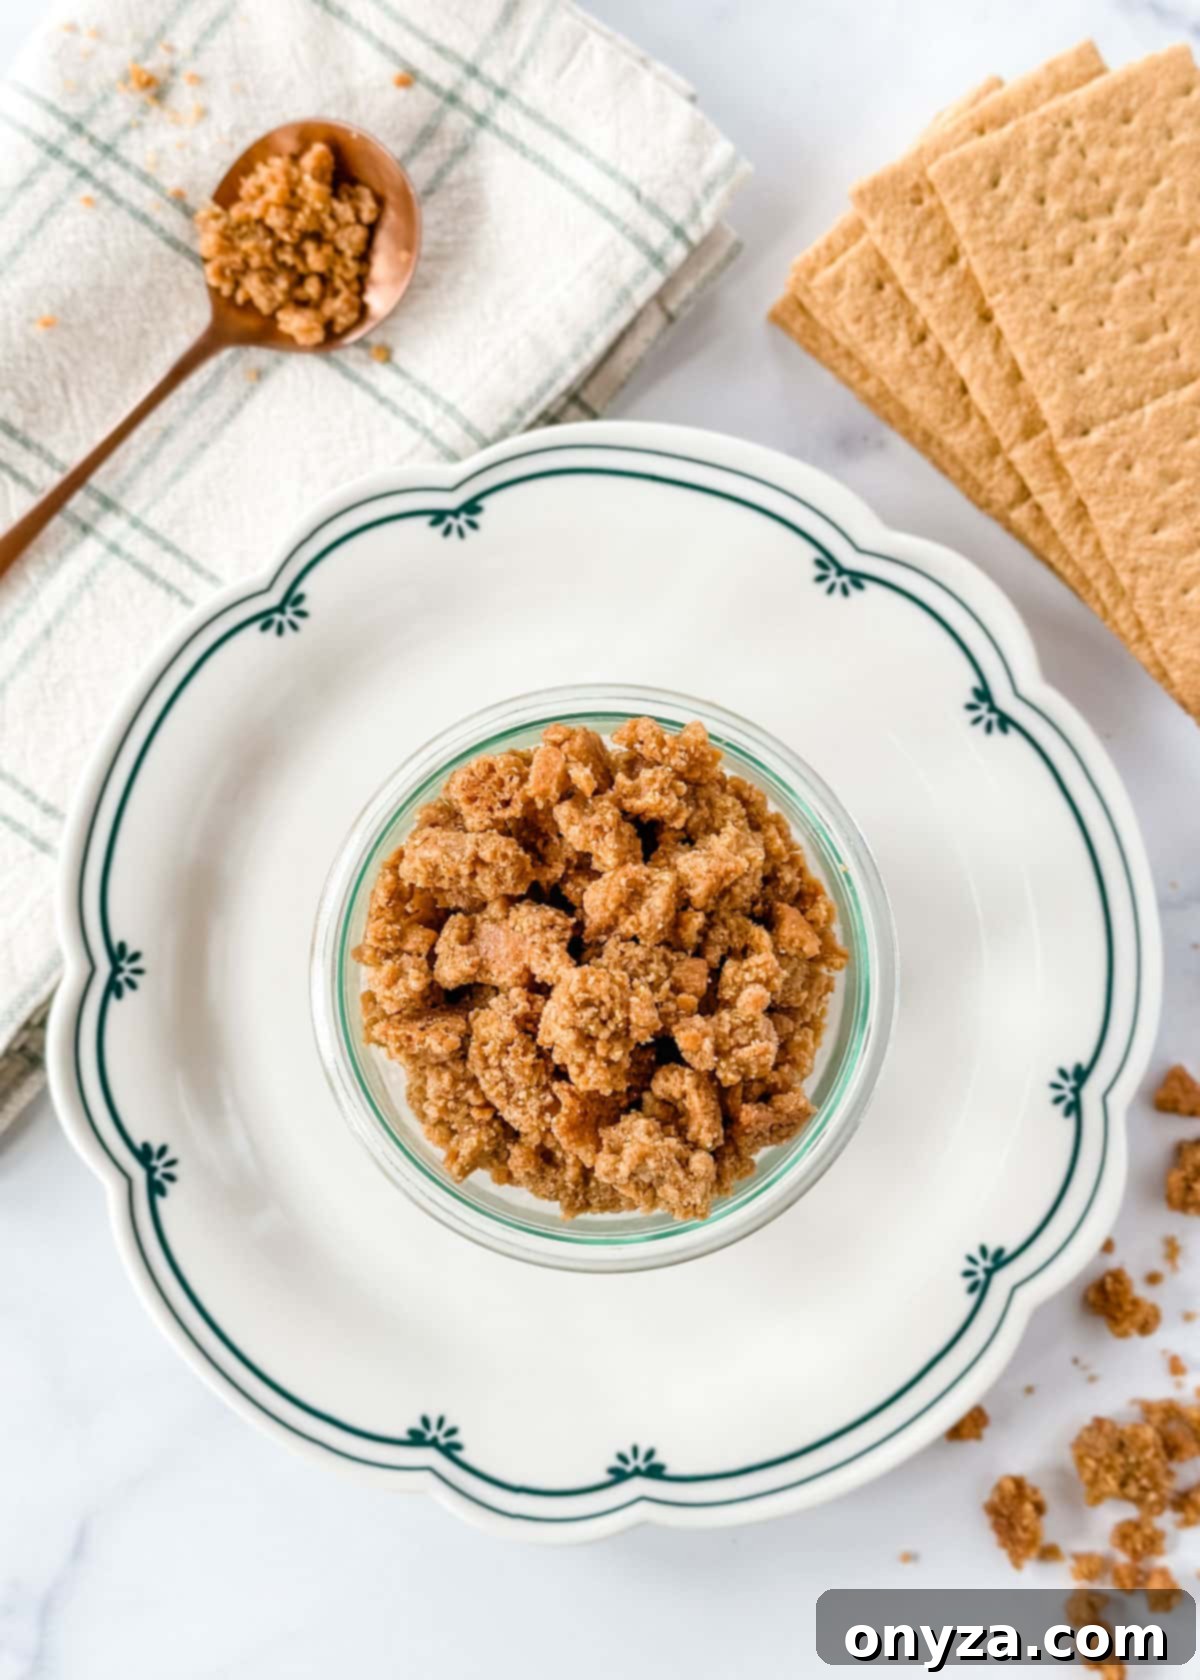
Once the crumble has completely cooled, gently break it apart into bite-sized pieces or desired clusters. Transfer the cooled crumble to an airtight container. It can be stored at room temperature for up to 3 days, refrigerated for up to 1 week, or frozen for up to 3 months. For best results and optimal crunch, always allow your stored graham cracker crumble to return to room temperature before using it to top your favorite desserts and snacks.
Creative Ways to Enjoy Your Homemade Graham Cracker Crumble
Once you’ve made a batch of this sweet, buttery, and crunchy Graham Cracker Crumble, you’ll find it hard not to simply snack on it straight from the jar! But its true magic lies in its versatility as a topping. Here are some of our absolute favorite and most creative ways to incorporate these golden clusters into your culinary repertoire, elevating everyday dishes into something truly special:
- Elevate Your Ice Cream & Sundaes: This is a classic pairing for a reason! Sprinkle generously over a scoop of your favorite ice cream. It’s divine with plain vanilla, creating a perfect canvas for the crumble’s flavor. For a truly indulgent experience, try it with fresh strawberry sauce or transform it into a S’mores Sundae with hot fudge and marshmallow topping.
- Build Delicious Yogurt & Fruit Parfaits: Layer the crumble into your breakfast yogurt parfaits with fresh seasonal fruits like berries, sliced bananas, or peaches, and a dollop of your favorite preserves. It adds a delightful crunch and sweetness, making breakfast feel like a treat. (Especially delicious with my Homemade Cherry Preserves!)
- Transform Pudding into a Parfait Dream: For a quick and easy dessert, create pudding parfaits. Alternate layers of your favorite pudding flavor (vanilla, chocolate, butterscotch!), whipped cream (or whipped topping), and these irresistible graham crumbles in a small glass or mason jar. Add sliced bananas to vanilla pudding for a delightful take on a Banana Pudding Parfait.
- Enhance Grilled or Baked Fruits: Sprinkled warm over grilled peaches, apples, or pears, especially with a dollop of whipped cream, crème fraîche, or whipped mascarpone, it creates an elegant and simple dessert that highlights the natural sweetness of the fruit.
- Perfect Partner for No-Bake Desserts: Use it as a textural contrast or a delicate base for various no-bake treats. It’s the ideal finishing touch for adorable No Bake Cheesecake Cups, adding both flavor and visual appeal.
- Top Your Morning Oats or Cereal: For a delightful breakfast upgrade, sprinkle a handful of crumble over your morning oatmeal, grits, or even cold cereal for added texture and sweetness.
- Add Flair to Pancakes & Waffles: Take your breakfast or brunch to the next level by scattering this crumble over freshly made pancakes or waffles, along with syrup and fresh fruit.
- Delectable Crumble Topping for Pies & Crisps: While designed as a topping, a coarser version can be used as a quick crust for certain pies or even baked into fruit crisps and cobblers for an extra layer of graham flavor.
Frequently Asked Questions About Graham Cracker Crumble
Q. Can I use pre-crushed graham cracker crumbs for this recipe?
A. Yes, you certainly can use store-bought pre-crushed graham cracker crumbs. They will work in this recipe, and your toasted crumble will still be delicious. However, it’s worth noting that pre-crushed crumbs are typically very finely and uniformly ground. This means the resulting crumble won’t have the same varied, chunky texture that you achieve by crushing whole graham crackers yourself. The beauty of crushing whole grahams is creating a mix of fine dust and larger pieces, which contributes significantly to the satisfying mouthfeel of the finished product. If you prioritize convenience, pre-crushed crumbs are a good option, but for optimal texture, crushing them yourself is recommended.
Q. Are there other spices I can add besides cinnamon?
A. Absolutely! This recipe is incredibly adaptable to different spice profiles. While cinnamon is a classic choice, feel free to experiment with other warm spices to create unique flavor combinations. Consider swapping out some of the cinnamon for a pinch of ground nutmeg, cardamom, or ginger for a different aromatic twist. If you’re making this crumble during the autumn months, a ready-made pumpkin pie spice blend would be a fantastic seasonal addition, complementing the graham cracker flavor beautifully.
Q. Can this recipe be made gluten-free and/or dairy-free?
A. Yes, with simple substitutions, this graham cracker crumble can be made suitable for gluten-free and/or dairy-free diets. For a gluten-free version, simply use your favorite brand of gluten-free graham crackers, which are widely available in most grocery stores. For a dairy-free crumble, replace the unsalted butter with a high-quality non-dairy butter alternative. We’ve had great success with Miyoko’s Creamery European-Style Cultured Unsalted Vegan Butter, which mimics the flavor and texture of dairy butter exceptionally well. When using these alternatives, particularly non-dairy butter, I recommend keeping a slightly closer eye on the crumble as it bakes, as different brands and formulations can sometimes affect baking time and browning. Ensure it reaches a golden hue without burning.
Graham Cracker Crumble Recipe
Ingredients
- 1 sleeve graham crackers (approx. 9 sheets of 4 crackers), roughly crushed (see notes)
- 6 tablespoons unsalted butter, melted
- 3 tablespoons sugar (granulated or light/dark brown, your choice – see notes)
- ½ teaspoon vanilla extract (optional, see notes)
- ½ teaspoon ground cinnamon (optional, see notes)
- Pinch of kosher or fine sea salt
Instructions
- Preheat your oven to 325°F (160°C). Line a baking sheet with parchment paper for easy cleanup.
- In a medium bowl, combine the roughly crushed graham crackers, your chosen sugar, salt, and optional cinnamon. Stir well to mix the dry ingredients.
- Pour in the melted unsalted butter and optional vanilla extract. Stir until all the graham cracker crumbs are thoroughly coated and begin to clump together.
- Spread the buttered crumb mixture evenly onto the prepared baking sheet in a single layer.
- Bake for 8-12 minutes, or until the crumble is light golden brown and wonderfully fragrant. Keep a close eye on it, especially after 8 minutes, as graham crackers can burn quickly. The crumble will be soft when it comes out of the oven but will crisp up as it cools.
- Allow the crumble to cool completely to room temperature on the baking sheet. Once cooled, break it into your desired size of crumbles or clusters.
- Store the cooled graham cracker crumble in an airtight container for up to 3 days at room temperature, up to 1 week in the refrigerator, or up to 3 months in the freezer. For the best texture, let it return to room temperature before serving on your favorite sweet treats.
Notes
- Graham Crackers: For the best texture, I recommend crushing whole graham crackers. Place them in a zip-top bag and use a rolling pin or the bottom of a measuring cup. Alternatively, pulse them in a food processor. Aim for a mix of fine crumbs and medium-sized chunks for a truly satisfying crumble. Using Nabisco Original Grahams, one sleeve typically yields about 1-1/2 cups (135 grams) of crushed crackers.
- Sugar Choice: If using graham crackers made with molasses (like Nabisco Original), granulated sugar often works best to highlight their natural flavor. For honey grahams or if you desire a deeper, slightly caramel note, brown sugar is an excellent choice. This recipe is highly adaptable, so feel free to experiment.
- Vanilla & Cinnamon: These are optional flavor enhancers. If your graham crackers are already cinnamon-flavored, you might omit the extra cinnamon. Similarly, a splash of vanilla can add a pleasant aromatic depth, especially if your graham cracker brand has a milder taste.
- Serving Suggestions: For more creative ideas on how to use this versatile crumble, refer to the “Creative Ways to Enjoy Your Homemade Graham Cracker Crumble” section above in the article.
Nutrition Estimate
(per 1/4 cup serving, approximate)
- Calories: 84 kcal
- Carbohydrates: 4g
- Protein: 0.1g
- Fat: 8g
- Saturated Fat: 5g
- Polyunsaturated Fat: 0.3g
- Monounsaturated Fat: 2g
- Trans Fat: 0.3g
- Cholesterol: 20mg
- Sodium: 2mg
- Potassium: 4mg
- Fiber: 0.1g
- Sugar: 4g
- Vitamin A: 234 IU
- Vitamin C: 0.01mg
- Calcium: 5mg
- Iron: 0.02mg
Nutrition information is automatically calculated and should be used as an approximation only.
About Our Recipes
Please note that our recipes have been developed using the US Customary measurement system and have not been extensively tested for high altitude/elevation cooking and baking conditions.
