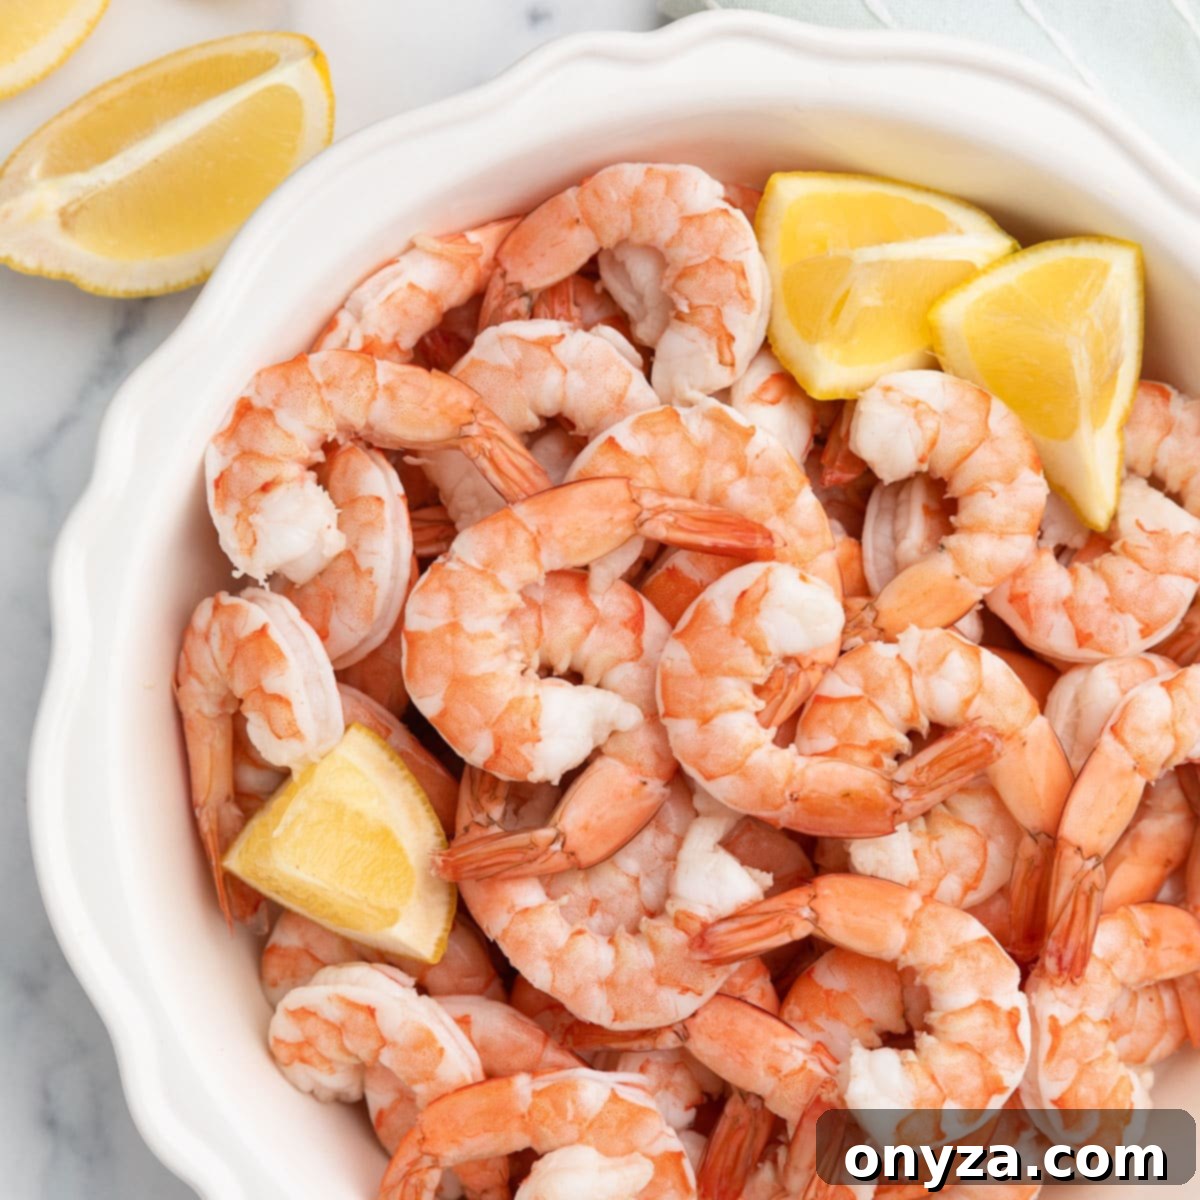
Mastering Poached Shrimp: Your Ultimate Guide to Tender, Flavorful Seafood
Discover the secret to perfectly tender, incredibly juicy poached shrimp with this comprehensive guide. We’ll show you how to prepare shrimp in an aromatic, flavorful broth known as a court bouillon – a timeless French cooking technique that guarantees exceptional results. Ideal for classic Shrimp Cocktail, elegant salads, versatile meal prep, and countless other culinary creations, these poached shrimp will elevate any dish.
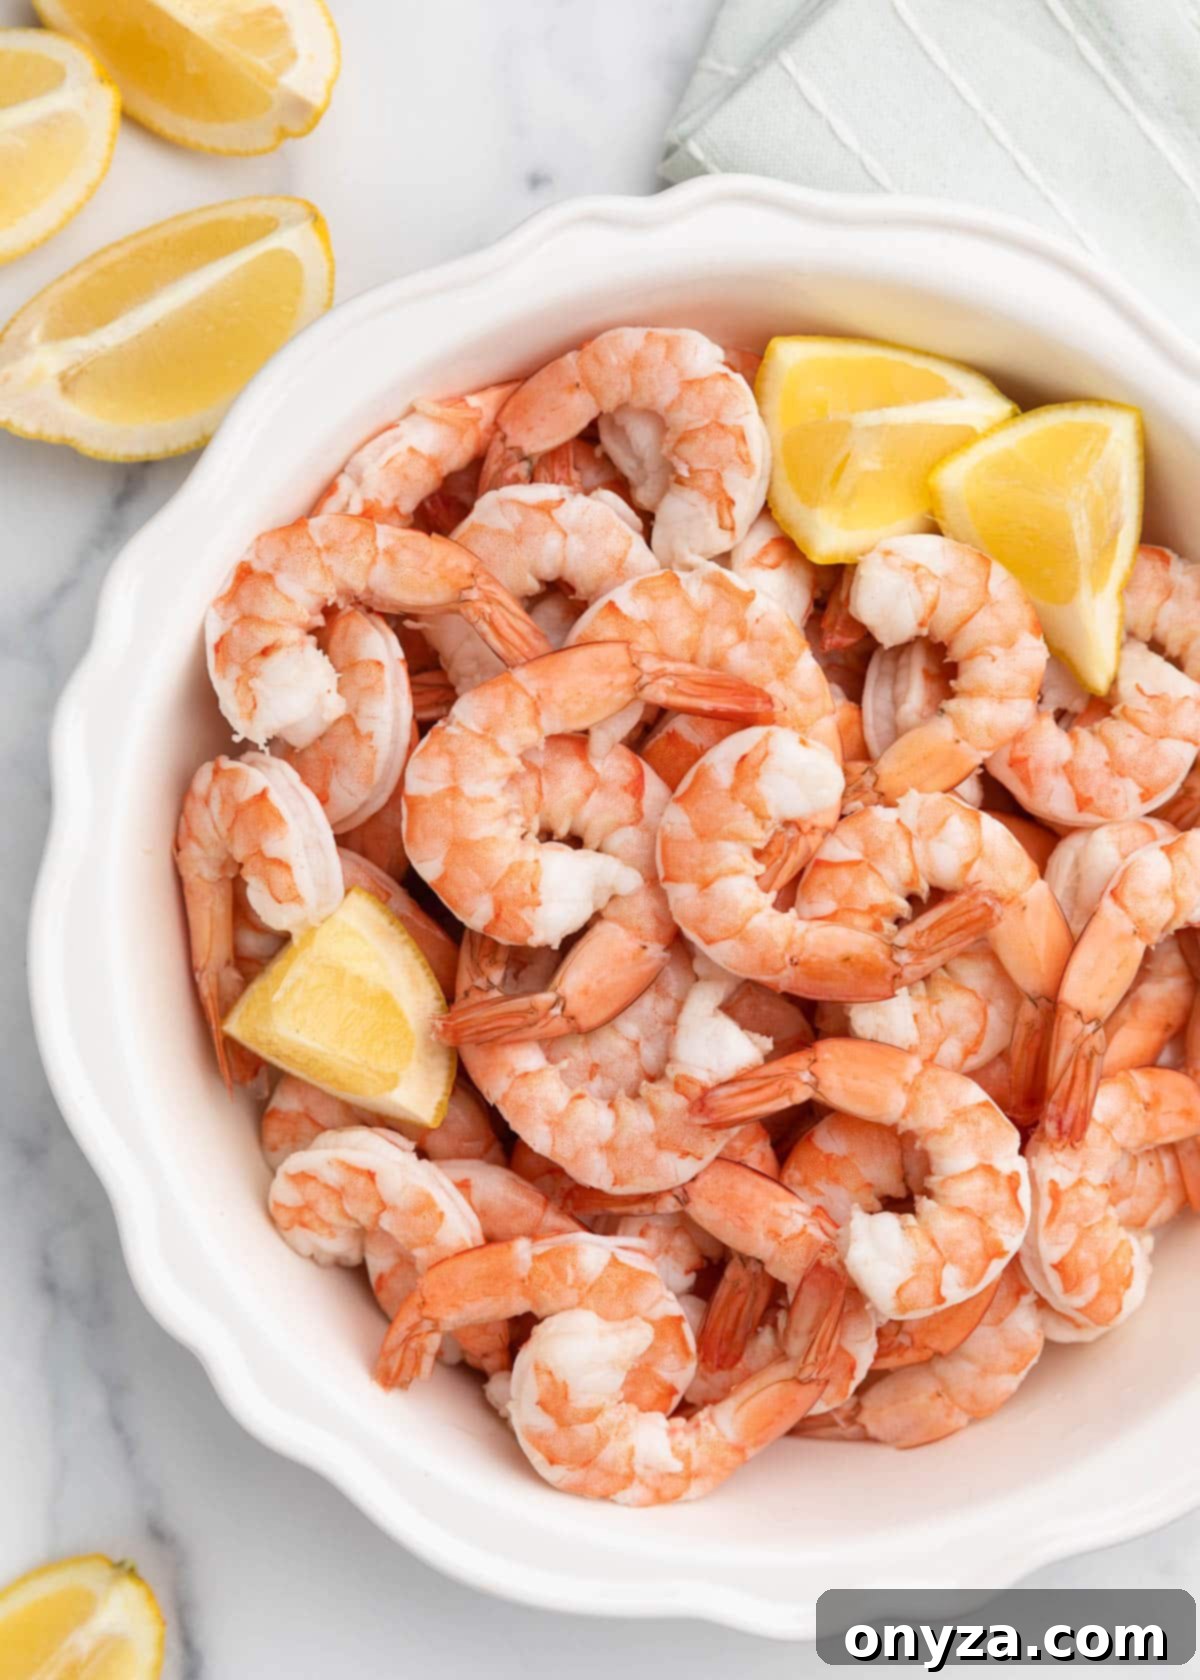
Essential Preparations: Setting the Stage for Perfect Poached Shrimp
Achieving truly magnificent poached shrimp begins with thoughtful preparation. For this recipe, we highly recommend using chilled, raw shrimp with their shells intact. The shells play a crucial role, acting as a natural barrier that locks in moisture and delicate flavor, simultaneously preventing the shrimp from overcooking and becoming rubbery. If you’re working with frozen shrimp, ensure they are thoroughly thawed before you begin the poaching process. Proper thawing helps them cook evenly and absorb the rich flavors of the court bouillon.
The shrimp featured in this guide were sized 21/25 with shells on, offering a delightful balance for many applications. However, this versatile poaching method can be adapted for a wide range of shrimp sizes. Understanding shrimp sizing is key to consistent results, so consider consulting a Shrimp Sizes Guide for tips before heading to your local market to select the perfect crustaceans.
While the aromatic poaching liquid, or court bouillon, requires about 30 minutes to develop its full depth of flavor, the shrimp themselves cook remarkably quickly – often in just a matter of minutes. This makes poached shrimp an excellent option for both leisurely entertaining and swift weeknight meals, once the broth is ready.
Step-by-Step Guide: Crafting Exquisite Poached Shrimp
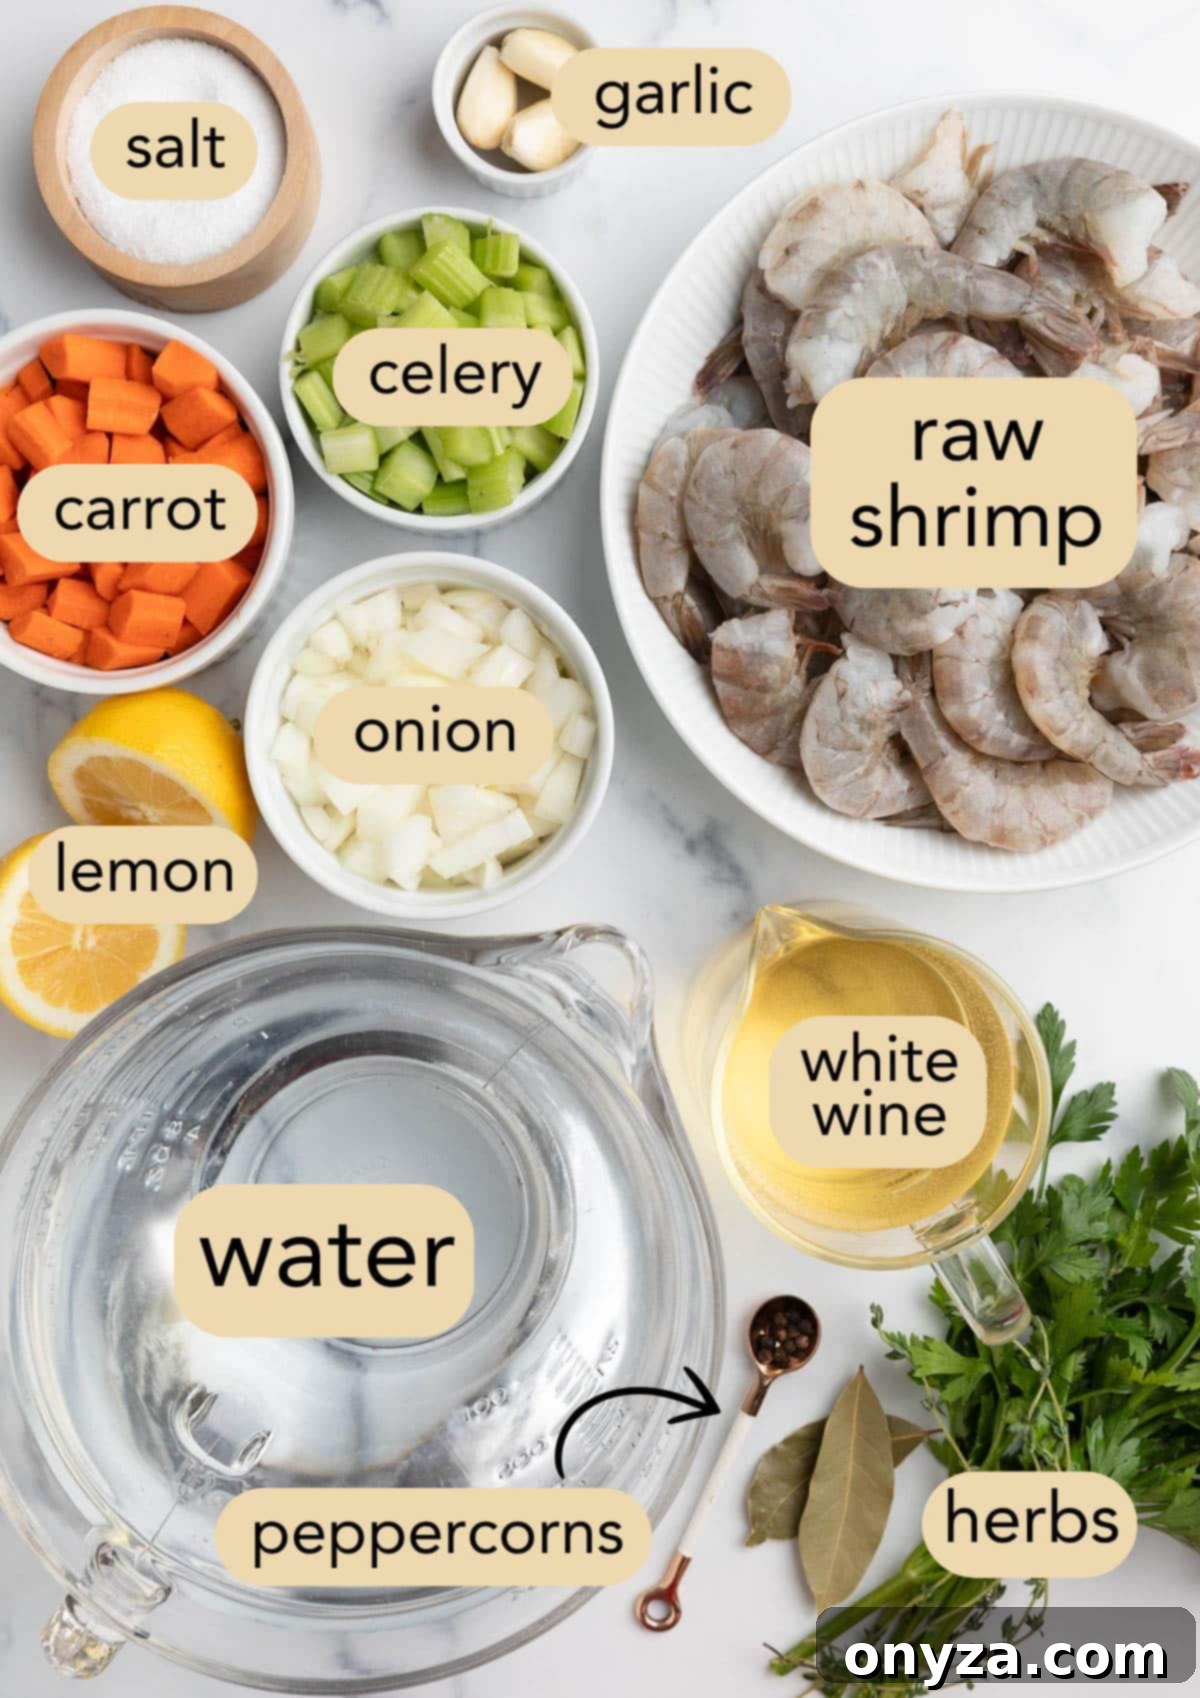
Step 1: Crafting the Aromatic Court Bouillon (Poaching Liquid)
The soul of truly exceptional poached shrimp lies in the court bouillon. This fragrant, flavorful broth gently infuses the shrimp with layers of savory notes, transforming simple seafood into a gourmet experience. Taking the time to build a robust court bouillon is a fundamental step that truly distinguishes perfectly poached shrimp.
- Preparation is Key: Begin by roughly chopping your carrots, celery, and onion into approximately 1/2-inch pieces. Precision isn’t necessary here, as these vegetables will be strained out and discarded after their flavor has been extracted. The smaller dice is important because it exposes more surface area, allowing the vegetables to release their aromatic compounds more efficiently into the broth during the relatively short cooking time, far better than leaving them whole or in large chunks. For the garlic, simply peel the cloves and give them a gentle smash with the flat side of a chef’s knife. This technique bruises the garlic, helping it release its pungent oils without needing to mince it.
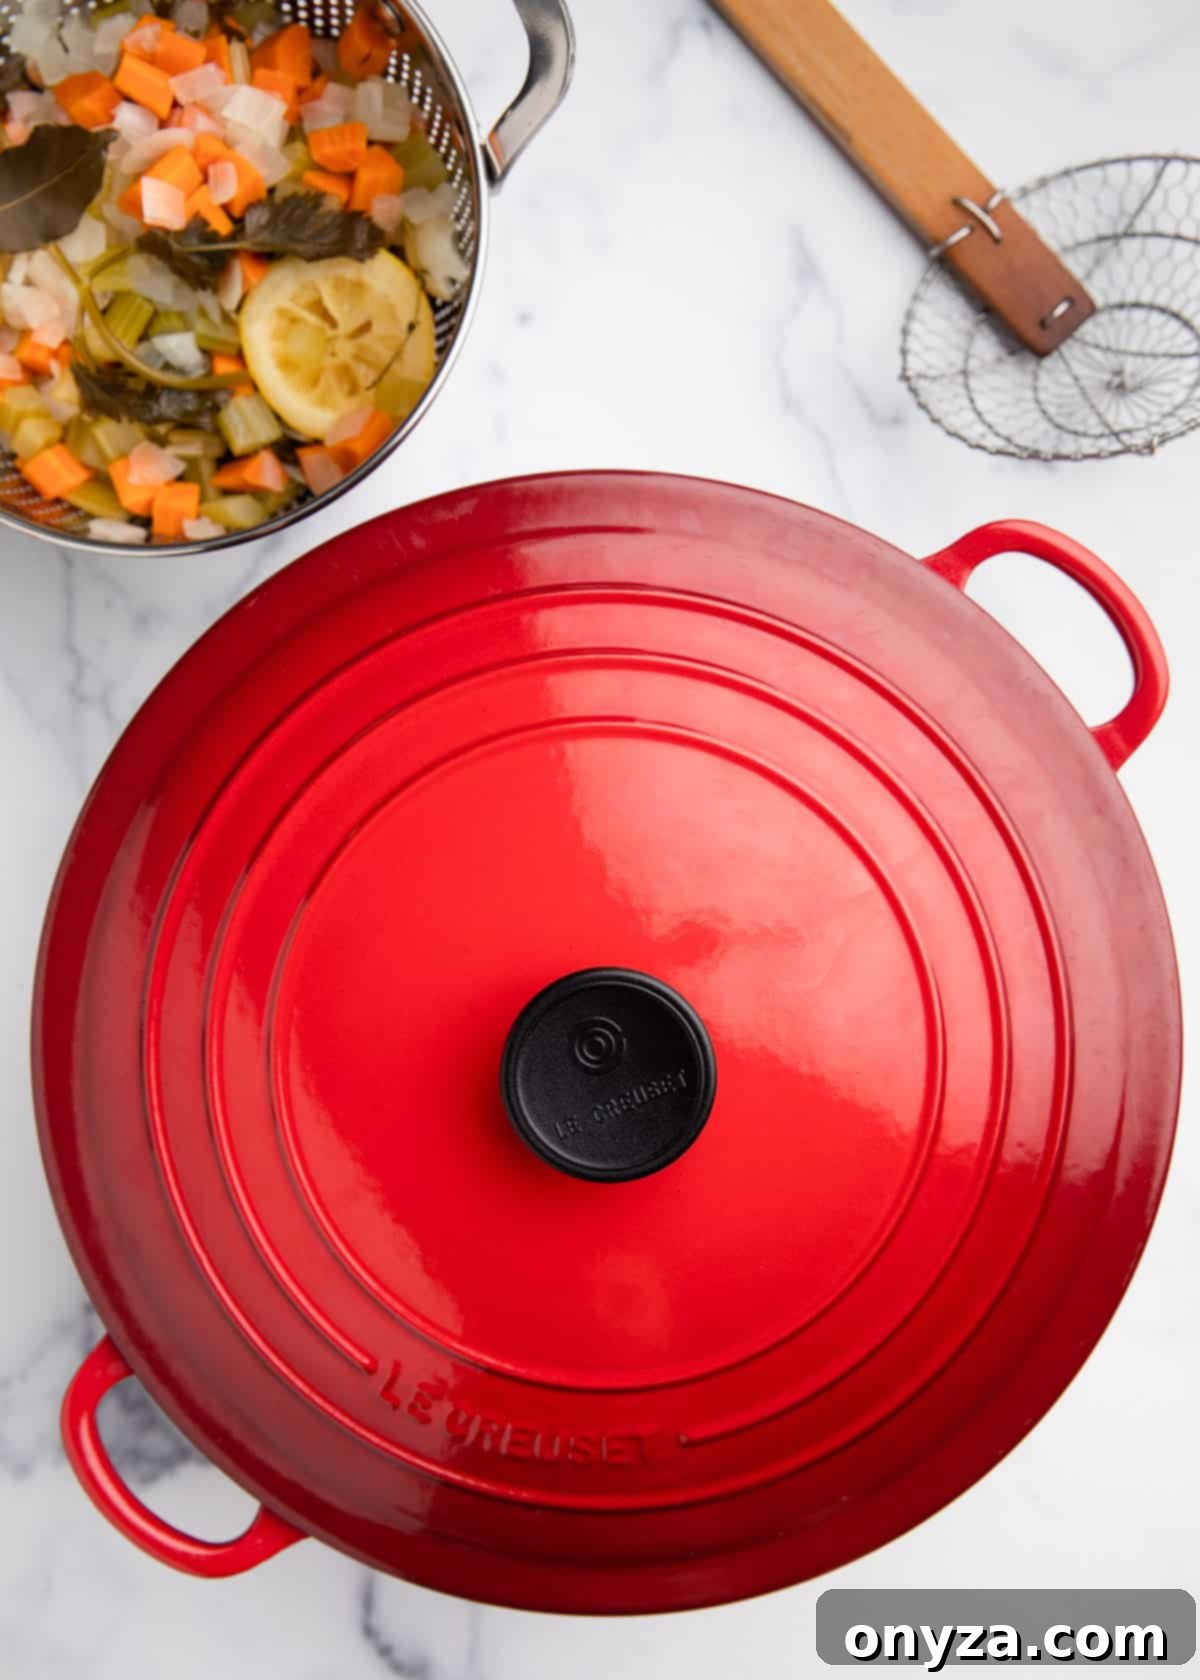
- Combine and Infuse: In a generously sized pot (a 6-3/4 quart Dutch oven works beautifully), combine your prepared water (filtered water is recommended for a cleaner taste), dry white wine (such as a crisp Pinot Grigio, which adds a lovely acidity and depth), the diced carrots, celery, and onion, along with the smashed garlic cloves. Next, add the whole black peppercorns for a gentle spice, the freshly squeezed juice of one lemon along with the spent lemon halves themselves (the peels contain essential oils that contribute a bright, citrusy aroma), dried Turkish bay leaves for an earthy note, fresh parsley, and thyme sprigs for herbaceous freshness, and finally, kosher salt to season the broth. Stir all these ingredients together to ensure they are well-combined and ready to meld their flavors.
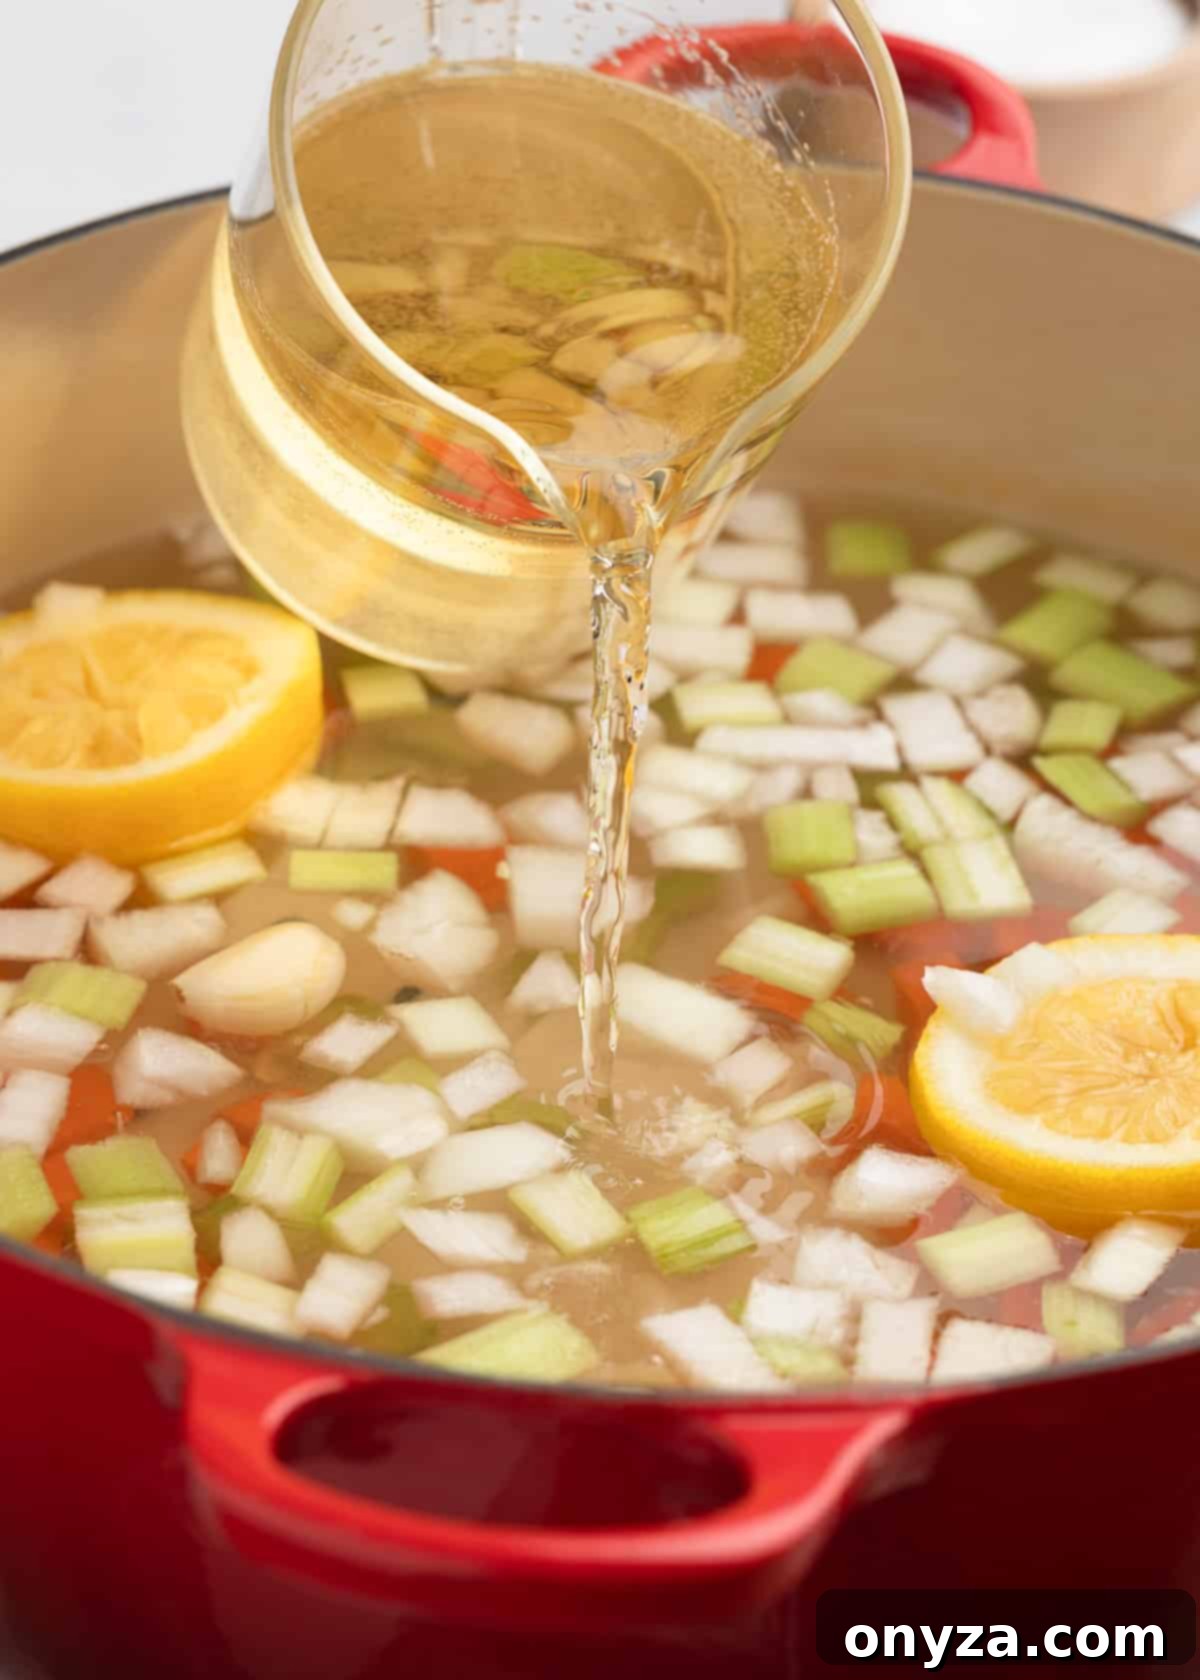
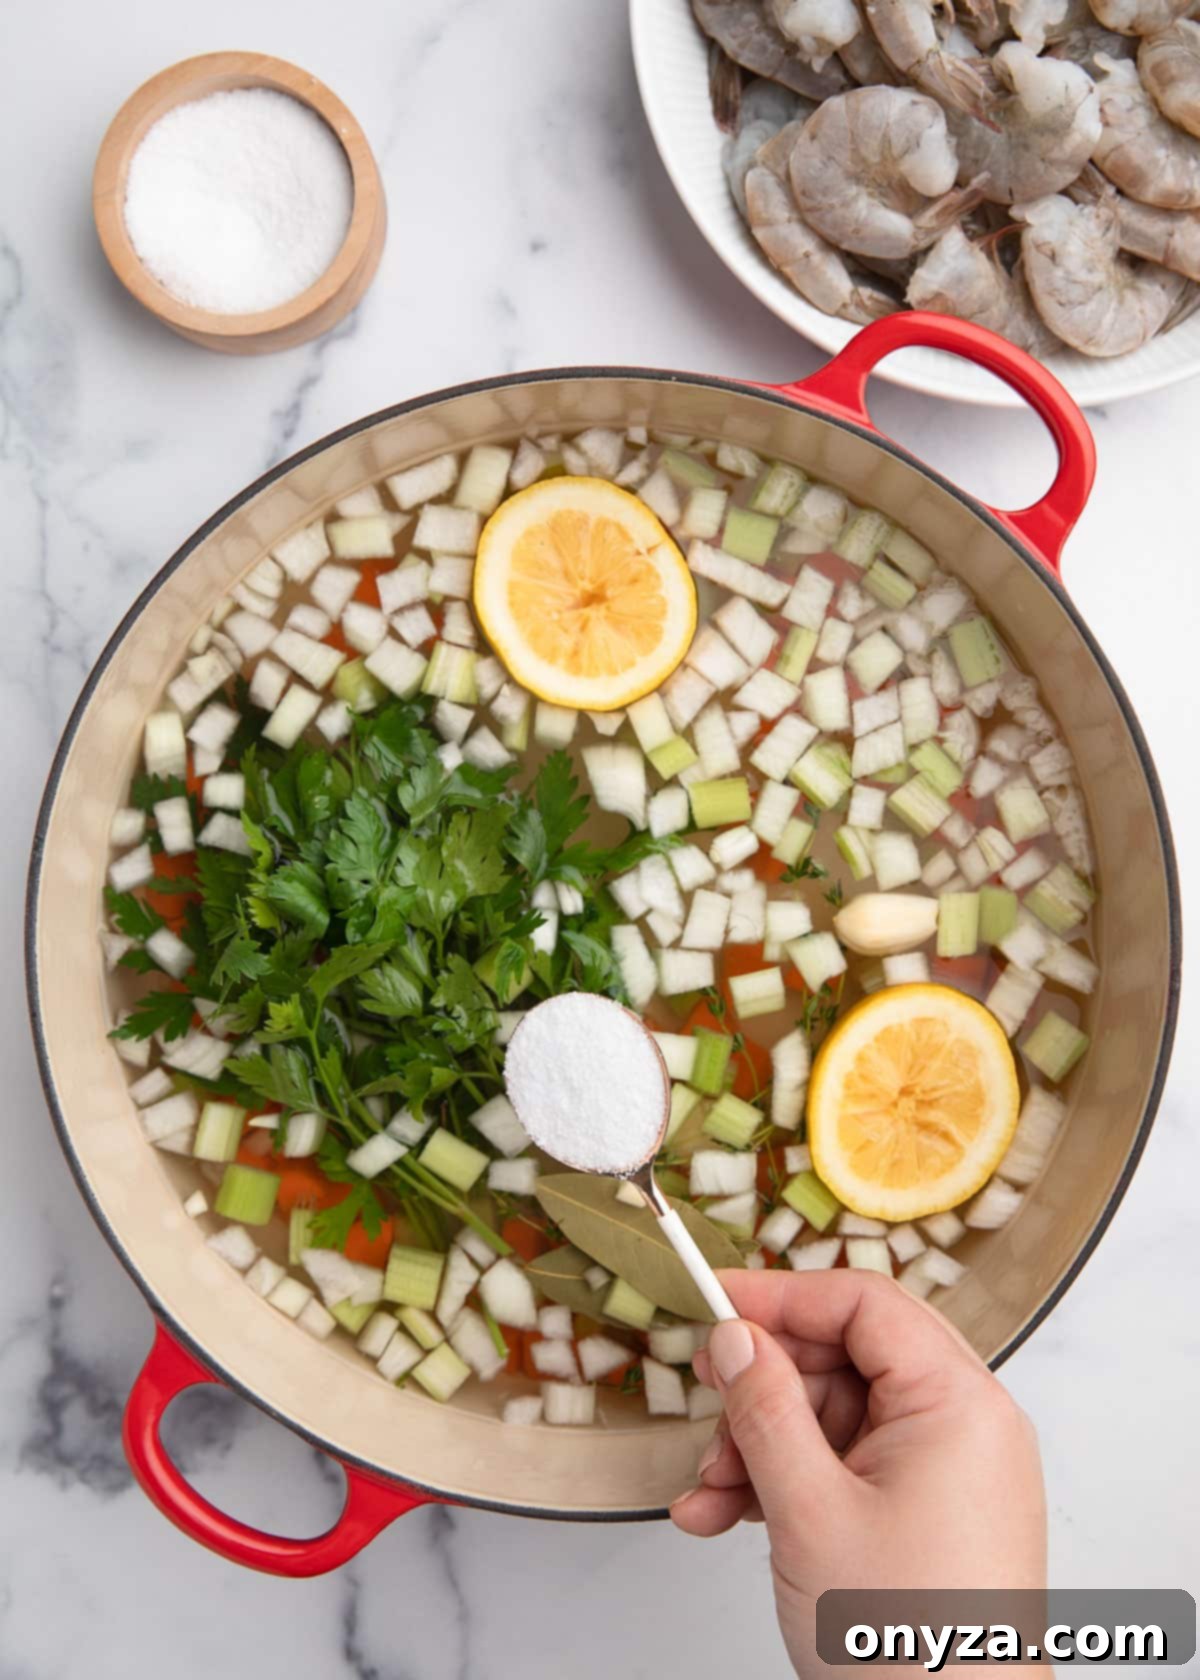
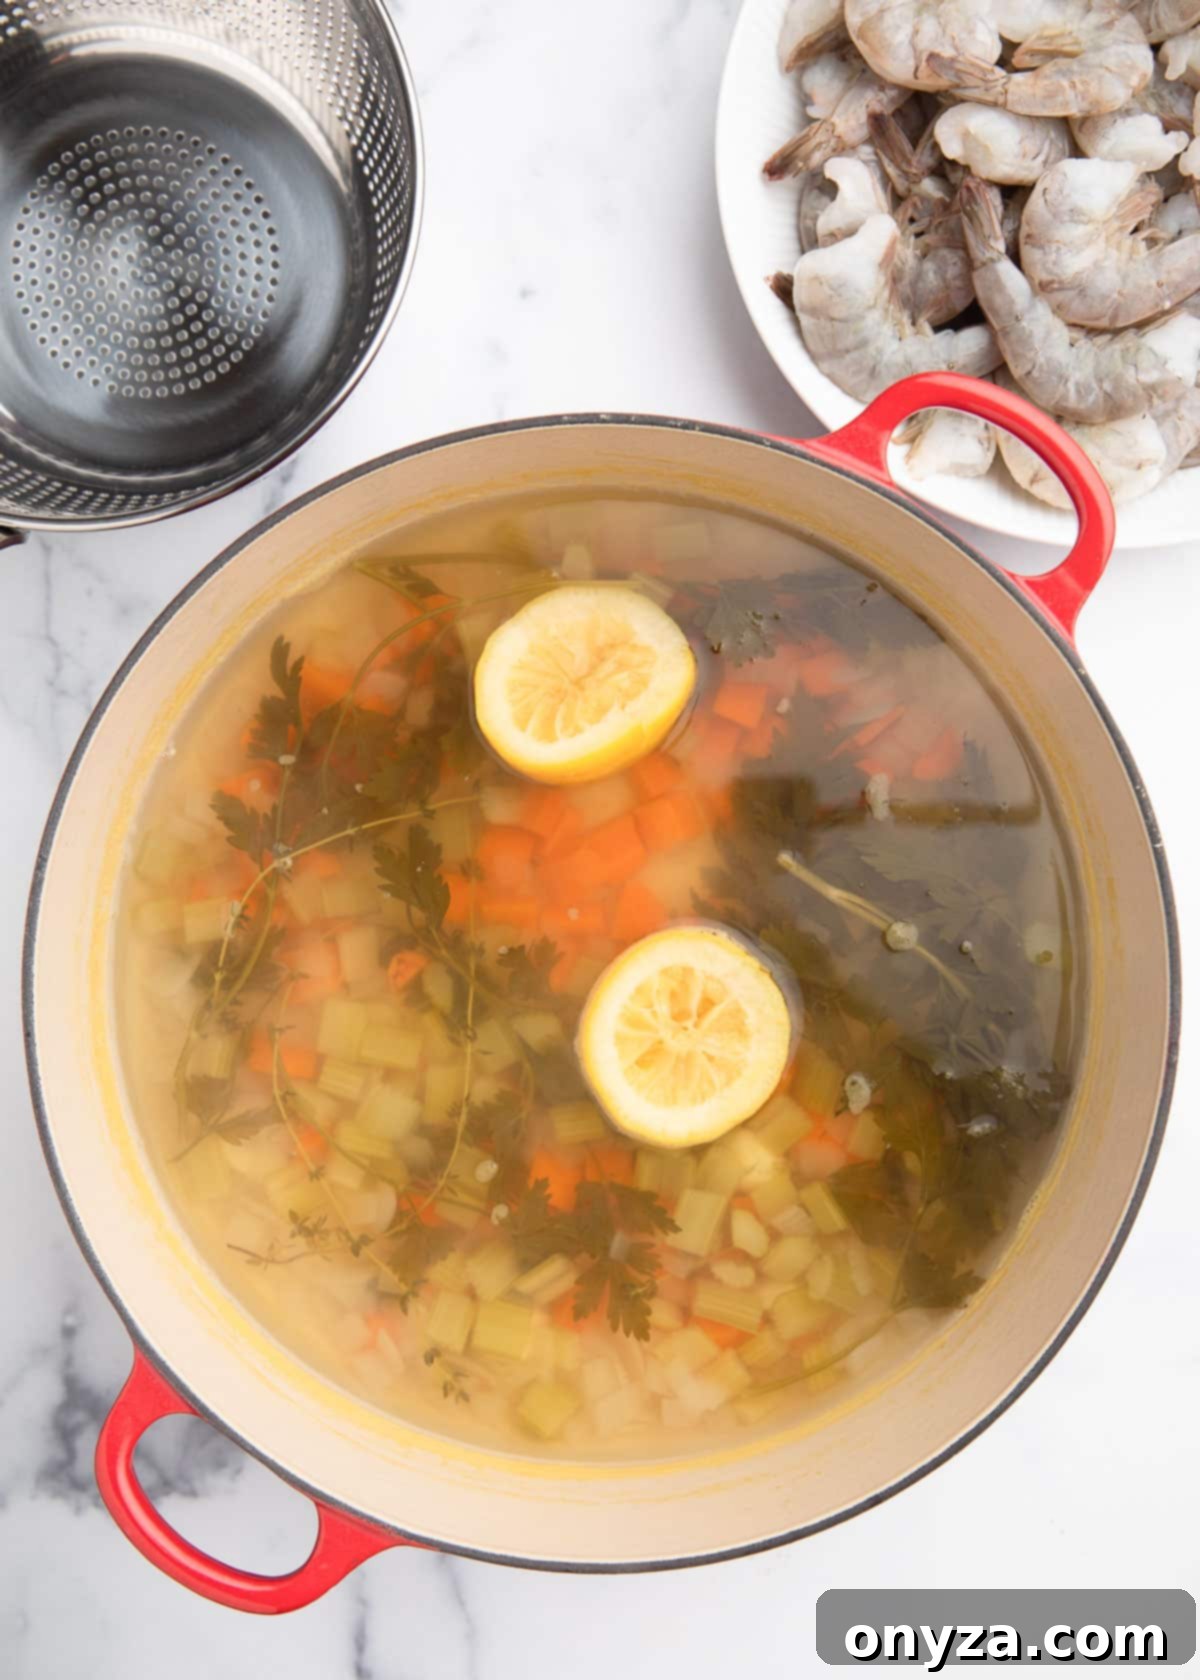
- Simmer to Perfection: Place the pot over medium-high heat and bring the mixture to a rolling boil. Once boiling, reduce the heat significantly to maintain a gentle, steady simmer. Allow the court bouillon to simmer uncovered for 20-25 minutes. During this time, the vegetables, herbs, and spices will release their essential oils and flavors, creating a rich and aromatic base. Adjust the heat as needed to ensure the simmer remains consistent – too high and you’ll evaporate too much liquid, too low and the flavors won’t fully extract.
- Strain for Clarity: Once the simmering time is complete, carefully pour the entire contents of the pot through a colander or a fine-mesh sieve set over another clean pot or large bowl. This process separates the clear, intensely flavorful broth from the cooked solids. Discard the spent vegetables, herbs, and lemon halves, as their work is done. Return the beautifully strained, aromatic liquid to the pot. Your clear, fragrant court bouillon is now perfectly prepared and ready to work its magic on the shrimp.
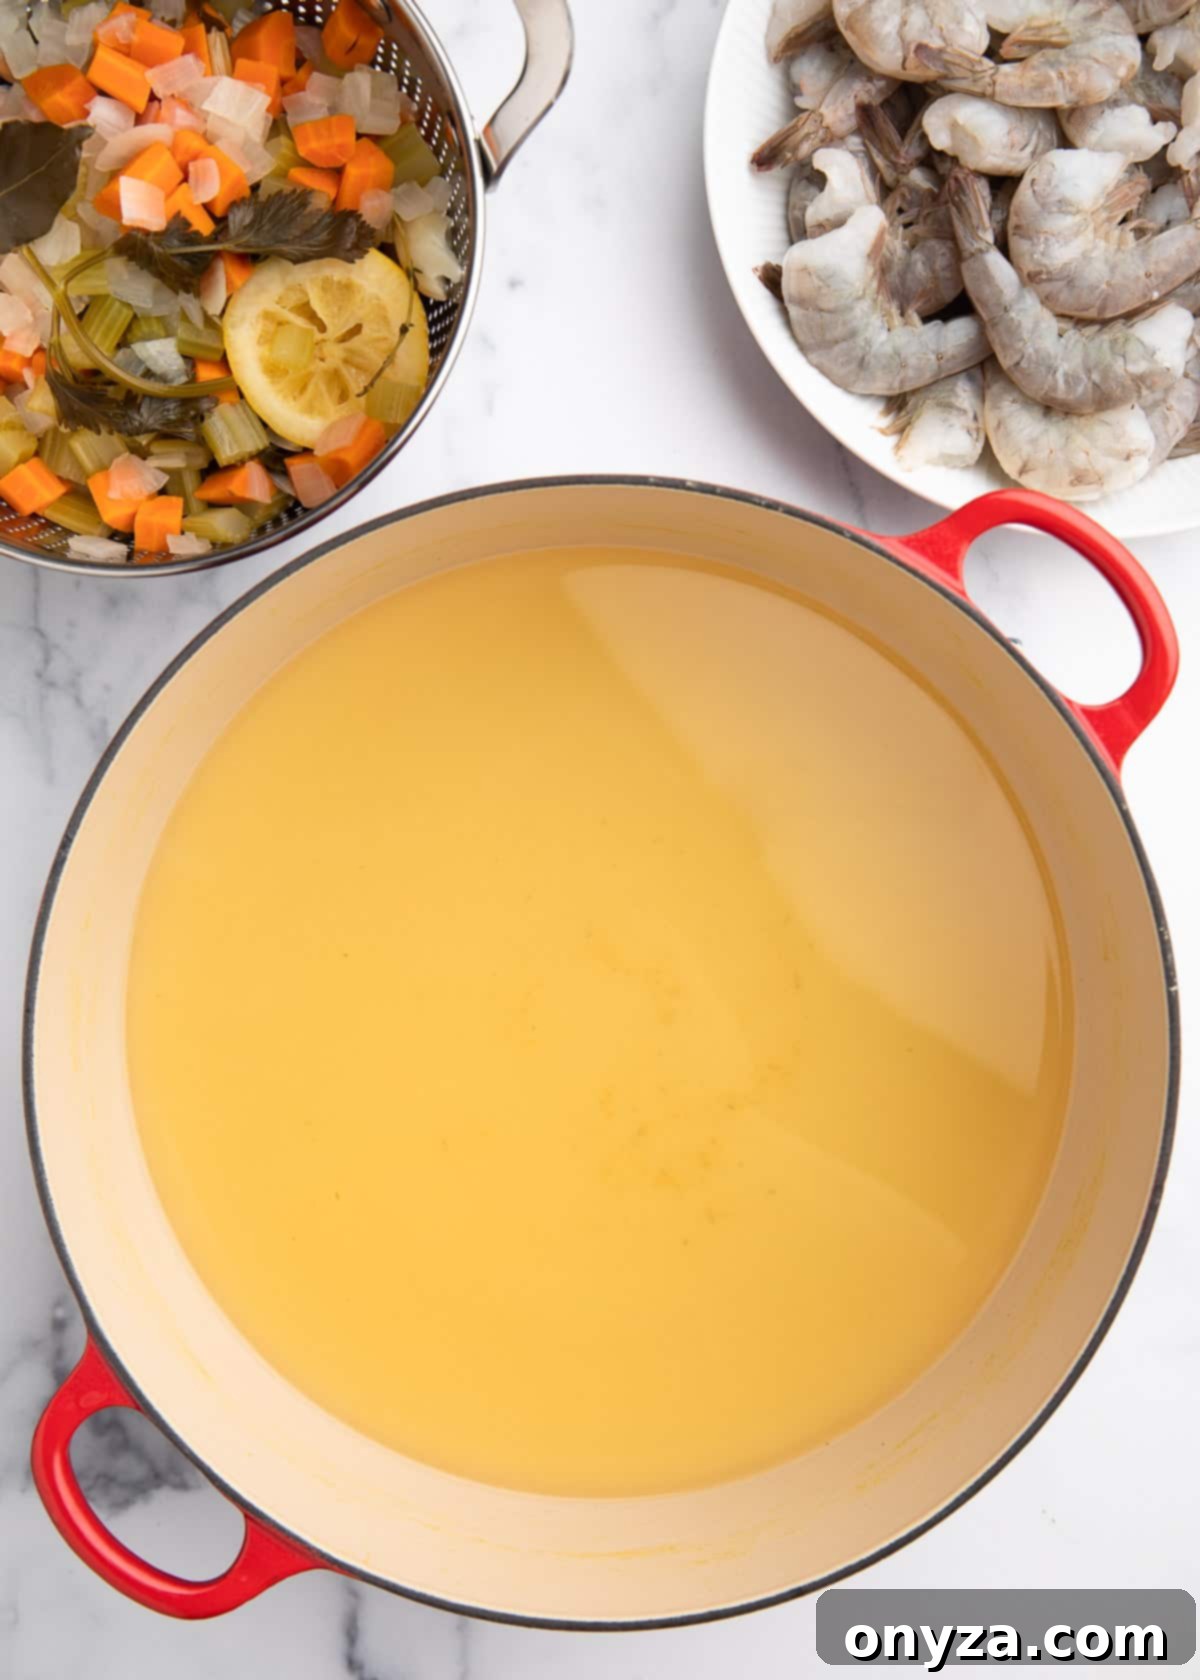
Step 2: Gently Poaching the Shrimp to Perfection
The art of poaching shrimp lies in precise timing and utilizing residual heat to achieve a tender, succulent texture without any toughness. This method ensures each shrimp is perfectly cooked through, absorbing the subtle flavors of the court bouillon.
- Shrimp Preparation: If your shrimp have not yet been deveined, this is the ideal moment to do so. While optional for some, removing the dark vein (which is part of the shrimp’s digestive tract) improves both the appearance and texture. Use a small paring knife or kitchen shears to make a shallow cut along the curved back of each shrimp, running from just below the head to the tail. Gently lift out the dark vein with the tip of your knife or shears. Remember to leave the shell on; it’s essential for protecting the shrimp and enhancing flavor during poaching.
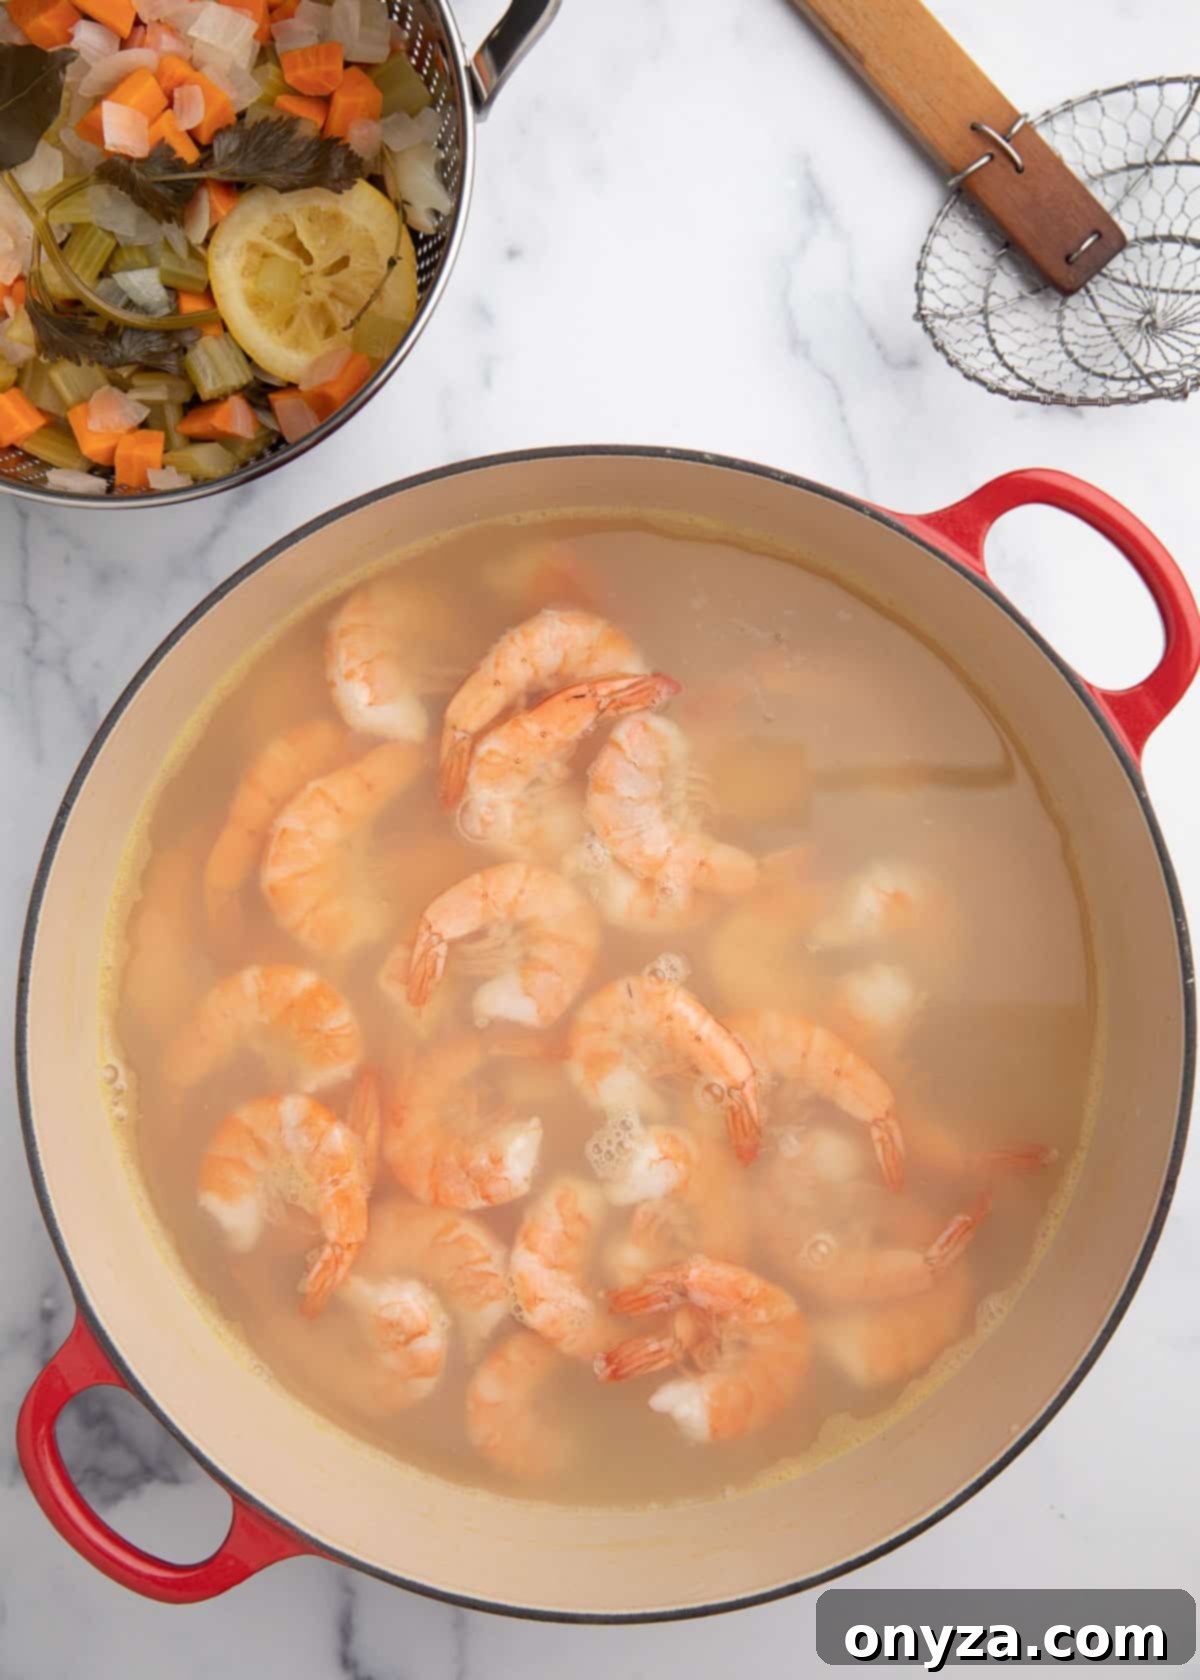
- The Poaching Process: Once the court bouillon is strained and returned to the pot, bring it back to a vigorous, full boil. This is crucial for creating enough heat to cook the shrimp off the heat. Immediately remove the pot from the heat source. Quickly add the prepared shrimp to the intensely hot liquid and stir gently but swiftly to ensure all the shrimp are fully submerged. Promptly cover the pot with a tight-fitting lid. The shrimp will now cook delicately in the residual heat of the hot court bouillon. The exact cooking time will vary depending on the size of your shrimp. For the 21/25 count shrimp pictured here, 3-1/2 to 4 minutes typically yields perfect results.
| Shrimp Size (Raw, Shell On) | Approximate Poaching Time* |
|---|---|
| 31/35 | 2 to 3 minutes |
| 26/30 | 3 to 3-1/2 minutes |
| 21/25 (pictured here) | 3-1/2 to 4 minutes |
| 16/20 | 5 to 6 minutes |
| U/15, U/12 | 6 to 8 minutes |
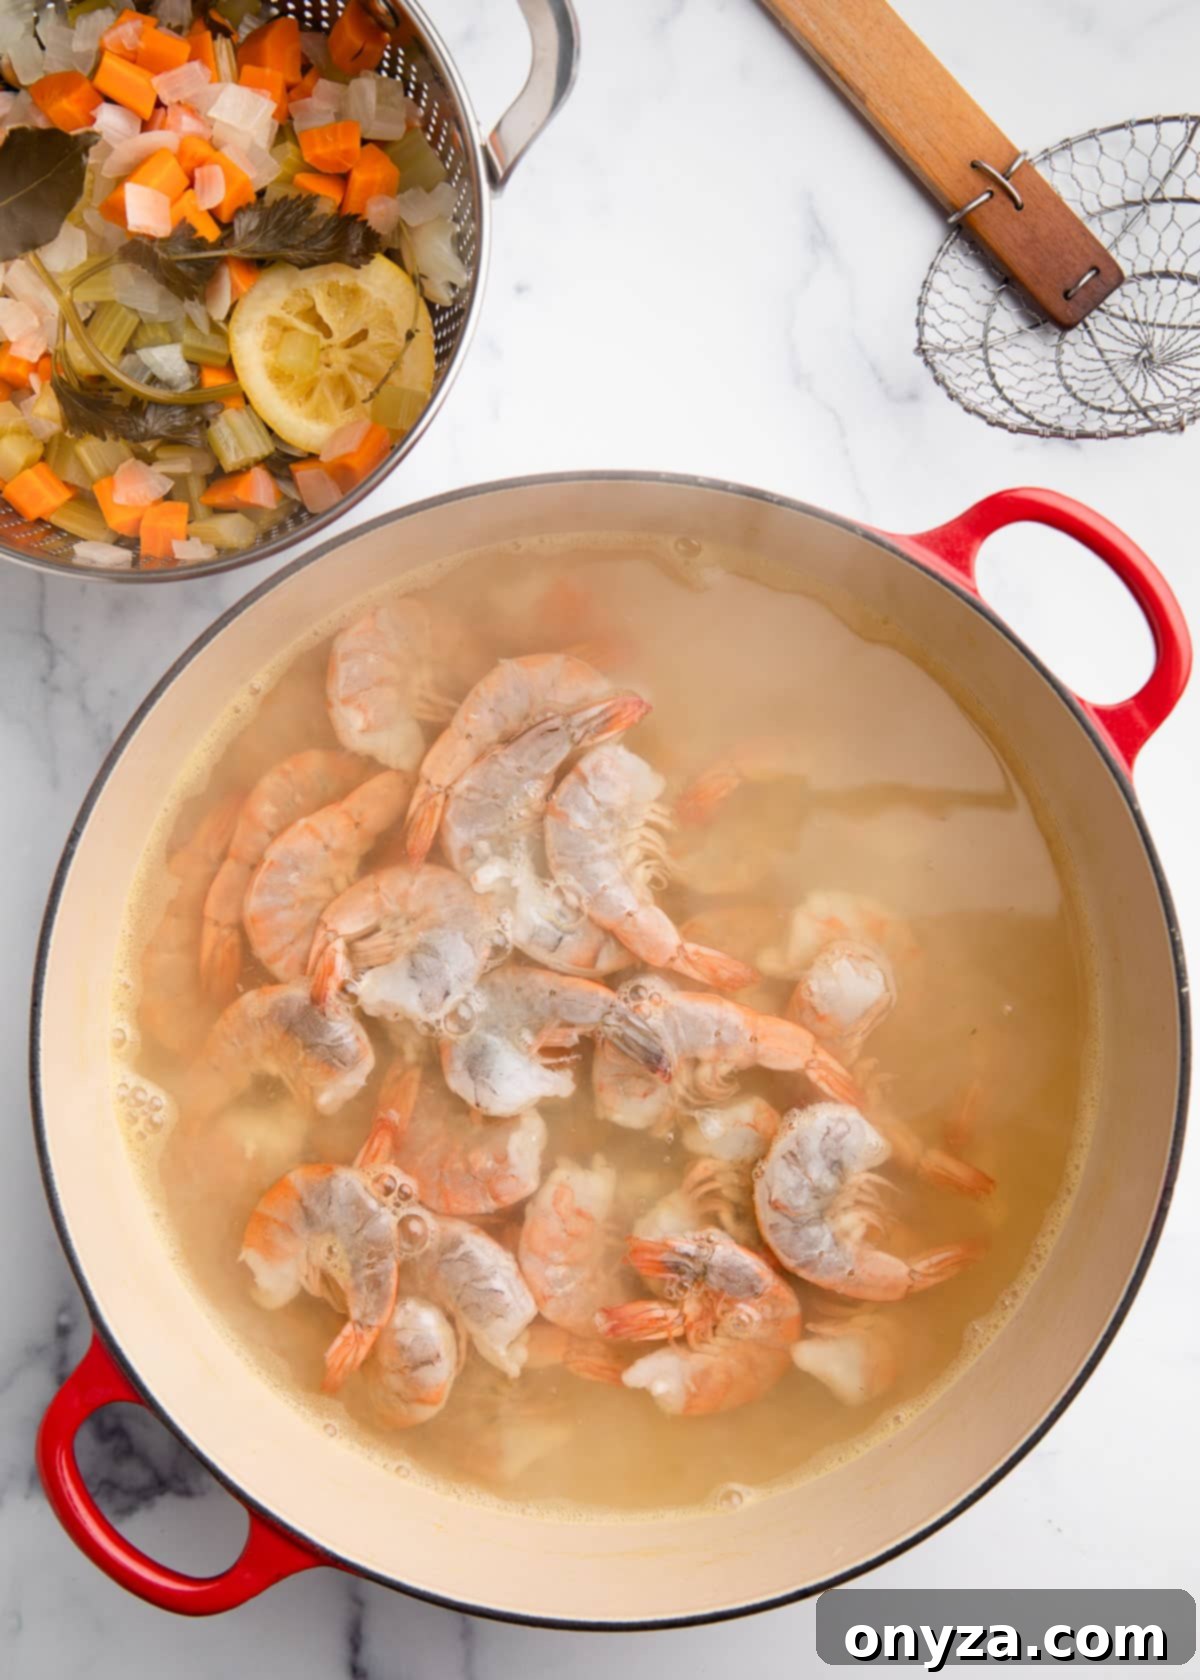
Pro Tip: Batch Cooking for Larger Quantities! While this recipe is perfectly scaled for about 2 pounds of shrimp per batch to ensure optimal cooking, you can certainly prepare larger quantities. Simply cook the shrimp in successive batches. It’s crucial to bring your court bouillon back to a full boil between each batch to maintain the necessary high temperature for proper poaching and food safety.
Step 3: Rapid Chilling and Preparation for Serving
Once the shrimp are perfectly poached, rapid chilling is essential. This step immediately halts the cooking process, ensuring the shrimp retain their tender texture and don’t become overcooked or rubbery. It also prepares them for safe storage and enjoyable serving.
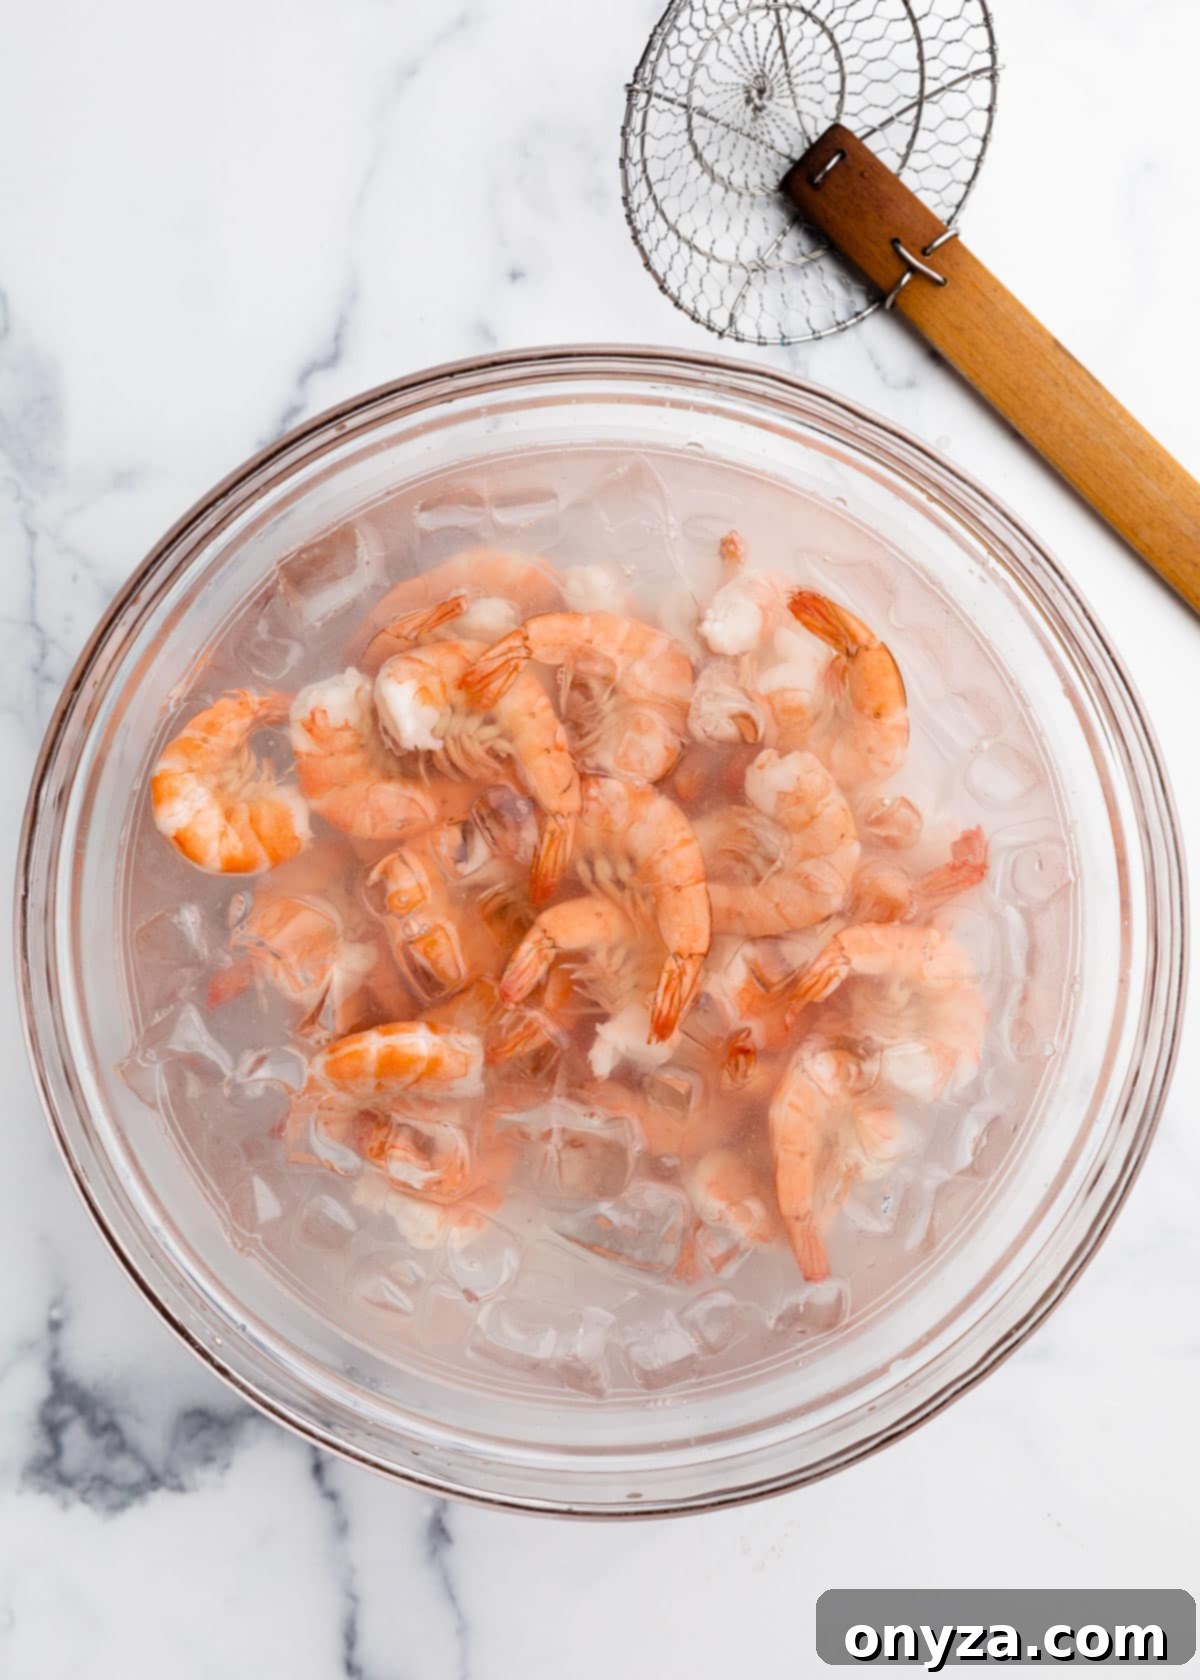
- The Ice Bath Method: As your shrimp are poaching, prepare an ice bath. Fill a large bowl approximately two-thirds full with a combination of ice cubes and cold water. This creates an immediate thermal shock zone. Once the shrimp have finished cooking in the hot court bouillon, use a spider strainer or a large slotted spoon to swiftly remove them from the poaching liquid. Without delay, transfer the hot shrimp directly into the waiting ice bath. Stir them gently to ensure even cooling and allow them to stand in the ice water for about 10 minutes. This critical step sets their perfect texture.
- Peel and Store: After the shrimp have thoroughly cooled in the ice bath, they are ready for peeling. While some prefer to serve them shell-on for a rustic presentation, peeling them makes them easier to eat, especially for appetizers like shrimp cocktail. Once peeled, immediately refrigerate the shrimp in an airtight container until you’re ready to serve them or incorporate them into your favorite recipes. For optimal food safety, avoid leaving poached shrimp at room temperature for longer than 2 hours.
Achieving Perfection: How to Know When Shrimp Are Cooked Just Right
Shrimp are notoriously quick to cook, and even a few extra seconds can transform them from succulent to rubbery. Mastering the art of knowing when your shrimp are perfectly done is crucial for a delightful culinary experience. Here’s how to assess their doneness with confidence:
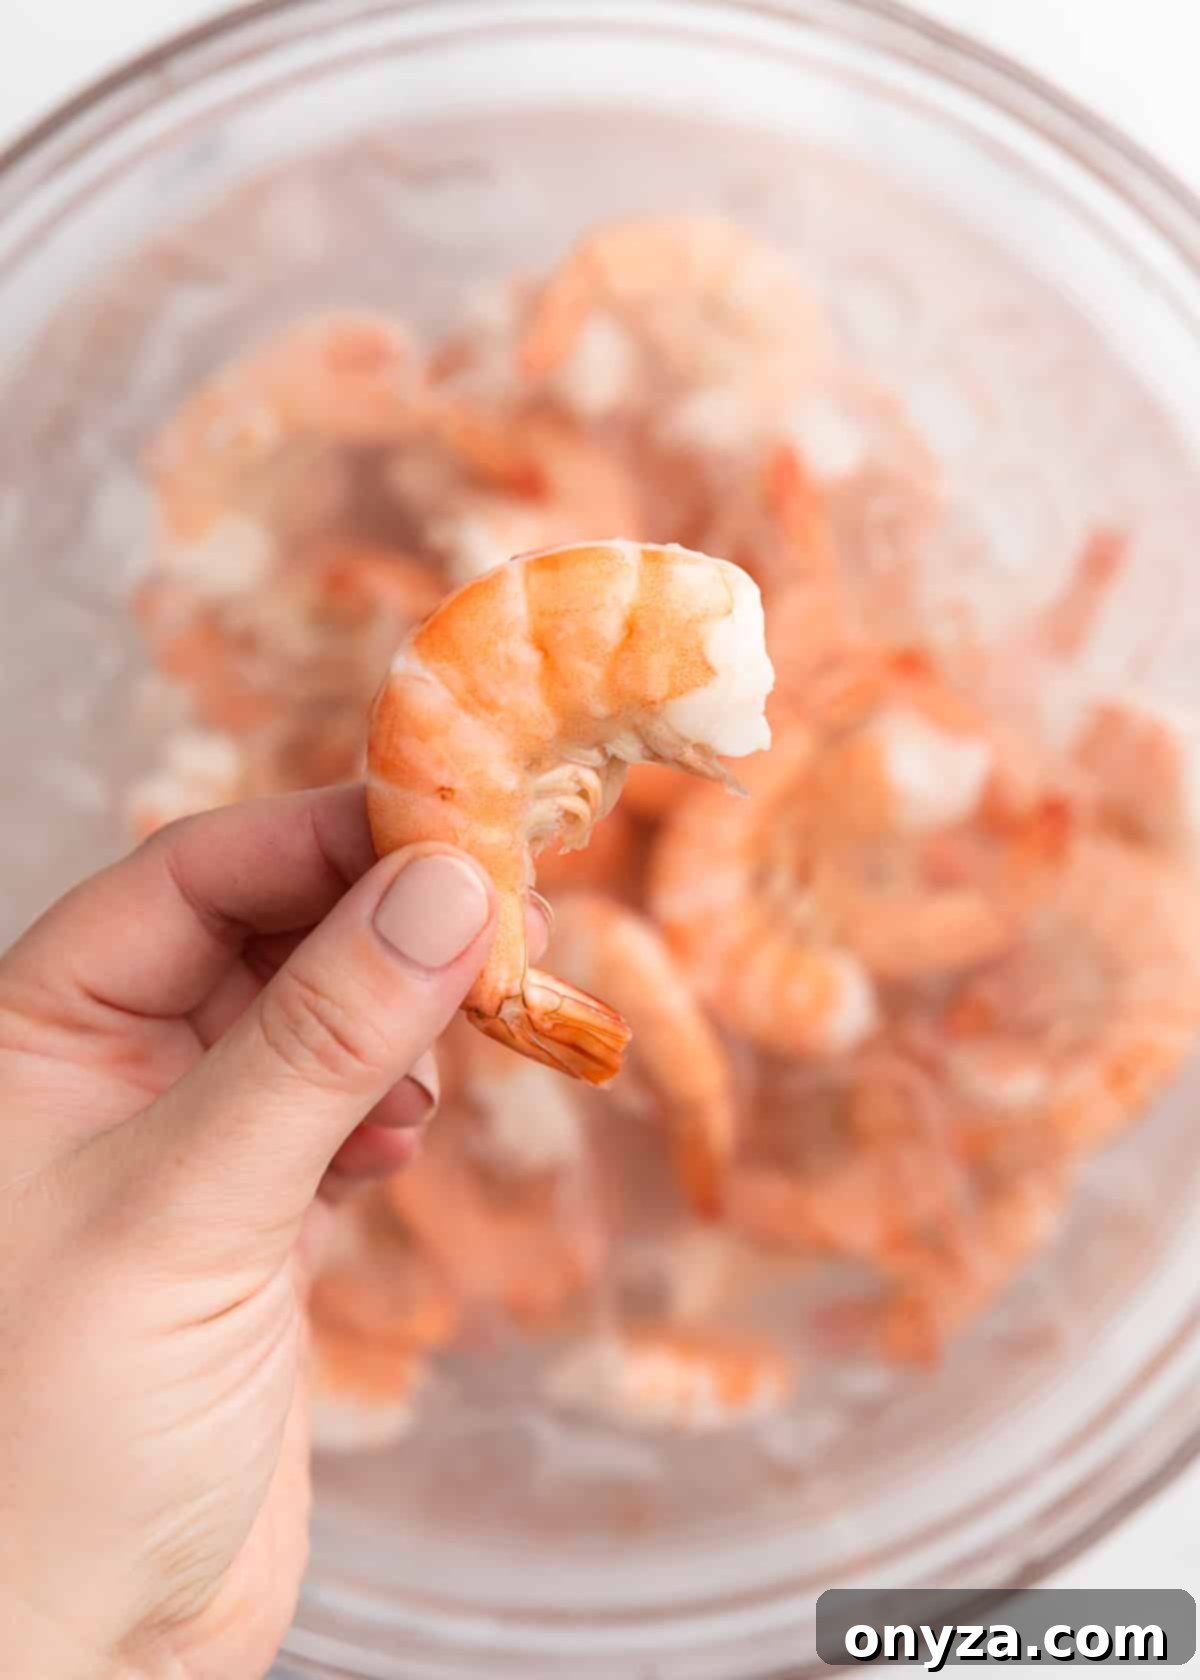
- Visual Cues – Color: The most straightforward indicator is color change. Take one or two shrimp and make a small cut into the thickest part of the meat. It should have transformed from its raw, translucent gray appearance to an opaque, appealing pinkish-white hue throughout. You’ll also notice vibrant red accents developing on the shrimp’s shell, a clear sign of proper cooking. If any gray translucency remains, they need a little more time.
- Tactile Cues – Texture: Gently touch or lightly squeeze a cooked shrimp. Perfectly cooked shrimp will feel firm yet yield tenderly to the touch, indicating moist, succulent flesh. They should never feel mushy (a sign of being undercooked) or dry, tough, and rubbery (the tell-tale signs of being severely overcooked). The ideal texture is a delicate balance of firmness and tenderness.
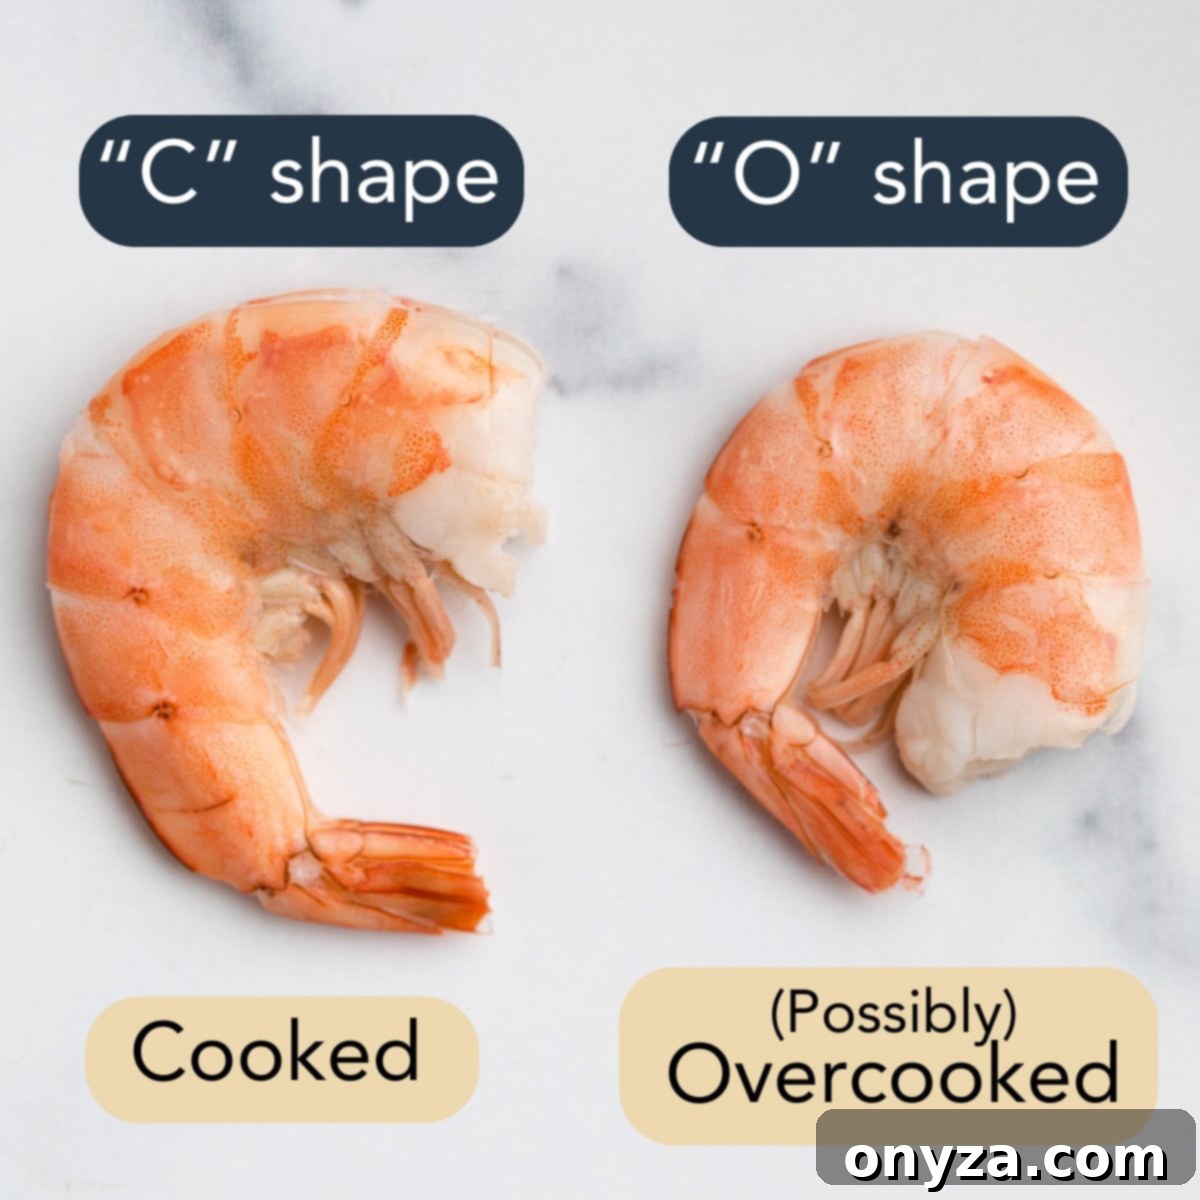
- Shape – The “C” vs. “O” Rule: Observe the shape of the shrimp. Properly cooked shrimp will typically curl into a loose “C” shape. This gentle curl indicates that the proteins have firmed up just enough. If the shrimp has curled very tightly into a distinct “O” shape, it’s a strong indication that it might be overcooked. While smaller shrimp can sometimes curl a bit more even when perfectly done, a tightly coiled “O” usually signals a loss of moisture and a rubbery texture.
- Temperature – The USDA Guideline: For those who prefer a more scientific approach, the USDA recommends cooking shrimp to an internal temperature of 145°F (63°C). However, accurately measuring the internal temperature of small shrimp with an instant-read thermometer can be quite challenging due to their size. For this reason, many experienced cooks, myself included, primarily rely on the visual and tactile cues described above, using an instant-read thermometer as an occasional double-check, especially for larger shrimp or when uncertainty arises.
Creative Serving Ideas and Smart Storage for Your Poached Shrimp
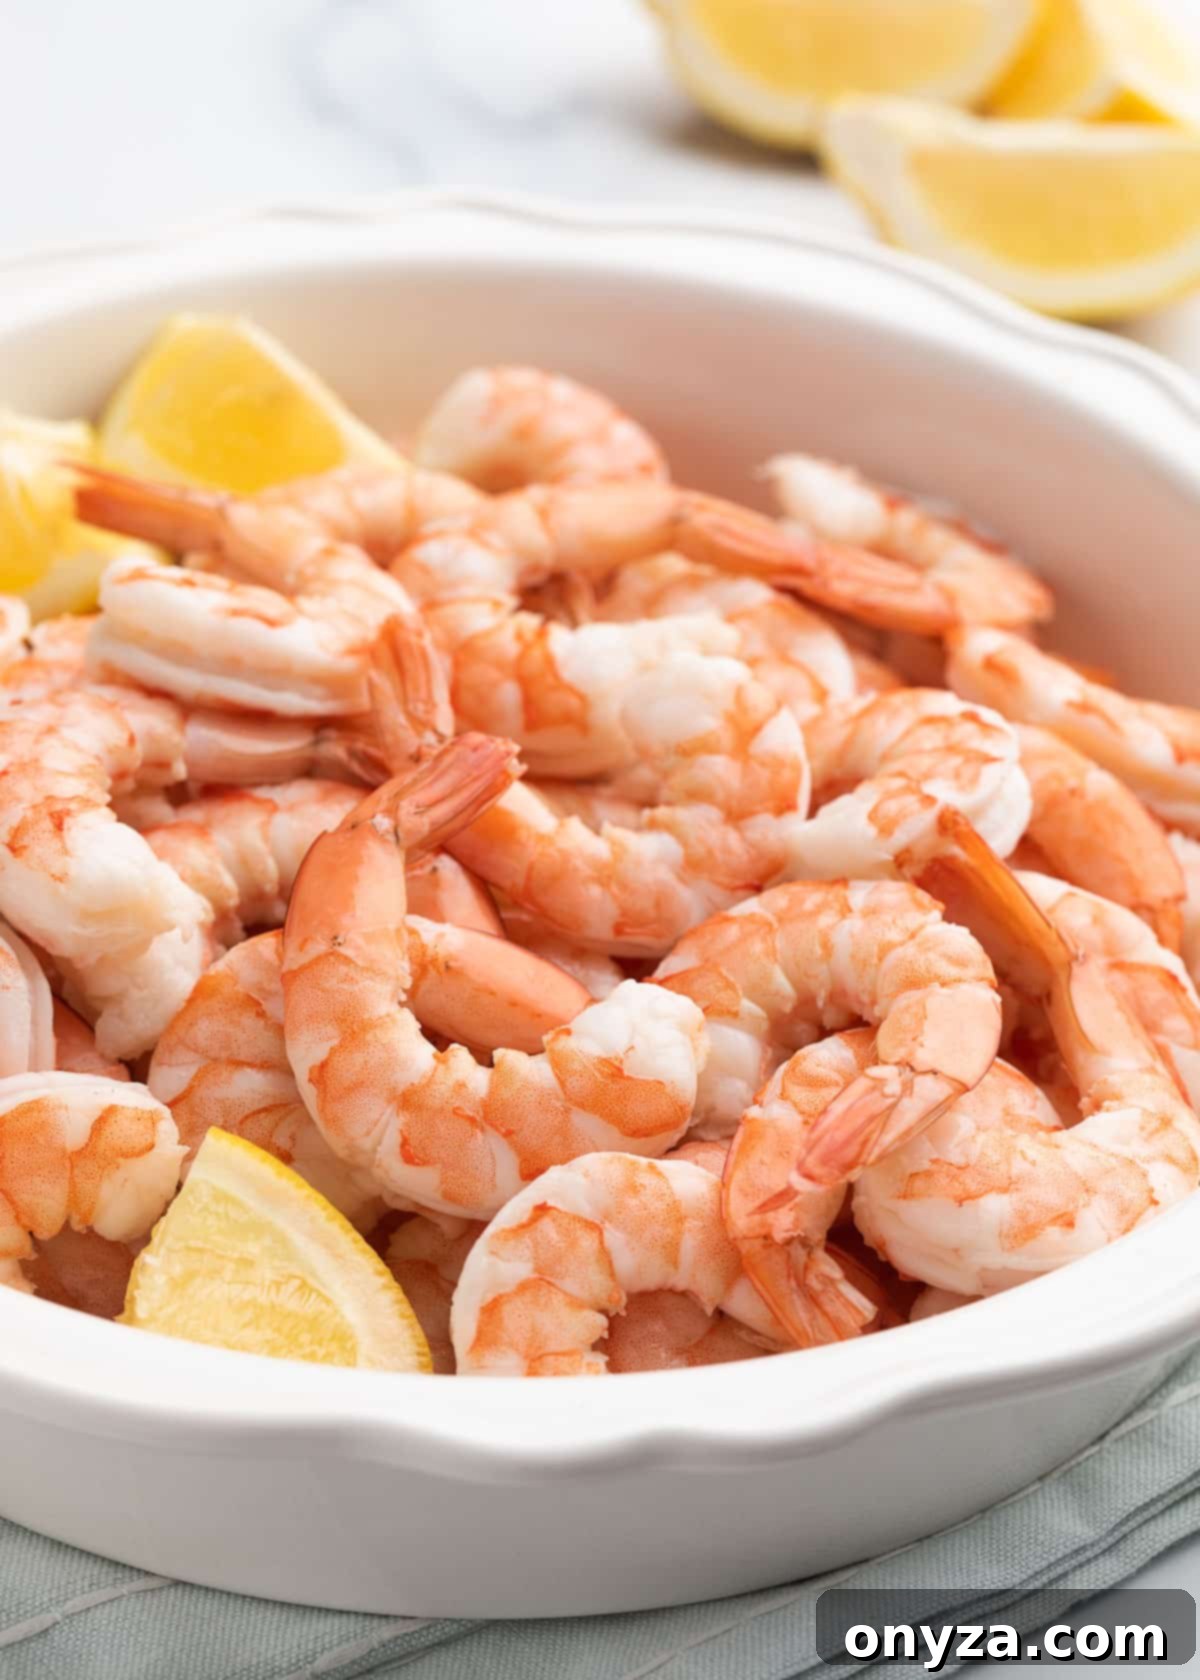
Once you’ve mastered the art of poaching shrimp, a world of culinary possibilities opens up! These versatile, tender morsels are perfect for a wide array of dishes, from elegant appetizers to satisfying main courses. Properly storing your poached shrimp is also key to enjoying their fresh taste and texture over several days.
For storage, always keep poached shrimp in an airtight container in the refrigerator. They will remain fresh and delicious for up to 3 to 4 days. While technically possible, I generally advise against freezing poached shrimp, as the freezing and thawing process can often alter their delicate texture, making them a bit tougher.
- The Quintessential Shrimp Cocktail: There’s nothing quite like a classic. Arrange your chilled, peeled poached shrimp on a platter nestled over crushed ice for a striking presentation, or elegantly drape them around the rim of a cocktail glass. Serve alongside a vibrant, zesty homemade cocktail sauce for dipping. This simple yet sophisticated appetizer is a guaranteed crowd-pleaser for holiday gatherings, game day festivities, or any special occasion.
- Delightful Shrimp Salad: Transform your poached shrimp into a light and flavorful salad. Gently toss them with creamy mayonnaise, finely diced celery for crunch, a touch of red onion for a subtle bite, a hint of Dijon mustard, a squeeze of fresh lemon juice, and a generous sprinkling of fresh herbs like dill or chives. This classic salad is superb served on crisp crackers, tucked into fresh lettuce cups, or piled high on buttery croissants for an indulgent lunch.
- Quick & Zesty Shrimp Tacos: For a speedy and vibrant meal, use your poached shrimp as the star of soft tacos. Fill warm tortillas with a crunchy cabbage slaw, creamy slices of avocado, and a generous drizzle of a creamy cilantro-lime sauce. The tender shrimp pair beautifully with the fresh, bright flavors.
- Elegant Shrimp Pasta: Incorporate poached shrimp into your favorite pasta dishes. The key is to add them towards the very end of cooking, warming them gently in the sauce to prevent overcooking. We particularly love them tossed with angel hair pasta, sautéed garlic, good olive oil, a splash of lemon juice, and plenty of fresh parsley for a quick take on Shrimp Scampi. They are also incredibly delicious with classic Marinara, spicy Arrabbiata, or rich Alfredo sauces, making for an effortless yet impressive weeknight dinner.
- Trendy Shrimp and Avocado Toast: Elevate your lunch game with a gourmet avocado toast. Layer mashed avocado seasoned with lemon juice and a pinch of salt onto toasted rye or sourdough bread. Top with a scattering of a few plump poached shrimp and halved cherry tomatoes for a burst of freshness. For those who enjoy a little heat, a drizzle of chili crisp adds an exciting kick.
Beyond Cocktail Sauce: Explore More Dipping Options! While cocktail sauce is a classic, don’t limit your dipping pleasure. My family also thoroughly enjoys poached shrimp with rich tartar sauce (try my Homemade Tartar Sauce with Pickle Relish or a tangy Tangy Tartar Sauce), creamy Russian Dressing, sharp Creamy Horseradish Sauce, or refreshing Tzatziki. Experiment to find your favorite pairing!
Expand Your Culinary Horizons: More Irresistible Shrimp Recipes
If you’ve enjoyed mastering poached shrimp, you’ll love exploring these other fantastic shrimp recipes:
- Bacon Wrapped Shrimp with Bourbon Glaze
- Crispy Air Fryer Shrimp
- Effortless Shrimp Scampi
- Tropical Coconut Shrimp (Baked, Fried, or Air Fried)
- Authentic Shrimp Lo Mein
- Smoky Grilled Shrimp Scampi
Poached Shrimp
by Amanda Biddle
Learn how to poach shrimp to perfection with this simple, flavorful method. These tender, juicy shrimp are perfect for Shrimp Cocktail, salads, pasta dishes, and more. Great for meal prep and entertaining!
Prep Time: 15 minutes
Cook Time: 30 minutes
Chilling Time: 10 minutes
Total Time: 55 minutes
Servings: 8 servings (approx 3 ounces)
Ingredients
For the Court Bouillon (Poaching Liquid)
- 2 quarts water, 8 cups (filtered water recommended)
- 2 cups dry white wine (e.g., Pinot Grigio)
- 2 large carrots, roughly chopped into 1/2-inch pieces (scant 1-1/2 cups)
- 2 large celery stalks, roughly chopped into 1/2-inch pieces (1 cup)
- 1 small yellow onion, roughly chopped (scant 1-1/2 cups)
- 3 large garlic cloves, peeled and smashed
- 1 large dried Turkish bay leaf (or 2 small)
- 5 sprigs fresh thyme
- 5 sprigs fresh flat-leaf parsley
- 10 whole black peppercorns
- 1 tablespoon Diamond Crystal kosher salt
- 1 large lemon, cut in half
To Poach and Chill The Shrimp
- 2 pounds raw, shell-on shrimp (see notes below about sizing and prep)
- 1 large bowl ice water
Instructions
Making the Court Bouillon
- In a large pot (a 6-3/4 quart Dutch oven is ideal), combine the water, white wine, chopped carrot, celery, onion, smashed garlic, bay leaf, thyme, parsley, black peppercorns, and kosher salt. Squeeze the juice from the lemon halves into the pot, then add the juiced halves themselves.
- Bring the mixture to a boil over medium-high heat. Once boiling, reduce the heat to maintain a gentle simmer and cook uncovered for 20-25 minutes. Adjust the heat as necessary to ensure a steady, consistent simmer.
- Carefully strain the broth through a colander or fine-mesh sieve into another clean pot or bowl, discarding all the cooked solids (vegetables, herbs, and lemon halves). Return the clear, flavorful broth to the pot.
Poaching the Shrimp
- Bring the strained court bouillon back to a full, rolling boil over high heat. Once boiling, immediately remove the pot from the heat source. Add the raw shrimp to the hot liquid, stir quickly to ensure they are fully submerged, and then promptly cover the pot with a tight-fitting lid.
- Allow the shrimp to cook in the residual heat for the approximate time based on their shell-on size:
- 31/35 count: 2 to 3 minutes
- 26/30 count: 3 to 3-1/2 minutes
- 21/25 count: 3-1/2 to 4 minutes (as pictured)
- 16/20 count: 5 to 6 minutes
- U/15 to U/12: 6 to 8 minutes
These cooking times are approximate and may vary slightly per batch. (Refer to the “How to Know When Shrimp Are Cooked” section above for tips on gauging doneness. If, upon checking, you find them not fully cooked, replace the lid and check again in another 30-60 seconds.)
- While the shrimp are poaching, prepare an ice bath by filling a large bowl two-thirds full with ice and cold water. Once the shrimp are cooked, use a slotted spoon or strainer to remove them from the poaching liquid and immediately transfer them to the ice bath. Let them cool for about 10 minutes, stirring occasionally to ensure even chilling.
- After the shrimp are thoroughly cooled, peel them and refrigerate in an airtight container until you are ready to serve or use them in your recipes. For food safety, do not leave them at room temperature for more than 2 hours. Store peeled, poached shrimp in the refrigerator for up to 3-4 days.
Notes
Shrimp Sizing: This recipe is adaptable for various shrimp sizes. The 21-25 count shrimp used here are excellent for dipping. For a heartier shrimp cocktail or an impressive platter, consider U/15 to U/12 shrimp. For shrimp salads, 26/30 or 31/35 count shrimp are typically ideal.
Shrimp Preparation: If your raw shrimp are frozen, ensure they are fully defrosted before poaching. For shrimp that haven’t been deveined, use a paring knife or kitchen shears to make a shallow cut along the curved back and gently remove the dark vein, taking care to leave the shell intact.
Checking Shrimp for Doneness: The best way to confirm doneness is to cut into one or two shrimp. The meat should be opaque and pinkish-white throughout, with a firm yet tender texture. Perfectly cooked shrimp typically form a loose “C” shape; if they curl tightly into an “O” shape, they are likely overcooked. While a thermometer can be used (USDA recommends 145°F), visual and textural cues are often more practical for shrimp.
Cooking More than 2 Pounds of Shrimp: To avoid overcrowding and ensure proper cooking, it’s best not to add more than 2 pounds of shrimp to the pot at one time. However, you can efficiently cook additional batches by simply bringing the court bouillon back to a full boil before adding each subsequent batch of shrimp.
Nutrition Estimate
Serving: 3 ounces shrimp | Calories: 152kcal | Carbohydrates: 8g | Protein: 16g | Fat: 1g | Saturated Fat: 0.2g | Polyunsaturated Fat: 0.2g | Monounsaturated Fat: 0.1g | Trans Fat: 0.01g | Cholesterol: 143mg | Sodium: 1555mg | Potassium: 330mg | Fiber: 2g | Sugar: 2g | Vitamin A: 3376IU | Vitamin C: 12mg | Calcium: 103mg | Iron: 1mg
Nutrition information is automatically calculated and should be used as an approximation only.
About Our Recipes
Please note that our recipes have been developed using the US Customary measurement system and have not been tested for high altitude/elevation cooking and baking.
