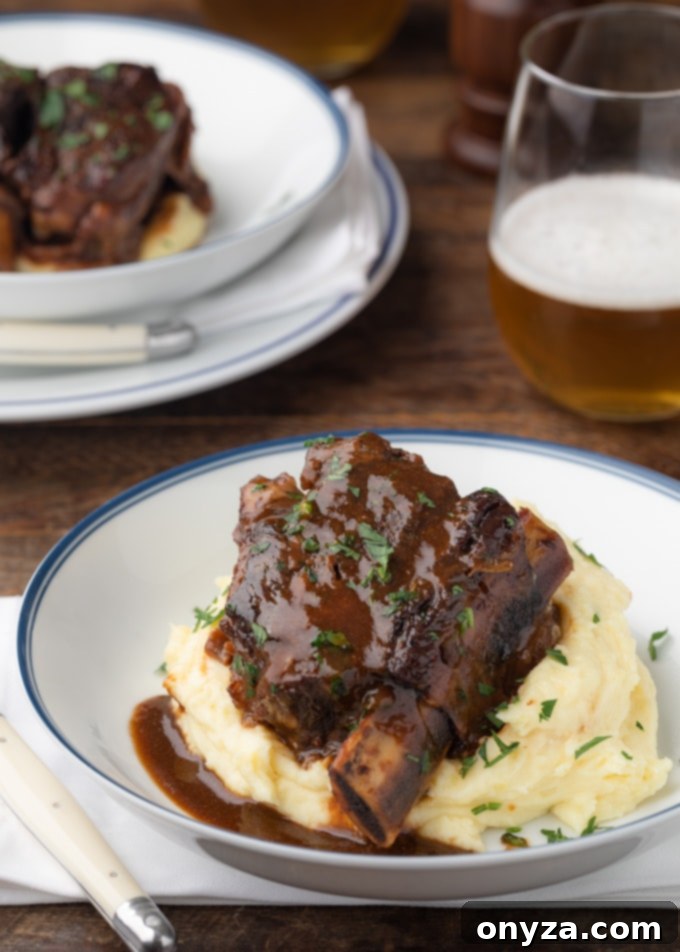
Indulge in the ultimate comfort food with our Stout Beer Braised Short Ribs. This recipe delivers incredibly tender, fall-off-the-bone beef enveloped in a deeply flavorful, rich, stout-infused gravy. Experience a restaurant-quality dinner right in your own home, perfect for special occasions like St. Patrick’s Day, a cozy winter evening, or any time you crave a truly satisfying meal. Whether you prefer the traditional slow-cook method in a Dutch oven or the efficiency of an Instant Pot, we’ve got you covered with detailed instructions for both.
About This Recipe
Essential Ingredients for Perfect Short Ribs
Crafting Braised Short Ribs in a Dutch Oven
1. Prepare and Sear the Short Ribs
2. Build the Aromatic Braising Liquid
3. The Art of Slow Braising
4. Mastering the Stout Gravy
5. Serving Your Delicious Short Ribs
Dutch Oven vs. Instant Pot: A Comparison
Instant Pot Tips for Best Results
Frequently Asked Questions (FAQs)
More St. Patrick’s Day Recipes
This comprehensive recipe tutorial is a direct response to reader requests! Many followers on Instagram discovered my Stout-Braised Short Rib Cottage Pie and were eager to learn how to serve these succulent beef short ribs as a magnificent standalone dish. Your wish is my command!
So, I’ve created this dedicated guide focusing exclusively on the preparation of the short ribs themselves. Whether you’re planning to incorporate them into that showstopping cottage pie or simply desire an impressive, comforting short rib dinner that tastes like it came straight from a gourmet restaurant, this post is your ultimate resource. It’s designed to equip you with all the knowledge and techniques needed to achieve culinary perfection.
While this article is one of my more detailed guides, I’ve meticulously covered every essential step and nuanced tip to ensure you make the absolute best Stout Beer Braised Short Ribs. You’ll find instructions for both the traditional Dutch oven method and a quicker Instant Pot alternative. So, grab a stout, settle in, and get ready to transform simple ingredients into an unforgettable meal!
This post contains affiliate links. As an Amazon Associate, I earn a commission (at no additional cost to you) from qualifying purchases made by clicking these links. As always, all recommendations and opinions expressed are my own.
About This Recipe: Unveiling the Magic of Stout Braised Short Ribs
There’s something truly special about braised short ribs. The low-and-slow cooking process transforms a relatively tough cut of meat into an incredibly tender, melt-in-your-mouth experience. When combined with the rich, malty notes of stout beer, the results are simply extraordinary. This dish isn’t just food; it’s an experience, a celebration of flavor, and a testament to the power of thoughtful cooking.
Our Stout Beer Braised Short Ribs recipe is designed for both seasoned home cooks and ambitious beginners. We guide you through each stage, from selecting the finest ingredients to mastering the perfect sear, building a complex braising liquid, and finally, crafting a velvety gravy that ties the entire dish together. Whether you choose the leisurely pace of a Dutch oven or the expedited power of an Instant Pot, the goal remains the same: to create a deeply satisfying, memorable meal that will impress anyone at your table.
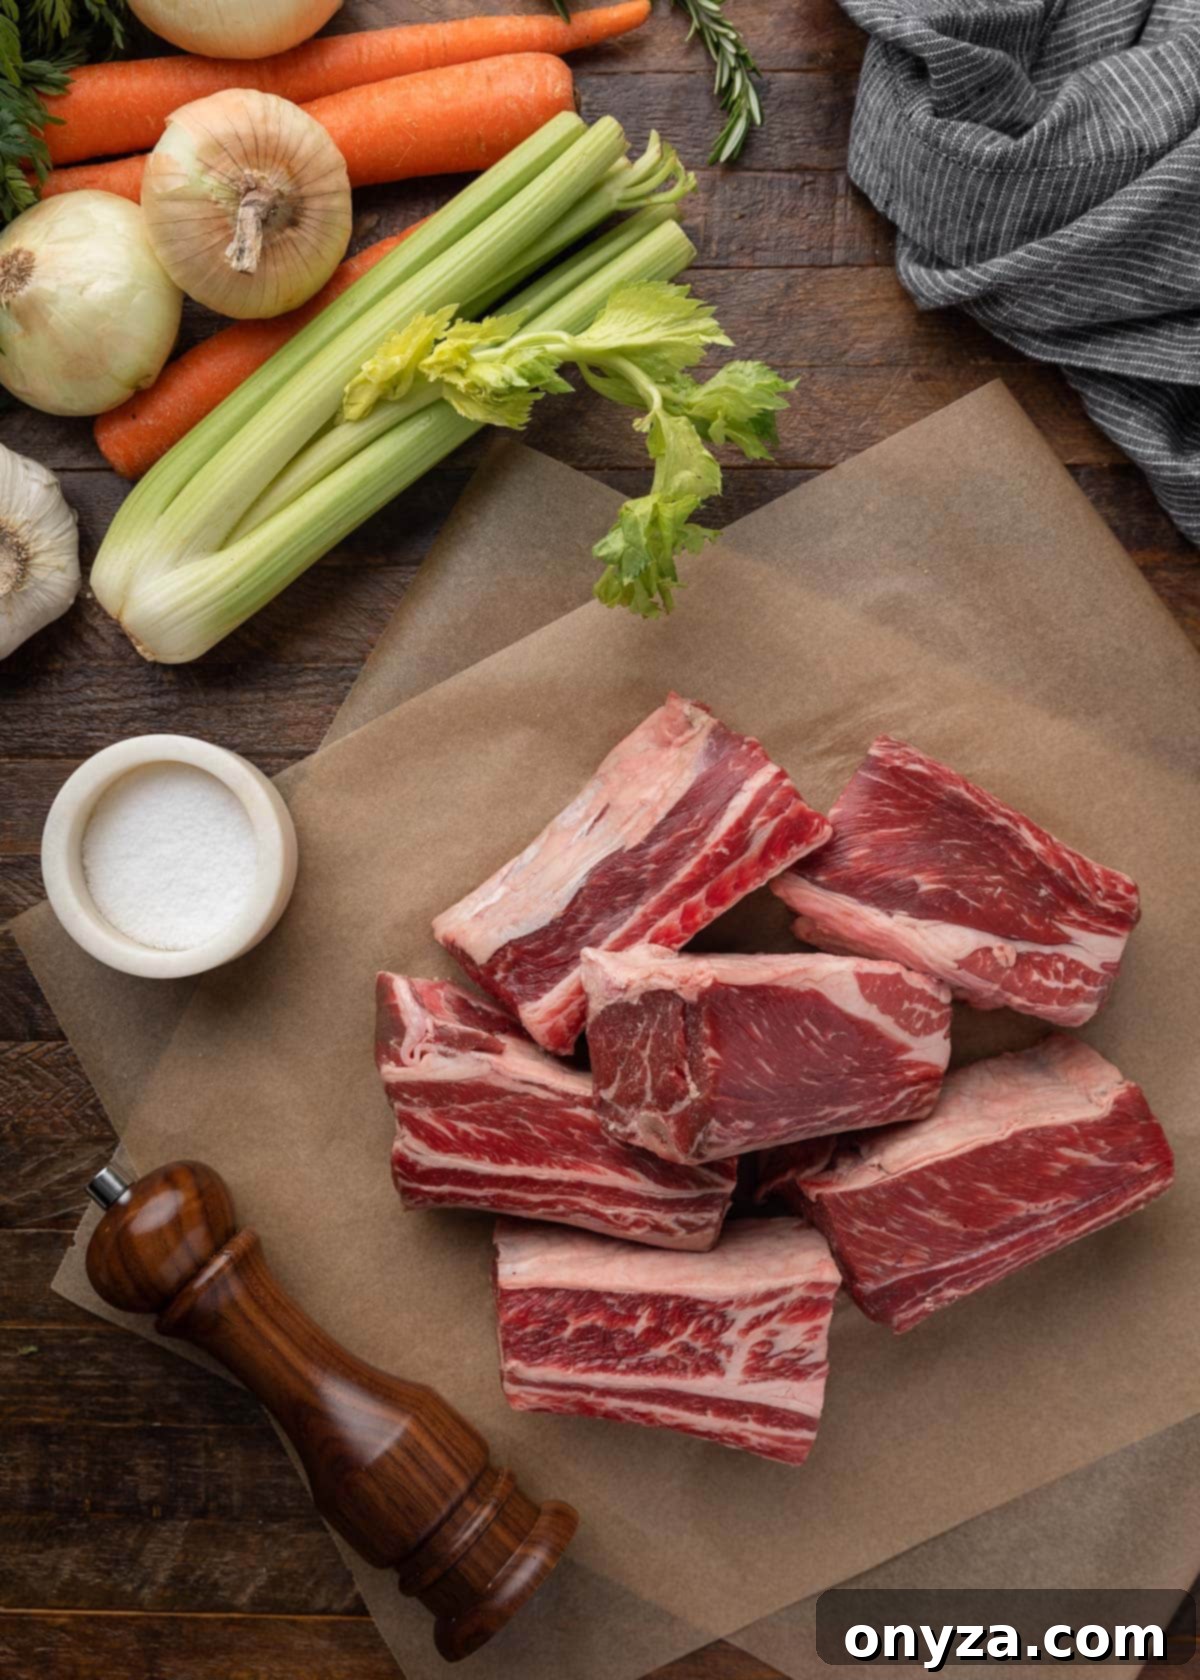
Essential Ingredients You’ll Need for Stout Beer Braised Short Ribs
The success of any great braise lies in the quality and balance of its ingredients. Here’s a detailed look at what you’ll need and why each component is crucial:
- Bone-in, English Cut Short Ribs: These are the thicker, meatier short ribs, typically cut across the rib bone, resulting in individual portions. The bone itself contributes immensely to the richness and depth of flavor in the braising liquid. Seek out well-marbled ribs with a healthy meat-to-fat ratio; the fat renders down during cooking, adding incredible moisture and flavor. For more insight into different cuts, refer to this informative article from Bon Appetit.
- Stout Beer: The star of our braising liquid! As the liquid reduces, the stout’s flavor intensifies, so selecting the right one is key. Opt for a stout on the lower end of the bitterness spectrum to prevent an overly sharp flavor. If using Guinness, the milder “Draught” variety is preferred over “Extra Stout.” Murphy’s Irish Stout, known for its slightly sweeter profile, is another excellent choice for braising. My personal favorite, Atlantic Brewing Company’s Cadillac Mountain Stout, also works beautifully, adding a robust yet balanced character.
- Beef Broth or Stock: This forms the primary liquid component of our braise. If you have homemade beef stock, it will elevate the dish to another level of richness. For store-bought options, always choose low-sodium or unsalted varieties. This allows you to control the seasoning precisely and prevents the dish from becoming overly salty as the liquid reduces.
- All-Purpose Flour: A light dusting of flour on the short ribs before searing serves a dual purpose. First, it helps to dry the exterior of the meat, promoting a superior, crispy brown crust. Second, any flour that remains in the pot after searing contributes to the thickening of the gravy later, adding body and richness.
- Vegetable Oil: Essential for achieving that crucial deep brown sear on your short ribs. A high smoke point oil like vegetable, canola, or grapeseed oil is ideal for this initial high-heat step.
- Aromatics: The foundation of flavor! A classic mirepoix of onion, carrots, and celery, along with fresh garlic, creates a savory base that infuses the entire dish with depth and complexity. These vegetables slowly release their sweet and savory notes into the braising liquid as it simmers.
- Tomato Paste and Worcestershire Sauce: These two ingredients are flavor powerhouses. Tomato paste offers concentrated umami and helps to balance any potential bitterness from the stout, adding a rich, savory backdrop. Worcestershire sauce provides a tangy, savory punch that deepens the overall flavor profile of the braising liquid and gravy.
- Herbs: A fragrant blend of herbs elevates the dish. You’ll need a dried bay leaf for its subtle, earthy notes. Fresh rosemary and thyme, tied together into a bouquet garni with kitchen twine, allow for easy removal after the braising process, ensuring their essence is fully imparted without leaves in the final dish. Finish with a sprinkling of chopped fresh flat-leaf parsley for a vibrant burst of freshness and color.
- Dijon Mustard: Added at the end to the gravy, a touch of Dijon mustard introduces a bright, subtle tang. This acidity cuts through the richness of the beef and stout, balancing the flavors and preventing the gravy from feeling too heavy.
Crafting Beer Braised Short Ribs in a Dutch Oven: The Traditional Way
The Dutch oven method is a timeless approach to braising, allowing for a slow, gentle cook that yields maximum flavor development and incredibly tender meat. Follow these steps for a truly exceptional dish:
1. Prepare and Sear the Short Ribs
The journey to an exquisite braise begins with building layers of flavor, and the initial searing of the short ribs is paramount to this process.
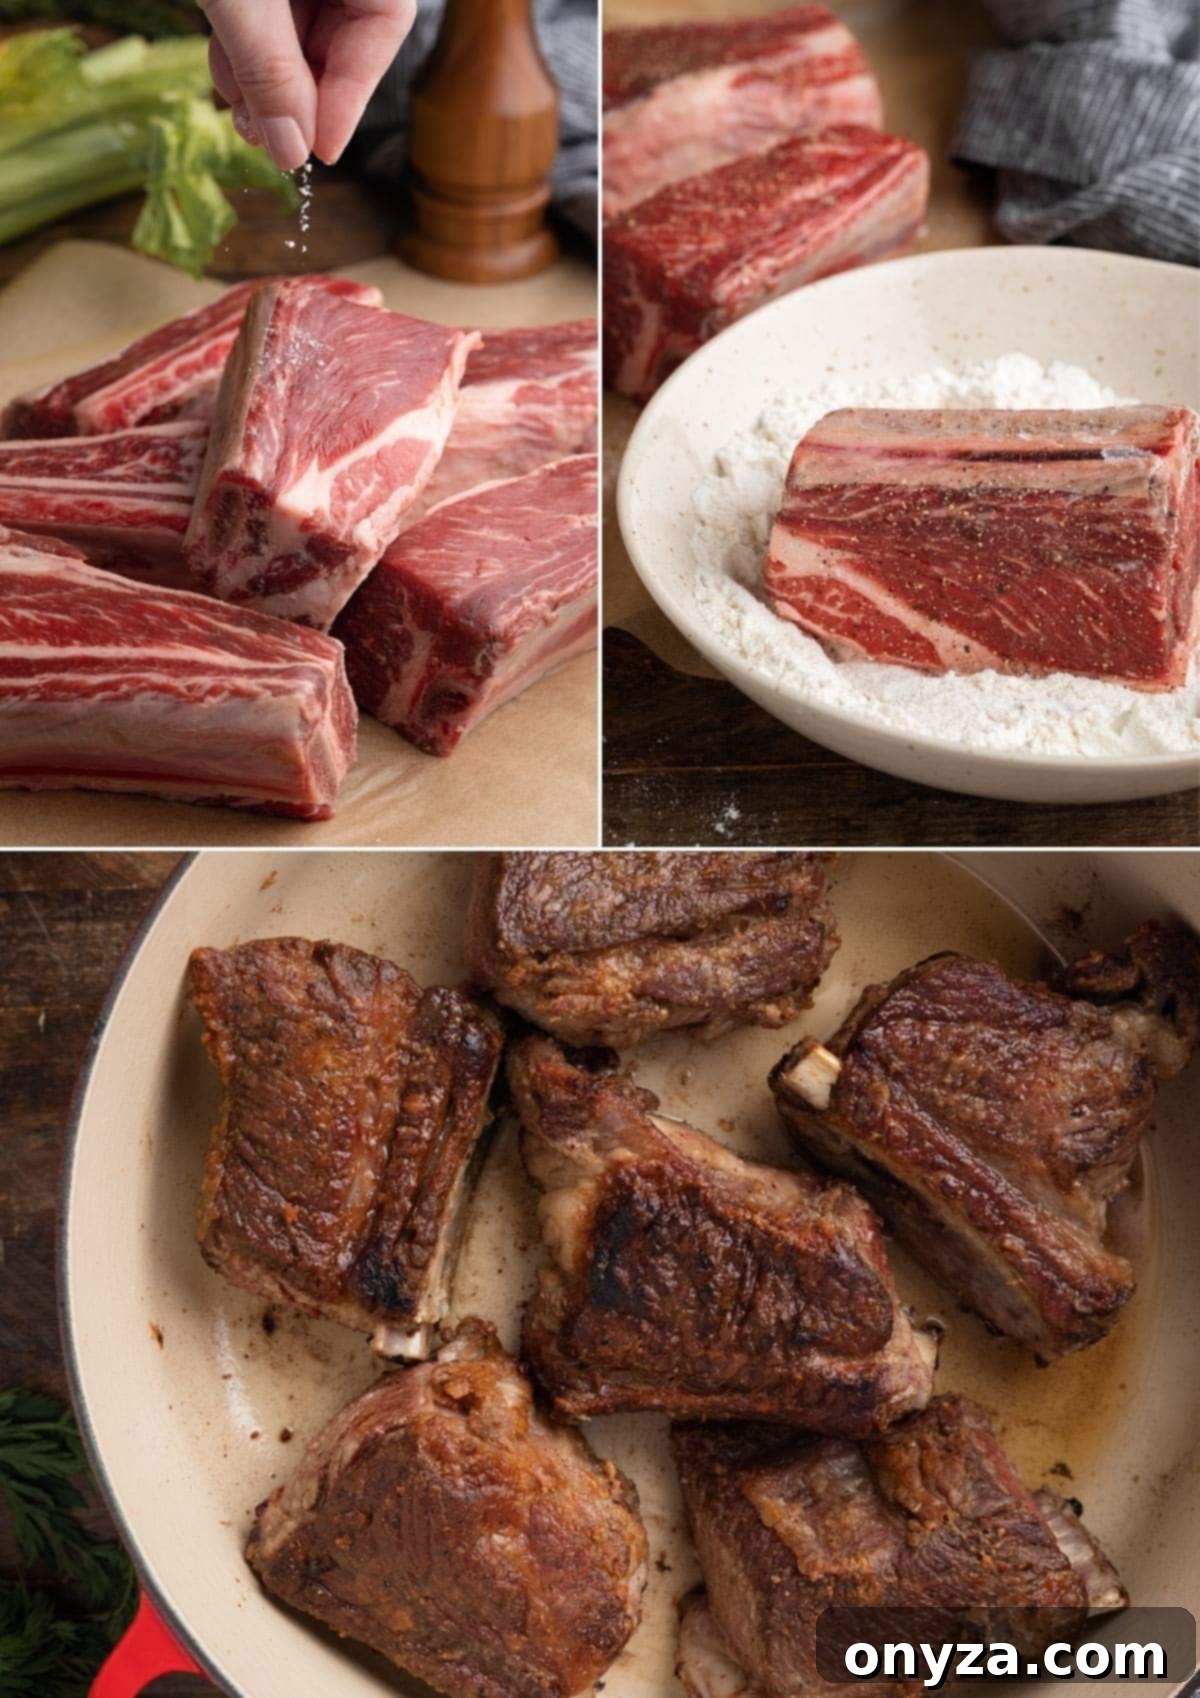
Start by thoroughly patting the meat dry with paper towels – this is crucial for achieving a good sear. Then, generously season all sides of your short ribs with kosher salt and freshly ground black pepper. Next, lightly dredge each piece in all-purpose flour, ensuring an even coating. Shake off any excess flour; too much can burn in the pot and impart an undesirable flavor.
Developing a deep, golden crust on the short ribs is absolutely essential for flavor. To achieve this, heat your Dutch oven over medium-high heat with just enough vegetable oil to coat the bottom. The oil should be shimmering, but not smoking. If your cooking surface is too small to accommodate all the ribs in a single layer without crowding, sear them in batches. Crowding lowers the pot’s temperature, steaming the meat instead of browning it.
Once the ribs are in the pot, resist the urge to move them for several minutes. Allow them to develop a rich, deep golden-brown crust. When this crust forms, the meat will naturally release from the bottom of the pot with ease. This typically takes 3-4 minutes per side in a well-heated, enameled cast iron Dutch oven. Remove the seared ribs to a plate and set aside, along with any accumulated juices.
Shopping for a Dutch oven? Pictured in this post is one of my favorite pieces in my kitchen, Le Creuset’s Round Wide 6-3/4 Quart Dutch Oven. You could also use their 5-1/2 Quart Round Dutch Oven or Staub’s 5-1/2 Quart Round Cocotte.
2. Build the Aromatic Braising Liquid
With the short ribs seared and removed, it’s time to continue layering flavors directly in the same Dutch oven. This ensures all the delicious fond (browned bits) left behind contribute to the final taste.
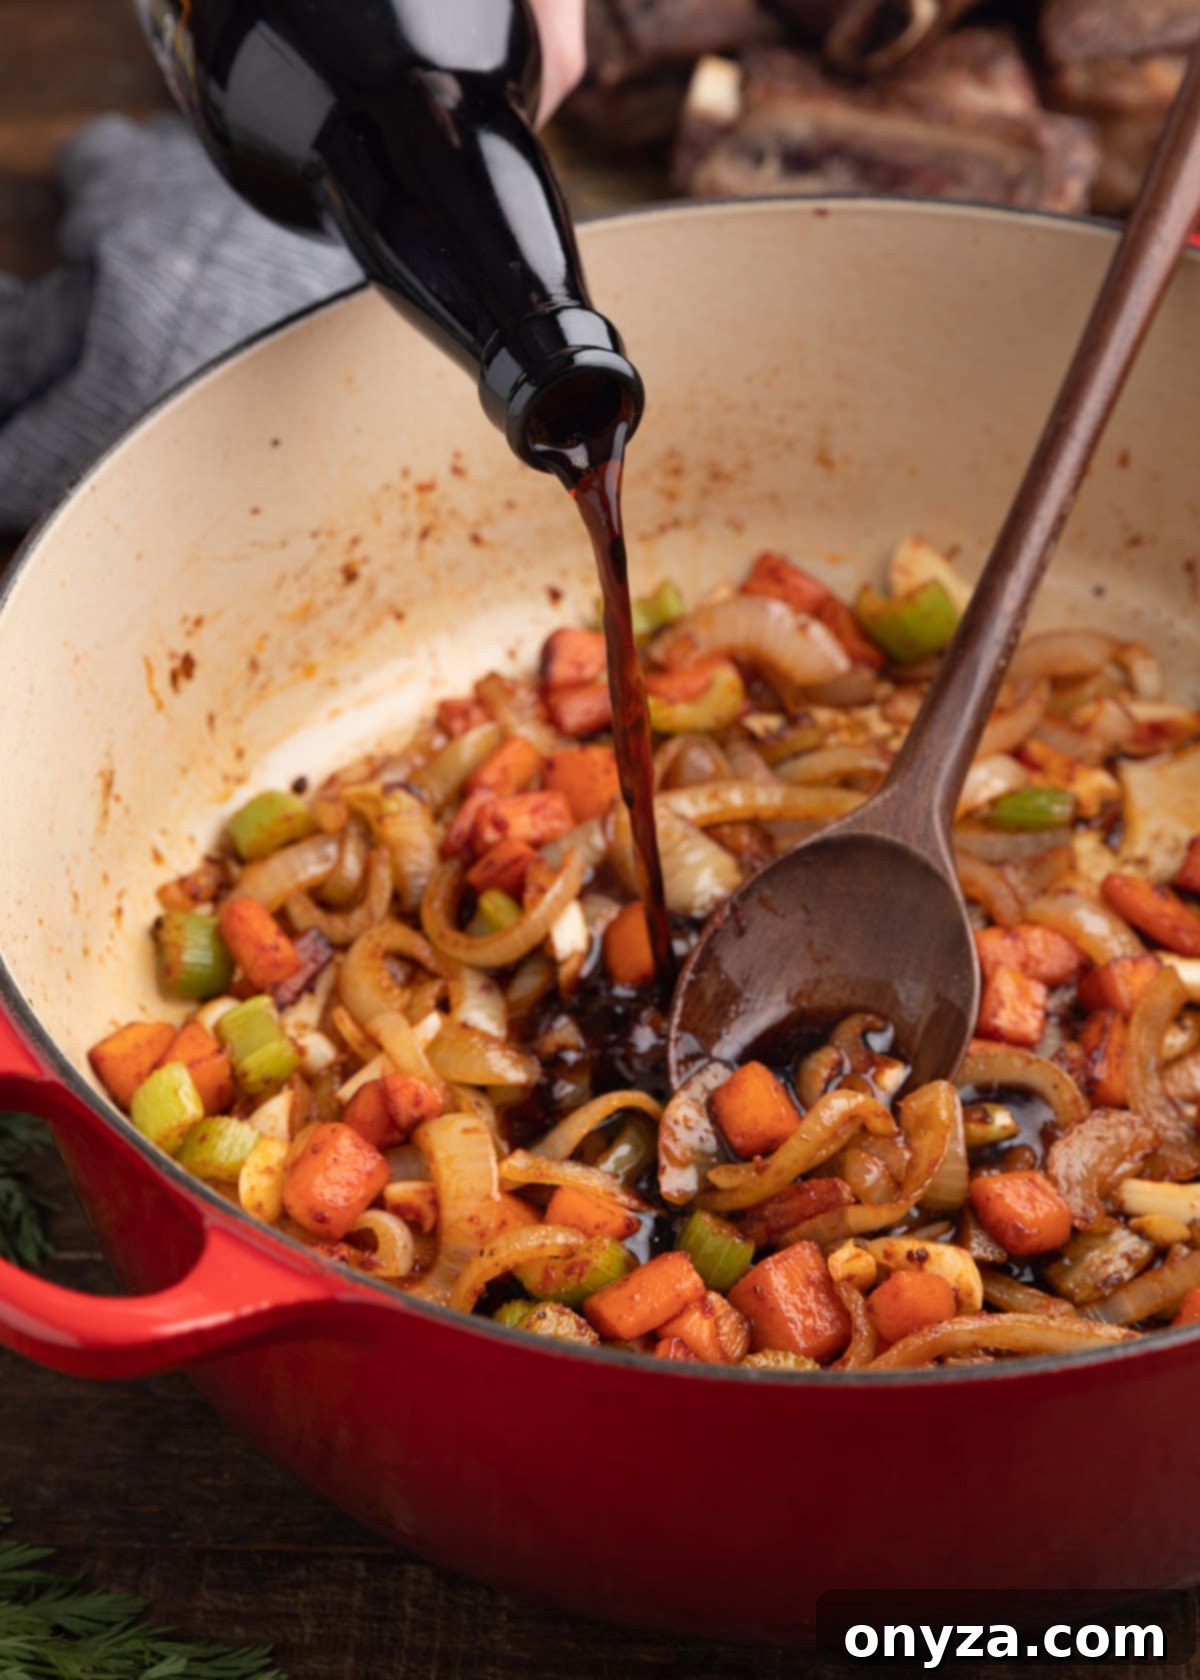
Drain off all but about 2 tablespoons of oil from the pot. Add the diced carrots, onions, and celery to the pan drippings. Sauté these aromatics over medium heat until they soften and begin to brown, about 5-7 minutes. Stir frequently to prevent sticking. Next, add the tomato paste and sliced garlic, cooking for just an additional 1-2 minutes until they become fragrant. The tomato paste will darken to a rich brick color as it caramelizes, deepening its flavor. Be vigilant during this step to prevent it from burning, which can lead to a bitter taste.
Now, it’s time to deglaze the pot. Pour in the stout beer, using a wooden spoon to vigorously scrape up all the flavorful little brown bits (the fond) that have formed on the bottom of the pot. These bits are “flavor gold” and will dissolve into the liquid, contributing immense depth. Stir in the Worcestershire sauce, blending it thoroughly with the stout and aromatics.
Tip: The vegetables in the braising liquid are primarily for flavor and will be strained out later. Don’t worry if your chopping is a little rustic; precision isn’t necessary here!
3. The Art of Slow Braising the Beef
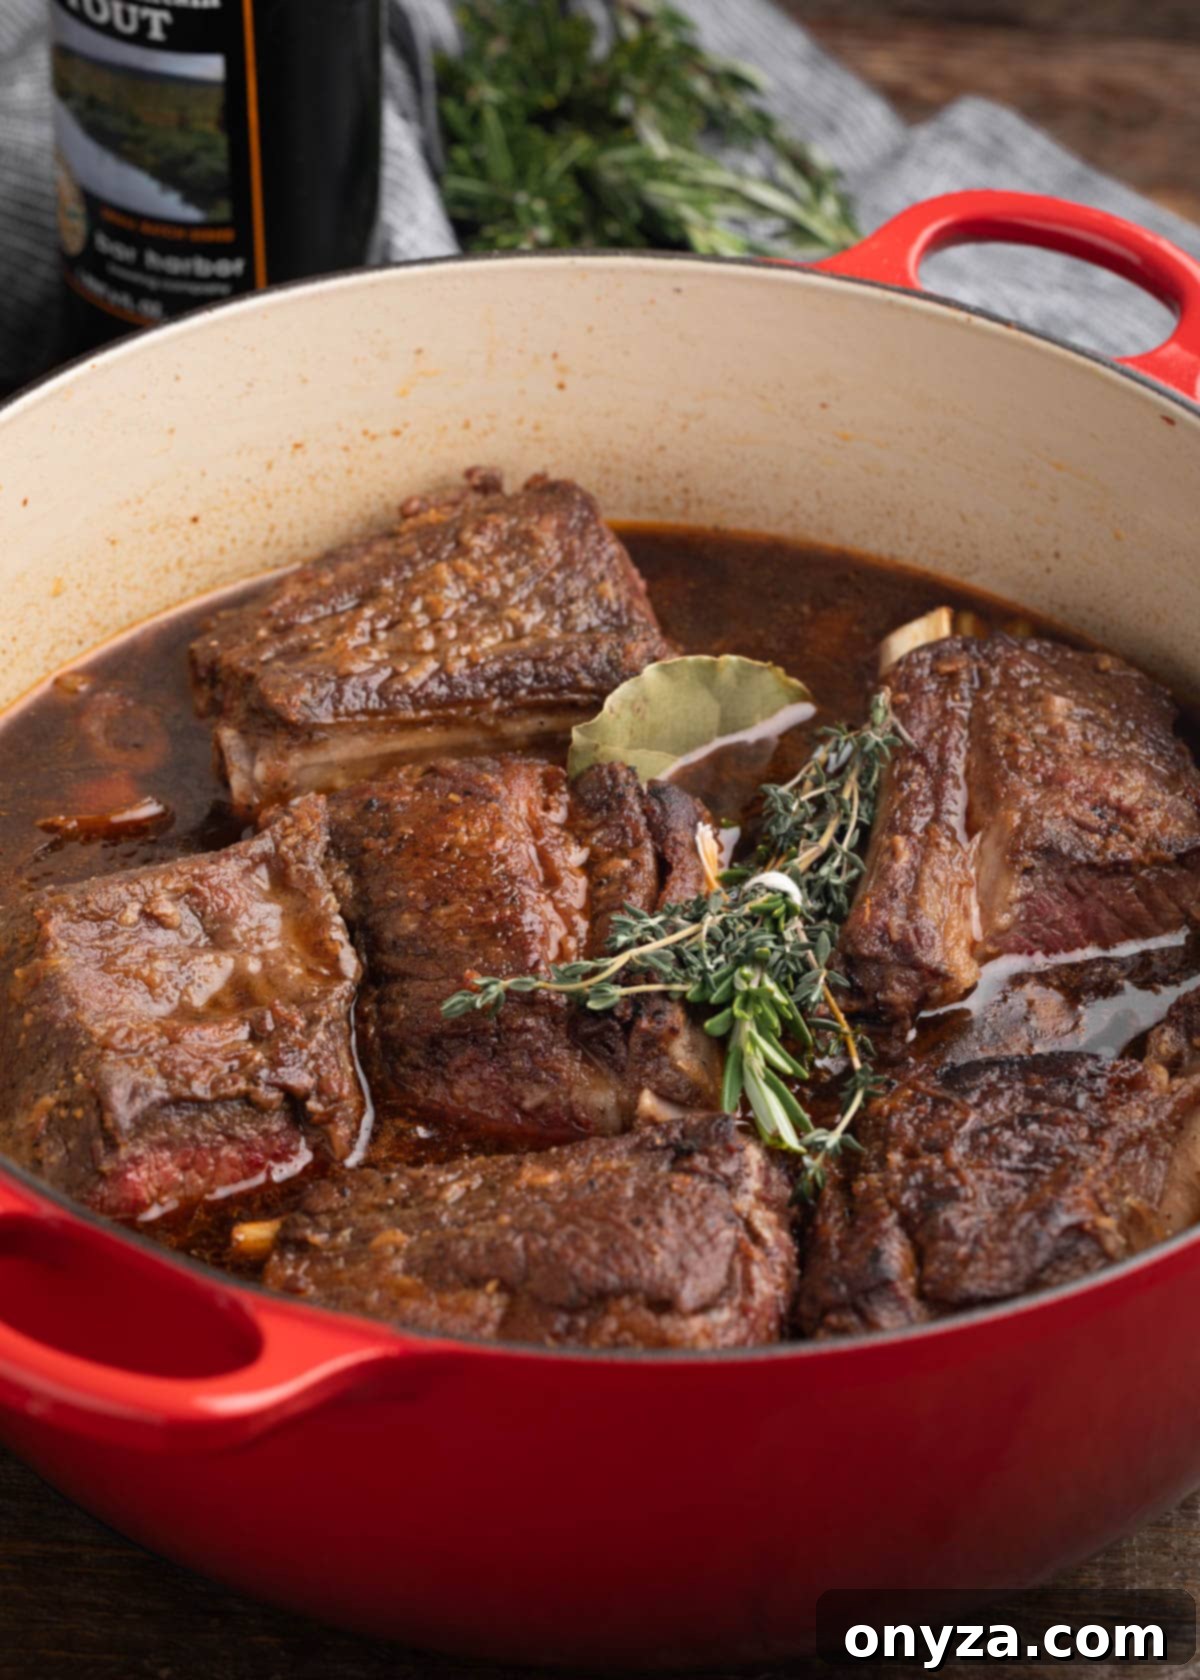
With the rich braising liquid now developed, it’s time to return the seared short ribs to the pot. Nestle them snugly amongst the aromatics and liquid. Add enough beef broth so that the liquid comes about three-quarters of the way up the sides of the ribs. For the Dutch oven method, it’s important not to submerge the meat completely; a portion should remain exposed to the dry heat of the oven, allowing for further caramelization and flavor development.
Add the dried bay leaf and the bouquet garni (tied fresh rosemary and thyme) to the pot. Bring the liquid to a gentle simmer on the stovetop. Once simmering, place the lid securely on the Dutch oven and transfer it to your preheated oven. This initiates the wonderful low and slow braise, a process that will fill your kitchen with tempting aromas for the next three hours. Remember to turn the short ribs approximately halfway through the cooking time to ensure even tenderness. Check the liquid level occasionally; if it seems to evaporate too much, add a little extra beef broth.
4. Mastering the Stout Gravy
Whether you’ve braised your short ribs in a Dutch oven or an Instant Pot, you’ll be left with a tremendously flavorful braising liquid – the perfect foundation for an easy, luxurious gravy. The first step is to carefully remove the cooked short ribs from the pot with a slotted spoon and cover them loosely with foil to keep warm. Then, strain the braising liquid through a fine-mesh sieve, gently pressing on the cooked vegetables and herbs to extract every last drop of flavorful liquid. Discard the solids.
Allow the strained liquid to stand for about 5 minutes, giving the fat a chance to rise to the surface. Short ribs are known for releasing a good amount of fat, so there will likely be a significant layer to remove. Use a gravy separator or simply a large spoon to carefully skim off the excess fat from the top of the liquid. The less fat, the cleaner and more palatable your gravy will be.
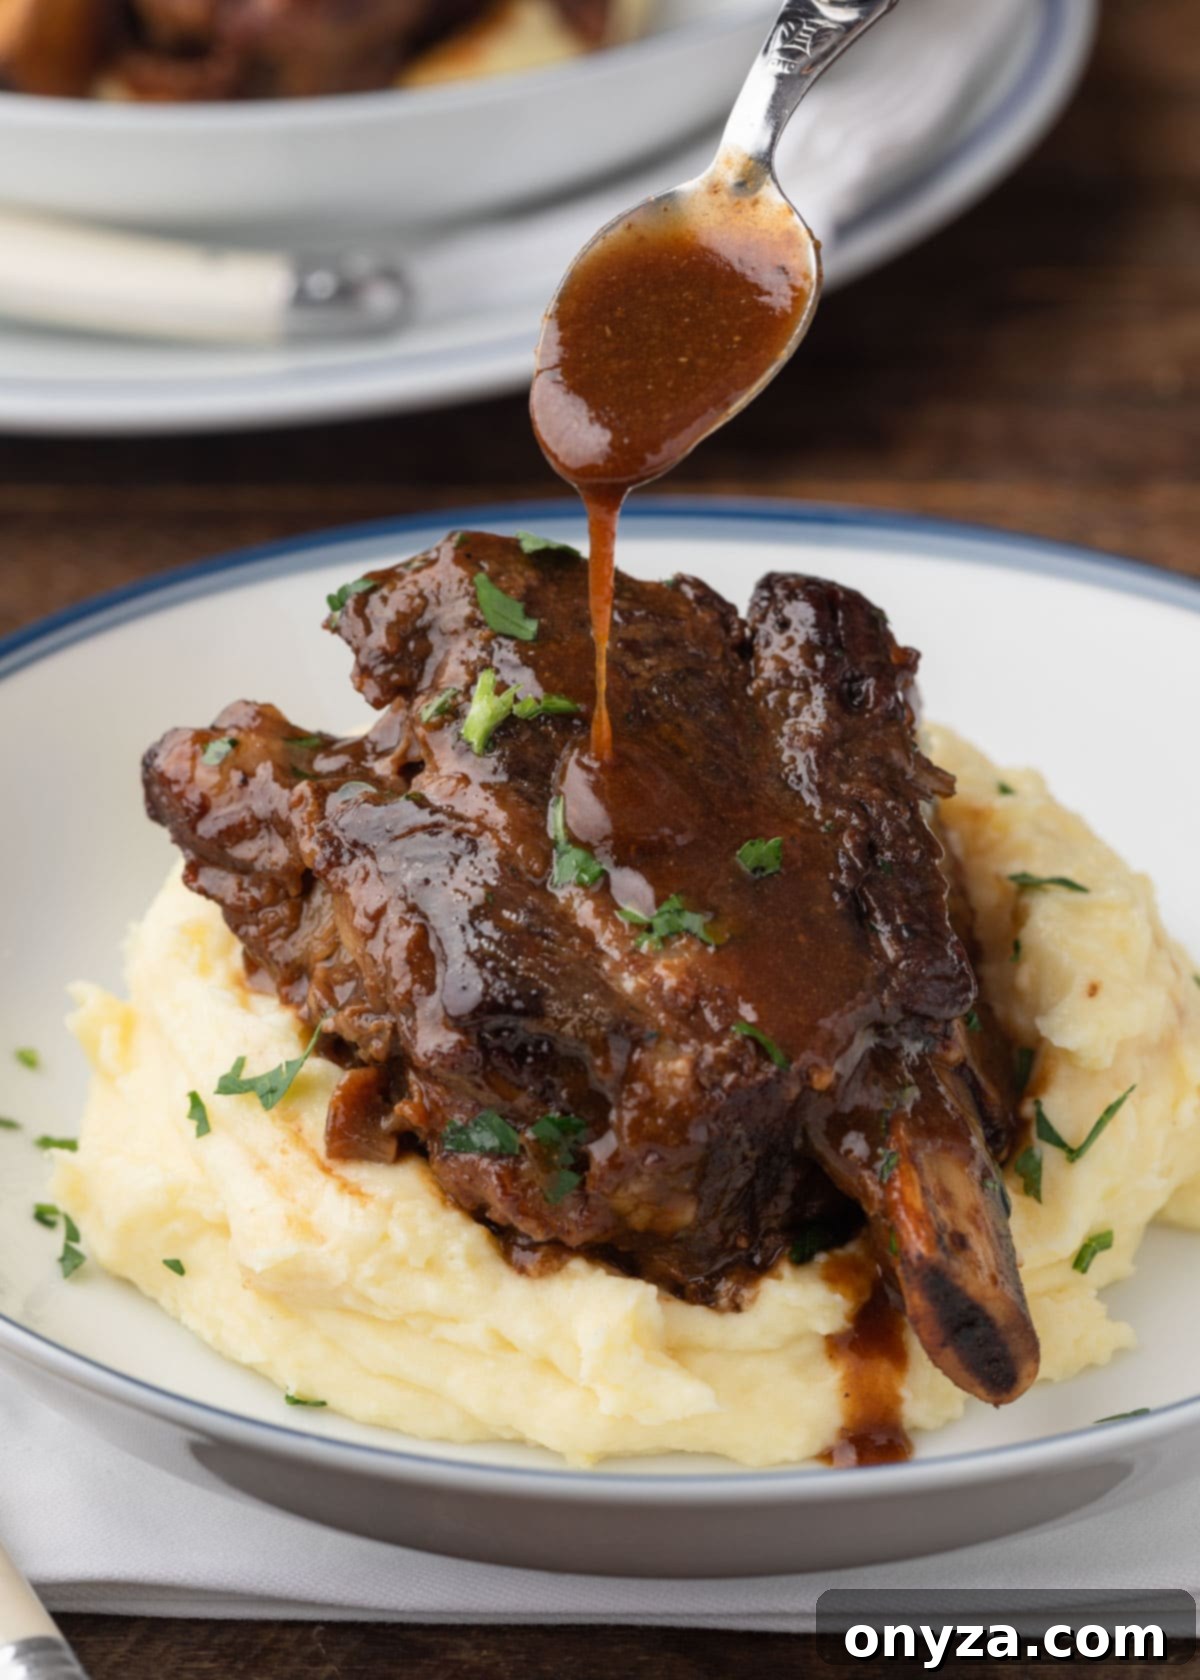
Transfer the defatted braising liquid to a clean saucepan. Whisk in the Dijon mustard, which will add a touch of brightness and acidity. Bring the gravy to a gentle simmer on the stovetop and continue to cook, stirring occasionally, until it reduces slightly and is thick enough to coat the back of a spoon. If you desire a thicker gravy, prepare a cornstarch slurry by mixing equal parts cornstarch with cool beef broth or water (e.g., 1 teaspoon cornstarch with 1 teaspoon liquid). Whisk the slurry into the simmering gravy a teaspoonful at a time, allowing it to come back to a boil after each addition, until your desired consistency is achieved. Season the gravy to taste with additional salt and freshly ground black pepper as needed.
5. Serving Your Delicious Beer Braised Short Ribs
This rich and decadent dish truly shines when paired with something creamy, starchy, or absorbent to perfectly mingle with the luscious stout gravy. We particularly love serving these short ribs with a variety of classic accompaniments:
- Cream Cheese Mashed Potatoes: My Cream Cheese Mashed Potatoes are an ideal pairing, offering a velvety texture that soaks up the gravy beautifully. For an Irish-inspired twist, consider adding some shredded Dubliner cheese to the mashed potatoes.
- Colcannon: A traditional Irish dish of mashed potatoes with cabbage or kale, Colcannon offers a lovely textural contrast and a hint of freshness.
- Polenta: Creamy polenta provides a comforting, slightly gritty base that complements the tender beef and rich sauce wonderfully.
- Egg Noodles: Simple, buttery egg noodles are a fantastic vehicle for the gravy, ensuring every bite is coated in flavor.
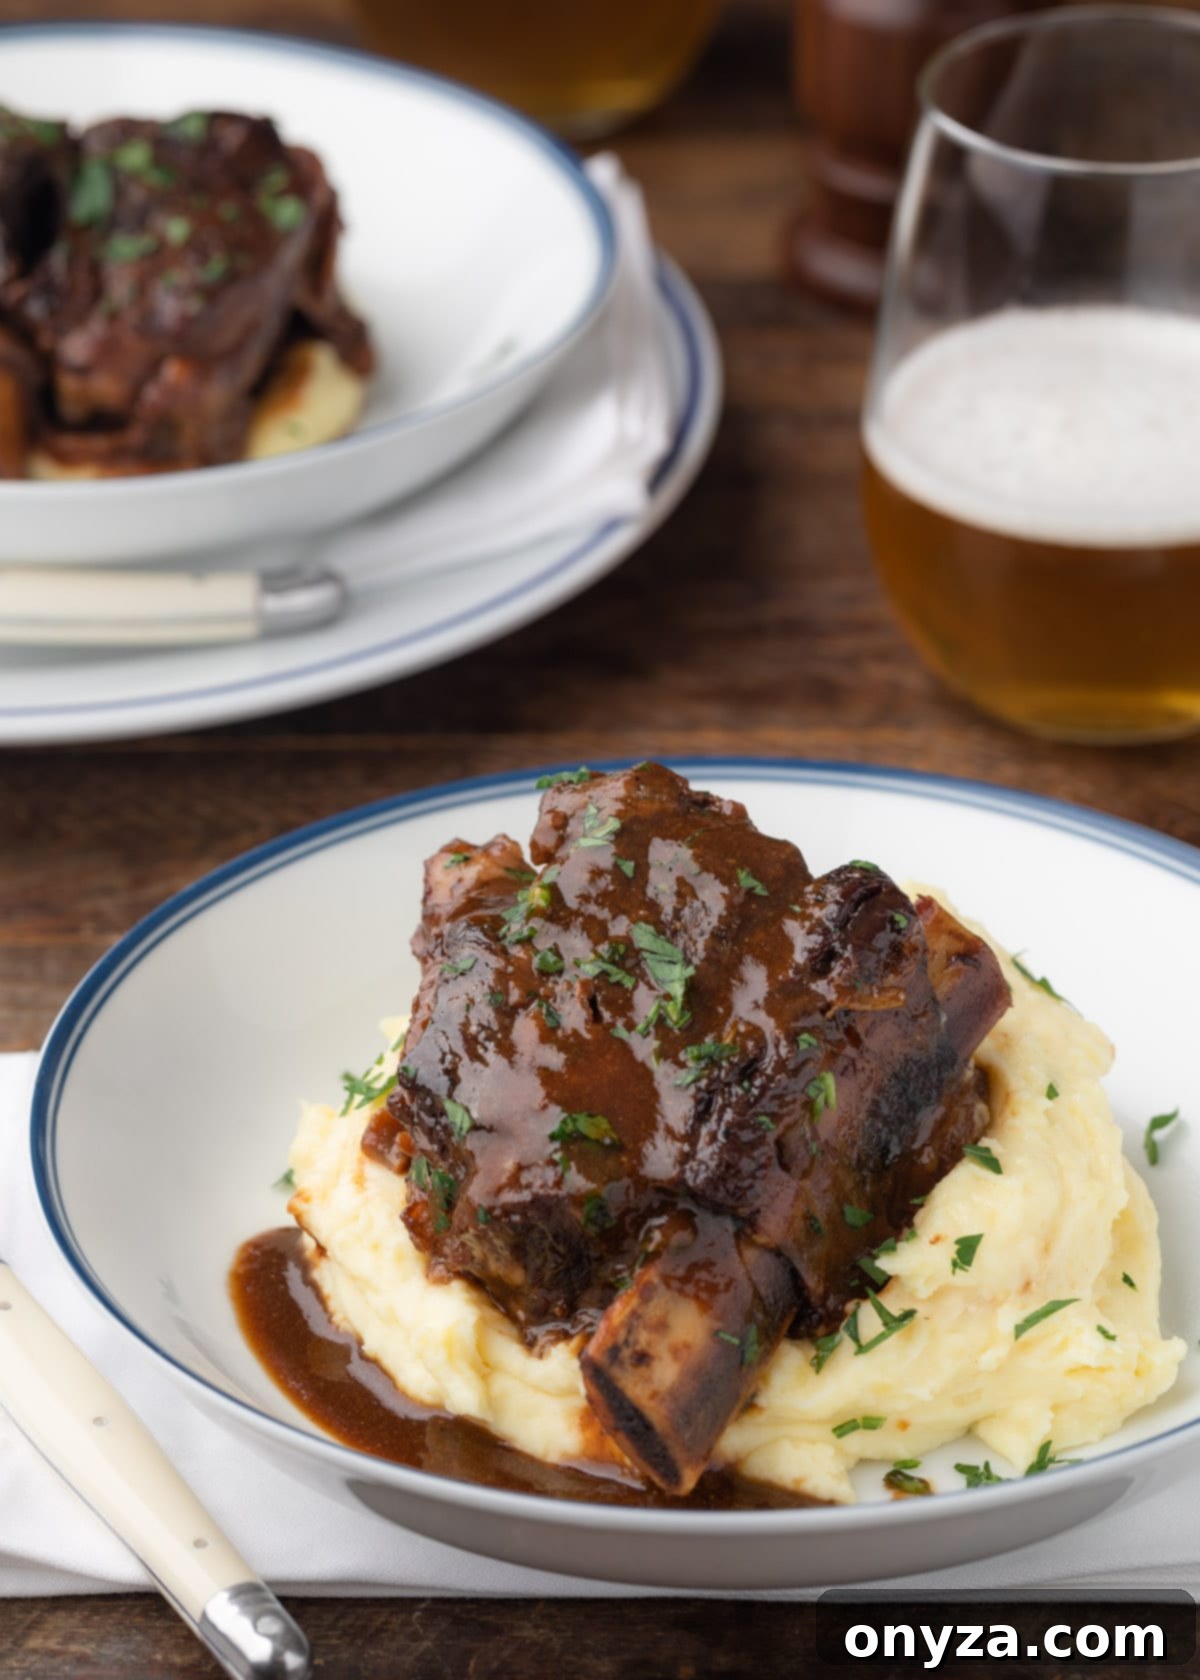
For those seeking a lower-carb option, these stout-braised short ribs are equally delicious with mashed cauliflower, offering a similar creamy texture without the added carbohydrates. Garnish your plated short ribs with a sprinkle of fresh chopped parsley for a pop of color and herbaceous note.
Braising Short Ribs: Dutch Oven vs. Instant Pot
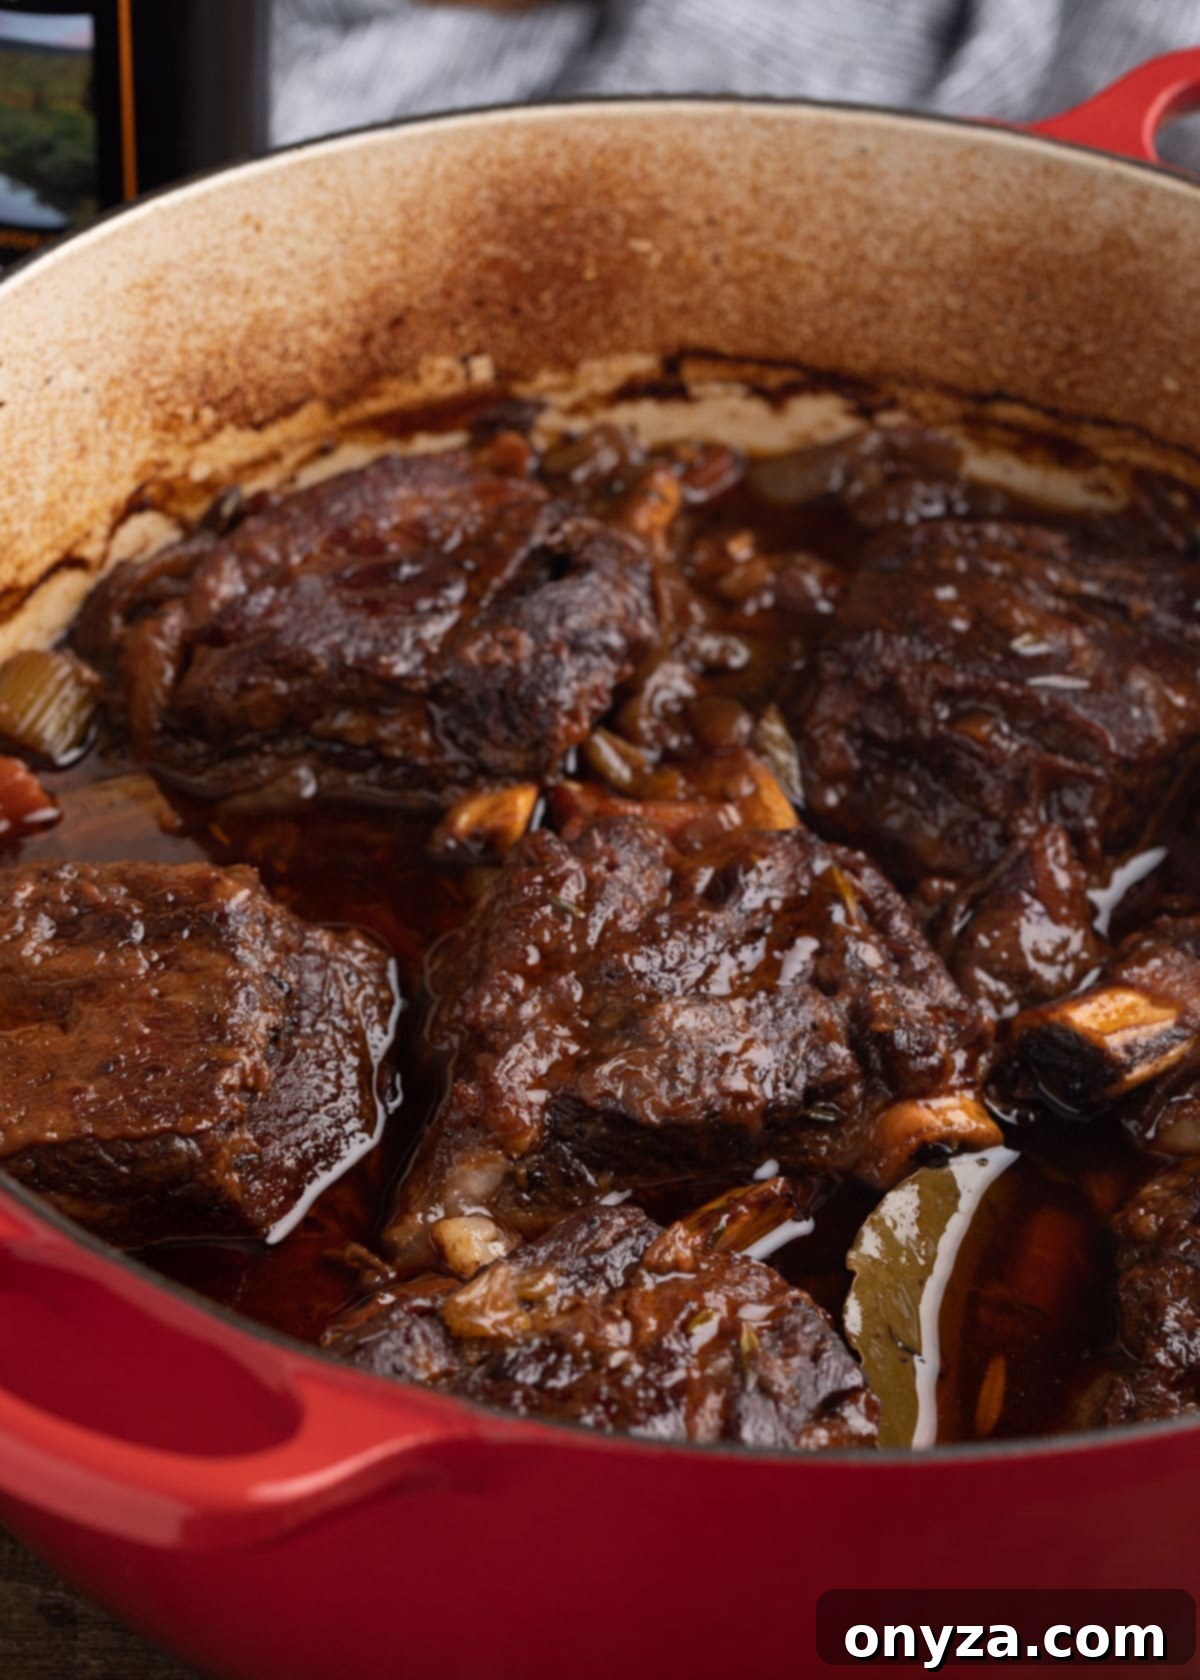
As a passionate cook, I believe in honesty about recipes, and I want to be completely transparent here: I personally prefer these short ribs when they are slowly braised in a Dutch oven. The extended, gentle heat of oven braising allows for a remarkable depth and complexity of flavor to develop, creating a richness that is simply unparalleled by a pressure cooker.
That being said, short ribs prepared in the Instant Pot are by no means a compromise in quality. The pressure cooker excels at creating flavorful, fall-off-the-bone tender meat in a fraction of the time. It’s an excellent option when you have a sudden craving for short ribs but lack the entire afternoon for slow cooking. Furthermore, if you’re prepping these ribs specifically to be shredded and used in another recipe, like the cottage pie I mentioned earlier, the Instant Pot is an incredibly efficient choice.
Comparison: After the initial prep and searing process (which takes approximately 30 minutes for both methods), short ribs made in a Dutch oven require 3 hours of braising time. In contrast, those made in the Instant Pot cook in about 85 minutes at HIGH pressure, which includes the time for the pot to come up to pressure and naturally release.
Tips For Making This Recipe in The Instant Pot
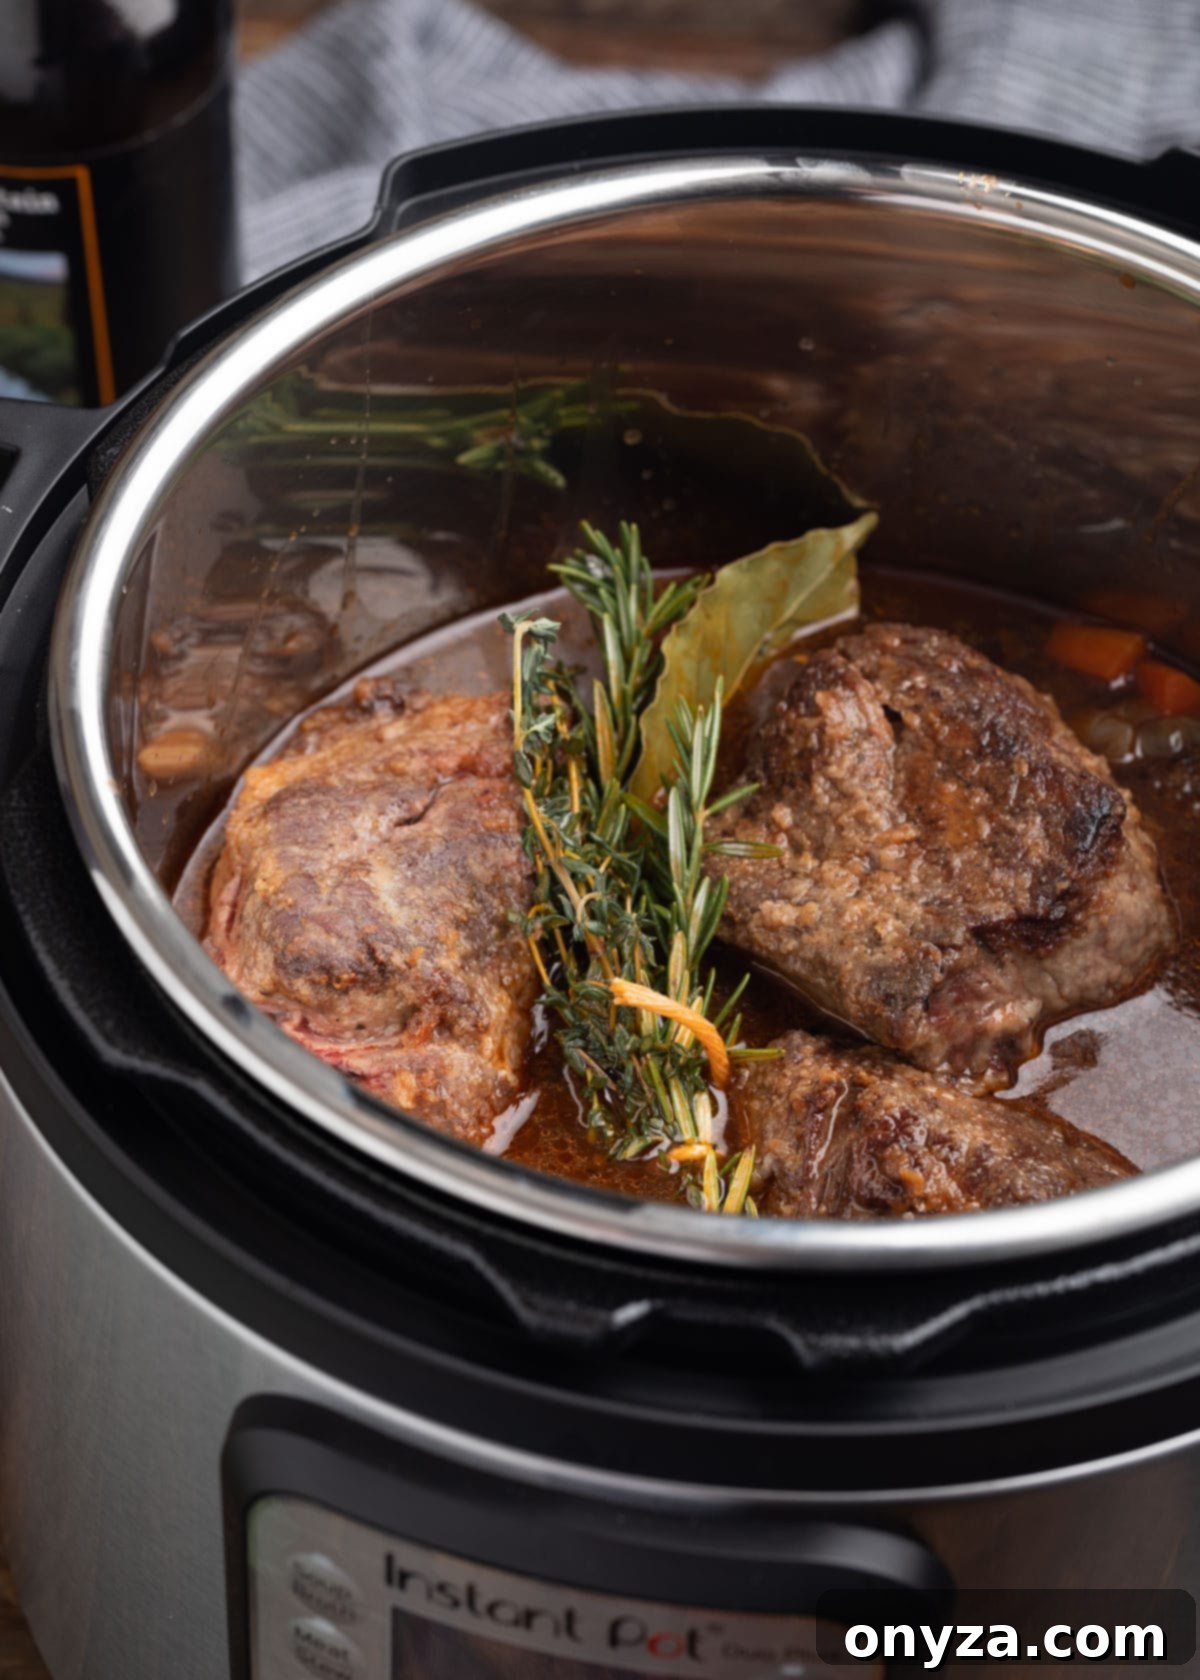
While the core ingredients and fundamental process remain consistent between Dutch oven and electric pressure cooker methods, a few specific adjustments and considerations will ensure the best results when using your Instant Pot:
- Garlic Preparation: For Instant Pot cooking, I recommend leaving the garlic cloves whole (gently crushing them with the back of a knife) rather than slicing them. Whole garlic tends to retain its flavor more effectively under high pressure cooking, preventing it from becoming overly mellow or lost.
- Searing in the Instant Pot vs. Stovetop: Although the Instant Pot features a sauté function, I generally advise against using it for searing the short ribs directly in the insert. In my experience, there are a few reasons for this:
- a.) It typically takes longer to achieve a proper, deep brown crust in the Instant Pot’s insert compared to a traditional stovetop pan.
- b.) The smaller surface area of the Instant Pot insert often requires searing the ribs in more batches, extending the overall prep time.
- c.) The crust developed in cast iron on the stove is often superior, more even, and more flavorful than what can be achieved in the Instant Pot.
For these reasons, I prefer to sear the short ribs and sauté the aromatics in a separate cast iron pan on the stovetop. After deglazing that pan with stout, I then transfer the entire mixture – the seared ribs, aromatics, and flavorful liquid – to the Instant Pot insert for the “braise.” Yes, this means an extra pan to clean, but the enhanced flavor and crust are well worth the effort.
If you do opt to sear the short ribs using the Instant Pot’s sauté function, be aware that you might encounter a “Burn” warning when you initiate pressure cooking. This can happen if the bottom of the insert hasn’t been thoroughly deglazed, leaving browned bits behind, or if the heating element has become excessively hot from extended sautéing. To mitigate this, I highly recommend allowing the Instant Pot insert to cool for about 10-15 minutes between the sautéing phase and starting the pressure cooking cycle. - Reducing the Braising Liquid: After the short ribs have finished cooking in the Instant Pot, you’ll find a greater volume of braising liquid remaining compared to the Dutch oven method (due to less evaporation). For the best gravy, I prefer to transfer the strained braising liquid to a separate pot and reduce it on the stovetop. While the Instant Pot does have a sauté function, reducing liquid in a separate saucepan allows for more controlled simmering and faster evaporation, yielding a more concentrated and flavorful gravy.
Buying an Instant Pot? I used the 6 quart DUO Plus for this recipe.
Frequently Asked Questions (FAQs) About Stout Braised Short Ribs
Q. Can I substitute boneless short ribs for bone-in?
A. While boneless short ribs are available, I strongly advise against substituting them in this particular recipe. The bone plays a crucial role in the braising process, imparting a significant amount of collagen, marrow, and deep, savory flavor to the braising liquid. This ultimately contributes to a richer, more complex gravy and adds to the overall “restaurant-quality” experience of the dish. Cooking the meat on the bone is inherently well-suited to the slow-cooking nature of braising, resulting in superior taste and texture.
Q. Can I use other types of beer besides stout?
A. Yes, absolutely! While stout beer provides a unique depth and traditional flavor profile that is fantastic, you can certainly experiment with other dark beers. The key is to choose a brew that isn’t excessively bitter or heavily hopped, as those characteristics can become concentrated and overwhelming during reduction. Brown ales, porters, or even certain Belgian dark ales could work well. For an even milder flavor, a good quality lager can also be substituted. I personally love braising with Samuel Smith’s Organic Lager, which I frequently use in my popular Beer Braised Corned Beef recipe, demonstrating its versatility and ability to create a delicious braising liquid.
Q. Can I make this recipe ahead of time?
A. Without a doubt! In fact, stout beer braised short ribs are one of those magical dishes that often taste even better on the second day, as the flavors have more time to meld and deepen. Making them ahead also offers a practical advantage: it makes defatting the braising liquid significantly easier once it’s been chilled.
To prepare ahead: After the short ribs have finished cooking, carefully remove them from the braising liquid with a slotted spoon. Strain the liquid to remove all solids and herbs. Return the short ribs to the strained liquid, ensuring they are mostly submerged. Allow the entire pot to cool to room temperature, then cover it tightly and refrigerate overnight, or for at least 6-8 hours.
The next day, you’ll find a solid layer of fat has formed on the surface of the chilled gravy. Use a spoon or spatula to easily scrape and remove this solidified fat. Gently reheat the short ribs, covered, in the strained and defatted liquid over low heat on the stovetop until they are heated through, which typically takes about 15-20 minutes. Once the ribs are warm, remove them again, and then proceed with reducing and thickening the gravy as instructed in step 4 of the recipe. This method ensures maximum flavor and minimal effort on serving day!
More Recipes for St. Patrick’s Day Celebrations
If you’re looking for more delicious dishes to celebrate St. Patrick’s Day or simply enjoy hearty Irish-inspired fare, explore these other fantastic recipes:
- Instant Pot Corned Beef and Cabbage
- Slow Cooker Corned Beef and Cabbage
- Irish-American Soda Bread
- Roasted Cabbage Wedges
- Guinness Beef Stew
CRAVING MORE? Subscribe to my newsletter and join me on Facebook, Pinterest, and Instagram for the latest recipes and news.
Stout Beer Braised Short Ribs
Amanda Biddle
Tender, fall-apart short ribs meet a rich stout-infused sauce. These Stout Beer Braised Short Ribs are a restaurant-quality showstopper that’s great for a cozy dinner at home or St. Patrick’s Day. Dutch oven and Instant Pot directions included.
50 minutes
3 hours
3 hours 50 minutes
6 to 7 servings (1 rib)
Pin Recipe
Ingredients
- 4 pounds English-cut, bone-in short ribs
- ¼ cup all-purpose flour
- 2-3 tablespoons vegetable oil
- 2 large carrots, cut into 1/2 inch dice (about 1 cup)
- 2 ribs celery, cut into 1/2 inch dice (about 1/2 cup)
- 1 medium onion, chopped or halved and sliced
- 2 tablespoons tomato paste
- 5 garlic cloves, peeled and sliced for Dutch oven method, or peeled and lightly crushed (whole) for Instant Pot
- 12 ounces stout beer *
- 2 cups low sodium beef broth, plus additional, if needed
- 1 tablespoon Worcestershire sauce
- 1 sprig fresh rosemary
- 5 sprigs fresh thyme
- 1 large dried bay leaf
- Kosher salt and freshly-ground black pepper, to taste
- 1 teaspoon Dijon mustard
- Chopped fresh parsley, for garnish
- Mashed potatoes, colcannon, polenta, or egg noodles, for serving
Instructions
Dutch Oven Method
- Preheat oven to 300 degrees F, with the rack in the lower third. Dry short ribs and season well with salt and pepper. Dredge in flour, shaking off excess.
- Heat oil in a 5-1/2 to 7 quart Dutch oven over medium-high heat until shimmering. Brown short ribs on all sides (in batches if needed), turning every 2-3 minutes. Transfer to a plate.
- Pour off all but 2 tablespoons oil from the pot. Add carrots and sauté 3 minutes. Add celery and onion with a few pinches of salt and pepper, sautéing until onions begin to brown. Stir in tomato paste and garlic; cook 1-2 minutes until fragrant.
- Add stout, scraping up brown bits from the pot bottom. Stir in Worcestershire sauce. Return browned short ribs (and any accumulated juices) to the pan.
- Tie rosemary and thyme together with kitchen twine (bouquet garni). Add herbs and bay leaf to the Dutch oven. Stir in beef broth until liquid reaches about 3/4 up the ribs.
- Bring to a simmer, cover the Dutch oven, and bake for 3 hours, until ribs are fork-tender. Turn ribs after 1.5 hours. Add extra broth if liquid evaporates excessively.
Instant Pot Method
- Prep and sear short ribs, sauté vegetables, and deglaze pan with stout as per Dutch oven method instructions (using a separate pan for searing is recommended for better results; see Instant Pot Tips section above).
- Add the contents of the deglazed pan (aromatics, stout, Worcestershire sauce) to the Instant Pot insert. Add seared short ribs, bay leaf, and tied fresh herbs. Pour in beef broth.
- Place lid on Instant Pot, set valve to “sealing,” and cook on HIGH pressure for 45 minutes. Let pressure release naturally for 15 minutes, then manually release remaining pressure.
For Both Cooking Methods
- Remove short ribs from pot with a slotted spoon; cover with foil. Strain braising liquid, pressing solids to extract liquid. Discard solids.
- Let braising liquid stand 5 minutes. Use a gravy separator or spoon to skim off excess fat.
- Whisk Dijon mustard into defatted liquid. Simmer until thick enough to coat the back of a spoon (about 2 to 2-1/2 cups gravy)**.
- Season gravy to taste with salt and pepper. Spoon over short ribs and serve with desired sides. Garnish with chopped parsley.
Notes
*Choose a creamy stout that isn’t too bitter, such as Murphy’s Irish Stout or Cadillac Mountain. If using Guinness, opt for “Draught” over “Extra Stout.” To balance any bitter notes, add 1 tablespoon packed dark brown sugar to the pot when you add the Worcestershire sauce.
**For a thicker gravy, create a slurry by dissolving 2 tablespoons of cornstarch in 2 tablespoons of cool beef broth/stock or water. Whisk the slurry into the simmering sauce, one teaspoonful at a time, bringing it to a boil after each addition until your desired thickness is achieved (you might not need all of it).
Cooking times listed in the card are for the Dutch oven method. The Instant Pot method requires approximately 50 minutes of prep (including searing meat, sautéing aromatics, and making gravy), and 85 minutes of active cooking time (including pressurization, pressure cooking, and pressure release), totaling around 2 hours and 15 minutes.
For make-ahead instructions, please refer to the FAQ’s section in the article above.
Nutrition Estimate
Serving: 0.166 recipe | Calories: 518kcal | Carbohydrates: 13g | Protein: 45g | Fat: 30g | Saturated Fat: 15g | Cholesterol: 130mg | Sodium: 549mg | Potassium: 1056mg | Fiber: 2g | Sugar: 3g | Vitamin A: 4190IU | Vitamin C: 7mg | Calcium: 53mg | Iron: 6mg
Nutrition information is automatically calculated, so should only be used as an approximation.
Please note that our recipes have been developed using the US Customary measurement system and have not been tested for high altitude/elevation cooking and baking.
Like this recipe? We’d love to hear from you!
Rate this recipe and leave a comment below to share your experience.
