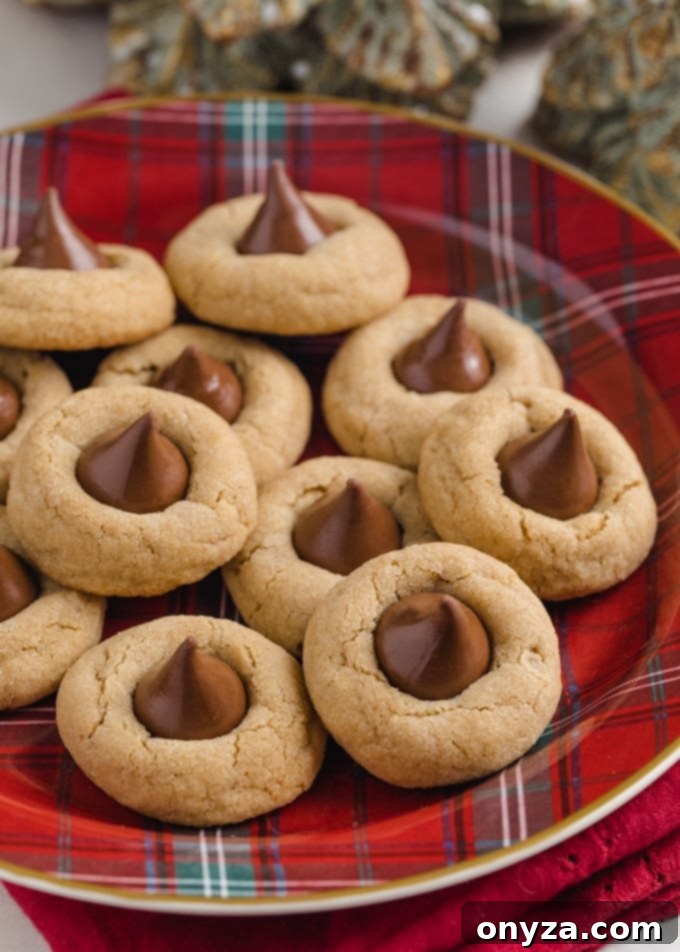
Peanut Butter Blossoms are a cherished classic, a staple of holiday cookie trays, and an undeniable favorite for cookie enthusiasts of every age! These sweet, delightfully chewy peanut butter cookies are first kissed with a crunchy coating of granulated sugar before baking, then elegantly crowned with a luscious milk chocolate “blossom” while still warm from the oven. The result is a perfect harmony of peanut butter and chocolate, an indulgence that captures the spirit of the season.
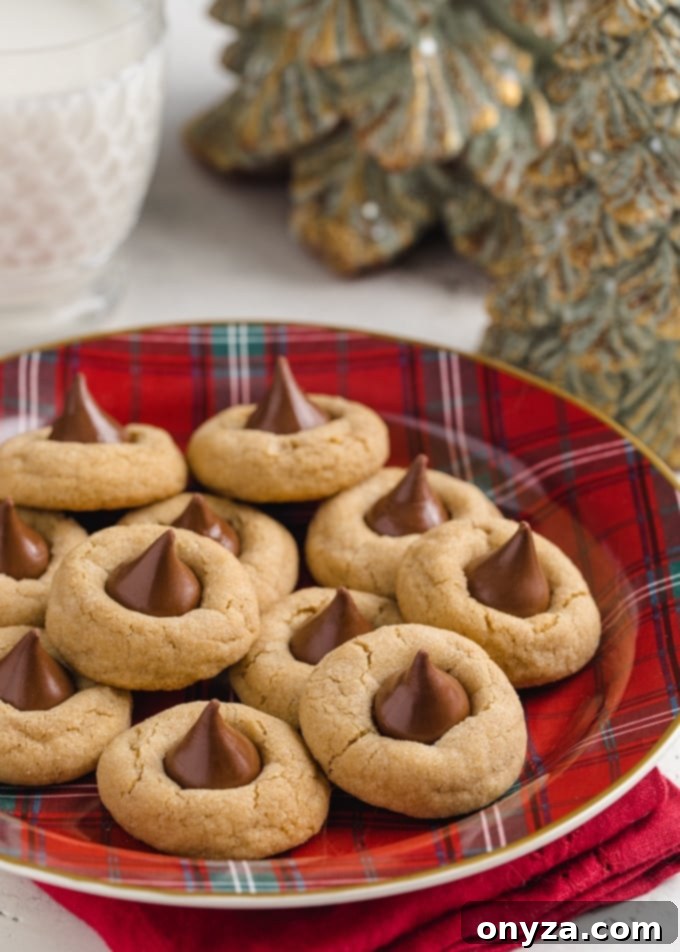
Peanut Butter Blossoms: A Timeless Childhood Favorite and Enduring Holiday Tradition
For countless individuals, the very mention of Peanut Butter Blossoms conjures up warm, nostalgic memories of childhood Christmases, joyful family gatherings, and the irresistible aroma of freshly baked cookies wafting through the home. These iconic treats have held a particularly special place on our holiday cookie trays for as long as I can remember. Their unique combination of sweet, soft, and utterly chocolatey goodness always made them the first cookies I reached for, a guaranteed delight in every bite.
Beyond their delectable taste, these cookies also offered a joyous, hands-on baking experience that fostered lasting memories. What child, or indeed any adult, wouldn’t cherish the important task of gently pressing a shiny Hershey’s Kiss into the warm, yielding center of each cookie? And, let’s be honest, who could resist the playful temptation to sneak a few extra chocolate kisses along the way, a little baker’s perk? The simple, shared act of making these cookies transcends mere baking; it transforms into a cherished memory, forging connections and traditions that are passed down and celebrated for a lifetime.
The Sweet History of the Iconic Peanut Blossom Cookie
The fascinating origin story of the beloved Peanut Blossom cookie dates back to 1957, a year that saw the culinary world abuzz with innovative recipes. This now-famous treat is credited to the creative genius of Mrs. Freda F. Smith from Gibsonburg, Ohio. Mrs. Smith meticulously developed her unique recipe specifically for the prestigious Grand National Pillsbury Bake-Off® contest. This competition, renowned for discovering and celebrating America’s next favorite baked good, provided the perfect national platform for her innovative peanut butter and chocolate cookie concept.
Despite its enduring popularity and classic status today, it’s a surprising and often amusing fact that Mrs. Smith’s Peanut Blossoms did not actually claim the grand prize in that momentous 1957 competition! While they certainly made a significant impression on the judges and earned a coveted spot among the top 100 finalists, the coveted Grand Prize was ultimately awarded to Gerda Roderer’s intriguing “Accordion Treats.” Nevertheless, the Peanut Blossom quickly transcended the competition’s results, carving out its own indelible legacy as an indispensable part of the American baking repertoire, particularly becoming synonymous with the festive holiday season.
Fun Fact: Did you know you can explore the rich culinary history of the Pillsbury Bake-Off®? Access the full collection of recipes for all Grand Prize winners, tracing back to the competition’s inception in 1949, directly on the Pillsbury Website! It’s a delightful journey through America’s baking heritage and a treasure trove of classic recipes.
Over the years, our family, much like many others who have embraced this timeless cookie, has developed a few beloved variations to Mrs. Smith’s original recipe. These small, thoughtful adjustments have become treasured traditions, passed down through generations and contributing to what makes these cookies uniquely ‘ours.’ Now, let’s delve into our tried-and-true method for crafting these irresistible Peanut Butter Blossoms, incorporating our family’s favorite tweaks for an even more pronounced flavor and perfect texture.
Essential Ingredients for Your Perfect Batch of Peanut Butter Blossoms
Crafting these delightful cookies begins with a straightforward collection of common baking staples, ensuring that you likely have most of what you need already residing in your pantry. The foundation of our Peanut Butter Blossom cookie base is comprised of: all-purpose flour (the structural backbone of the cookie), granulated sugar and brown sugar (providing both sweetness and that desirable chewiness), baking soda (our reliable leavening agent for a soft rise), a pinch of salt (crucial for balancing the sweetness and enhancing flavors), a large egg (for binding, richness, and structure), pure vanilla extract (imparting aromatic warmth and depth), and a touch of milk (to achieve the perfect dough consistency and tenderness).
Mrs. Smith’s original award-winning recipe notably called for ½ cup of solid shortening as the primary fat, alongside ½ cup of creamy peanut butter. While shortening certainly yields a tender crumb and helps cookies hold their shape, our family has always preferred the rich, complex, and undeniable flavor that real butter imparts to all baked goods. Therefore, we made a simple yet impactful 1:1 substitution, opting for unsalted butter in place of shortening in our recipe.
Since butter naturally contains a small percentage of water, whereas shortening is entirely fat, this substitution required a slight, thoughtful adjustment to maintain the ideal dough texture and prevent dryness. To compensate for this difference and, more importantly, to truly amplify that beloved peanut flavor, we subtly increased the peanut butter quantity to ¾ cup. This seemingly minor change not only ensures the cookies retain their perfectly soft, chewy texture but also delivers a more prominent, satisfying, and utterly delicious peanut essence that our family absolutely adores, making each bite even more memorable.
Choosing the Right Peanut Butter for Your Blossoms
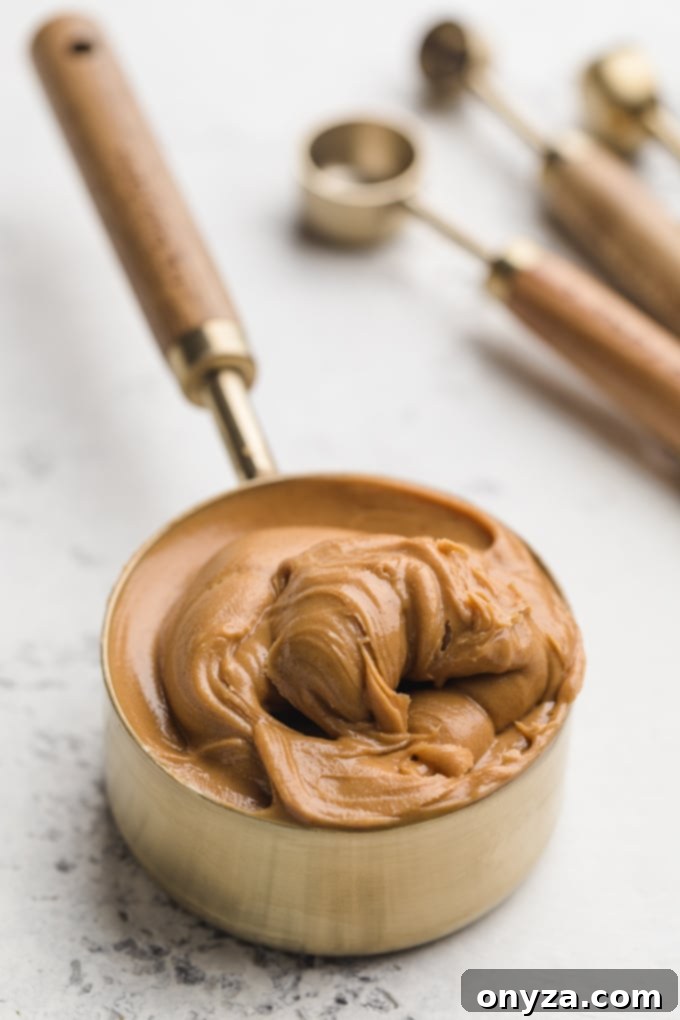
The type of peanut butter you select is a crucial decision that can significantly impact both the final texture and the overall flavor profile of your Peanut Butter Blossoms. Through countless batches and extensive testing over the years, I’ve consistently found that **commercial, no-stir peanut butter** produces the most reliable and desirable texture for these cookies. Brands like Jif or Skippy, known for their smooth consistency, stabilized oils, and ease of use, are ideal choices.
It is generally best to steer clear of “natural” peanut butters that famously separate at room temperature and require vigorous stirring. While these varieties are delicious on toast or in smoothies, the inherent oil separation in natural peanut butter can lead to an unpredictable dough consistency, potentially resulting in cookies that are either too dry and crumbly or too oily and prone to excessive spreading during baking. For consistent, picture-perfect results, always stick with the classic, no-stir commercial varieties.
Our family’s preference strongly leans towards **smooth peanut butter**, as it consistently contributes to a wonderfully soft cookie with an irresistibly delectable chewy bite. The uniform, creamy texture of smooth peanut butter creates a consistently tender crumb throughout the entire cookie, ensuring every mouthful is a delight. However, if you are a fan of a little extra textural intrigue and enjoy tiny, crunchy bits of peanut in your cookies, you can absolutely use a “crunchy” variety instead of “creamy.” This will introduce a delightful textural contrast that many find appealing, adding another dimension to your Peanut Butter Blossoms.
The Iconic Chocolate Blossom: Creative Variations and Customization
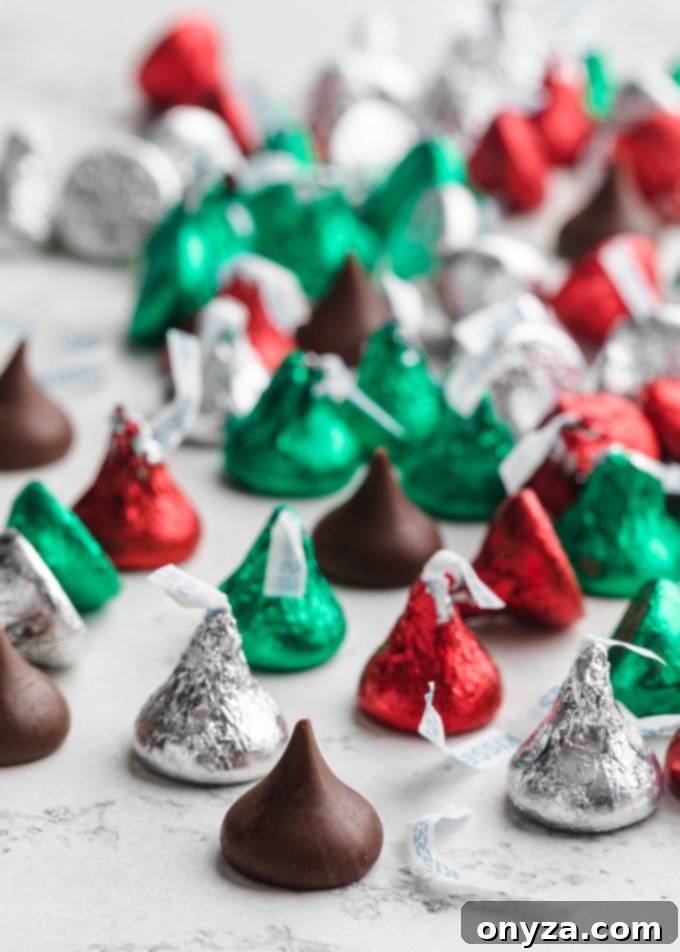
The defining feature and indeed the very namesake of these cookies is, of course, the “Blossom” – traditionally represented by a classic milk chocolate Hershey’s Kiss. This small, sweet peak of chocolate is not merely placed, but gently pressed into the center of each hot cookie immediately after it emerges from the oven. The residual heat from the freshly baked cookie causes the chocolate to soften and slightly melt, ensuring it adheres perfectly as the cookie cools and the chocolate re-solidifies, creating that signature, charming “blossomed” effect.
While the Hershey’s Kiss remains the quintessential choice, don’t hesitate to unleash your culinary creativity! You can effortlessly vary both the visual appeal and the flavor profile of your Peanut Butter Blossoms by experimenting with different types of chocolate candy. This opens up a delightful world of possibilities for customizing your cookies for various occasions, catering to different taste preferences, or simply adding a unique twist to a beloved classic. Some of our favorite delightful variations, guaranteed to impress, include:
- Reese’s miniature peanut butter cups: For an unparalleled double dose of nutty goodness, these miniature cups offer an extra layer of peanut butter flavor and a rich, creamy texture. They are an absolute dream for true peanut butter fanatics!
- Brach’s milk chocolate stars: These charming, festive chocolate stars offer a delightful alternative, especially perfect around the holiday season. Their distinct star shape adds a whimsical and celebratory touch to your cookie platter.
- Dove Promises milk chocolate candy hearts: A wonderfully thoughtful choice for Valentine’s Day, anniversaries, or any romantic occasion. The smooth, rich, and velvety texture of Dove chocolate adds a touch of elegance, and their heart shape makes them extra special and endearing.
- White chocolate or dark chocolate Kisses: Broaden your flavor horizons by experimenting with different chocolate intensities. White chocolate offers a creamier, milder contrast to the robust peanut butter, while dark chocolate provides a more intense, sophisticated cocoa kick that balances the sweetness beautifully.
- Caramel-filled chocolates: For an truly indulgent and decadent twist, consider using small caramel-filled chocolates. The gooey, luscious caramel melting into the warm, soft cookie is an absolute dream combination that will surprise and delight your taste buds.
If you prefer to venture beyond the candy route entirely, this incredibly versatile recipe can also be effortlessly adapted into a delicious thumbprint cookie. Simply create a small, shallow indentation in the center of each cookie dough ball before baking. Once the cookies are baked and cooled, fill these wells with a rich, velvety chocolate ganache, luscious melted chocolate chips, a dollop of your favorite fruit jam for a tangy contrast, or even a swirl of cream cheese frosting. The possibilities for customization are truly endless, allowing you to tailor these cookies to any preference or occasion!
Expert Tips for Baking Perfect Peanut Butter Blossoms Every Time
Achieving that perfectly soft, delightfully chewy, and beautifully ‘blossomed’ cookie is a truly rewarding experience, and it’s surprisingly easy with a few key techniques. Here are my essential, time-tested tips to ensure your Peanut Butter Blossoms turn out flawlessly every single time, from mixing to the final touch:
- Mixing Your Dough: The Foundation of Perfect Texture.
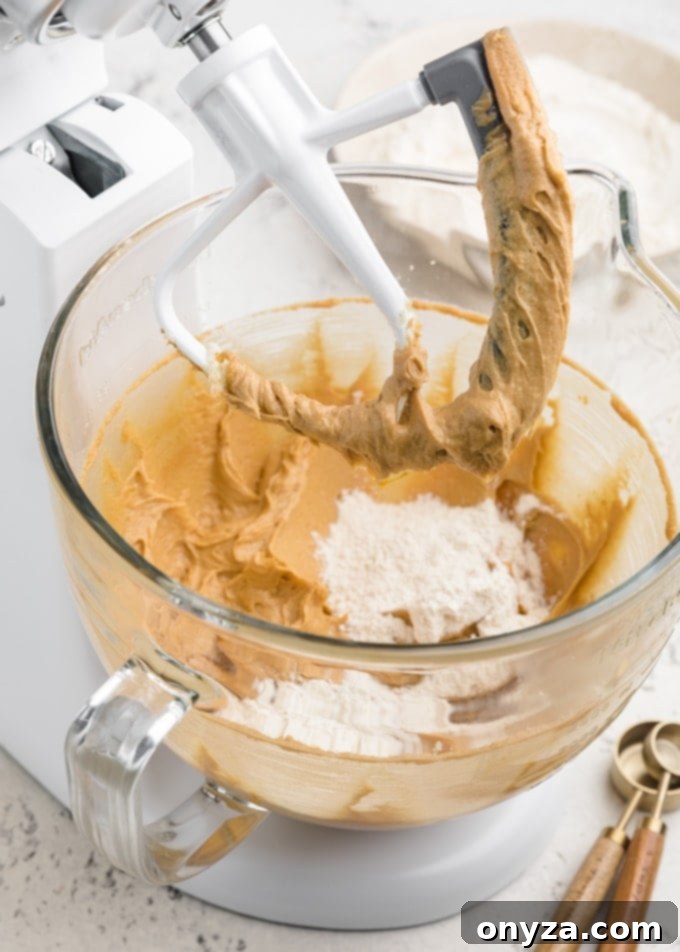
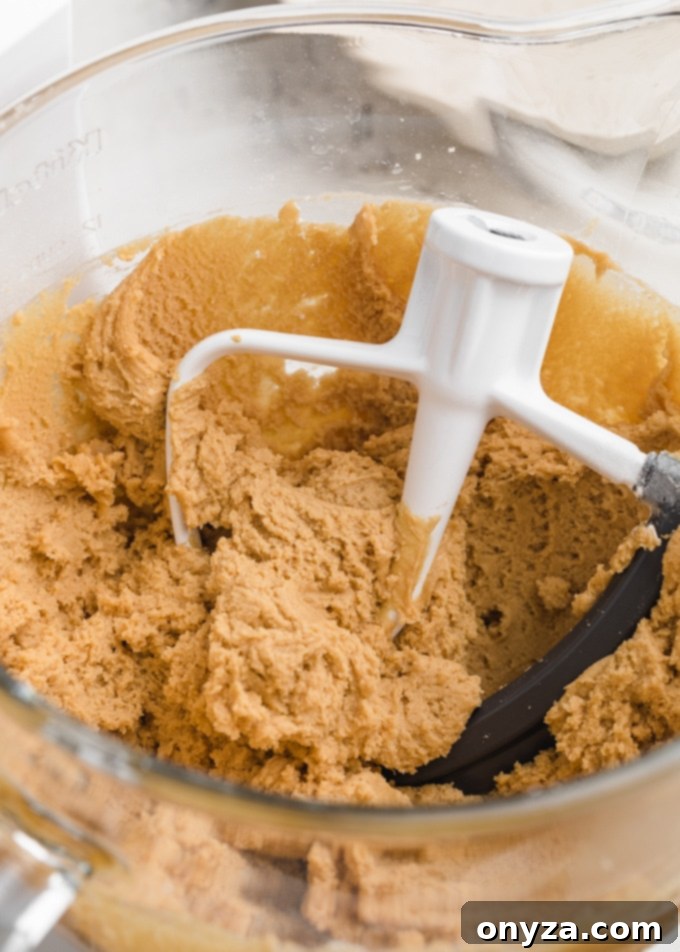
For optimal mixing and consistent dough, I highly recommend using a stand mixer equipped with a paddle attachment. This ensures all ingredients are thoroughly incorporated, creating a uniform dough that bakes evenly. If your paddle attachment lacks a built-in scraper, make it a diligent habit to periodically stop the mixer and scrape down the sides and bottom of the bowl with a rubber spatula. This critical step guarantees that no pockets of unmixed butter or peanut butter remain, which is vital for a consistently textured cookie. Alternatively, a large bowl and a powerful electric hand mixer will also yield excellent results; just remember the importance of frequent bowl scraping. - Chilling the Dough: Preventing Excessive Spread.
Unlike cookies made with shortening, butter-based cookies tend to spread a bit more during baking due primarily to butter’s lower melting point and its inherent water content. To counteract this tendency and ensure your cookies hold their beautiful, desired shape, chilling the dough is a crucial, non-negotiable step. Refrigerate the cookie dough for approximately one hour before you even begin the process of scooping and rolling. This chilling period allows the butter to firm up significantly, thereby preventing the cookies from spreading too thinly and losing their iconic form in the oven. When scooping, aim for uniform 1¼-inch balls of dough; a small cookie scoop is an invaluable tool for achieving this consistency. - Baking Prep: Timing is Everything for the Blossom.
For the absolute best results, especially when it comes to the delicate process of adding the warm chocolate kiss, bake your cookies one sheet at a time. This method ensures even baking and allows you to attend to each batch individually with precision. Crucially, have all your chocolate Kisses (or your chosen alternative candy) completely unwrapped and readily accessible *before* the first batch of cookies even enters the oven. The optimal window for pressing the chocolate into the warm cookies is surprisingly short – typically just a few precious minutes after they come out of the oven. You certainly don’t want to be fumbling with wrappers while your freshly baked cookies cool and harden. Being fully prepared ensures you can efficiently press each chocolate into its warm, receptive center, securing that iconic blossom without delay. - Don’t Over-Bake: The Secret to Irresistible Chewiness.
This might just be the most important tip for achieving the classic, delightfully chewy texture that Peanut Butter Blossoms are famous for. Resist the powerful urge to over-bake! Cookies should be removed from the oven when they are just lightly golden-brown around the edges and have started to show small, delicate cracks on their surface, even if their centers still appear slightly soft. They will continue to set and firm up significantly on the baking sheet during the first few minutes of cooling due to residual heat. Baking them for too long will inevitably result in dry, crumbly cookies and can cause them to split excessively when you press in the chocolate kiss, completely compromising their perfect appearance and beloved texture. - Uniform Cookie Size: Essential for Even Baking.
Using a dedicated cookie scoop is an excellent way to ensure that all your cookie dough balls are roughly the same size. This consistency is absolutely vital for even baking, preventing some cookies from being frustratingly underbaked while others become unfortunately overbaked on the same tray. For standard blossom cookies, aim for dough balls that are approximately 1-inch to 1.25-inches in diameter. This minor attention to detail makes a significant difference in the final product. - The Roll in Sugar: A Delightful Crunchy Exterior.
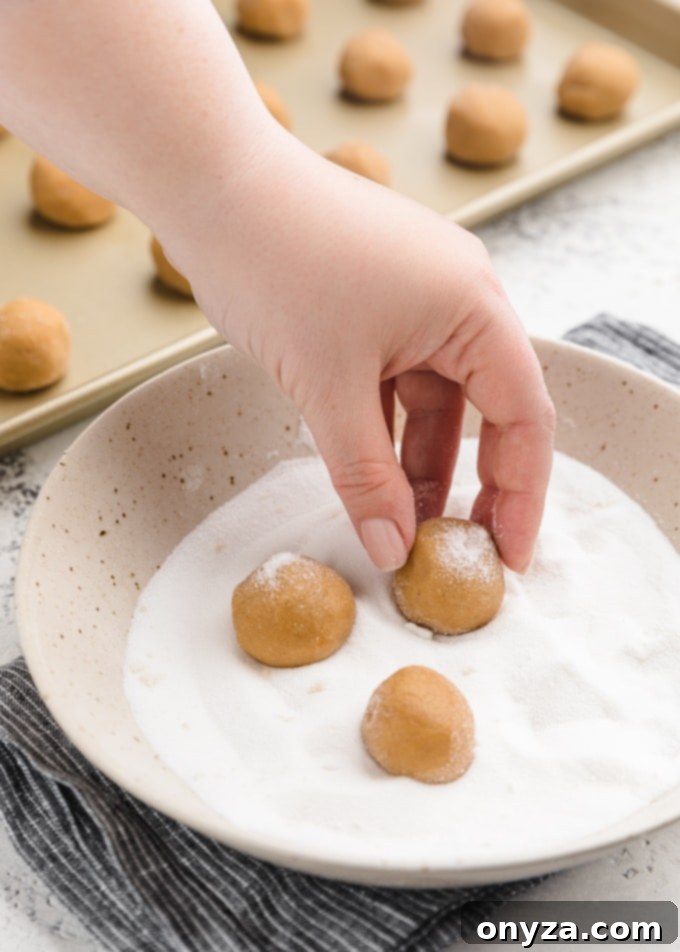
Never skip the step of rolling the cookie dough balls thoroughly in granulated sugar before baking. This step isn’t solely for aesthetics; the sugar coating creates a delightful, slightly crunchy exterior that contrasts beautifully with the soft, chewy interior of the cookie, adding another layer of textural pleasure. Furthermore, it helps to prevent the cookies from sticking excessively to the baking sheet and enhances their attractive golden-brown color as they bake. - Cooling Rack Transition: Patience is a Virtue.
While the temptation to move these warm, chocolate-topped beauties immediately is strong, it’s crucial to allow them to cool on the baking sheet for about 5 minutes after gently pressing in the chocolate kisses. This brief period on the warm sheet allows the cookies to set slightly and the chocolate to begin firming up, making them much less fragile and prone to breaking. After these crucial 5 minutes, carefully transfer them to a wire cooling rack to cool completely. Proper air circulation on a rack prevents the bottoms from becoming soggy and ensures the chocolate fully re-solidifies, preparing them for storage or immediate enjoyment.

Storing Your Peanut Butter Blossoms for Lasting Freshness
Proper storage is an absolutely key factor in ensuring you can enjoy your delicious Peanut Butter Blossoms for days, or even weeks, to come. The most crucial step, requiring a bit of self-control, is to exercise patience: **you must let the cookies cool entirely and allow the chocolate kiss to fully re-solidify before attempting to store them.** We completely understand the irresistible urge to devour them while they’re still wonderfully warm and the chocolate is perfectly melty, but storing them in this state would undoubtedly result in a sticky, absolute mess, with chocolate smears and fused-together cookies. Your efforts in baking these beauties deserve better!
Once your cookies have cooled completely and the chocolate is firm to the touch (this typically takes at least an hour at room temperature, sometimes longer depending on your kitchen’s temperature), I highly recommend storing them in an airtight cookie tin or a durable, airtight container. To prevent them from sticking together and to preserve their pristine appearance, it’s a good practice to separate layers of cookies with sheets of wax paper or parchment paper. Stored diligently in this manner, your Peanut Butter Blossoms will remain incredibly fresh, delightfully soft, and deliciously chewy for up to 5 days at room temperature, making them perfect for sharing throughout the holiday season, gifting, or simply enjoying as a delightful everyday treat.
Tip: Peanut Butter Blossoms make an exceptional and incredibly thoughtful holiday gift, perfect even for loved ones across the miles! For expert advice and comprehensive guidance on ensuring your homemade cookies arrive in perfect, intact condition, don’t miss our detailed guide on How to Ship Cookies.
Can You Freeze Peanut Butter Blossoms? Absolutely!
Yes, Peanut Butter Blossoms are excellent candidates for freezing, making them an ideal choice for convenient holiday meal prep, advanced baking for parties, or simply for having a delightful stash of delicious cookies on hand for whenever a craving strikes. To freeze them effectively, first ensure that they are completely cooled to room temperature and that the chocolate on top is fully firm and set. This prevents any smudging or sticking.
Once cooled, arrange the cookies in a single layer on a baking sheet and flash freeze them for about 30 minutes to an hour, or until they are firm. This crucial step prevents the cookies from sticking together when they are eventually packed. After they are flash-frozen, transfer the cookies to an airtight freezer-safe container. For best results and added protection against freezer burn, consider layering them with sheets of parchment paper. Properly stored in this manner, these cookies will maintain their quality, flavor, and delightful texture for 2-3 months. When you’re ready to enjoy them, simply defrost them at room temperature for a few hours, and they’ll be as wonderfully delicious as if they were freshly baked!
CRAVING MORE? Stay updated with the latest delicious recipes, culinary insights, and exciting news from our kitchen! Join our vibrant community and connect with us on Facebook, Pinterest, and Instagram for a continuous flow of inspiration.
Classic Peanut Butter Blossoms Recipe

Peanut Butter Blossoms
by Amanda Biddle
These sweet, chewy peanut butter cookies, topped with a milk chocolate kiss, are a classic addition to holiday cookie trays. A favorite of cookie lovers of all ages!
Prep Time: 1 hour 20 minutes
Cook Time: 10 minutes
Total Time: 1 hour 30 minutes
Yield: 40 to 42 cookies
Ingredients
- 1-3/4 cups all-purpose flour
- 1 teaspoon baking soda
- ½ teaspoon table salt
- ½ cup unsalted butter, room temperature (1 stick)
- ½ cup granulated sugar, plus an extra ¼ cup for rolling
- ½ cup light brown sugar, lightly-packed
- ¾ cup smooth peanut butter (not “natural” peanut butter)
- 2 tablespoons milk
- 1 teaspoon vanilla extract
- 1 large egg
- 40 to 42 milk chocolate kisses, unwrapped
Instructions
- In a medium bowl, whisk together the all-purpose flour, baking soda, and salt until well combined. Set this dry mixture aside.
- In the bowl of a stand mixer fitted with the paddle attachment (or using a large bowl and an electric hand mixer), beat the softened unsalted butter until it’s smooth and creamy.
- Add ½ cup of granulated sugar and the lightly-packed light brown sugar to the butter. Cream these together on medium speed until the mixture becomes light and fluffy, usually 2-3 minutes.
- Beat in the smooth peanut butter until it is fully incorporated into the butter-sugar mixture. Remember to stop and scrape down the sides and bottom of the mixing bowl occasionally to ensure everything is evenly combined.
- Add the milk and vanilla extract, beating until just combined. Then, beat in the large egg until it is fully incorporated into the dough.
- Gradually add the reserved flour mixture to the wet ingredients, mixing on low speed until a stiff, cohesive dough forms. Be careful not to overmix.
- Cover the mixing bowl with plastic wrap and refrigerate the dough for 30-60 minutes. This chilling period helps prevent the cookies from spreading too much during baking.
- Preheat your oven to 375°F (190°C). Place the extra ¼ cup of granulated sugar in a shallow bowl for rolling the cookie dough.
- Using a small cookie scoop or your hands, portion the chilled dough into 1¼-inch balls (you should get about 40-42 portions). Roll each dough ball thoroughly in the granulated sugar until evenly coated.
- Place the sugared cookie dough balls onto ungreased baking sheets, ensuring they are spaced about 2 inches apart to allow for proper spreading.
- Bake the cookies for 8-10 minutes, or until the edges are lightly browned, the cookies are set, and small cracks have just begun to appear on the surface. It’s crucial not to overbake, as this will lead to dry cookies. The centers may still look slightly soft; they will firm up as they cool.
- As soon as you remove the cookies from the oven, immediately and gently press a milk chocolate Hershey’s Kiss into the center of each warm cookie. The cookies will naturally crack around the kiss, which is a desirable and classic part of their appearance.
- Allow the cookies to cool on the baking sheet for approximately 5 minutes after adding the kisses. Then, carefully transfer them to a wire rack to cool completely, which will take at least an hour. Ensure the chocolate is fully firm before storing.
- Store your cooled Peanut Butter Blossoms at room temperature in an airtight container, separated by layers of wax paper or parchment, for 3-5 days. Alternatively, you can freeze them for 2-3 months for longer storage.
Notes
*This recipe is inspired by Mrs. Freda F. Smith’s original creation, a celebrated finalist in the 1957 Pillsbury Bake Off® contest. Our family’s version incorporates unsalted butter instead of shortening and features a slightly increased quantity of peanut butter for an enhanced flavor profile.
Nutrition Estimate (per cookie)
Calories: 103kcal |
Carbohydrates: 13g |
Protein: 2g |
Fat: 5g |
Saturated Fat: 3g |
Cholesterol: 13mg |
Sodium: 90mg |
Potassium: 39mg |
Fiber: 1g |
Sugar: 11g |
Vitamin A: 79IU |
Calcium: 15mg |
Iron: 1mg
Nutrition information is automatically calculated and should be used as an approximation. Individual results may vary.
About Our Recipes
Please note that our recipes have been developed using the US Customary measurement system and have not been specifically tested for high altitude/elevation cooking and baking. Adjustments to ingredients or baking times may be necessary depending on your geographical location and specific environmental conditions.
