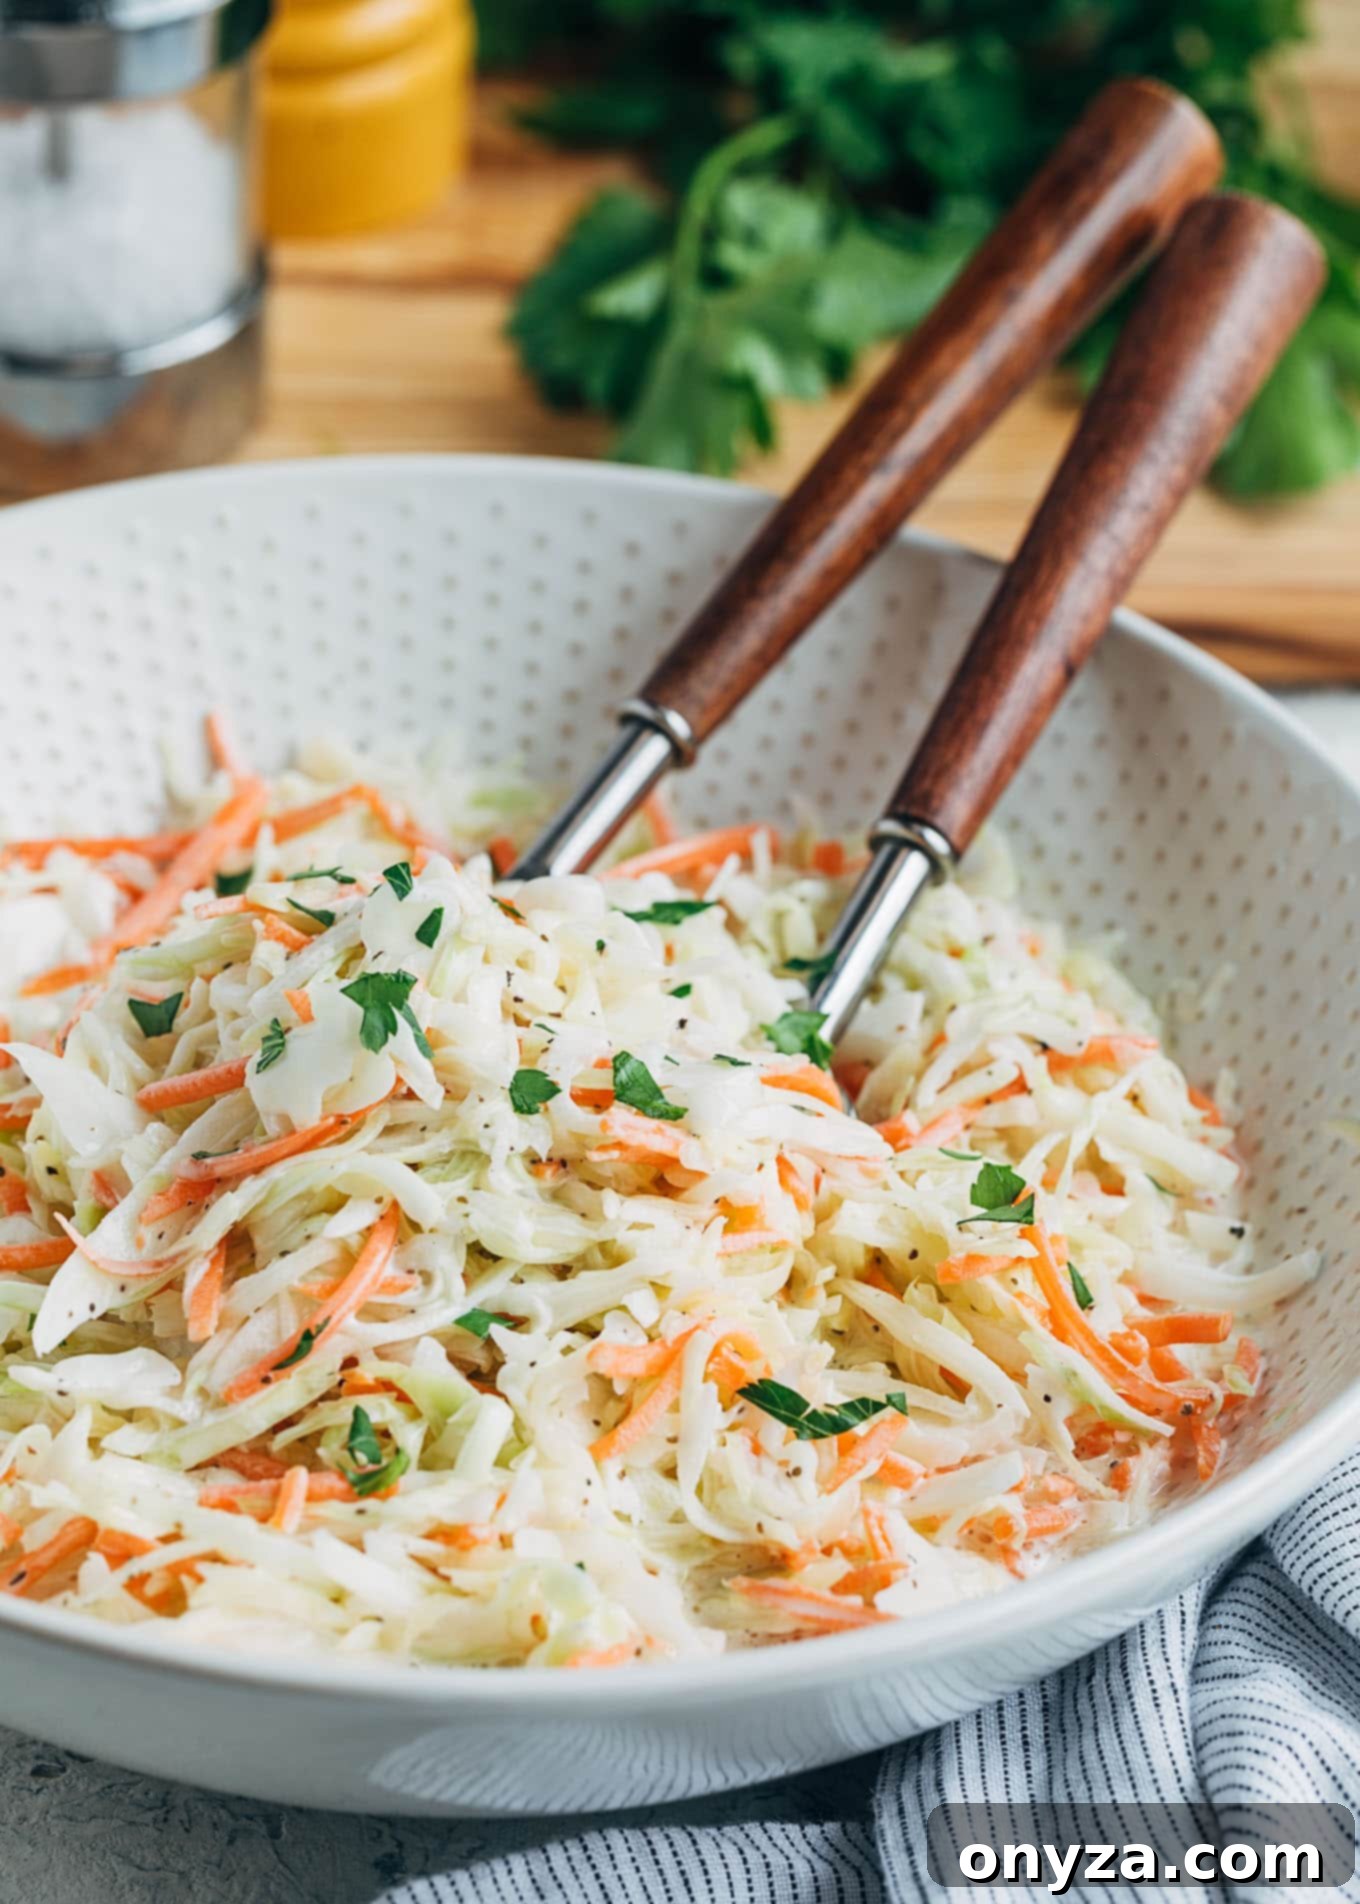
Discover the secret to crafting the ultimate deli-style homemade coleslaw—a dish that perfectly balances creaminess with a delightful sweet-tangy flavor profile. Forget limp, watery, or overly sweet versions; this recipe delivers a consistently crisp, vibrant side dish that will elevate any meal. Whether you’re serving it alongside juicy burgers, as a refreshing counterpoint to rich pulled pork sandwiches, or as a vibrant addition to your picnic spread, this coleslaw is designed to impress with its fresh taste and satisfying crunch. Its versatility makes it an indispensable staple for casual weeknight dinners and festive gatherings alike.
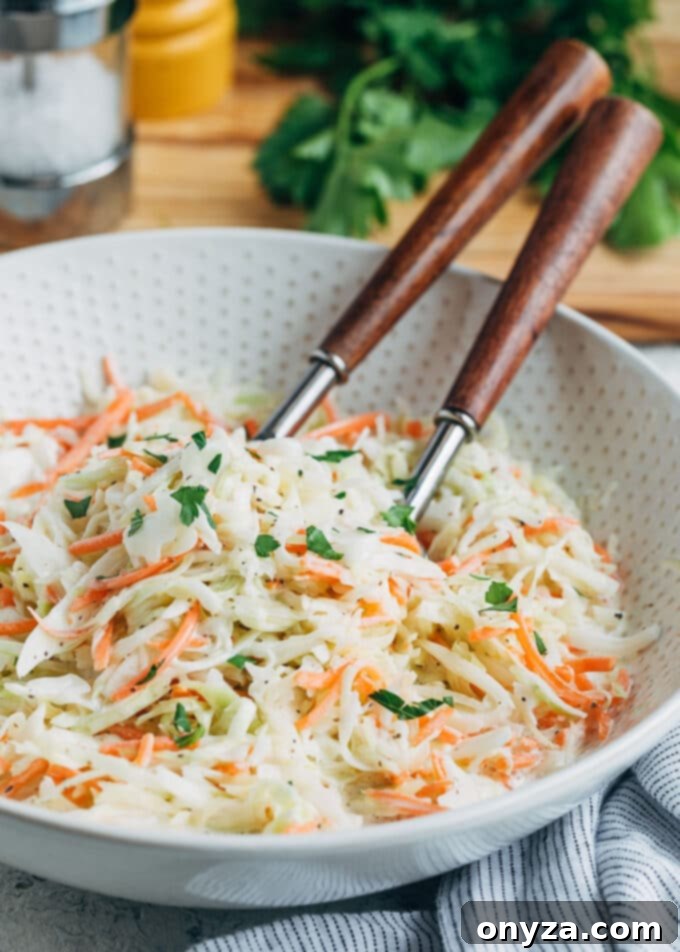
Mastering Homemade Deli-Style Coleslaw: Your Guide to Crisp, Creamy Perfection
For many food enthusiasts, the quality of coleslaw serves as a surprising benchmark for judging a diner or deli. It might seem a tad particular, but experience has shown that if the coleslaw misses the mark, often the entire dining experience falls short. Nobody wants a coleslaw that’s too watery, lacking in crispness, or overwhelmed by sweetness or tartness. The ideal coleslaw should be a harmonious blend of textures and tastes, a true culinary delight that complements any dish it accompanies.
This pursuit of perfection isn’t just for restaurant critics; it’s a passion shared by anyone who appreciates a truly great side dish. A properly executed creamy coleslaw is a versatile hero in the kitchen, making appearances alongside hearty burgers, succulent lobster rolls, on top of a classic corned beef sandwich, or as a bright, crunchy contrast to a saucy pulled pork sammie. The good news is that achieving this deli-quality coleslaw at home is entirely within reach, requiring just a few key techniques and a commitment to fresh ingredients.

Crafting the Perfect Homemade Coleslaw Dressing
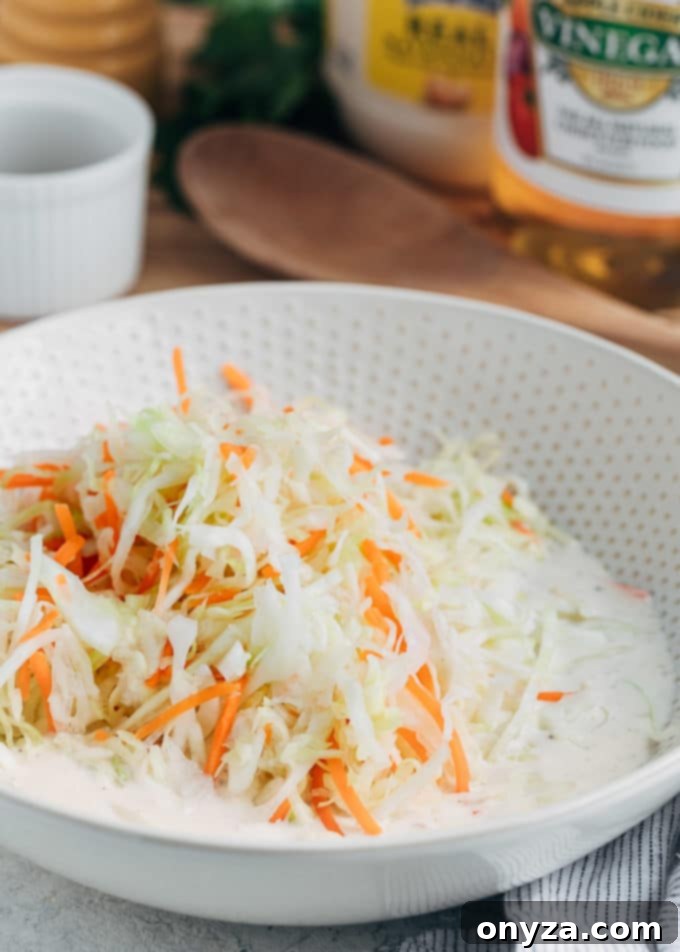
The heart of any exceptional coleslaw lies in its dressing. This creamy concoction, often dismissed as a simple afterthought, is where the magic truly happens, transforming humble cabbage and carrots into a vibrant, flavorful dish. The beauty of homemade coleslaw dressing is its simplicity and speed; you can whisk it together in five minutes or less, often faster and with fresher results than opening a store-bought jar.
The Essential Ingredients for a Signature Flavor
Our deli-style dressing relies on a straightforward yet powerful combination of ingredients: creamy mayonnaise, granulated sugar, apple cider vinegar, a hint of celery seed, and a balanced seasoning of salt and pepper. Each component plays a crucial role:
- Mayonnaise: Provides the rich, creamy base that coats the vegetables beautifully, offering a smooth texture and subtle tang.
- Granulated Sugar: Introduces a touch of sweetness that balances the acidity of the vinegar and the natural bite of the cabbage, creating a more appealing flavor profile.
- Apple Cider Vinegar: Contributes the essential tangy element, brightening the dressing and adding a refreshing zest that prevents the coleslaw from tasting heavy.
- Celery Seed: This unassuming spice is the secret weapon for achieving that authentic deli-style flavor. Its concentrated celery essence adds a unique, savory depth that is truly indispensable. A little goes a long way, so use it judiciously.
- Salt and Pepper: These fundamental seasonings enhance all the other flavors, bringing everything into perfect harmony.
Achieving the Ideal Sweet and Tangy Balance
For a true deli-style coleslaw, the dressing should strike a delightful balance between sweet and tangy. Many find that equal parts, such as 3 tablespoons each of apple cider vinegar and granulated sugar, create the perfect equilibrium. However, taste preferences are personal, and this recipe is highly adaptable. Feel free to experiment by incrementally increasing or decreasing the sugar or vinegar until you discover the exact combination that delights your palate and suits your family’s preferences. Some might prefer a slightly sweeter profile, while others crave a sharper tang.
Tips for Preparing Your Dressing
One of the many advantages of making your dressing from scratch is the ability to prepare it in advance. If you’re planning a picnic, a BBQ, or simply want to save time, whisk the dressing together a day or two ahead and store it in an airtight container in the refrigerator. This allows the flavors to meld even further, potentially enhancing its complexity. Once the dressing is tossed with the shredded cabbage and carrots, a crucial step for optimal flavor development is to let the coleslaw chill in the refrigerator for at least an hour. This resting period allows the vegetables to absorb the dressing’s flavors, resulting in a more cohesive and delicious final product.
The Art of Shredding Cabbage for Superior Coleslaw
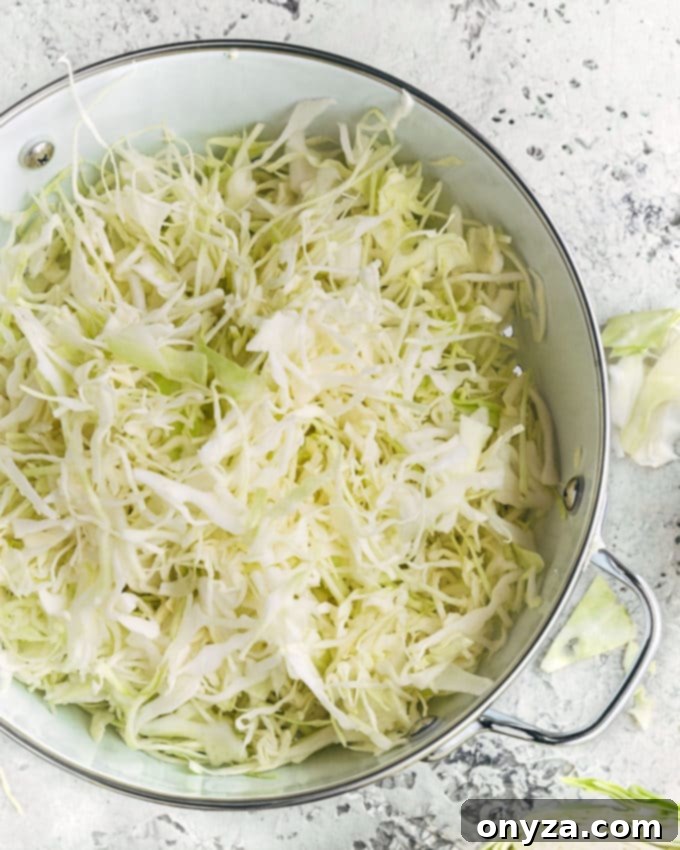
While pre-shredded coleslaw mixes offer convenience, for the freshest and crunchiest results, shredding your own cabbage is highly recommended. Not only does it provide a superior texture, but it also ensures maximum freshness. If you opt for a pre-shredded mix, try to use it within a day of purchase to maintain optimal crispness.
Choosing Your Shredding Method
There are several effective ways to shred cabbage, each with its own advantages:
- Food Processor with a Slicing Disk: This is often the preferred method for speed and consistency. While your instinct might be to reach for the shredding disk, the slicing disk typically yields long, elegant shreds rather than chipped pieces. Set your slicing disk to between 1/16- and 1/8-inch thickness. After coring your cabbage, cut it into manageable wedges and feed them through the processor one at a time for uniform results.
- Mandoline: A mandoline offers excellent precision for thin, even slices. Set it to the same 1/16- to 1/8-inch thickness. When using a mandoline, always work from the flat, cut sides of the cabbage wedges to create long strands. Safety is paramount; always use a safety guard or a cut-resistant glove to protect your hands from the extremely sharp blade.
- Sharp Knife (Hand Shredding): For those without specialized equipment, a sharp chef’s knife works perfectly well. Place a cabbage wedge cut-side down on your cutting board and carefully shave it lengthwise from top to bottom. Aim for thin, long shreds to achieve the desired texture.
Typically, about half a head of a medium-sized cabbage will yield approximately one pound, or roughly 6 cups, of shredded cabbage—the perfect amount for a standard batch of coleslaw. Don’t forget to include about 1 cup of shredded carrots, which add not only vibrant color but also a touch of sweetness and another layer of crunch to your coleslaw.
Selecting the Best Cabbage Varieties
For classic creamy coleslaw, plain green cabbage is an excellent choice due to its crisp texture and mild flavor. Savoy cabbage, with its crinkly leaves, also works wonderfully and can even be used in combination with green cabbage for added visual appeal and subtle textural variation. While red cabbage is beautiful, it’s generally best avoided in creamy coleslaws, as its color can bleed into the dressing over time, creating an undesirable pinkish hue. Red cabbage is fantastic in vinaigrette-based slaws where its vibrant color can shine without affecting the dressing. For more insights into the diverse world of cabbage, you might find this article from Bon Appetit helpful: 4 Types of Cabbage You Need to Know About (Because Cabbage Rules).
The Essential Trick for Non-Watery Homemade Coleslaw
One of the most common pitfalls in homemade coleslaw is ending up with a watery mess. Cabbage, being naturally high in water content, readily releases liquid, which can dilute your perfectly crafted dressing and leave your coleslaw soggy. Fortunately, there’s a simple, effective secret to combat this:
The Salting and Draining Method
To ensure your coleslaw remains delightfully crisp and creamy, not watery, follow this crucial step: toss your shredded cabbage and carrots with a generous tablespoon of kosher salt. Place the salted vegetables in a mesh colander set over a large bowl and allow them to sit for at least an hour. You will be astonished by the amount of liquid that collects in the bowl below—this is excess moisture that would have otherwise diluted your coleslaw. This process works through osmosis, drawing out water from the cabbage cells.
A common concern is that salting might make the cabbage limp, but rest assured, it does not. The cabbage will emerge from this process beautifully crunchy and perfectly primed to mingle with the rich, creamy dressing. After the hour, discard the collected water. Then, it’s vital to thoroughly rinse the cabbage and carrots to remove any residual salt, preventing your coleslaw from becoming overly salty. Following the rinse, drying the vegetables completely is key. A salad spinner is an invaluable tool for this, efficiently removing excess moisture. Alternatively, you can spread the rinsed cabbage and carrots between two layers of paper towels on a baking sheet or clean kitchen towel, gently pressing to absorb the water.
Even with this diligent salting and drying, the cabbage and carrots will still release a small amount of liquid into the dressing as the coleslaw sits. This is natural and unavoidable. However, by undertaking the salting process, you significantly minimize the overall moisture content, ensuring a far superior texture. Just give the coleslaw a good stir before serving to redistribute the dressing, and you’ll find it maintains a manageable, appealing consistency.
Storage and Freshness
While the texture of homemade coleslaw is undeniably at its peak on day one, it can be stored, covered, in the refrigerator for up to three days. Beyond this period, the vegetables may start to lose their crispness, and the dressing might thin out further. For the best experience, plan to enjoy your coleslaw within the first 24-48 hours.

Serving Suggestions and Creative Variations
Homemade deli-style coleslaw is incredibly versatile and makes a fantastic accompaniment to a wide array of dishes. Its creamy texture and refreshing flavor provide a wonderful contrast to rich, savory meals. Beyond the classic pairings with burgers and pulled pork sandwiches, consider serving it:
- As a vibrant side dish for grilled chicken or fish.
- Topped on fish tacos or BBQ brisket sandwiches for an added crunch and tang.
- Alongside fried chicken or ribs for a classic picnic spread.
- As part of a summer potluck or backyard barbecue, it’s always a crowd-pleaser.
- As a fresh counterpoint to spicier dishes.
Feel free to get creative with variations. You could add finely diced bell peppers (red or green) for extra color and crunch, or a handful of thinly sliced green onions for a mild oniony kick. A touch of fresh dill or parsley can also brighten the flavors. For those who enjoy a subtle heat, a pinch of cayenne pepper or a dash of hot sauce in the dressing can add an exciting twist. This recipe provides a solid foundation, inviting you to customize it to your personal taste and culinary adventures.
Embracing these techniques and tips will transform your homemade coleslaw from an ordinary side dish into a star. The effort is minimal, but the reward—a crisp, creamy, perfectly balanced coleslaw—is immense, proving that some of the best flavors truly come from your own kitchen.

Homemade Coleslaw (Deli-Style)
by Amanda Biddle
Crisp, creamy, sweet-tangy homemade coleslaw is easy to make at home, just like from your favorite delicatessen!
- Prep Time: 2 hours 20 minutes
- Total Time: 2 hours 20 minutes
- Servings: 6 servings
Ingredients
- 1 pound green cabbage, shredded (about 6 cups)
- 1 cup shredded carrots
- 3 tablespoons apple cider vinegar *
- 3 tablespoons granulated sugar
- 1 cup mayonnaise
- ½ teaspoon celery seed
- Kosher salt and freshly-ground black pepper
Instructions
- Toss shredded cabbage with carrots and 1 tablespoon of kosher salt in a mesh colander set in a large bowl. Let stand for 1 hour.
- Discard the water that collects in the bowl and dry the bowl. Rinse the cabbage and carrots, and dry well in a salad spinner, or between layers of paper towels on a baking sheet. Place the dried cabbage mixture back in the large bowl.
- In a bowl, combine vinegar and sugar, stirring until the sugar is dissolved. Whisk in mayonnaise, celery seed, 1/4 teaspoon kosher salt, and 1/2 teaspoon freshly-ground black pepper.
- Pour as much dressing over the cabbage and carrots as you like (you might not use it all depending on your personal preferences and how much moisture is left in your cabbage).** Season to taste with salt and pepper.
- Cover and chill for at least 1 hour, stirring the coleslaw before serving. Coleslaw keeps, covered and refrigerated, for up to 3 days.
Notes
- *As written, the dressing makes a lightly sweet and tart coleslaw. If you like your coleslaw a little less sweet, start by reducing both the sugar and vinegar to 2 tablespoons, adding additional, to taste.
- **I tend to vary my dressing quantity based on how I’m serving the coleslaw. If it’s a side dish, I make it creamier and use all the dressing. If I’m using it to top sandwiches, like pulled pork, I’ll use a little less.
Nutrition Estimate (per serving)
- Calories: 306 kcal
- Carbohydrates: 12 g
- Protein: 1 g
- Fat: 28 g
- Saturated Fat: 4 g
- Cholesterol: 15 mg
- Sodium: 266 mg
- Potassium: 204 mg
- Fiber: 2 g
- Sugar: 10 g
- Vitamin A: 3660 IU
- Vitamin C: 29 mg
- Calcium: 43 mg
- Iron: 0.6 mg
Nutrition information is automatically calculated, so should only be used as an approximation.
About our recipes
Please note that our recipes have been developed using the US Customary measurement system and have not been tested for high altitude/elevation cooking and baking.
