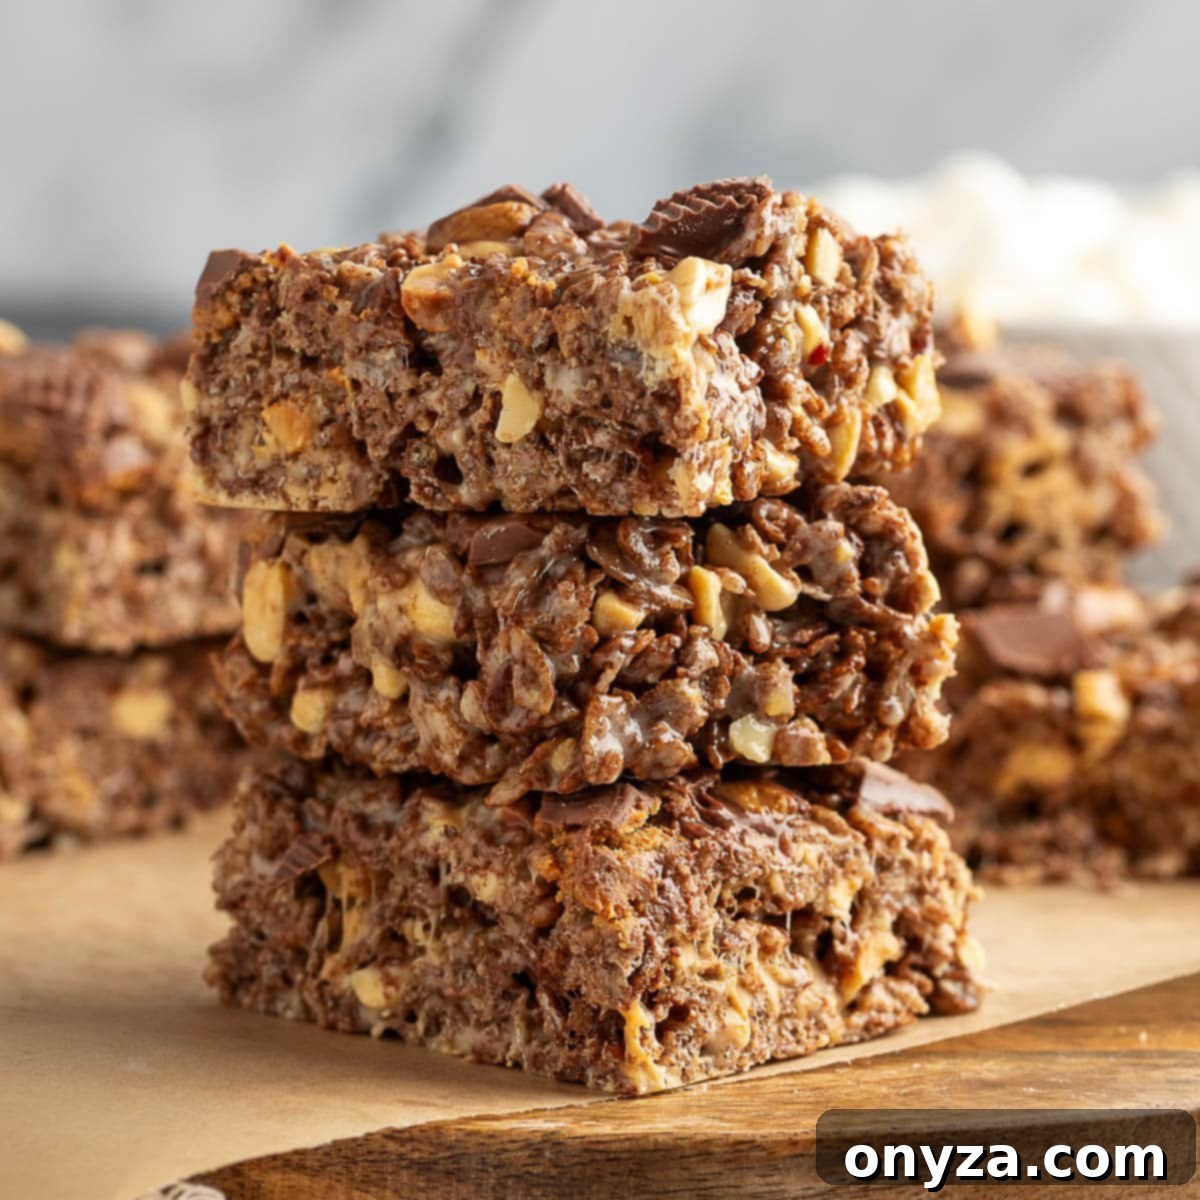
Welcome to the ultimate indulgence for your sweet tooth: **Peanut Butter Cup Rice Krispie Treats**. This isn’t just your ordinary cereal bar; it’s a gourmet upgrade, transforming a childhood classic into an irresistible dessert that’s bursting with flavor and delightful textures. Imagine gooey, soft marshmallows perfectly binding together crunchy peanuts and rich chocolate cereal, all punctuated by a generous double dose of peanut butter from both creamy chips and iconic peanut butter cups. The result is a harmonious blend of sweet, salty, chewy, and crisp in every single bite.
What makes these treats even more appealing is their incredible simplicity. They come together with minimal effort and absolutely no oven time, making them a perfect no-bake solution for any occasion. With just about 30 minutes of active prep, you can whip up a batch of these decadent bars, making them ideal for last-minute gatherings, a fun activity with kids, or even a creative way to repurpose those leftover Halloween candies into something truly extraordinary. Get ready to impress with this easy, delightful recipe that promises to be a crowd-pleaser!
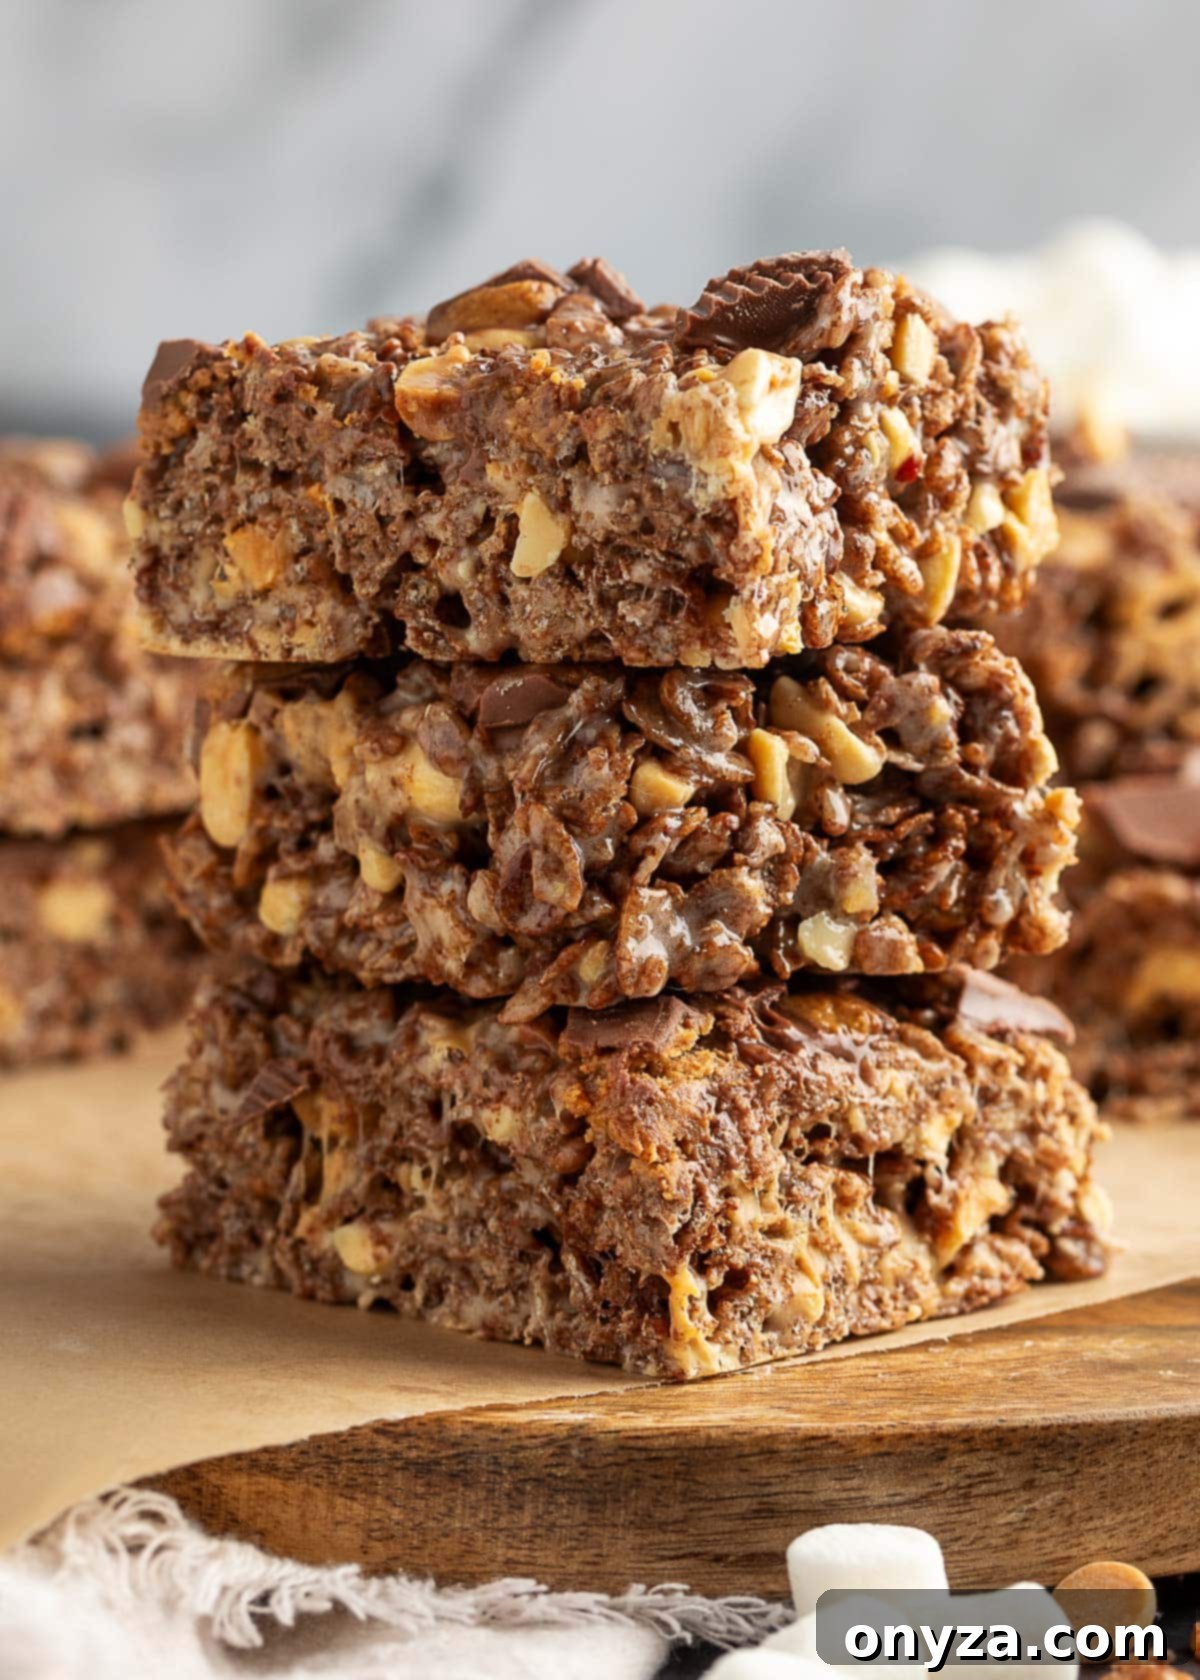
Essential Tips for Perfect Peanut Butter Cup Rice Krispie Treats
Achieving that perfectly soft, chewy, and irresistible texture in your Peanut Butter Cup Rice Krispie Treats is all about a little preparation and understanding a few key principles. Follow these expert tips before you even turn on the stove for the best possible results:
- Mise en Place: Prep and Measure Everything Ahead. In the world of no-bake treats, speed is your best friend. Once the marshmallows begin to melt, the mixture can set quickly. To avoid a frantic rush and ensure an even distribution of ingredients, measure out all your components—chocolate cereal, chopped peanuts, peanut butter chips, and chopped peanut butter cups—and have your baking pan ready before you start melting the butter. This organized approach guarantees a smooth process and a superior final product, preventing any last-minute scrambling.
- The Secret to Softness: Use Fresh Marshmallows. The quality of your marshmallows significantly impacts the texture of your finished treats. Older, stale, or partially dried marshmallows won’t melt as smoothly and can result in bars that are firm, tough, or even brittle. For that signature soft, wonderfully gooey, and stretchy consistency everyone loves, always opt for a fresh bag of mini marshmallows. Their pliability translates directly into melt-in-your-mouth treats, ensuring every bite is delightfully tender.
- Prepare Your Pan for Effortless Removal and Slicing. You’ll need an 8×8-inch square baking pan for this recipe. For the easiest cleanup and the neatest, most uniform slices, we highly recommend lining your pan with parchment paper. Lightly spray the pan with cooking spray first to help the parchment stick, then leave a 2-inch overhang on two sides. This creates a convenient “sling” that allows you to lift the entire block of treats out of the pan once cooled, making slicing incredibly simple and mess-free. If you choose not to use parchment, be sure to generously grease the pan with cooking spray to prevent sticking, though removal might be slightly more challenging.
- The Art of Gentle Pressing. When transferring the warm cereal mixture into the prepared pan, resist the urge to compact it too firmly. Over-compressing the mixture will lead to dense, hard treats rather than the desired light and chewy texture. Use a piece of parchment paper or the butter wrapper (lightly misted with cooking spray) to gently and evenly press the mixture into the pan. This ensures a uniform layer and adherence to the pan without sacrificing the delightful chewiness that makes these treats so irresistible.
Crafting Irresistible Peanut Butter Cup Rice Krispie Treats: A Step-by-Step Guide
Creating these decadent peanut butter cup-infused Rice Krispie treats is a straightforward process, but paying attention to a few key details will elevate them from good to truly extraordinary. Follow these steps meticulously for a perfect batch every time, promising a rich, chewy, and satisfying experience.
Step 1: Perfectly Melting Butter and Marshmallows
Begin by melting 8 tablespoons of unsalted butter in a large, heavy-bottomed pot. An enameled cast iron pot is an excellent choice for this task due to its superior heat distribution, which helps prevent scorching the delicate marshmallows. Melt the butter over medium heat until it’s completely liquid and lightly shimmering. For those seeking an even more luxurious and rich flavor, consider using a higher-butterfat European-style butter, such as Plugrá or Kerrygold; however, standard American-style butter will also yield delicious results.
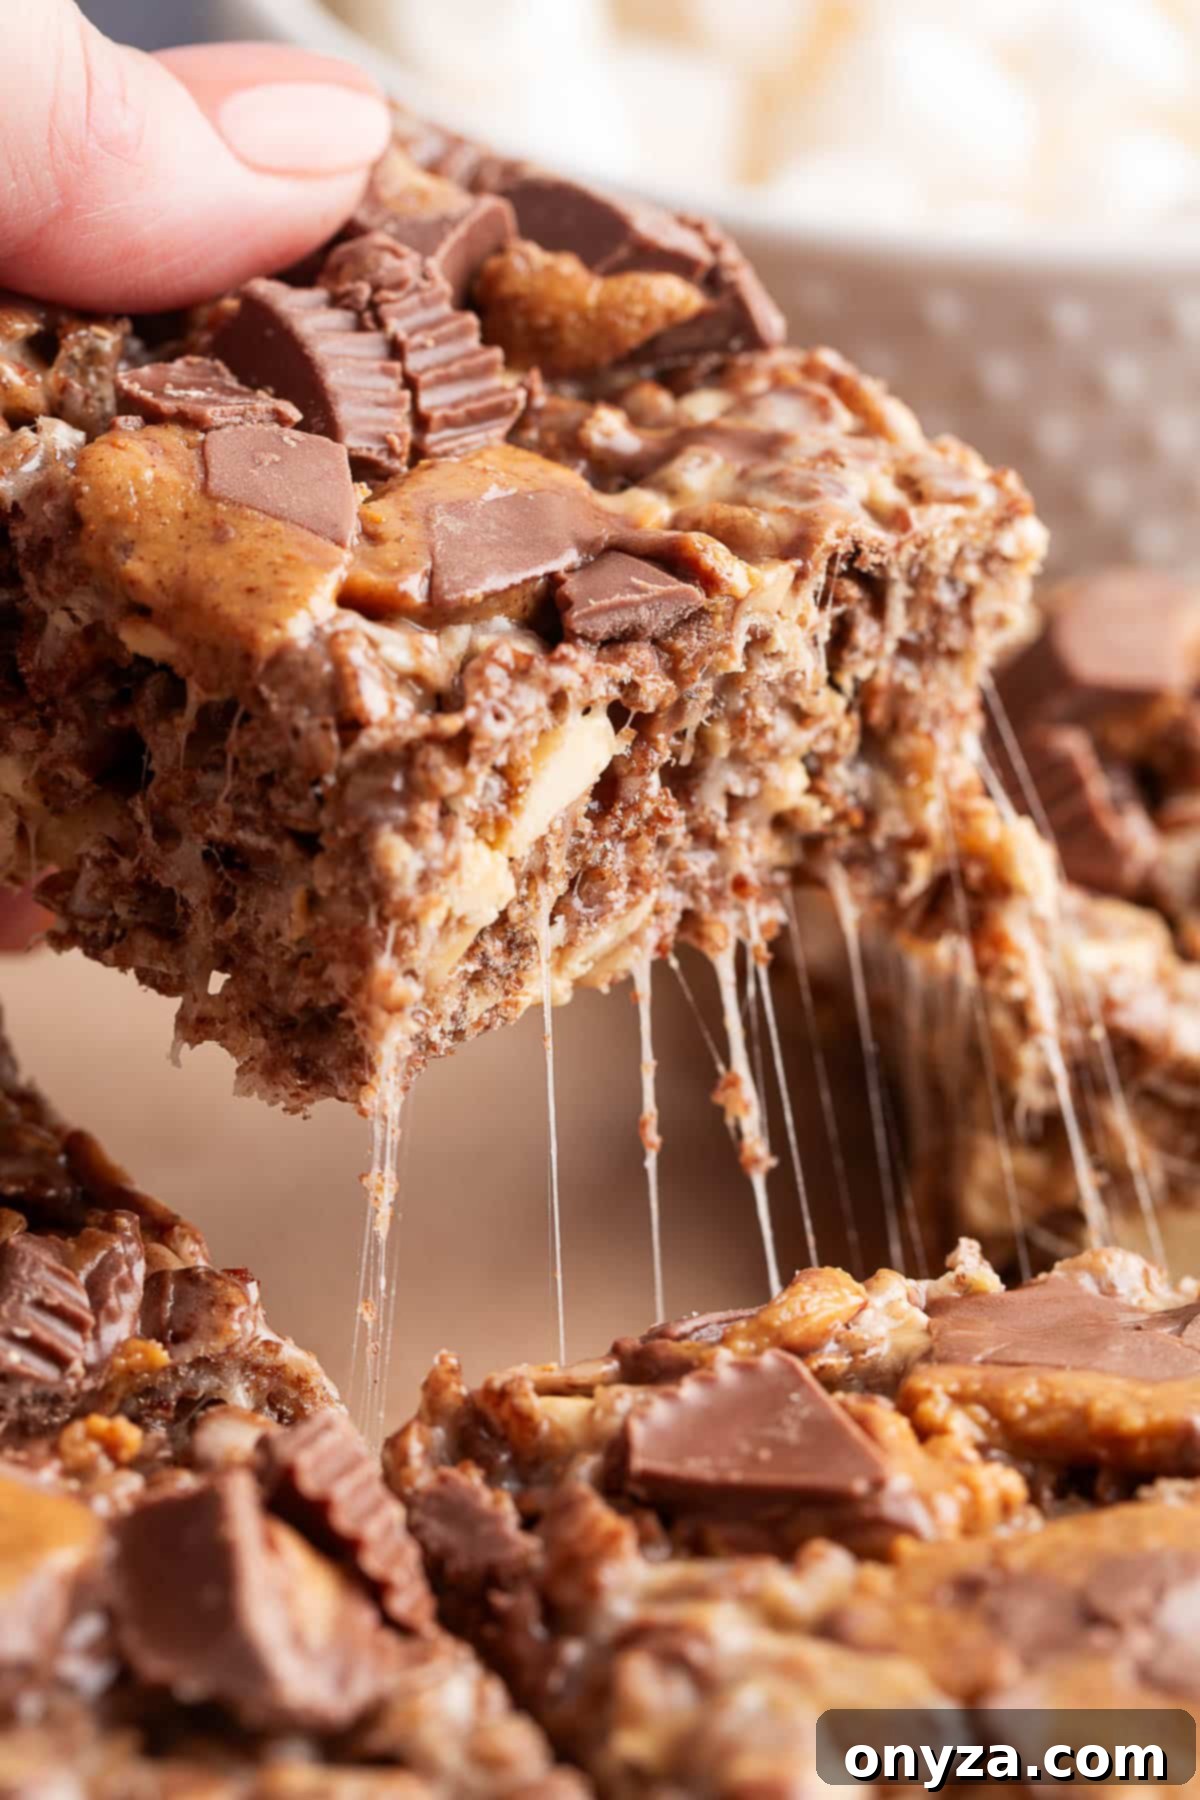
Once the butter is fully melted, immediately reduce the heat to low. This is a critical step, as it prevents the marshmallows from cooking too quickly and becoming tough or overly caramelized. Add your 10 ounces of miniature marshmallows to the pot and stir them continuously with a rubber spatula. You’ll want to gently stir until the marshmallows are approximately three-quarters melted. At this stage, they should be soft, expanded, and mostly liquefied, but it’s perfectly fine if a few small lumps of marshmallow still remain. This indicates they are perfectly cooked and not overdone.

As soon as the marshmallows reach the three-quarters melted stage, remove the pot from the heat entirely. Stir in ½ teaspoon of vanilla extract for warmth and aromatic depth, and ¼ teaspoon of table salt. The addition of salt is not merely for flavor; it’s essential for balancing the intense sweetness of the marshmallows and chocolate, significantly enhancing and rounding out all the delicious flavors in the treats. Continue stirring vigorously until the entire mixture is completely smooth, beautifully glossy, and free of any lumps. It should appear as a shimmering, sticky, golden goo, ready for the next step.
Expert Tip: Precision in Marshmallow Melting. The golden rule for achieving soft, perfectly chewy Rice Krispie Treats lies in strictly avoiding overheating the marshmallow mixture. If the mixture begins to boil or bubble vigorously at any point, it indicates it’s too hot. Overcooked marshmallows can cause the sugars to crystallize, which results in treats that are firm, stiff, and regrettably tough rather than wonderfully soft and pliable. Always maintain low heat and remove the pot from the stove slightly early, allowing the residual heat to complete the final melting process for that ideal gooey texture.

Step 2: Incorporating Cereal and Delicious Mix-Ins
With your perfectly melted marshmallow base ready, it’s time for the stars of the show! Immediately remove the pot from the heat and gently fold in 5 cups of chocolate puffed rice cereal (such as Cocoa Krispies) and ½ cup of chopped, lightly salted dry-roasted peanuts. The chocolate cereal provides a fantastic cocoa depth that pairs beautifully with the rich peanut butter flavor, while the addition of peanuts introduces a crucial layer of satisfying crunch and a delightful salty contrast, elevating the overall taste and texture profile.
Using a sturdy rubber spatula, gently fold the mixture until all the dry ingredients are just coated. The goal here is to lightly cover the cereal and peanuts with the warm, gooey marshmallow without crushing the delicate cereal pieces or overworking the mixture. Continue to fold until everything is just combined and the ingredients are evenly distributed. The mixture should still look soft and glossy, with delightful strings of melted marshmallow stretching as you stir. If it starts to feel heavy, stiff, or compact, it means you’ve mixed a little too much, which can unfortunately lead to a denser, less airy treat.

Now, for the extra peanut butter goodness! Allow the cereal mixture to cool for just one or two minutes in the pot. This brief cooling period is quite important because it helps prevent the peanut butter chips from completely melting into the mixture and losing their distinct shape. Then, quickly fold in ½ cup of peanut butter chips until they are evenly distributed throughout the batch. They should hold their shape, creating delightful, creamy pockets of peanut butter flavor that will surprise and please you with every single bite, adding another layer of texture and taste.
Step 3: Pressing, Topping, and Allowing to Cool
Once your irresistible mixture is complete, it’s time to transfer it to your prepared 8×8-inch pan. Using a piece of parchment paper or the butter wrapper that you lightly misted with cooking spray (to prevent sticking), gently press the mixture into an even layer in the pan. Remember our earlier tip: **do not compact them too firmly**. A gentle hand ensures that the finished bars remain wonderfully chewy and tender, not hard or brick-like. Press just enough so the surface is flat and the mixture is evenly distributed across the pan.
For the grand finale, generously sprinkle the top of the warm cereal mixture with roughly chopped Reese’s Peanut Butter Cups. We recommend using about 6 regular-sized cups, chopped into various sizes for both visual appeal and textural variety. Gently press these chocolate and peanut butter gems into the surface. The residual warmth from the cereal mixture will cause them to melt ever so slightly, creating a beautiful, fudgy layer that fuses with the treats as they cool, enhancing their decadent appeal.
Now comes the hardest part: patience! Let the treats cool completely at room temperature for approximately 2 to 3 hours. This crucial cooling period allows the marshmallow to fully set and firm up, solidifying the bars and ensuring the chopped peanut butter cups re-solidify, making them easy to slice without squishing or losing their shape. Avoid refrigerating the treats, as the cold temperature will cause the marshmallows to harden significantly and compromise their signature soft and chewy texture.

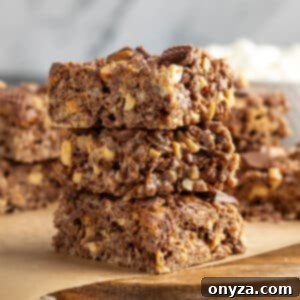
Once your treats are thoroughly cooled and set, it’s time to slice and enjoy! If you wisely used a parchment paper sling, simply lift the entire block of treats out of the pan and transfer it to a cutting board. This method makes slicing incredibly easy and mess-free. You can cut them into 9 large squares for a truly decadent dessert experience, or 16 smaller squares for more bite-sized portions that are perfect for sharing. (The batch pictured here was cut into 9 squares, but given their rich and indulgent flavor, smaller bites are often just right for satisfying cravings or for a party spread.) If you didn’t line the pan, you’ll need to carefully cut the bars directly in the pan and remove them one by one, which might be a bit stickier.

Serving and Storage for Maximum Enjoyment
These Peanut Butter Cup Rice Krispie Treats are so incredibly versatile and delicious, they’re bound to become a go-to treat for any occasion. Here’s how to best serve them and keep them fresh for ultimate enjoyment and lasting deliciousness:
- Serving Suggestions: These decadent treats strike the perfect balance between being delightfully casual and impressively decadent. They are substantial enough to serve as a satisfying dessert after a meal, yet perfectly at home on a snack table at any gathering. They are an absolute sensation for Halloween parties, game day celebrations, bake sales, potlucks, or simply as an everyday indulgence with a cup of coffee or milk. For an extra special touch, you can serve them slightly warmed in the microwave for a few seconds to bring back that ultimate gooeyness, perhaps alongside a scoop of vanilla ice cream.
- Optimal Storage for Freshness: To maintain their signature soft and chewy texture, always store your Peanut Butter Cup Rice Krispie Treats at room temperature. Place them in an airtight container to protect them from air exposure, which can dry them out. When stored properly, they will remain wonderfully fresh and delicious for 3 to 4 days. **Crucially, do not refrigerate them.** The cold temperature will cause the marshmallows to stiffen and harden significantly, making the treats tough and compromising their delightful, pliable chewiness. If you need to stack them, place a piece of parchment paper between layers to prevent sticking.
Why You’ll Fall in Love with This Recipe
Beyond their incredible flavor, there are so many compelling reasons why these Peanut Butter Cup Rice Krispie Treats deserve a permanent spot in your recipe collection. They are more than just a dessert; they are a delightful experience:
- Effortless No-Bake Delight: Forget the hassle of preheating ovens or dealing with complicated baking steps. These treats come together entirely on the stovetop and simply require time to cool, making them an ideal dessert for hot days or when you’re simply short on time.
- Speedy Preparation: With just about 30 minutes of active cooking, you can have these mouth-watering bars assembled and cooling in no time. This makes them perfect for last-minute dessert needs, unexpected guests, or a quick craving fix that doesn’t demand hours in the kitchen.
- Irresistible Flavor Combination: The classic pairing of rich chocolate and creamy peanut butter is elevated here with the textural contrast of crispy chocolate cereal, crunchy roasted peanuts, and soft, chewy marshmallow. Every single bite is an explosion of complementary tastes and textures that keeps you coming back for more.
- Versatile for Any Occasion: From casual family snacks and after-school treats to festive party desserts and holiday potlucks, these treats are always a guaranteed hit. They are especially popular for Halloween, offering a creative and delicious way to use up leftover candy, or for spirited game day gatherings.
- Kid-Friendly Fun: This recipe is wonderfully simple and straightforward, making it perfect for even beginner cooks or children to help with. It offers a delightful and engaging culinary experience for the whole family, fostering fun memories in the kitchen.
- Easily Customizable: While absolutely perfect as is, these treats offer ample room for personalization. Feel free to drizzle them with extra melted chocolate or peanut butter, or experiment with different types of chopped candy or mix-ins for a unique twist that suits your preference.
Frequently Asked Questions (FAQ) About Peanut Butter Cup Rice Krispie Treats
Here are some common questions and helpful answers to ensure your Peanut Butter Cup Rice Krispie Treats turn out perfectly every time:
- Can I use regular Rice Krispies instead of chocolate puffed rice cereal?
- Absolutely! While chocolate puffed rice cereal (like Cocoa Krispies) adds a wonderful depth of cocoa flavor that complements the peanut butter beautifully, classic Rice Krispies can certainly be used as a substitute. The treats will still be incredibly delicious, just with a slightly different, perhaps milder, flavor profile. Feel free to experiment based on your preference.
- My treats turned out hard and tough. What might have gone wrong?
- The most common reason for hard Rice Krispie treats is overheating the marshmallow mixture. It’s crucial to melt the marshmallows over very low heat and to remove them from the stove when they are about three-quarters melted. Overcooking the marshmallows can cause the sugar to crystallize and become brittle as it cools, leading to a stiff and tough texture instead of a soft, chewy one. Additionally, using stale marshmallows can contribute to this issue.
- Can I make these Peanut Butter Cup Rice Krispie Treats ahead of time for a party?
- Yes, these treats are absolutely perfect for making ahead! They maintain their freshness and delicious texture at room temperature when stored in an airtight container for 3-4 days. This makes them an excellent, stress-free option for parties, events, or simply to have on hand for a sweet indulgence throughout the week.
- Is it okay to refrigerate these treats to make them set faster?
- It’s generally not recommended to refrigerate Rice Krispie treats, especially these Peanut Butter Cup ones. The cold temperature from the refrigerator will cause the marshmallows to stiffen and harden significantly, making the treats lose their signature soft, gooey, and chewy texture. For optimal results, always allow them to cool and set completely at room temperature.
- What if I don’t have mini marshmallows on hand?
- If you only have large marshmallows, you can definitely use them as a substitute! Simply cut them into smaller, more uniform pieces to help them melt more evenly and quickly. A good rule of thumb is that a 10-ounce bag of mini marshmallows is roughly equivalent to 40 large marshmallows or about 5 cups of mini marshmallows by volume.
- Can I use other types or brands of peanut butter cups?
- Yes, feel free to experiment with your favorite brands or varieties of peanut butter cups! While Reese’s Peanut Butter Cups are a classic and highly recommended choice for their distinct flavor, you can use other brands or even miniature peanut butter cups. Just adjust the chopping size as needed to ensure they are well-distributed and visually appealing in your treats.
Creative Variations & Delicious Substitutions
While this recipe for Peanut Butter Cup Rice Krispie Treats is a masterpiece on its own, here are some delightful ideas to customize them and make them truly your own, adding even more layers of flavor and texture:
- White Chocolate Drizzle: For an extra touch of elegance and contrasting sweetness, melt some white chocolate chips and drizzle them artfully over the cooled bars before slicing. The white chocolate offers a beautiful visual and flavor complement.
- Milk Chocolate Swirl: A simple swirl of melted milk chocolate on top of the bars before they set can add another rich layer of chocolatey goodness, enhancing the existing cocoa notes and making them even more visually appealing.
- Pretzel Crunch Inclusion: For an ultimate salty-sweet experience, crush about ½ cup of pretzels and gently fold them into the mixture along with the cereal and peanuts. This adds an even greater textural contrast and a delightful savory crunch.
- Different Nut Varieties: Not a fan of peanuts, or simply want to try something new? Substitute the chopped peanuts with other nuts like chopped pecans, walnuts, or even toasted almonds for a different nutty flavor profile that complements the chocolate and marshmallow.
- Add Festive Sprinkles: Make your treats extra festive for holidays, birthdays, or special occasions by adding colorful sprinkles to the top while the mixture is still warm and before it sets. This adds a pop of color and a playful touch.
- Butterscotch Bliss: For a delightful twist on the classic flavor, consider substituting half of the peanut butter chips with butterscotch chips. The creamy, caramel-like notes of butterscotch pair wonderfully with chocolate and peanut butter.
- Extra Marshmallow Swirl: For those who love extra gooeyness, reserve a small handful of mini marshmallows and fold them in right at the end with the peanut butter chips. This ensures you get extra pockets of soft, un-melted marshmallow goodness throughout the bars.
Explore More Delicious Rice Krispie Treat Recipes
If you’re a fan of the versatility, ease, and nostalgic charm of Rice Krispie treats, you’ll love exploring these other creative and irresistible variations. There’s a flavor for every season and every craving!
- Caramel Apple Pie Rice Krispie Treats
- Coconut Rice Krispie Treats with Pecans
- Strawberry Rice Krispie Treats
- Loaded Rice Krispie Treats
Indulge in More Chocolate and Peanut Butter Desserts
Can’t get enough of that timeless and incredibly satisfying chocolate and peanut butter combination? If these Rice Krispie treats left you craving more of this dynamic duo, here are additional recipes to satisfy your deepest chocolate and peanut butter desires:
- Chocolate Peanut Butter Chip Cookies
- Peanut Butter Cup Skillet Cookies
- Peanut Butter Blossoms
Peanut Butter Cup Rice Krispie Treats Recipe
Amanda Biddle
20 minutes
10 minutes
1 hour
1 hour 30 minutes
9 to 16 squares
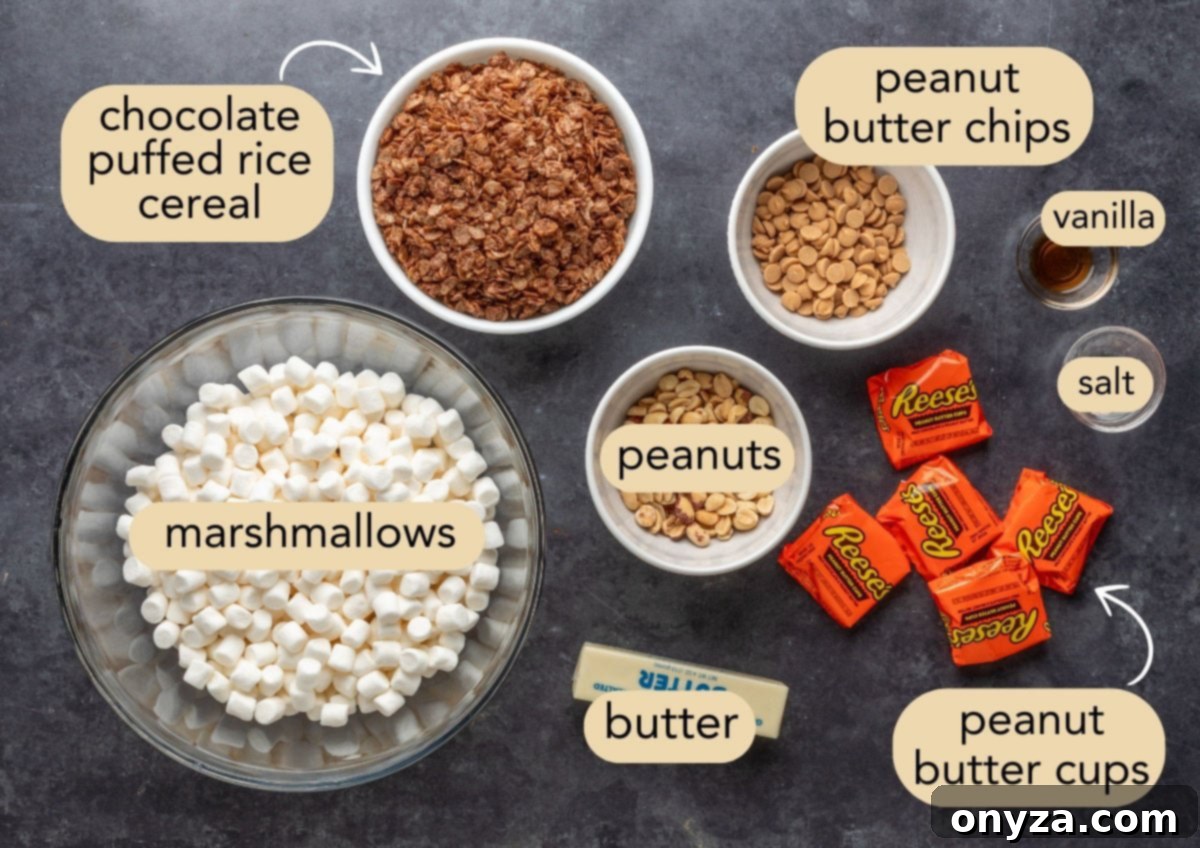
Ingredients
- 8 tablespoons unsalted butter (see note below)
- 10 ounces Jet-Puffed mini marshmallows
- ½ teaspoon vanilla extract
- ¼ teaspoon table salt
- 5 cups chocolate puffed rice cereal (Cocoa Krispies, approximately 7½ ounces)
- ½ cup chopped dry roasted peanuts (lightly salted recommended)
- ½ cup peanut butter chips
- 6 regular size Reese’s Peanut Butter Cups , roughly chopped
Instructions
- 1. Prep the Pan. Lightly grease an 8×8-inch baking pan and line it with parchment paper, ensuring a 2-inch overhang on two sides. This overhang creates convenient handles for easy removal. If you opt not to line the pan, grease it very well with cooking spray; however, you will need to cut the treats directly in the pan rather than on a cutting board.
- 2. Melt Butter and Marshmallows. In a large, heavy-bottomed pot, melt the unsalted butter over medium heat until completely liquid. Reduce the heat to low, then add the mini marshmallows and stir continuously with a rubber spatula until they are about three-quarters melted. Remove the pot from the heat, add the salt and vanilla extract, and continue stirring until the marshmallow mixture is perfectly smooth and glossy.
- 3. Combine Cereal and Mix-Ins. Off the heat, immediately fold in the chocolate puffed rice cereal and chopped dry roasted peanuts. Stir gently until the cereal and peanuts are just coated with the marshmallow mixture. Let the mixture cool in the pot for 1-2 minutes to slightly drop in temperature, then quickly fold in the peanut butter chips, ensuring they are evenly distributed but still largely hold their shape.
- 4. Press and Top. Transfer the warm, sticky mixture to your prepared pan. Using a piece of parchment or a butter wrapper lightly sprayed with cooking spray, gently press the mixture into an even layer in the pan. Avoid compacting too firmly to maintain a delightfully chewy texture. Sprinkle the top generously with the roughly chopped Reese’s Peanut Butter Cups, pressing them lightly into the surface to ensure they adhere.
- 5. Cool and Slice. Allow the treats to set completely at room temperature for 2-3 hours. This crucial cooling time ensures the marshmallow firms up and the peanut butter cups re-solidify. Once fully set, lift the treats out of the pan using the parchment paper overhang and slice them into 9 large squares or 16 smaller squares, depending on your preferred portion size. Store any leftovers covered in an airtight container at room temperature for up to 3 days.
Notes
Nutrition Disclaimer: The nutrition estimate provided is automatically calculated based on cutting the treats into 9 squares. Please note that these values are approximations and can vary based on specific ingredients, brands used, and portion sizes.
Nutrition Estimate (per serving)
| Calories: 302kcal
| Carbohydrates: 41g
| Protein: 3g
| Fat: 15g
| Saturated Fat: 7g
| Polyunsaturated Fat: 1g
| Monounsaturated Fat: 5g
| Trans Fat: 0.4g
| Cholesterol: 27mg
| Sodium: 193mg
| Potassium: 90mg
| Fiber: 1g
| Sugar: 25g
| Vitamin A: 942IU
| Vitamin C: 7mg
| Calcium: 29mg
| Iron: 2mg
Nutrition information is automatically calculated and should be considered an approximation. Individual results may vary.
Our recipes are meticulously developed using the US Customary measurement system and have not been specifically tested for high altitude or elevation cooking and baking. Adjustments to ingredients or cooking times may be necessary for best results in such conditions.
