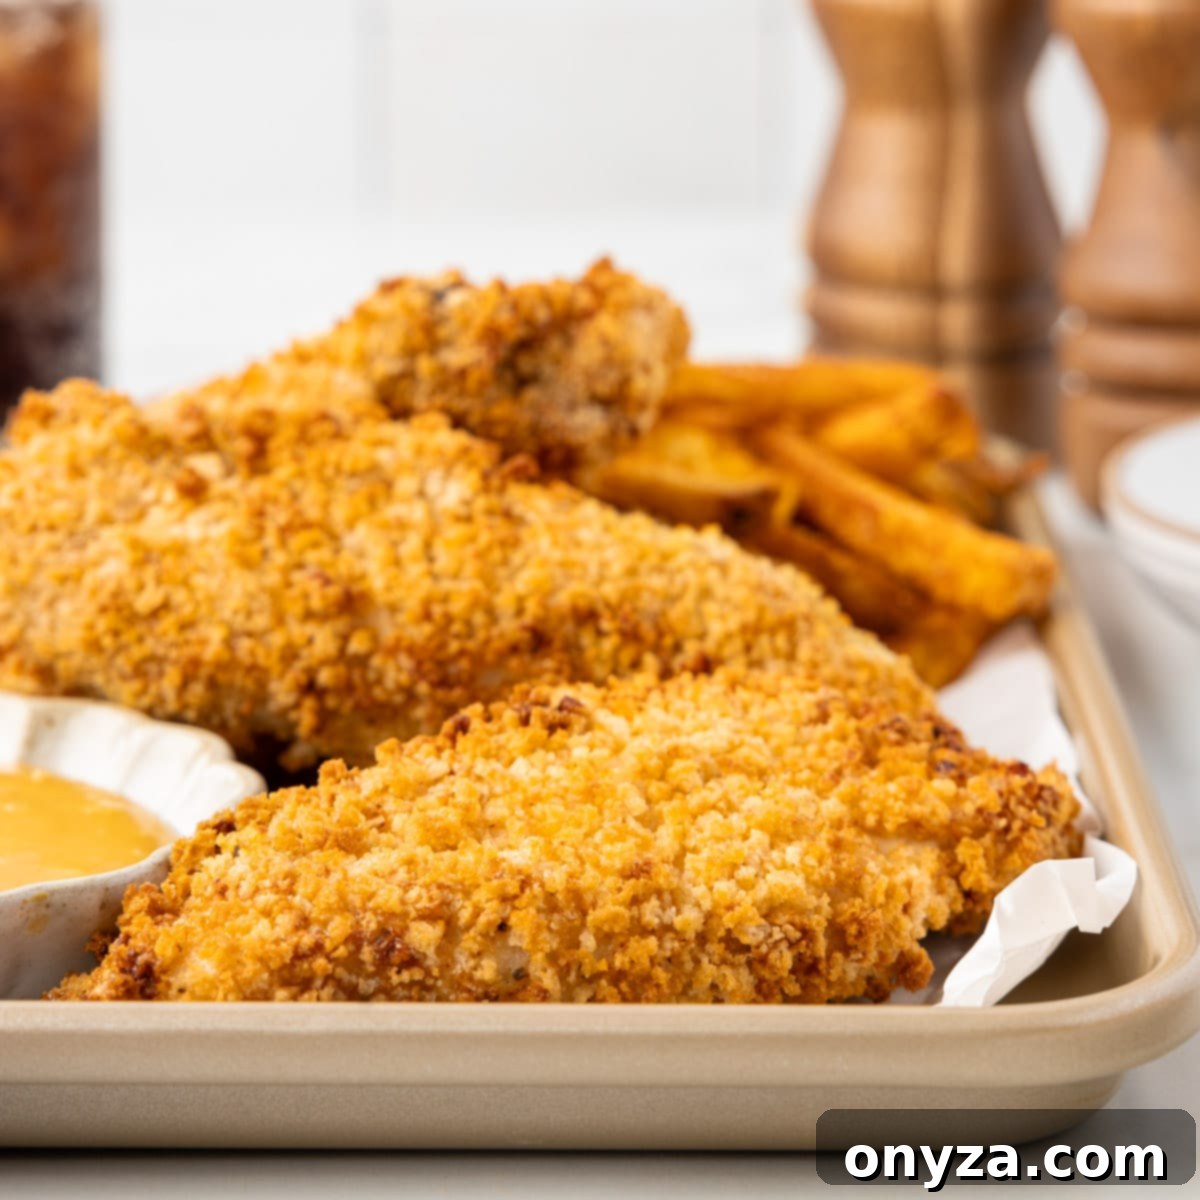
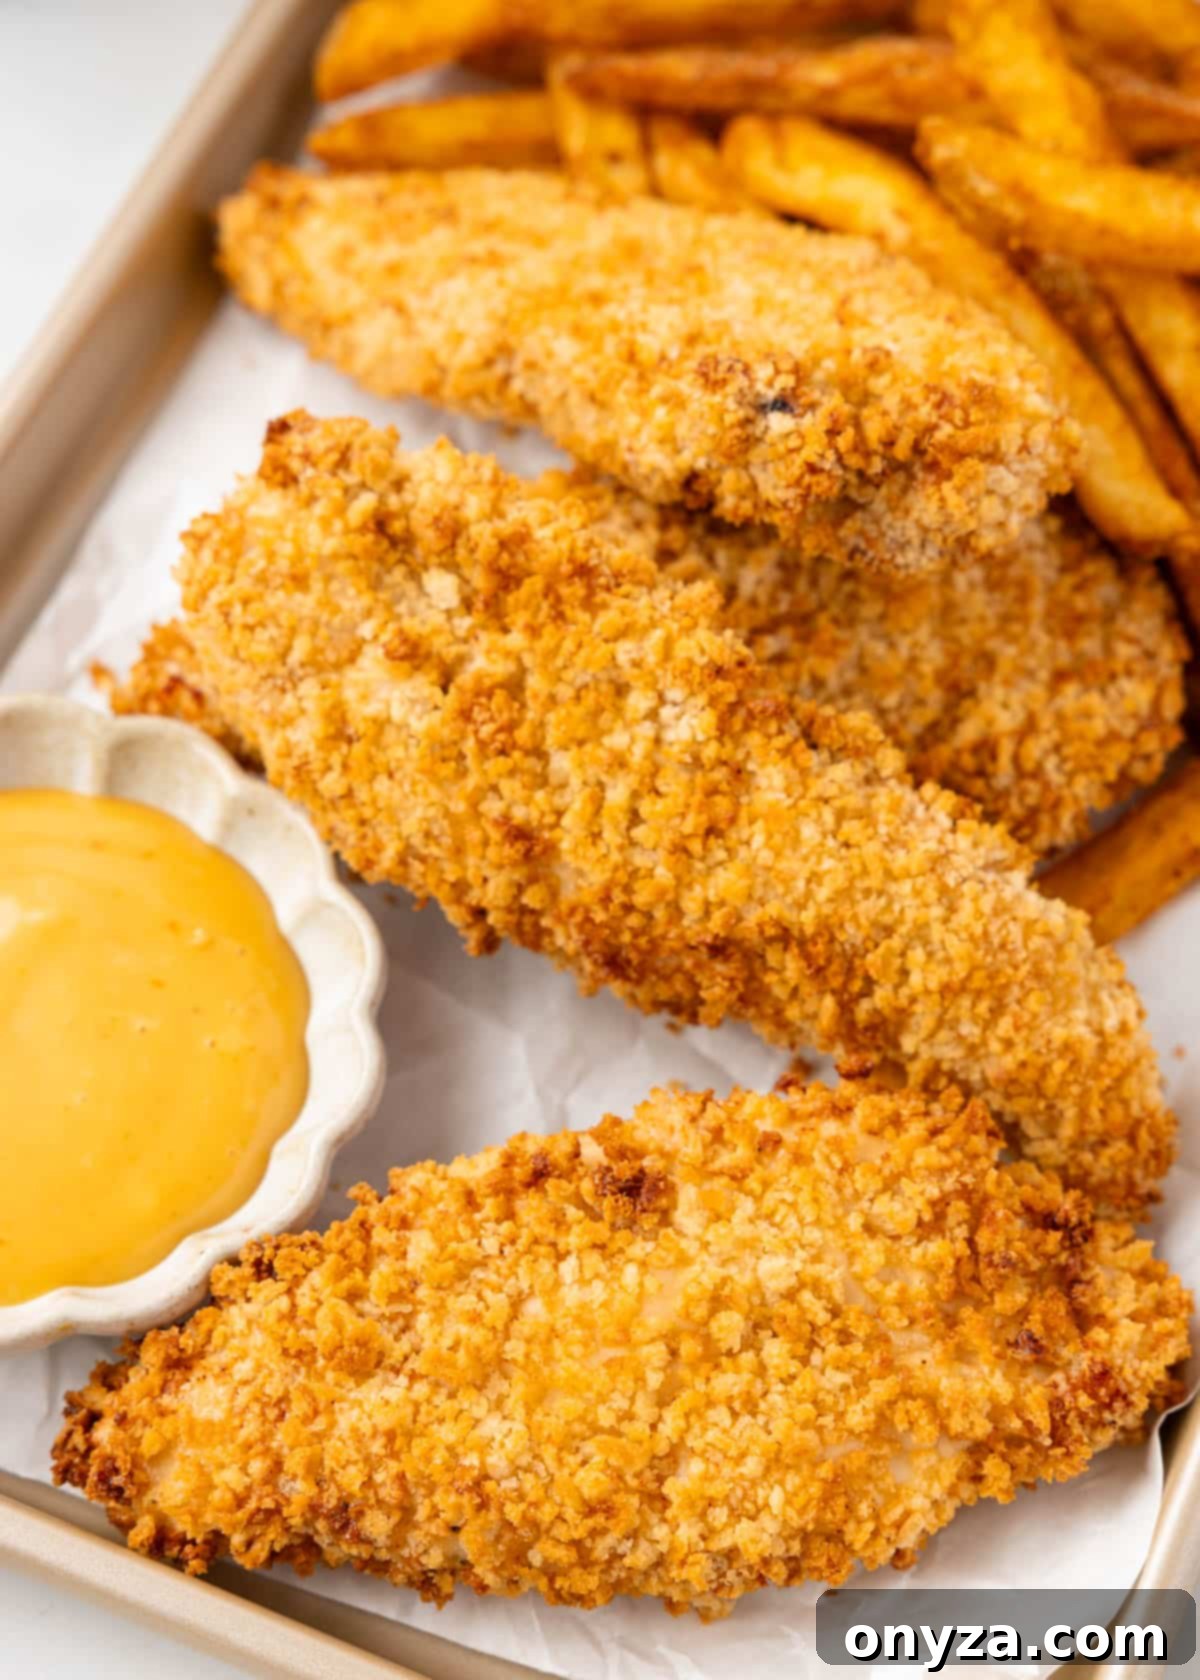
Welcome to the ultimate guide for crafting the most delicious and effortlessly crispy Air Fryer Chicken Tenders! Imagine chicken tenders that are golden brown and incredibly crunchy on the outside, yet wonderfully tender and juicy within. Perfectly seasoned and cooked with minimal oil, these chicken tenders offer a lighter, healthier take on a beloved comfort food classic. Whether you’re planning a quick weeknight dinner, preparing an appetizer for game day, or simply craving a satisfying, flavorful bite, this recipe delivers on all fronts. Get ready to ditch the deep fryer and discover the magic of air frying for chicken tenders that will become a regular in your culinary rotation.
Mastering Air Fryer Chicken Tenders: Essential Tips Before You Begin
Before you dive into cooking, let’s cover some fundamental aspects that will ensure your air fryer chicken tenders turn out perfect every time. Understanding the ingredients and preparation nuances is key to achieving that desirable crispy exterior and moist interior.
- Choosing Your Chicken: This recipe specifically calls for chicken tenderloins, often simply labeled as “chicken tenders” at the grocery store. These are the small, naturally portioned strips of meat found underneath the chicken breast. Their size and shape make them ideal for quick cooking in the air fryer, ensuring they cook evenly and become delightfully tender. If you only have chicken breasts, you can easily cut them into similar-sized strips for a homemade tender experience.
- The Secret to Crispiness: Panko Breadcrumbs: For that ultimate golden crisp, we rely on panko breadcrumbs. Unlike traditional breadcrumbs, panko, a Japanese-style breadcrumb, has a lighter, flakier, and coarser texture. This unique structure allows it to absorb less oil and become exceptionally crunchy when air-fried. You’ll typically find panko in the breadcrumb or international aisle of your local supermarket. Its superior crisping ability is a game-changer for air fryer recipes, providing a satisfying bite without the heavy oil of deep-frying.
- Versatility for Every Occasion: These air fryer chicken tenders are incredibly versatile. They can be the star of a family dinner, a crowd-pleasing appetizer for parties, or a healthy addition to meal prep. Feel free to experiment with different seasonings for the breading to match your cravings. For instance, if you’re a fan of a spicy kick, consider trying our Air Fryer Buffalo Chicken Bites for a zesty alternative. The possibilities for customization are endless, making this recipe a fantastic foundation for many culinary adventures.
With these foundational tips in mind, you’re well-equipped to create air fryer chicken tenders that are not just easy to make, but also burst with flavor and texture.
Step-by-Step Guide to Perfect Air Fryer Chicken Tenders
Crafting delicious, crispy chicken tenders in your air fryer is a straightforward process, broken down into three simple yet crucial steps: preparing the chicken, breading it to perfection, and finally, air frying until golden and tender. Follow these instructions closely for the best results.
Step 1: Preparing Your Chicken Tenderloins
Before you begin the breading process, it’s essential to properly prepare your chicken tenderloins. Many tenderloins come with a tough, white tendon running through one end. While edible, this tendon can be chewy and detract from the tender experience, so we recommend removing it for a smoother texture.
- Position the Tenderloin: Lay a chicken tenderloin flat on a clean cutting board, ensuring the end with the visible tendon is accessible.
- Isolate the Tendon: Carefully slide a fork underneath the exposed tendon, positioning the tendon between two of the fork’s tines. This acts as a fulcrum, helping to secure the chicken while you pull the tendon.
- Grip the Tendon: Use a paper towel to firmly grip the very end of the tendon. The paper towel provides a better grip, preventing the tendon from slipping.
- Remove the Tendon: While holding the fork steady against the chicken, pull the tendon upward with the paper towel. With a steady, firm pull, the tendon should slide out cleanly from the meat. Discard the tendon.
Note: Some packaged chicken tenderloins may have already had the tendon removed by the processor. If you inspect your tenders after removing them from the package and don’t see a visible tendon, you can skip this step and proceed directly to breading.
Step 2: Expert Breading for Maximum Crispiness
A perfectly breaded chicken tender is the foundation of a truly crispy air-fried experience. Setting up an efficient breading station is crucial for consistent coating. You’ll need three shallow bowls or breading trays for this process.
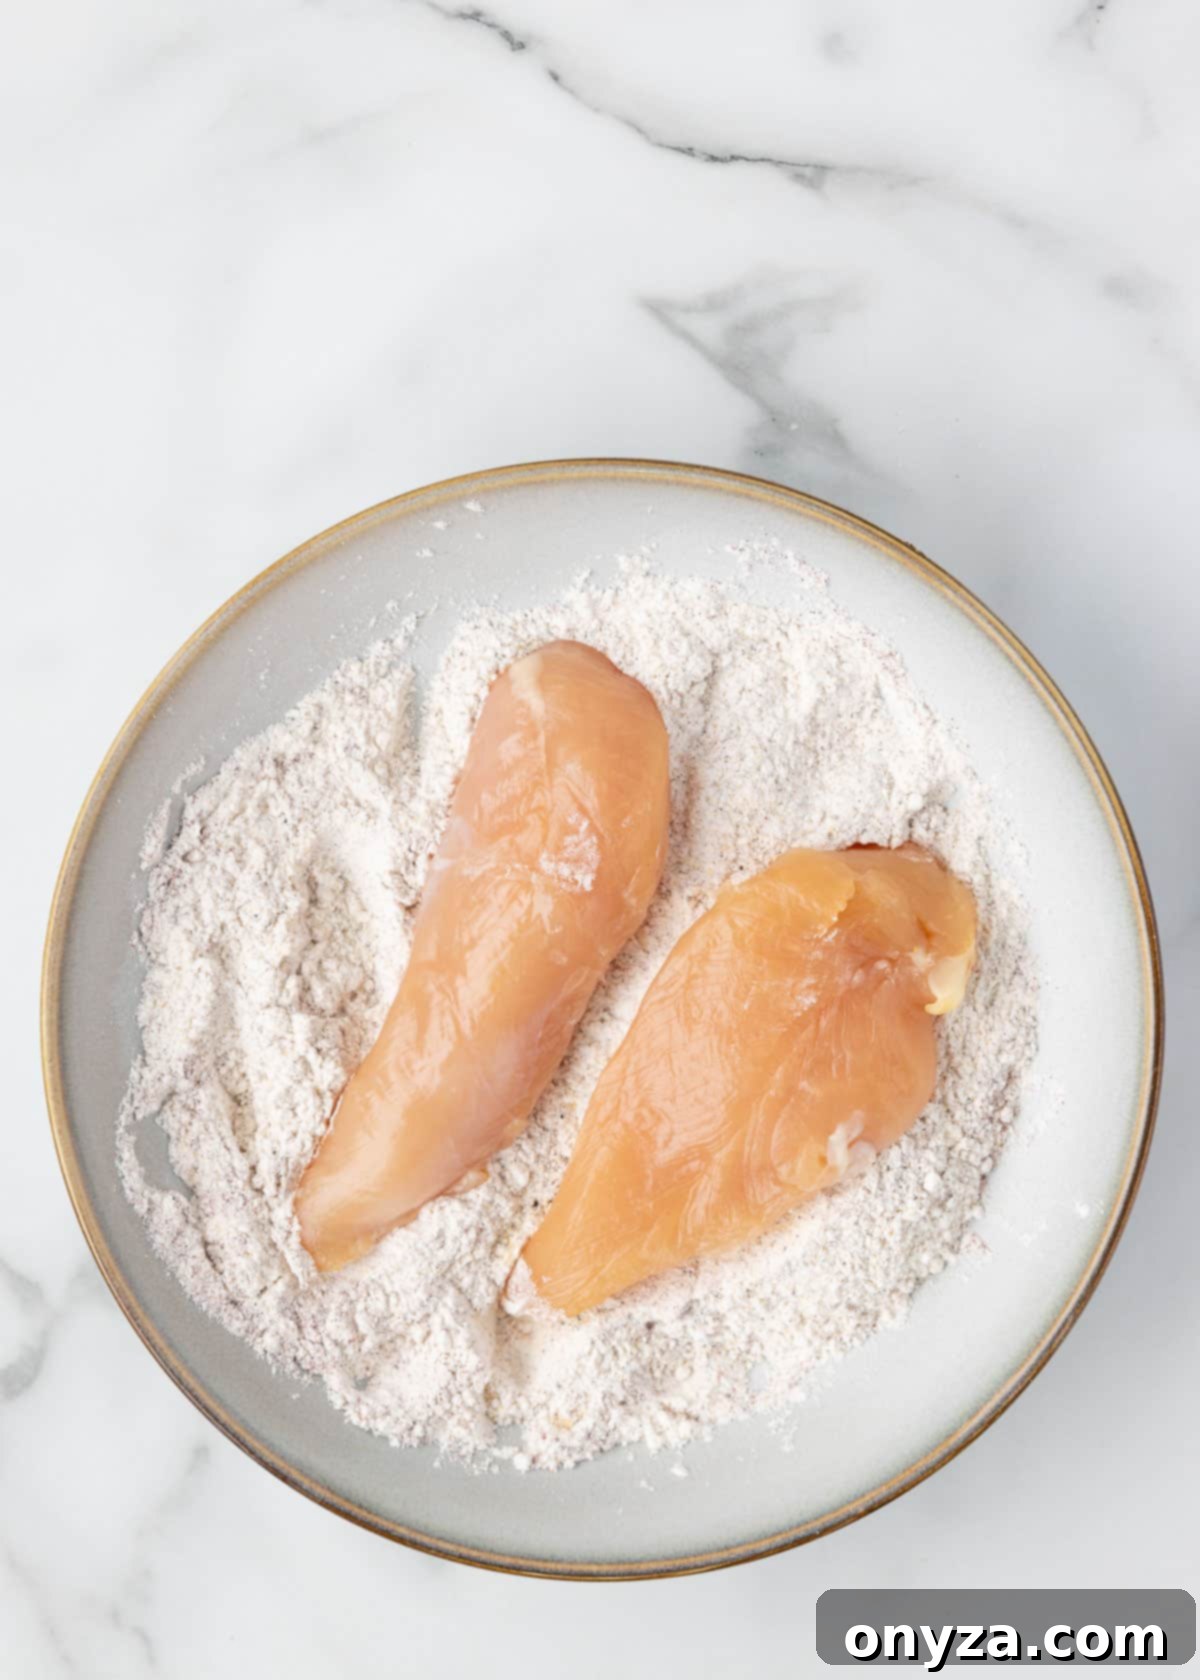
- Seasoned Flour Mixture: In your first shallow bowl, combine the all-purpose flour with a generous blend of spices. This includes garlic powder, onion powder, sweet paprika, seasoned salt (Lawry’s original is a fantastic choice for a classic flavor profile), and freshly ground black pepper. This initial flour dredge helps the egg wash adhere better to the chicken and adds an important layer of seasoning.
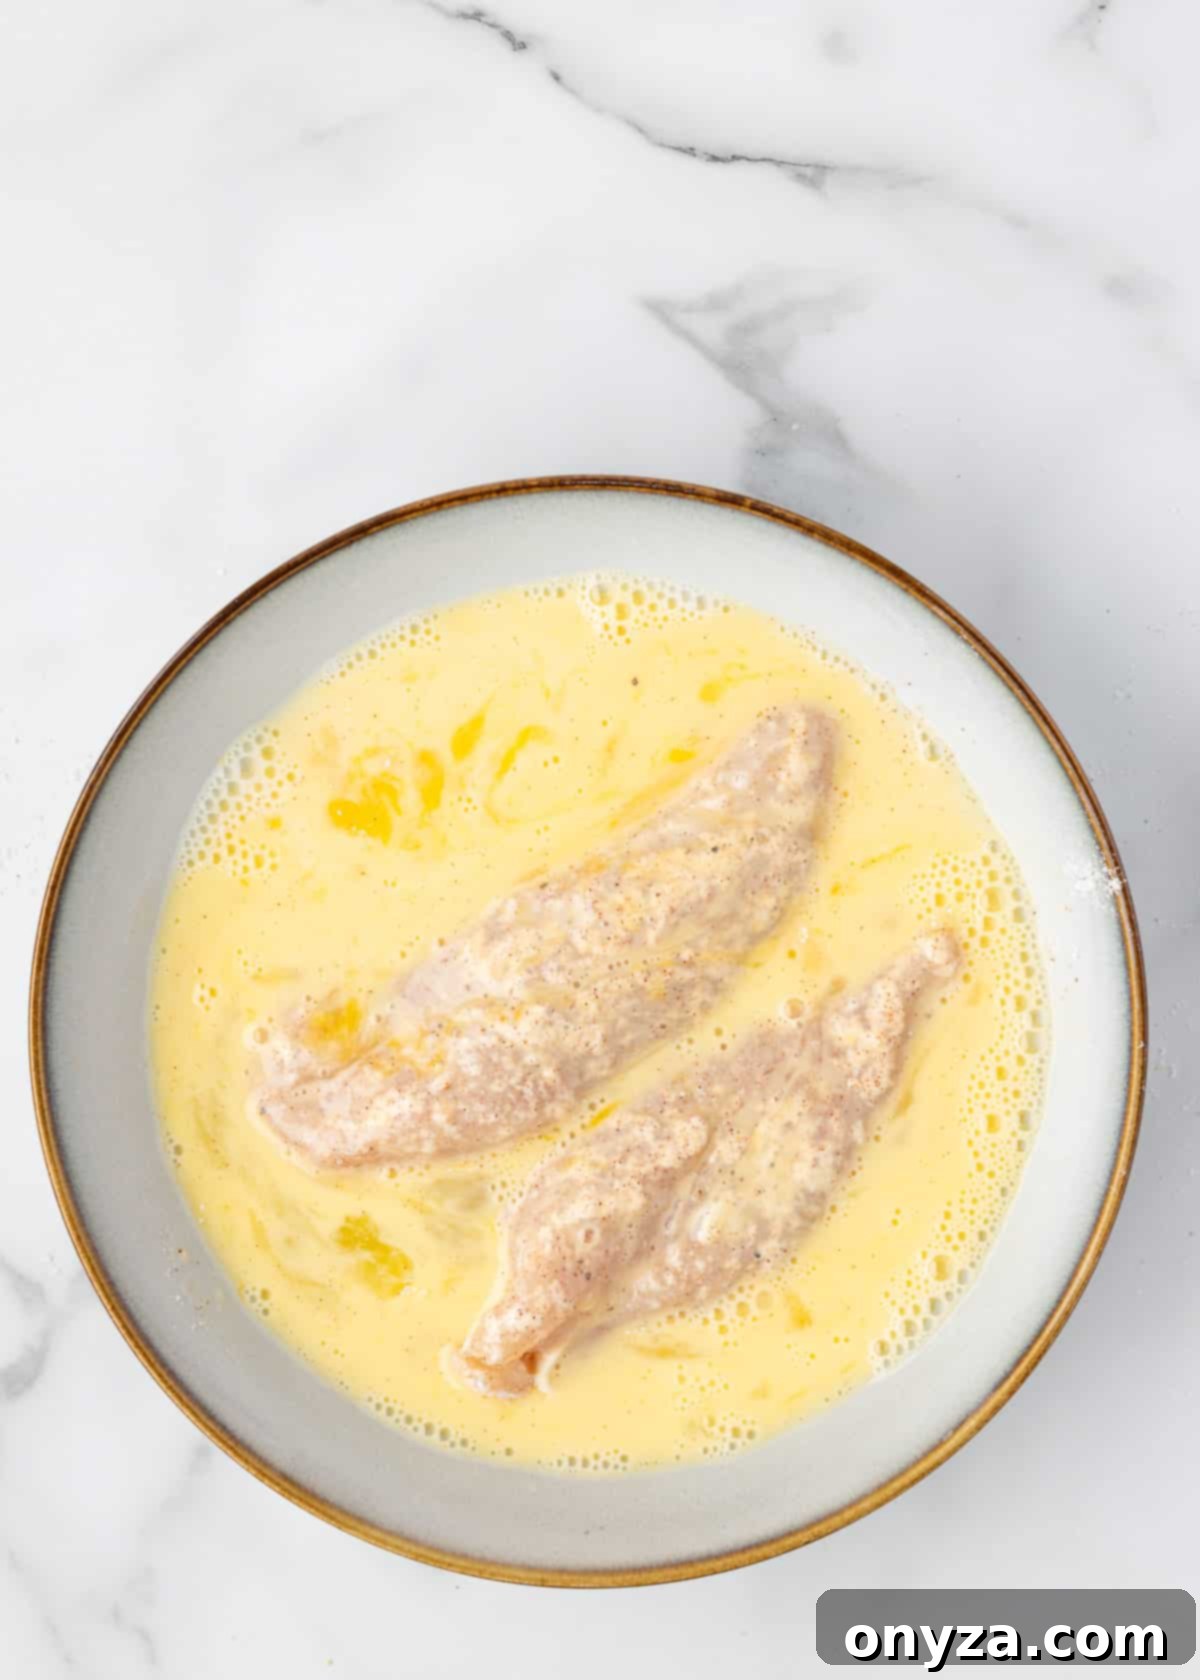
- Egg Wash Station: In the second shallow bowl, prepare your egg wash. Whisk together one large egg with a couple of tablespoons of milk. The egg wash acts as the binding agent, helping the panko breadcrumbs adhere securely to the chicken, creating that wonderful crispy crust.
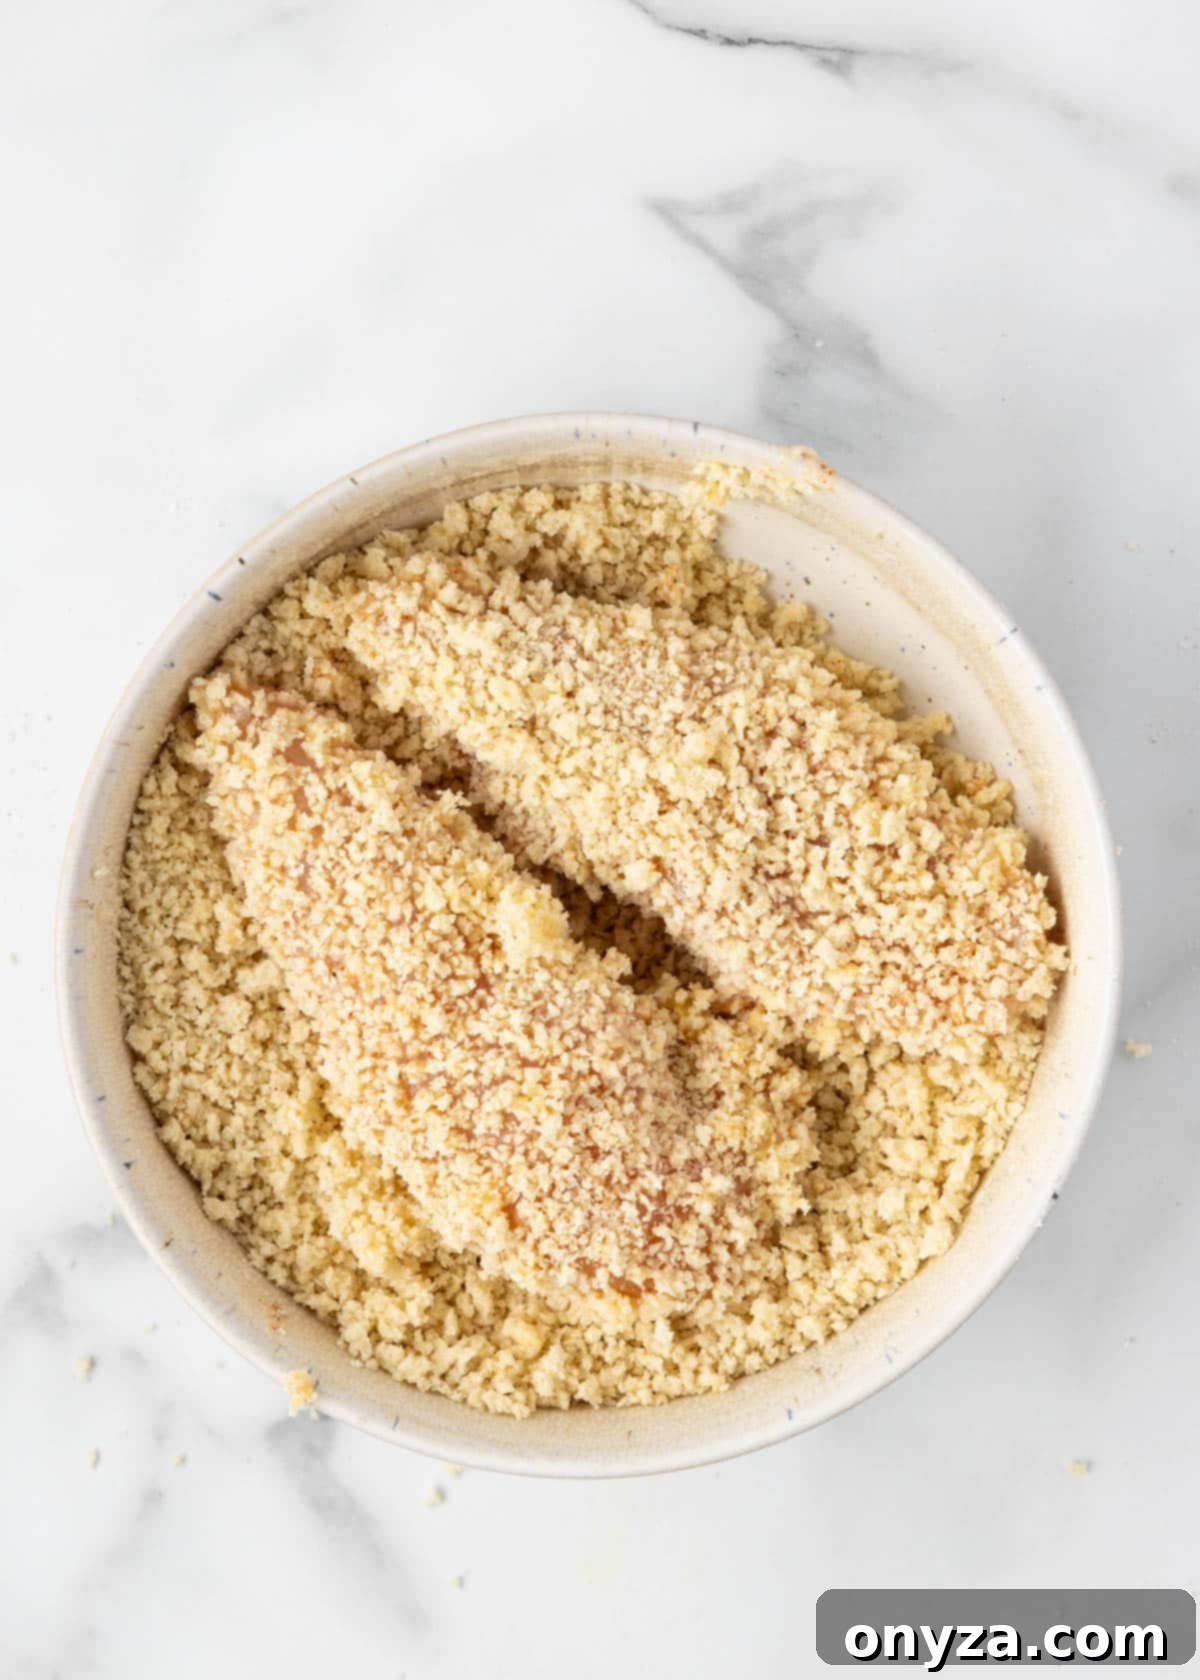
- Flavorful Panko Blend: In the third and final shallow bowl, combine your panko breadcrumbs with additional seasonings: garlic powder, onion powder, paprika, seasoned salt, and black pepper. Seasoning the panko itself is vital, as this is the outermost layer and contributes significantly to the final taste of your tenders.
To bread each chicken tenderloin, start by lightly coating it in the seasoned flour, ensuring all sides are covered. Gently shake off any excess flour. Next, dip the floured tender into the egg wash, allowing any surplus to drip back into the bowl. Finally, transfer the chicken to the seasoned panko, pressing firmly to ensure the crumbs adhere well to all surfaces. You want a thick, even coating with no bare patches of chicken visible.
Pro Tip for Optimal Seasoning: Panko breadcrumbs are lighter and coarser than ground spices. This means that the spices in your panko mixture can sometimes settle at the bottom of the bowl. To guarantee that every piece of chicken is coated with all that delicious, flavorful seasoning, give the breadcrumb mixture a quick toss and fluff with your fingers each time before you bread a new tender. This redistributes the spices evenly throughout the panko, ensuring consistent flavor in every bite.
Step 3: Air Frying for Golden Perfection
The air fryer is where the magic happens, transforming your breaded chicken into irresistibly crispy tenders with minimal oil. Proper preheating and arrangement are crucial for achieving that perfect golden crust.
Preheat Your Air Fryer: Begin by preheating your air fryer to 400°F (200°C). Preheating is essential as it ensures the chicken starts cooking immediately in a hot environment, leading to a crispier exterior and preventing it from becoming soggy. If your air fryer lacks a dedicated preheating function, simply set it to 400°F and let it run for about 3-5 minutes before adding the food. For instance, with my Ninja air fryers, I typically run them for 3 minutes at the desired temperature.
Arrange in a Single Layer: Once preheated, carefully arrange the breaded chicken tenders in a single layer within the air fryer basket. It’s critical to leave adequate space between each piece. This allows the hot air to circulate freely around the chicken, which is fundamental for even cooking and achieving that coveted crispiness. Overcrowding the basket will trap moisture, leading to steamed instead of crispy tenders.
Cooking in Batches: Depending on the size and capacity of your air fryer, you will likely need to cook the tenders in multiple batches. Do not try to fit too many tenders at once; prioritizing air circulation over quantity per batch will always yield superior results. For example, my round Ninja Foodi Cook & Crisp basket accommodates about four tenders, while my larger 6.5-quart Ninja Pro XL air fryer can fit an entire batch of six tenders in its square basket.
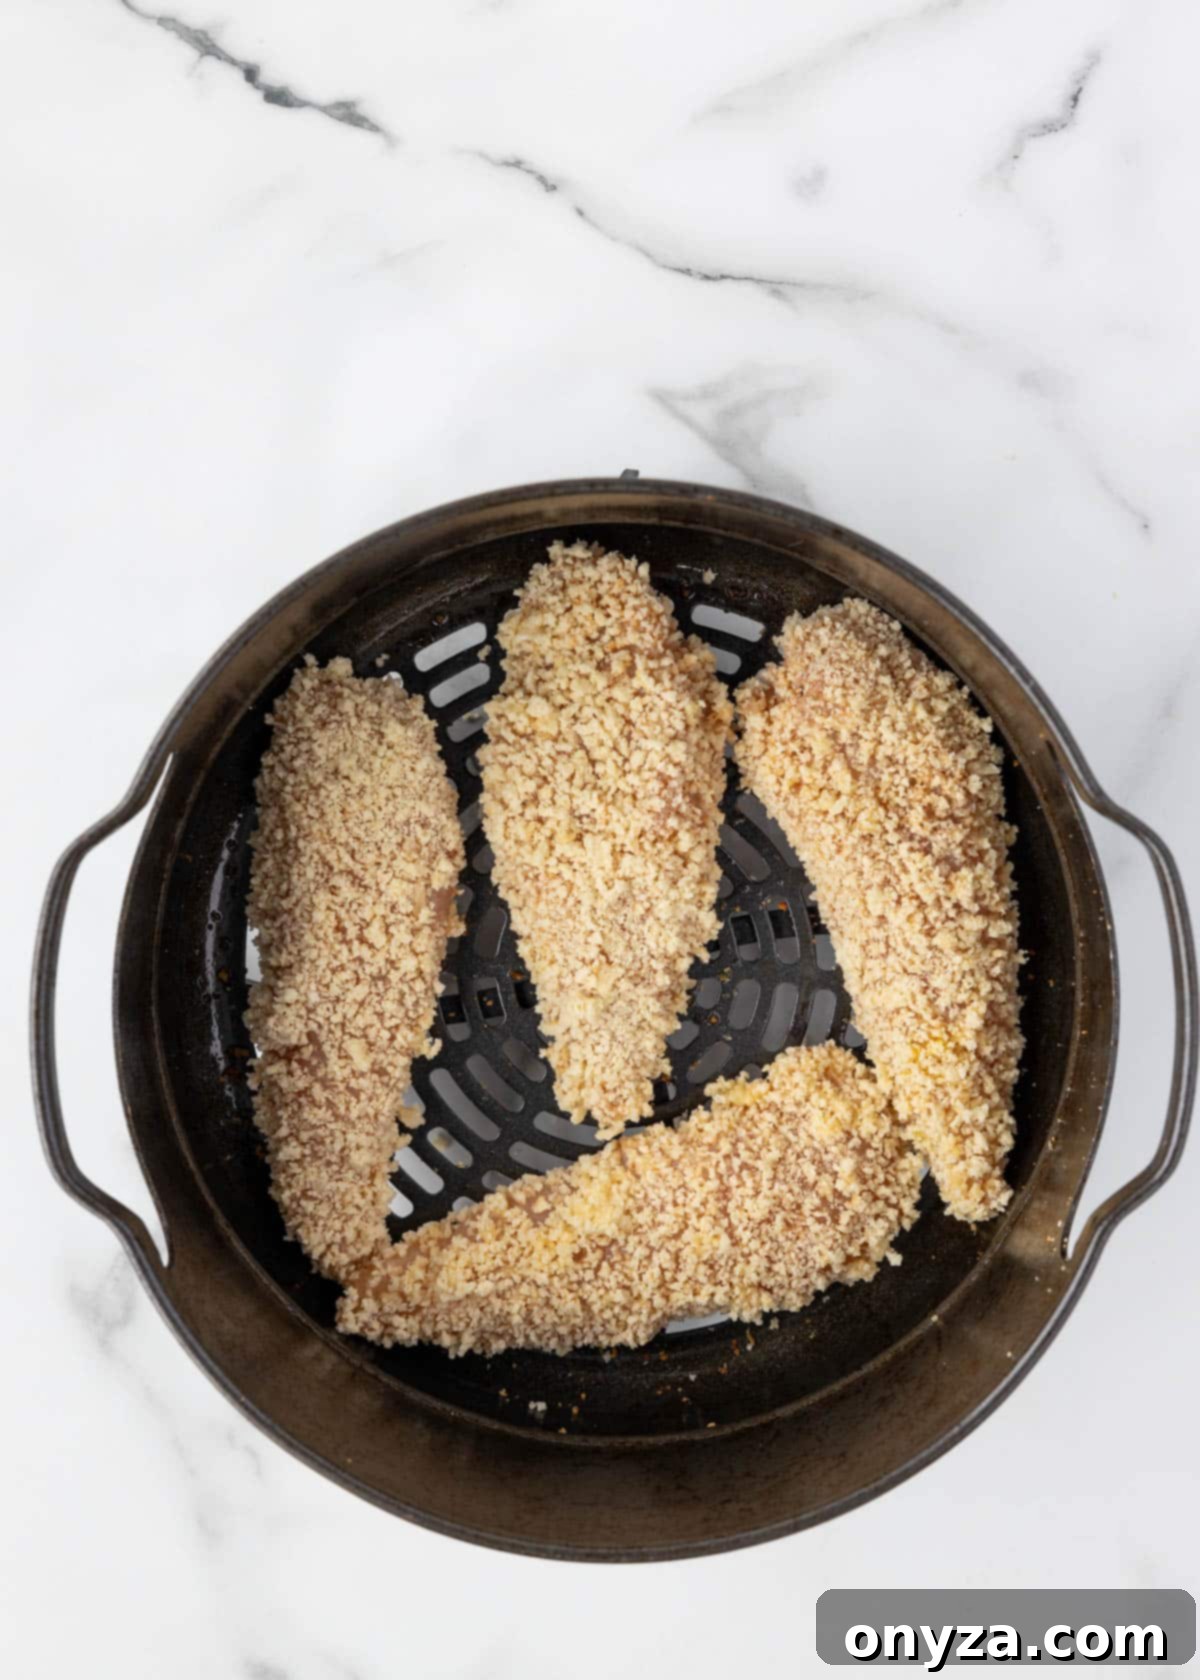
Light Oil Spray: To further enhance the browning and crisping of your tenders, lightly spray both sides of the breaded chicken with a high-heat cooking oil spray. I prefer using a non-aerosol oil sprayer filled with vegetable oil, which gives you more control and avoids propellant chemicals, but standard store-bought cooking sprays also work effectively.
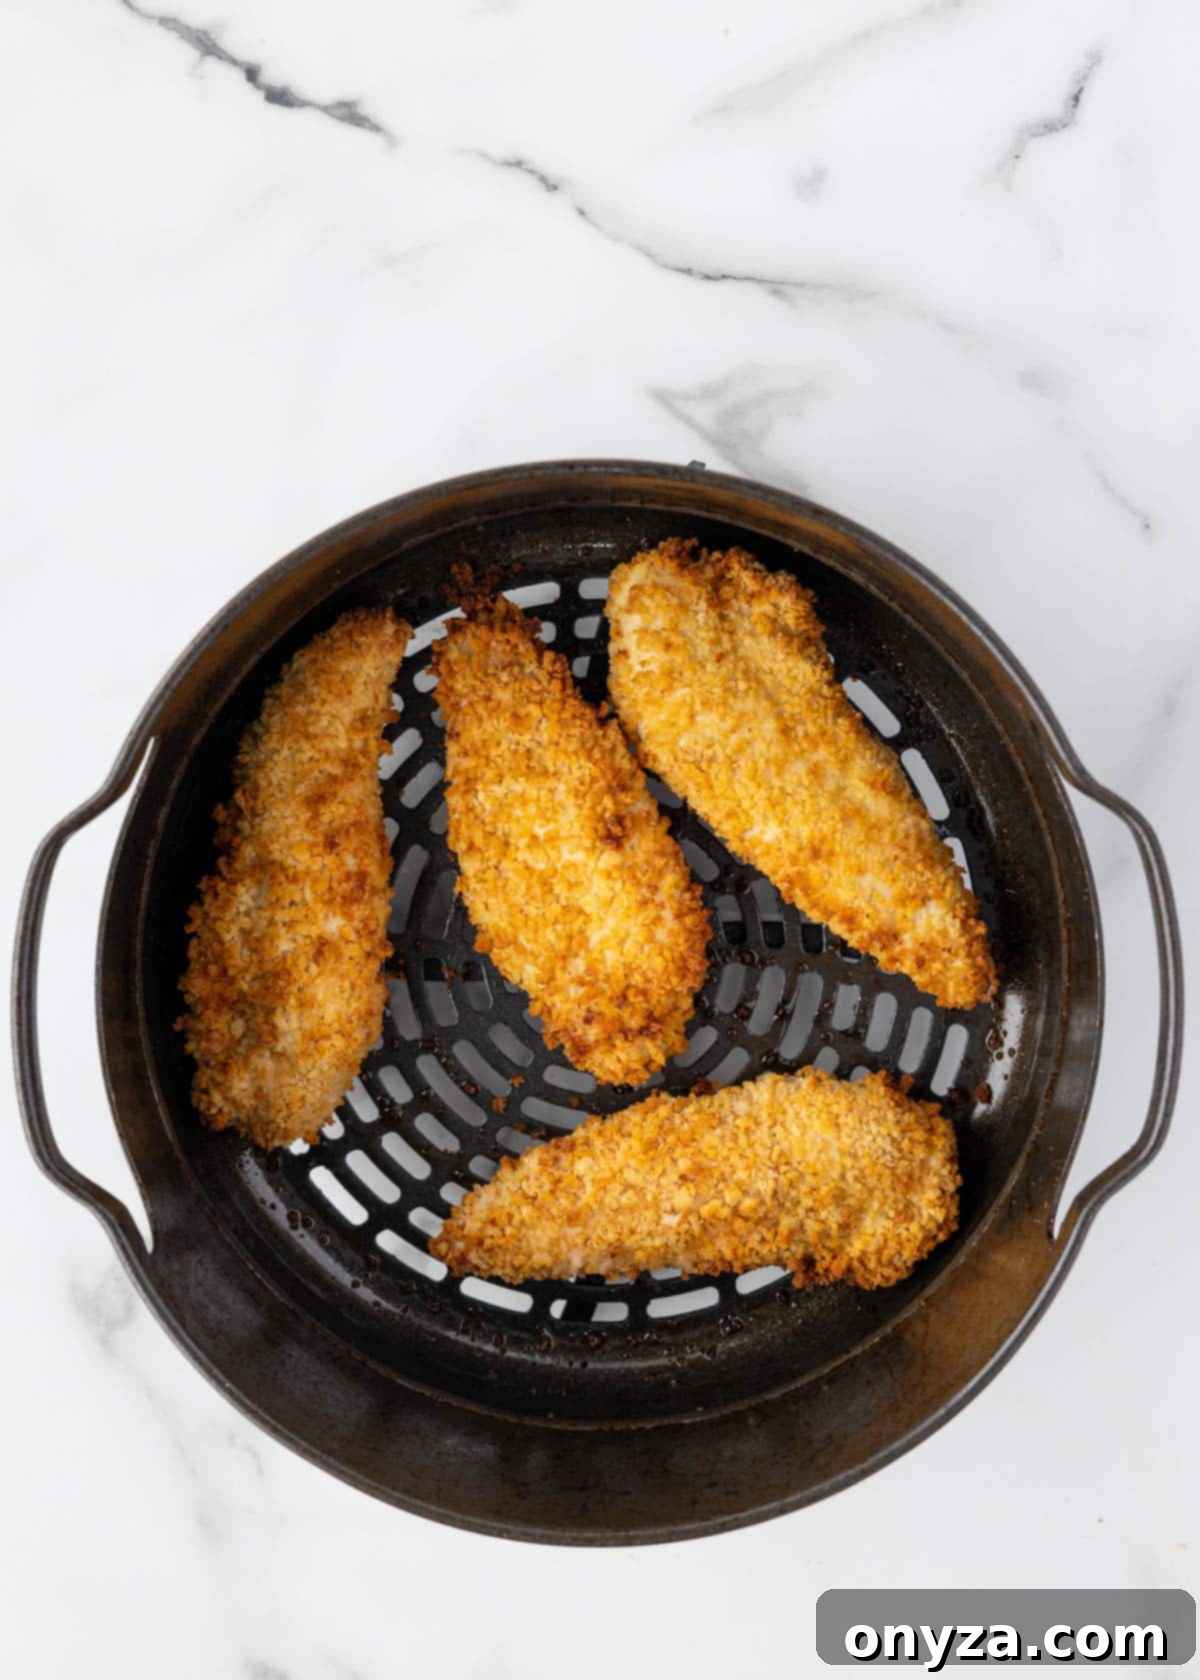
Cooking Time and Temperature: Air fry the chicken tenders for approximately 5–6 minutes per side. Halfway through the cooking process, carefully flip the tenders to ensure even crisping and browning on both sides. If the tenders appear dry when you flip them, give the second side another light spritz of oil. The chicken is fully cooked when it reaches a beautiful golden-brown color, is visibly crispy, and, most importantly, an instant-read thermometer inserted into the thickest part reads an internal temperature of at least 165°F (74°C).
Adjusting for Your Air Fryer: Please remember that cooking times can vary considerably based on your specific air fryer model, its wattage, and the size or thickness of your chicken tenders. Always use an instant-read thermometer to confirm doneness and adjust cooking times as necessary. After cooking, allow the chicken tenders to rest for 3-5 minutes before serving. This short resting period allows the juices to redistribute, resulting in even more tender and flavorful chicken.

Storing and Reheating Air Fryer Chicken Tenders
While these air fryer chicken tenders are undeniably best enjoyed fresh, with their irresistible warmth and crunch, it’s good to know that any leftovers can be stored and reheated successfully. This makes them an excellent option for meal prepping or enjoying a second meal later in the week.
Storing Leftovers: Once the chicken tenders have completely cooled to room temperature, place them in an airtight container or a reliable food storage bag. Properly stored, they will maintain their quality in the refrigerator for 3–4 days. Ensure they are fully cooled before sealing to prevent condensation, which can make them soggy.
Reheating for Crispiness: The best way to revive leftover air fryer chicken tenders and bring back their crispiness is to use your air fryer again. Preheat your air fryer to 375°F (190°C). Place the cooled tenders in a single layer in the air fryer basket, ensuring not to overcrowd. Air fry for 5-8 minutes, or until they are heated through to an internal temperature of 165°F (74°C) and have regained their desired crisp texture. This method ensures they don’t become rubbery or dry, maintaining much of their original appeal.
What to Serve with Air Fryer Chicken Tenders
These crispy air fryer chicken tenders are incredibly delicious on their own, but they truly shine when paired with the right dipping sauces and complementary side dishes. Elevate your meal with these versatile serving suggestions!
A flavorful dipping sauce can transform your chicken tenders from good to gourmet. Here are some of our top picks that perfectly complement the savory, crunchy tenders:
- Creamy & Classic Dressings: You can never go wrong with a rich, creamy dip. Favorites include classic Honey Mustard, tangy Ranch, our homemade Buttermilk Blue Cheese dressing for a bolder flavor, or a vibrant Russian dressing.
- Sweet & Smoky BBQ Sauce: A good BBQ sauce provides a wonderful balance to the savory breading. We often opt for a sweet-tangy variety like Sweet Baby Ray’s, but for something extra special, our homemade Bacon Bourbon Barbecue Sauce is always a huge hit.
- Other Exciting Sauces and Dips: Explore different flavor profiles with traditional Ketchup, the popular “Mayochup” blend, rich Parmesan Garlic Sauce, bright Sweet and Sour Sauce, spicy Honey Sriracha Sauce, or a sophisticated Dijonnaise.
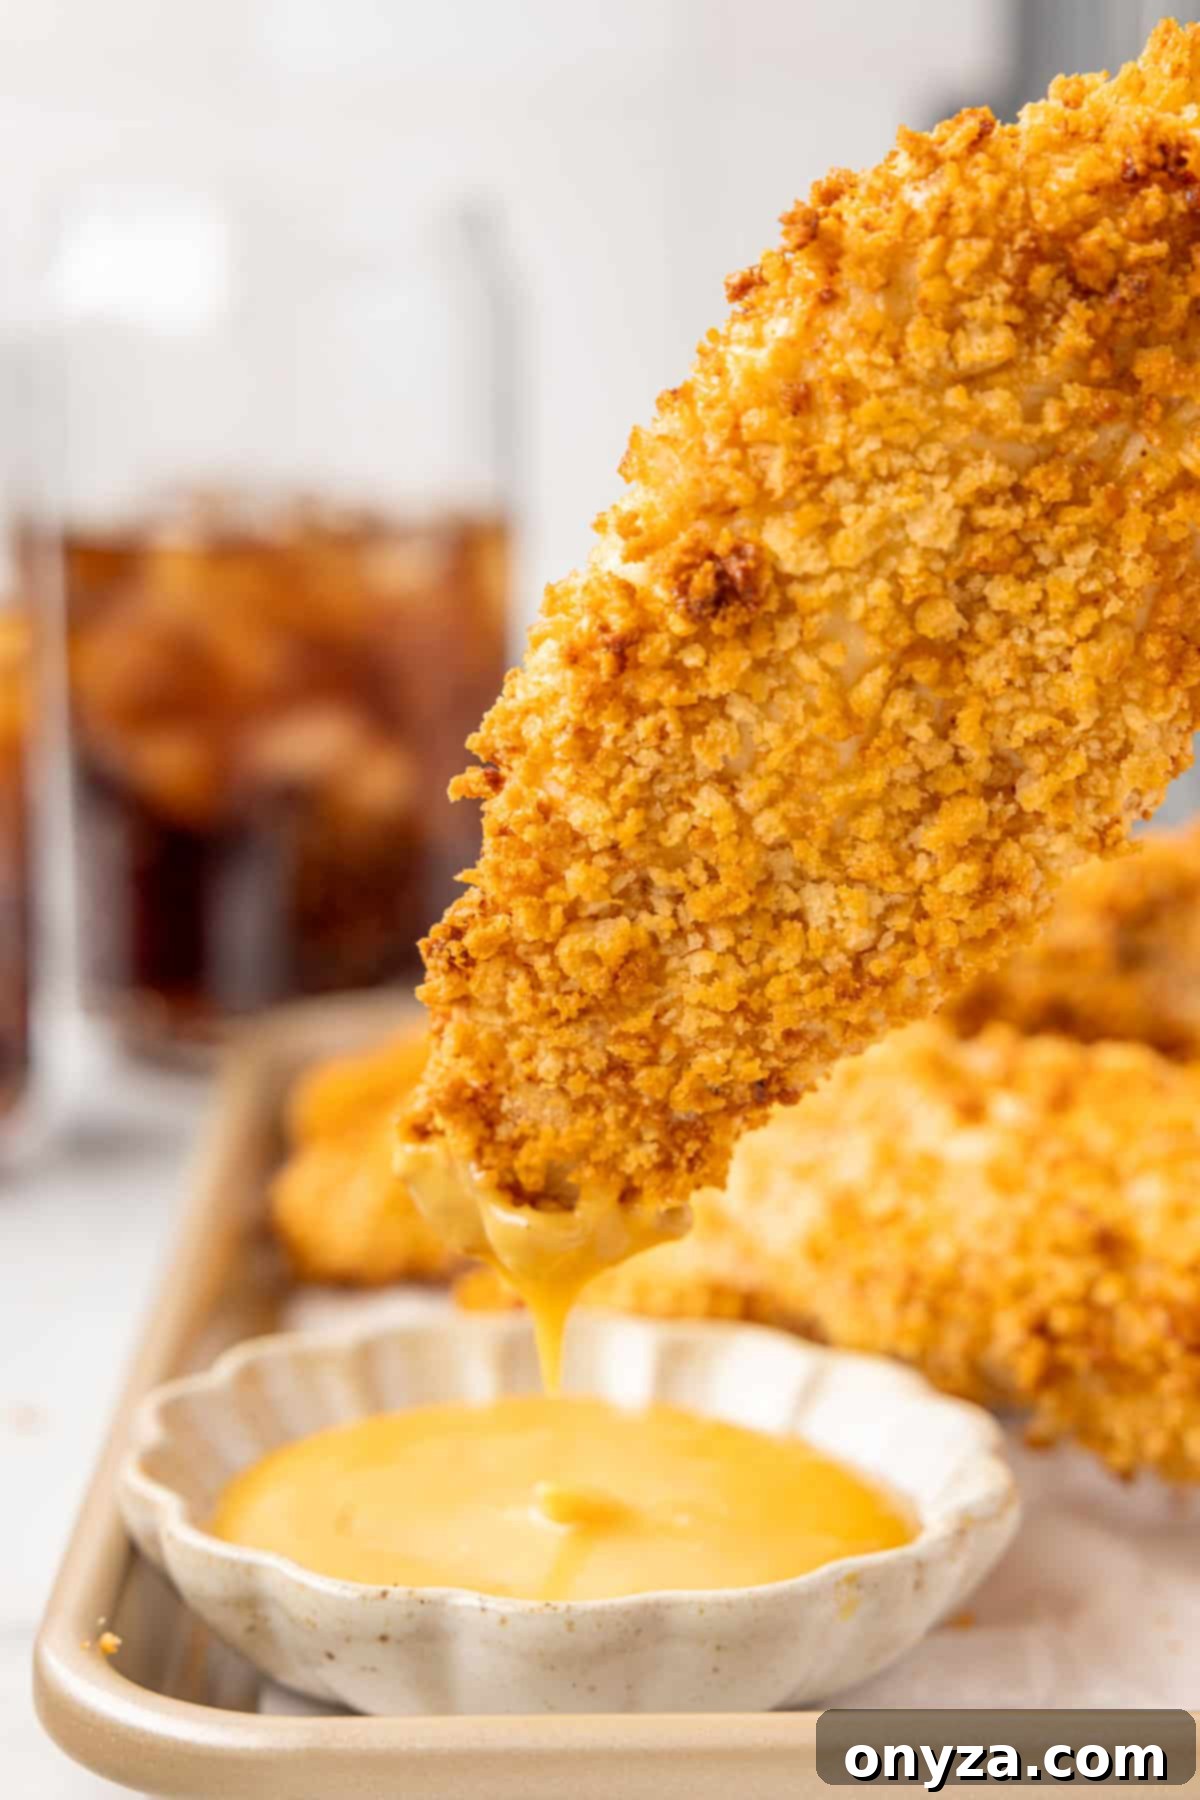
When selecting your dipping sauce, consider the side dishes you’re serving. For instance, a hearty BBQ sauce pairs wonderfully if you’re serving baked beans or macaroni and cheese, creating a cohesive and satisfying meal.
Here are some of our favorite side dishes that perfectly complement air fryer chicken tenders, ensuring a complete and enjoyable dining experience:
- Crispy Classics: Embrace the ultimate comfort food pairing with crispy French fries, delicious sweet potato fries, crunchy tater tots, or golden onion rings. These are always a crowd-pleaser, and there’s nothing quite like dipping a hot fry into honey mustard dressing!
- Hearty Comfort Foods: For a more substantial meal, serve your tenders with warm and satisfying sides like classic baked beans, luscious creamy mashed potatoes, or rich Instant Pot Macaroni and Cheese.
- Fresh & Roasted Vegetables: Balance the meal with a healthy dose of vegetables. Steamed, sautéed, or roasted options like broccoli florets, sweet carrots, tender cauliflower, zucchini slices, crisp green beans, or a colorful medley of roasted root vegetables make excellent accompaniments.
- Deli-Style Salads: Chilled salads offer a refreshing contrast. Consider macaroni salad, light and flavorful orzo salad, classic potato salad (like our Loaded Potato Salad or the lighter Fingerling Potato Salad), or a crisp, creamy homemade coleslaw.
- Vibrant Green Salads: For a lighter option, a crisp garden salad, a zesty Caesar salad, or a peppery arugula salad are perfect. You can even chop the tenders and incorporate them into a robust entree salad, such as a Crispy Chicken Cobb, for a complete and satisfying meal.
Explore More Delicious Air Fryer Recipes
The air fryer is an incredibly versatile kitchen appliance, capable of creating a wide array of delicious dishes beyond just chicken tenders. If you’ve enjoyed the ease and crisp results of this recipe, you’ll love exploring other possibilities. Expand your culinary repertoire with these fantastic air fryer creations, perfect for quick meals, appetizers, or healthy alternatives to your fried favorites:
- Air Fryer Chicken Tenders (Revisit your favorite!)
- Air Fryer Crab Cakes
- Air Fryer Mozzarella Sticks
- Air Fryer Hot Dogs
- Air Fryer Shrimp
Looking for even more ways to cook with your Air Fryer? Dive into our extensive collection of innovative and easy Air Fryer recipes, perfect for every meal and occasion.
Crispy Air Fryer Chicken Tenders Recipe
Amanda Biddle
These Crispy Air Fryer Chicken Tenders are a revelation – golden, incredibly juicy, and coated with a perfectly crunchy panko breading. Ready in about 30 minutes from start to finish, they are ideal for a quick weeknight dinner, a fun family meal, or a game-day snack. Serve them with your favorite dipping sauces and satisfying sides for a truly delightful experience.
15 minutes
12 minutes
27 minutes
3 servings (approx. 2 tenders each)
Ingredients
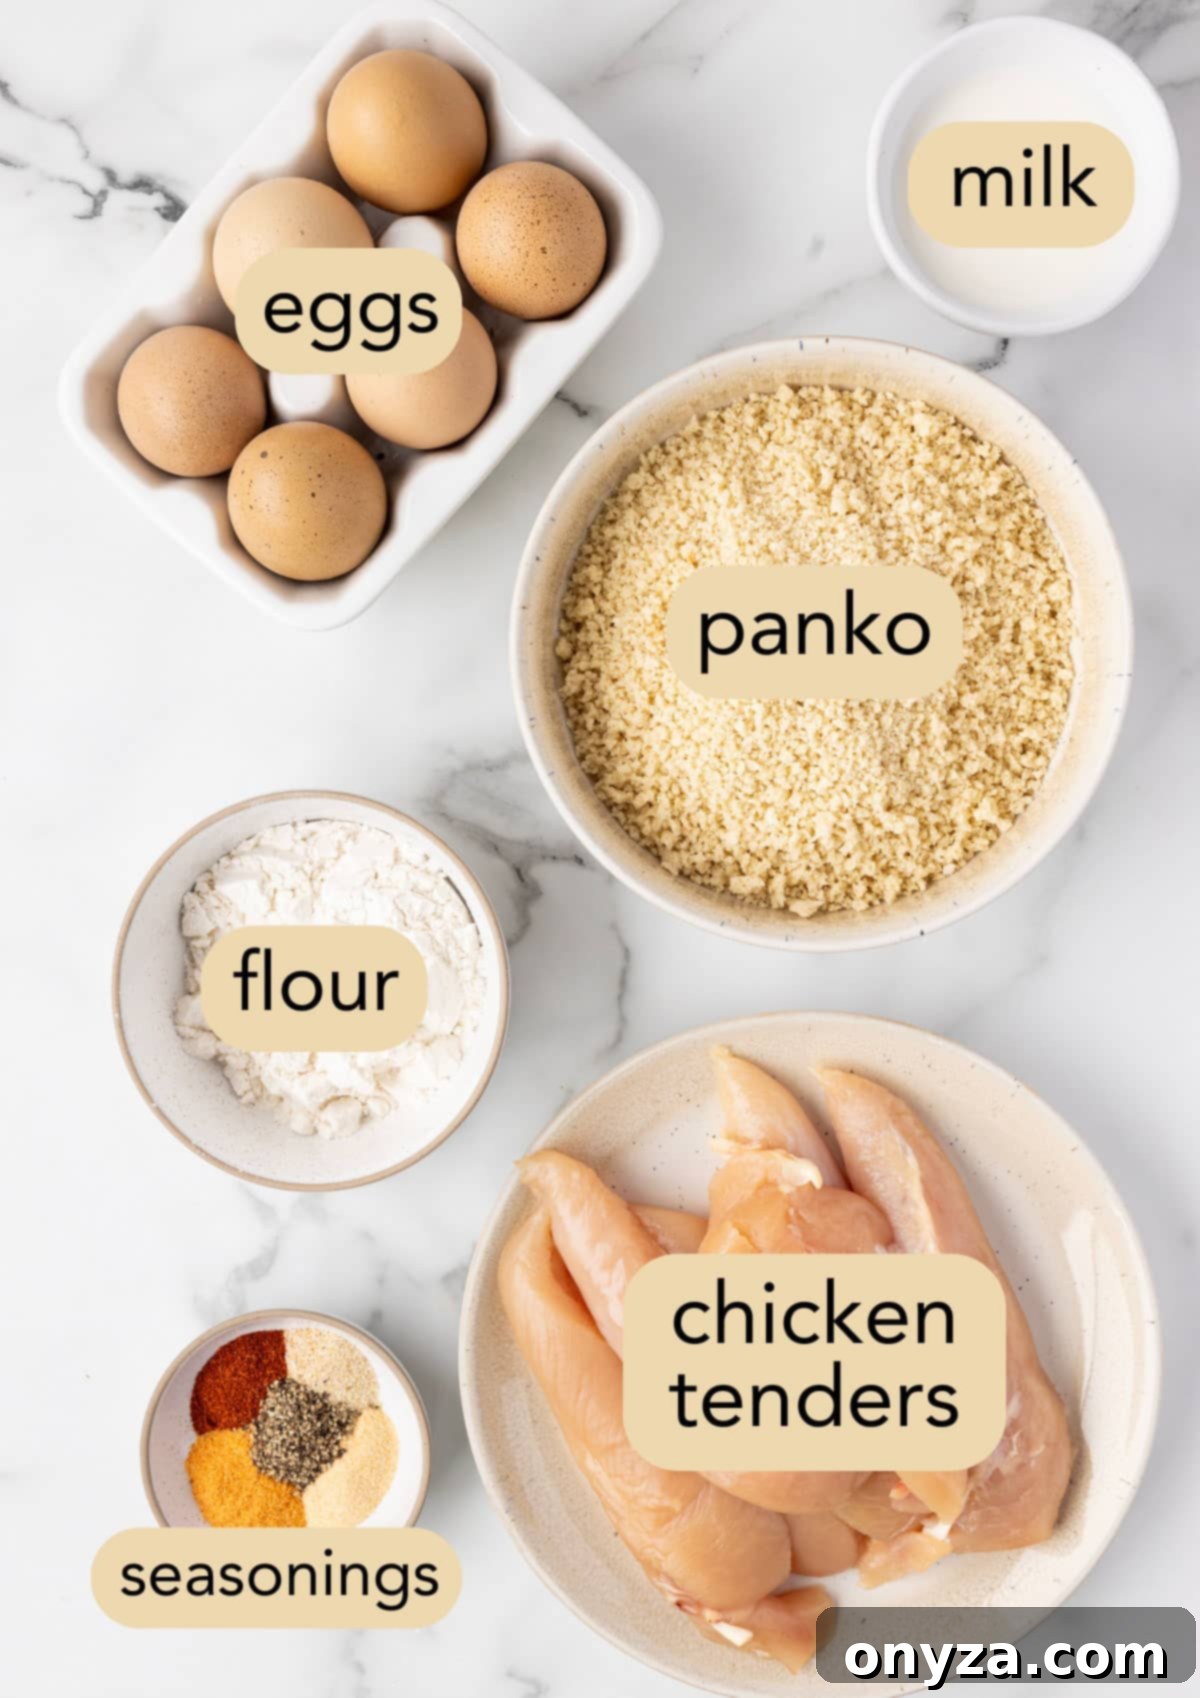
- 1 pound chicken tenderloins (about 6 tenders), tendons removed
- 1 large egg
- 2 tablespoons milk
- ¼ cup all-purpose flour
- 1 cup unseasoned panko breadcrumbs
- 1 to 1-1/2 teaspoons Lawry’s original seasoned salt, divided
- 1 teaspoon sweet paprika, divided
- 1 teaspoon onion powder, divided
- 1 teaspoon garlic powder, divided
- 1 teaspoon freshly-ground black pepper, divided
- Neutral, high-heat cooking oil spray
- Dipping sauces, such as ketchup, honey mustard, ranch dressing, or BBQ sauce
Instructions
- Preheat your air fryer to 400°F (200°C). Prepare 3 shallow bowls or trays for your breading station.
- In the first bowl, combine the ¼ cup flour with ½ teaspoon seasoned salt, ½ teaspoon garlic powder, ½ teaspoon onion powder, ½ teaspoon paprika, and ½ teaspoon black pepper. Whisk well to combine.
- In the second bowl, whisk the large egg together with the 2 tablespoons milk to create an egg wash.
- In the third bowl, combine the 1 cup panko breadcrumbs with the remaining ½ to 1 teaspoon seasoned salt (see notes below), ½ teaspoon garlic powder, ½ teaspoon onion powder, ½ teaspoon paprika, and ½ teaspoon black pepper. Stir thoroughly.
- Working one at a time, dip each chicken tenderloin first into the seasoned flour mixture, ensuring it’s fully coated. Gently shake off excess flour. Next, dip it into the egg wash, allowing any excess to drip off. Finally, bread the tenderloin in the seasoned panko mixture, pressing firmly to ensure the crumbs adhere well. As you bread, periodically stir and fluff the panko mixture to redistribute settled seasonings.
- Add the breaded chicken tenders to your preheated air fryer basket in a single layer, ensuring there’s space around each piece for air circulation. Lightly spray both sides of the chicken with a high-heat cooking oil spray. You may need to cook the chicken tenders in batches to avoid overcrowding.
- Cook for 10-12 minutes, flipping the chicken tenders halfway through the cooking time. If the tenders look dry when flipped, lightly spray them with a little more oil. The tenders are ready when they are golden brown, crispy, and an instant-read thermometer inserted into the thickest part reads an internal temperature of 165°F (74°C).
- Once cooked, let the chicken tenders rest for 3-5 minutes before serving. Enjoy them with your favorite dipping sauces and complementary side dishes.
Notes
Seasoned Salt: During testing, our tasters were split between preferring 1/2 teaspoon or 1 teaspoon of Lawry’s seasoned salt in the panko breadcrumbs. If you enjoy a zestier, slightly saltier crumb, opt for the full teaspoon. For a milder flavor, stick with 1/2 teaspoon. Adjust according to your personal preference.
Air Fryer Cooking Time: Air fryer models vary significantly in power and efficiency. The suggested cooking times are an estimate. Always begin checking for doneness after 10 minutes, and adjust the cooking time as needed for your specific air fryer to ensure the tenders are perfectly cooked and crispy.
Nutrition Estimate
Serving: 2 tenders | Calories: 342kcal | Carbohydrates: 25g | Protein: 39g | Fat: 9g | Saturated Fat: 2g | Polyunsaturated Fat: 2g | Monounsaturated Fat: 2g | Trans Fat: 0.03g | Cholesterol: 160mg | Sodium: 1126mg | Potassium: 690mg | Fiber: 2g | Sugar: 2g | Vitamin A: 484IU | Vitamin C: 2mg | Calcium: 76mg | Iron: 3mg
Nutrition information is automatically calculated and should be considered an approximation. Individual results may vary based on exact ingredients and preparation methods.
Please be aware that our recipes are developed using the US Customary measurement system and have not been specifically tested for high altitude/elevation cooking and baking. Adjustments may be necessary depending on your geographical location.
Enjoyed this recipe? Please rate and comment below!
