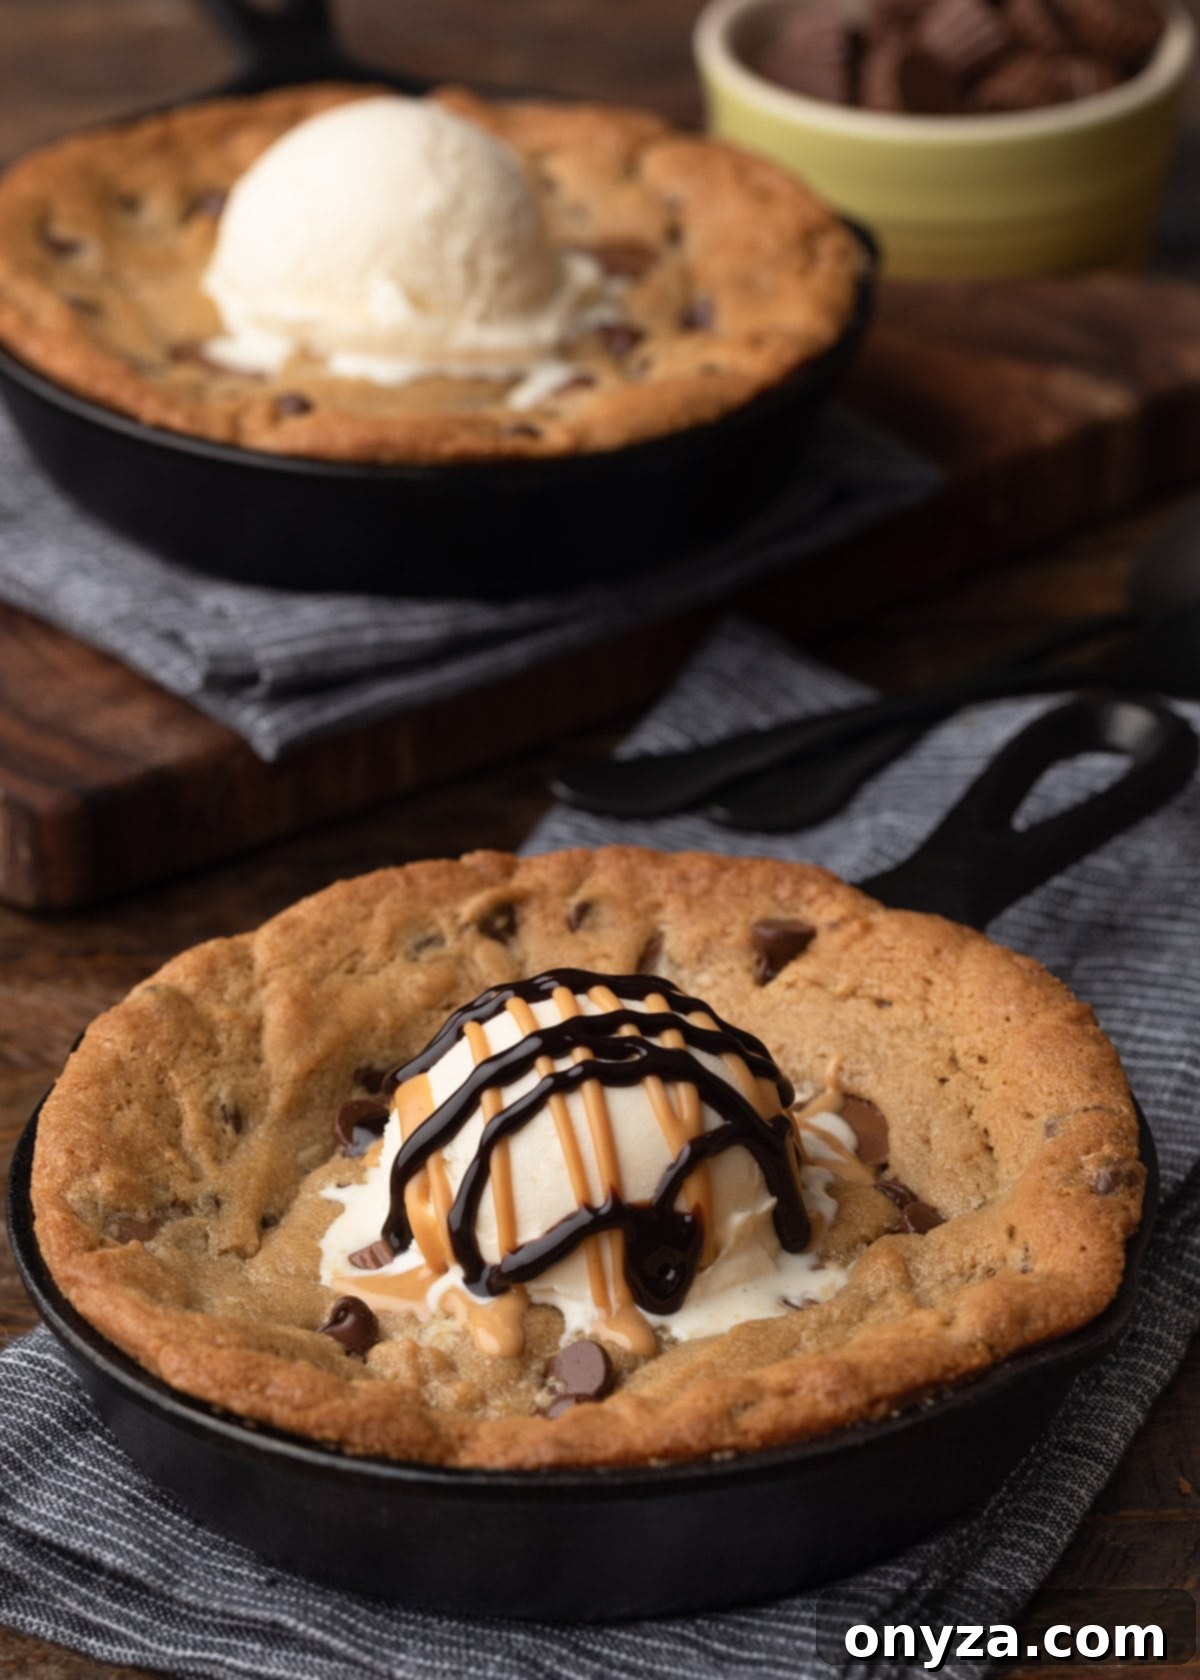
Ultimate Peanut Butter Skillet Cookie: Warm, Gooey & Decadent Treat
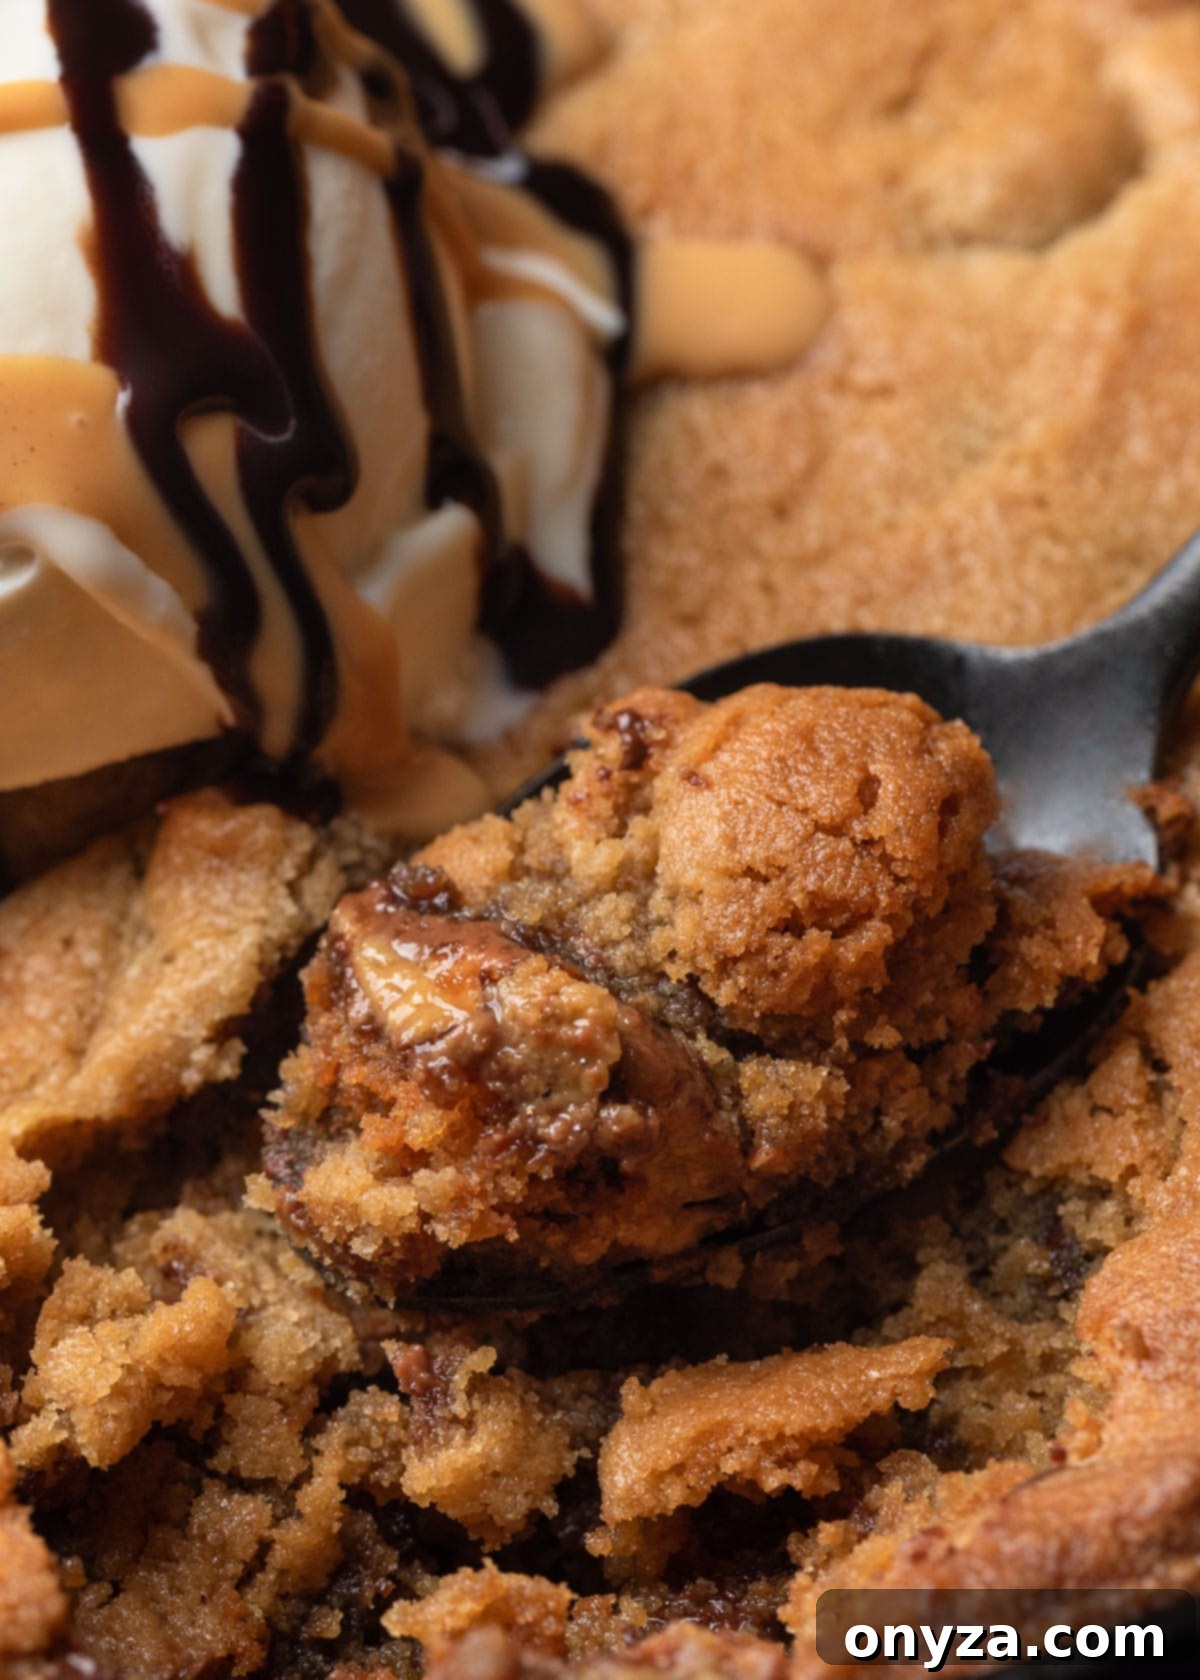
There are some desserts that just hit differently, and this Peanut Butter Skillet Cookie is undeniably one of them. Imagine sinking your spoon into a warm, gooey, deeply satisfying cookie, bursting with the irresistible combination of rich peanut butter and melted chocolate. This isn’t just any cookie; it’s an experience, especially when served hot from the skillet and crowned with a generous scoop of creamy vanilla ice cream. It’s the kind of treat that transforms an ordinary evening into something truly special, making it perfect for celebrations like Halloween, cozy nights in, or simply using up that delightful stash of miniature peanut butter cups.
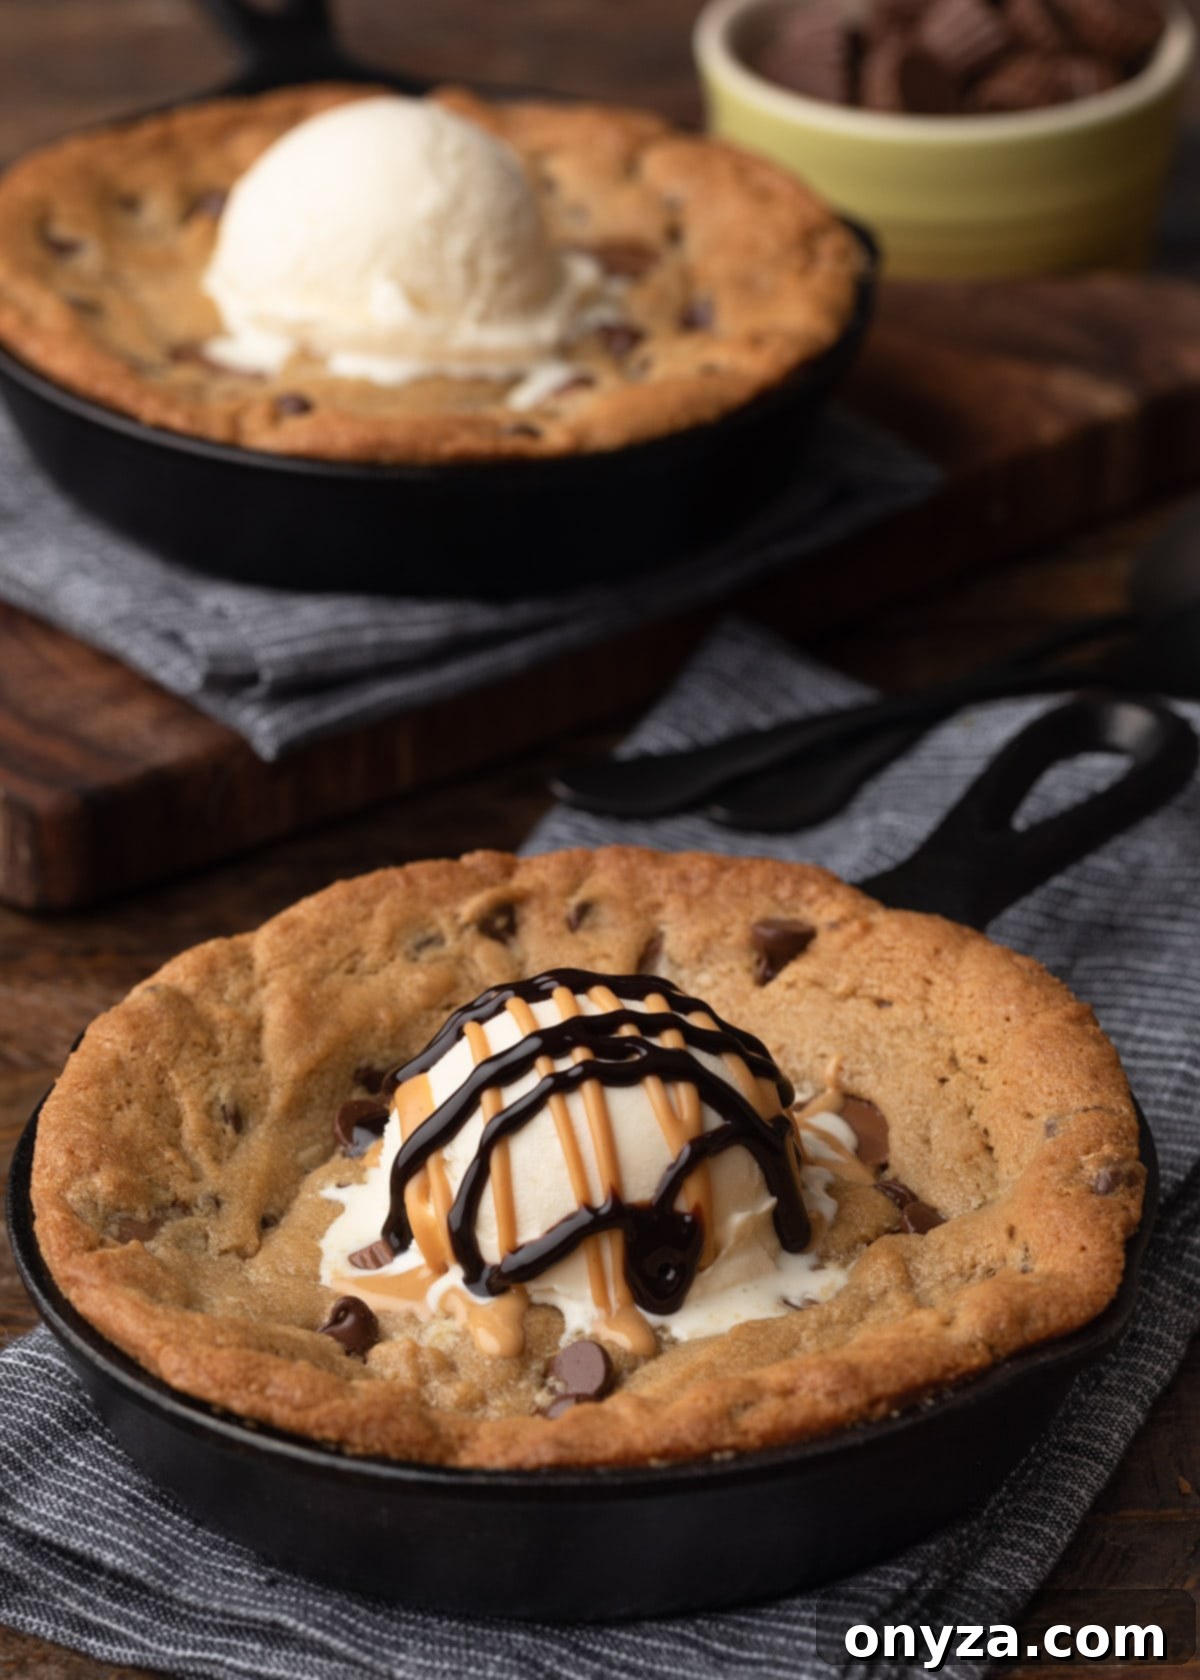
Why This Peanut Butter Skillet Cookie Will Be Your New Favorite Indulgence
Sometimes, life calls for a truly decadent dessert, and this recipe answers that call with a resounding yes! For me, these Peanut Butter Cup Skillet Cookies evoke cherished childhood memories, particularly around Halloween. My family would gather in the kitchen, laughter echoing as we mixed up batches of this delightful dough, anticipating the warm, sweet aroma that would soon fill the house. It was a tradition, a simple joy that always brought smiles.
While my adult palate might not crave excessive sweetness as often as my younger self did, there are still moments when only an utterly sinful treat will do. And in those moments, diving spoon-first into these Peanut Butter Skillet Cookies is pure bliss. The soft, chewy peanut butter cookie base, the pockets of warm, melty chocolate chips, and the decadent surprise of softened peanut butter cups, all beautifully complemented by cooling pools of vanilla ice cream – it’s a symphony of textures and flavors. Each bite transports me back to those simpler times, reminding me of the sheer fun and warmth of family moments.
Beyond nostalgia, this recipe offers several compelling reasons to become a staple in your kitchen, solidifying its place as your new favorite indulgence:
- Irresistibly Gooey Texture: Baked in a skillet, the edges become perfectly crisp while the center remains wonderfully soft and molten, offering the ultimate textural contrast.
- Effortless Elegance: It looks incredibly impressive and gourmet, yet it is surprisingly simple and quick to prepare, making it ideal for both casual weeknights and last-minute entertaining.
- Perfect for Sharing: Designed for communal enjoyment, these skillet cookies are a fantastic centerpiece for dessert, encouraging everyone to dig in and share the joy.
- Customizable Delights: This recipe is incredibly adaptable! Easily switch up chocolate varieties, add different candies, or incorporate nuts to suit any taste preference or dietary whim.
- Year-Round Comfort: While a hit for holidays and special occasions, its comforting and familiar flavors make it a delightful and satisfying treat any time of the year, whenever a craving strikes.
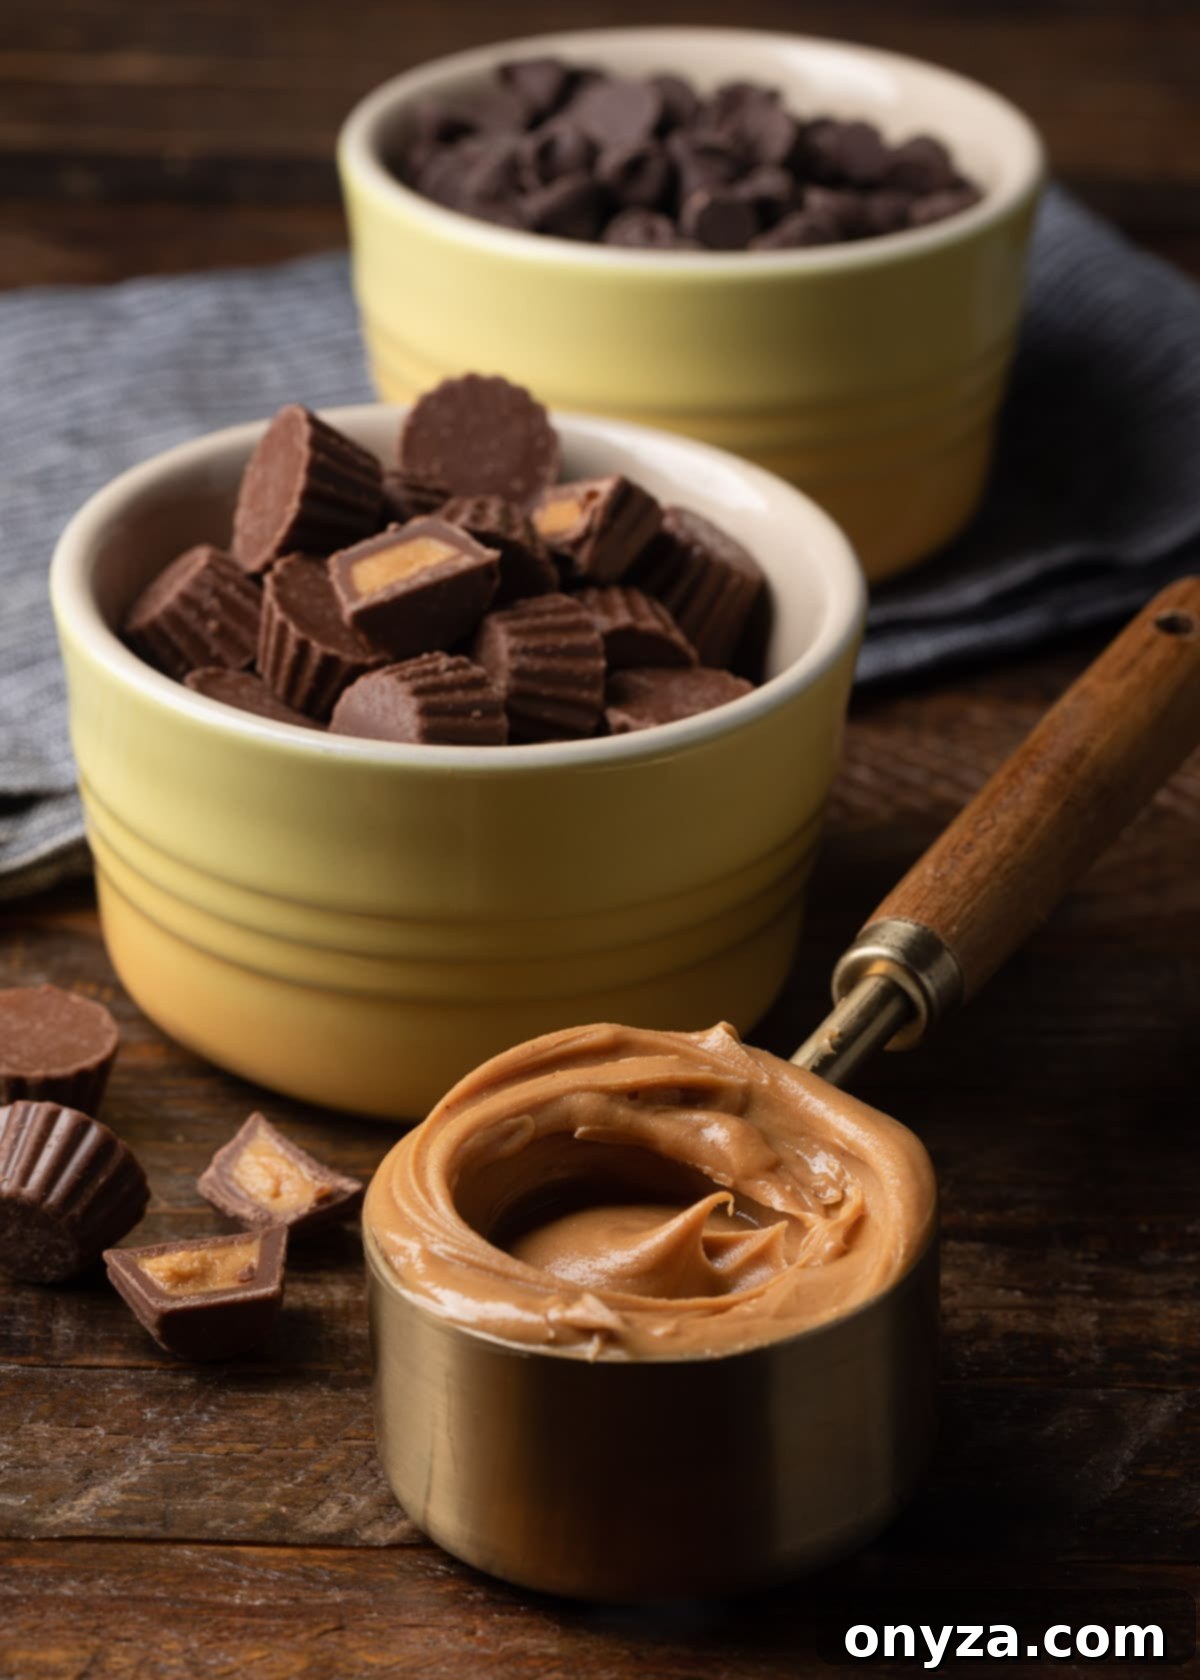
Crafting Perfection: Essential Ingredients for Your Skillet Cookie
The journey to crafting the perfect Peanut Butter Skillet Cookie begins with a careful selection of ingredients. The foundation of this recipe is a classic, rich peanut butter cookie dough, requiring common pantry and fridge staples. Here’s a closer look at what you’ll need and some crucial tips to ensure the best possible results:
The Heart of the Cookie: Peanut Butter Dough Staples
- All-Purpose Flour: This is the structural backbone of our cookie, providing the necessary body and chew.
- Sugars: A thoughtful blend of light brown sugar contributes not only sweetness but also crucial moisture and a rich, caramel-like depth of flavor. Complementing this is granulated sugar, which ensures that classic cookie sweetness and helps achieve those desirable slightly crisp edges.
- Baking Soda: Essential for helping the cookie rise beautifully and develop that signature soft, chewy texture.
- Kosher Salt: A non-negotiable ingredient, salt brightens and balances the sweetness, enhancing all the complex flavors in the cookie. I often use Diamond Crystal for its unique flakiness, but any good quality kosher salt will work perfectly.
- Vanilla Extract: This crucial flavor enhancer works wonders, complementing the robust peanut butter notes and adding a layer of warmth and sophistication.
- Egg: Acting as a vital binder, the egg adds richness and contributes to the cookie’s overall structure. For optimal incorporation into the dough, ensure your egg is at room temperature.
- Unsalted Butter: Softened to room temperature, the butter is crucial for creating a light and fluffy dough when creamed with the sugars. This creaming process incorporates air, leading to a tender and well-textured cookie.
The Peanut Butter Predicament: Choosing Wisely
For this specific recipe, I emphatically recommend using creamy or smooth-style conventional peanut butter. Brands like Skippy or Jif are ideal choices. It is critically important to steer clear of natural peanut butters, especially those that naturally separate oil from solids and require stirring. Natural peanut butters possess a different fat and sugar composition, which can significantly alter the texture of your cookie. They often result in a greasier or more crumbly cookie that lacks the desired chewiness and structural integrity needed for a skillet cookie. The consistent texture of conventional peanut butter provides the perfect foundation for a wonderfully chewy and stable cookie that holds up beautifully in the skillet.
Curious about the nuanced differences between various types of peanut butter available at your grocery store? For a comprehensive understanding, we recommend exploring this informative article: The Difference Between Natural and Conventional Peanut Butter from Food & Wine.
The Chocolatey Heartbeat: Chips and Cups
No Peanut Butter Skillet Cookie would be truly complete without its beloved chocolatey companions. I like to incorporate two distinct sources of chocolate for maximum flavor and delightful textural contrast:
- Chocolate Chips: My personal preference leans toward semisweet chocolate chips. Their subtle bitterness offers a beautiful counterpoint to the inherent sweetness of the peanut butter, adding a layer of complex, sophisticated flavor. However, if your preference is for an even sweeter, more classic indulgence, milk chocolate chips are an excellent and equally delicious alternative.
- Mini Peanut Butter Cups: These are truly the stars of the show, melting into luscious, creamy pockets of peanut butter and chocolate goodness that are distributed throughout every bite of the cookie.
For the absolute best distribution and optimal melt, I’ve found that Reese’s “unwrapped minis” peanut butter cups perform exceptionally well in this recipe. They are conveniently smaller than the standard “miniature peanut butter cups” and seamlessly integrate into the cookie dough. If you find yourself only able to source the slightly larger “miniature” variety, a simple yet effective trick is to cut them in half before measuring and adding them to the dough. This ensures they disperse more evenly, guaranteeing that perfect bite of peanut butter cup in every single spoonful. For a fun, vibrant, and festive twist, particularly around Halloween, consider substituting some or all of the peanut butter cups with Reese’s Pieces for an extra pop of color and a satisfying candy crunch!
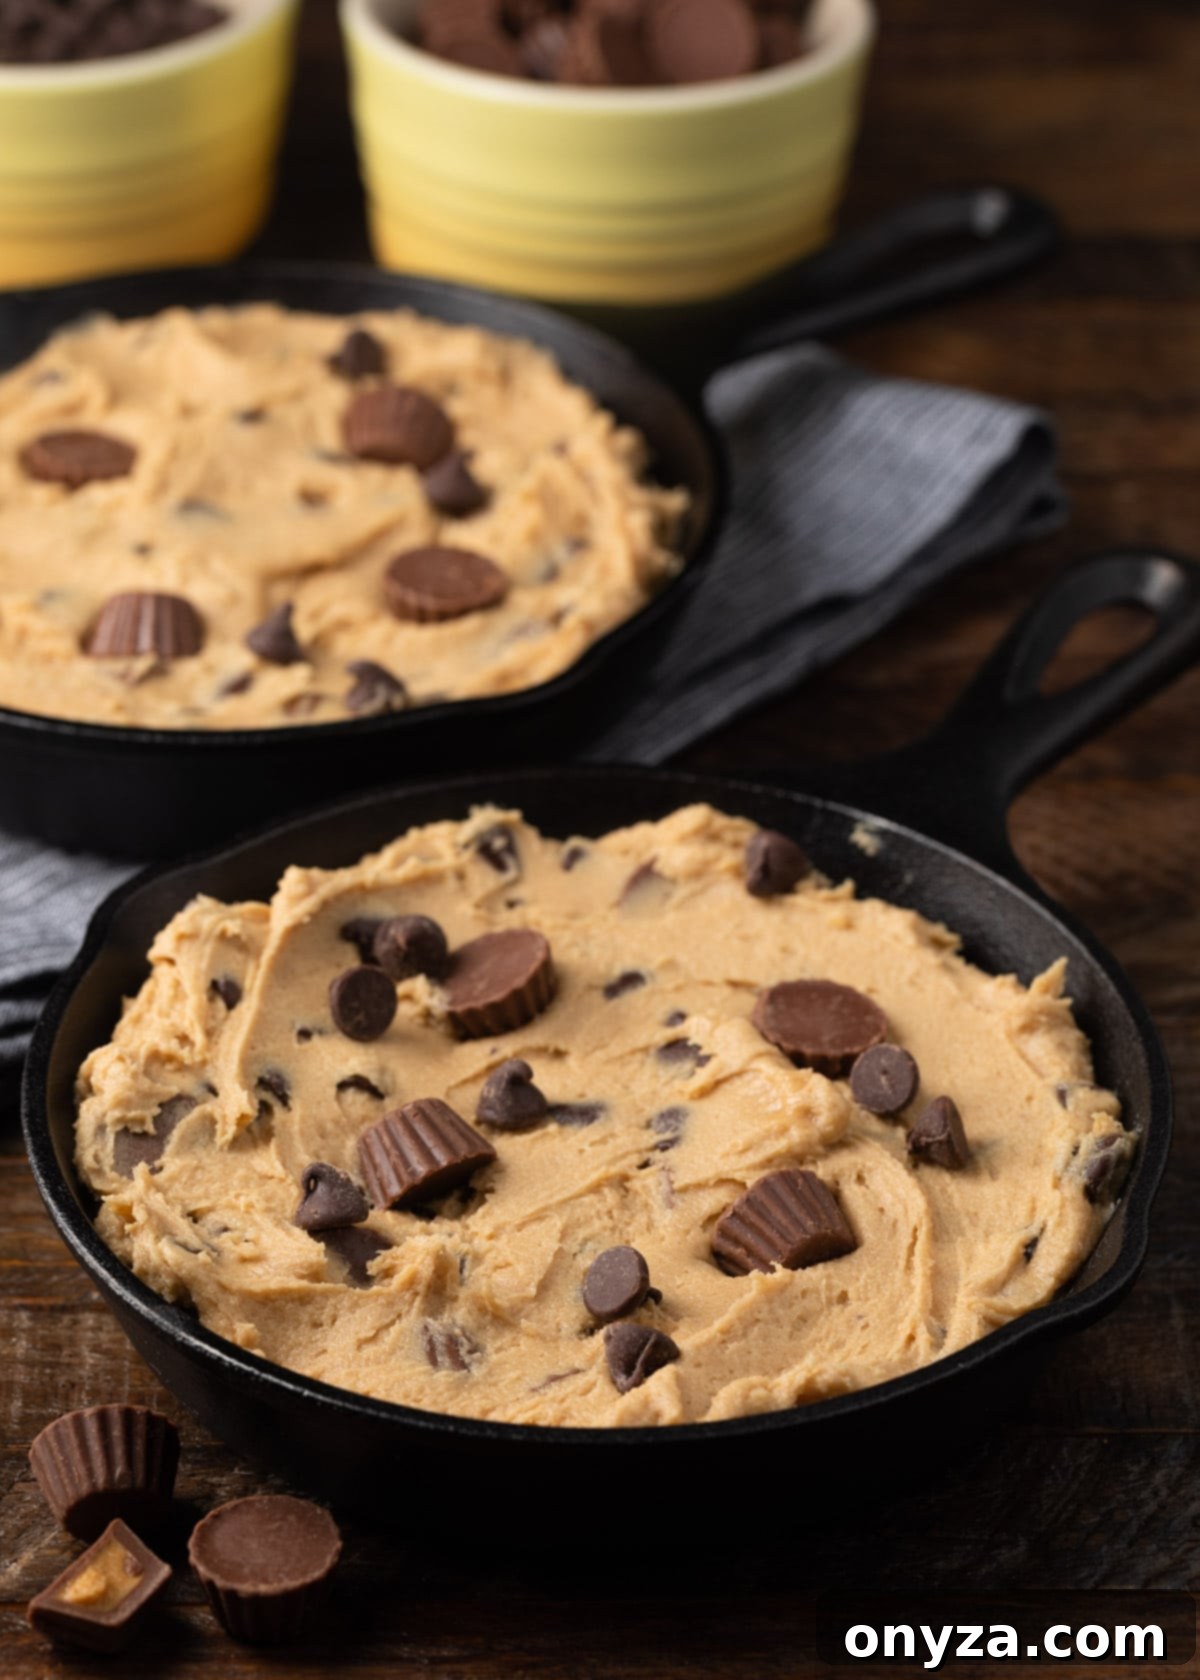
The Star Vessel: Embracing the Cast Iron Skillet
The choice of cooking vessel is more than just a preference; it’s paramount for achieving the signature characteristics of this recipe. A cast iron skillet is truly non-negotiable for producing that iconic warm, crispy-edged, and wonderfully gooey-centered cookie. Cast iron’s exceptional heat retention and even heat distribution capabilities ensure a consistent bake and a beautifully caramelized, deeply flavorful crust that’s hard to replicate with other bakeware.
Selecting Your Skillet Size:
- Individual or Shared Skillets (6-1/2 inch): We are absolutely enchanted by the experience of making our Peanut Butter Skillet Cookies in small, 6-1/2-inch cast iron skillets. These are truly the ideal size for a perfectly portioned dessert, just right for two people to comfortably share, making for an intimate and delightful experience. Alternatively, they’re perfect for individual servings if you’re in the mood for an extra indulgent, personal treat. Beyond their practicality, these smaller skillets also make for a charming and rustic presentation that’s sure to impress. You can find excellent quality 6-1/2 inch cast iron skillets here.
- Large Skillet (10- or 12-inch): If your goal is to bake for a larger gathering, or if you simply prefer one grand, magnificent dessert for everyone to dig into, this recipe is incredibly versatile and can be easily scaled up for a single 10- or 12-inch cast iron skillet. When opting for a larger skillet, just be mindful that the baking time will be slightly longer to ensure the larger cookie cooks through to gooey perfection, with no raw spots.
Maintaining Your Cast Iron:
To ensure your skillet cookies consistently turn out beautifully and release effortlessly, it’s crucial to ensure your cast iron is properly seasoned. A well-maintained, seasoned skillet creates a natural non-stick surface. Additionally, a light buttering of the pan before you add the cookie dough will provide an extra layer of protection against sticking and contribute wonderfully to that desirable delicious, crispy bottom.
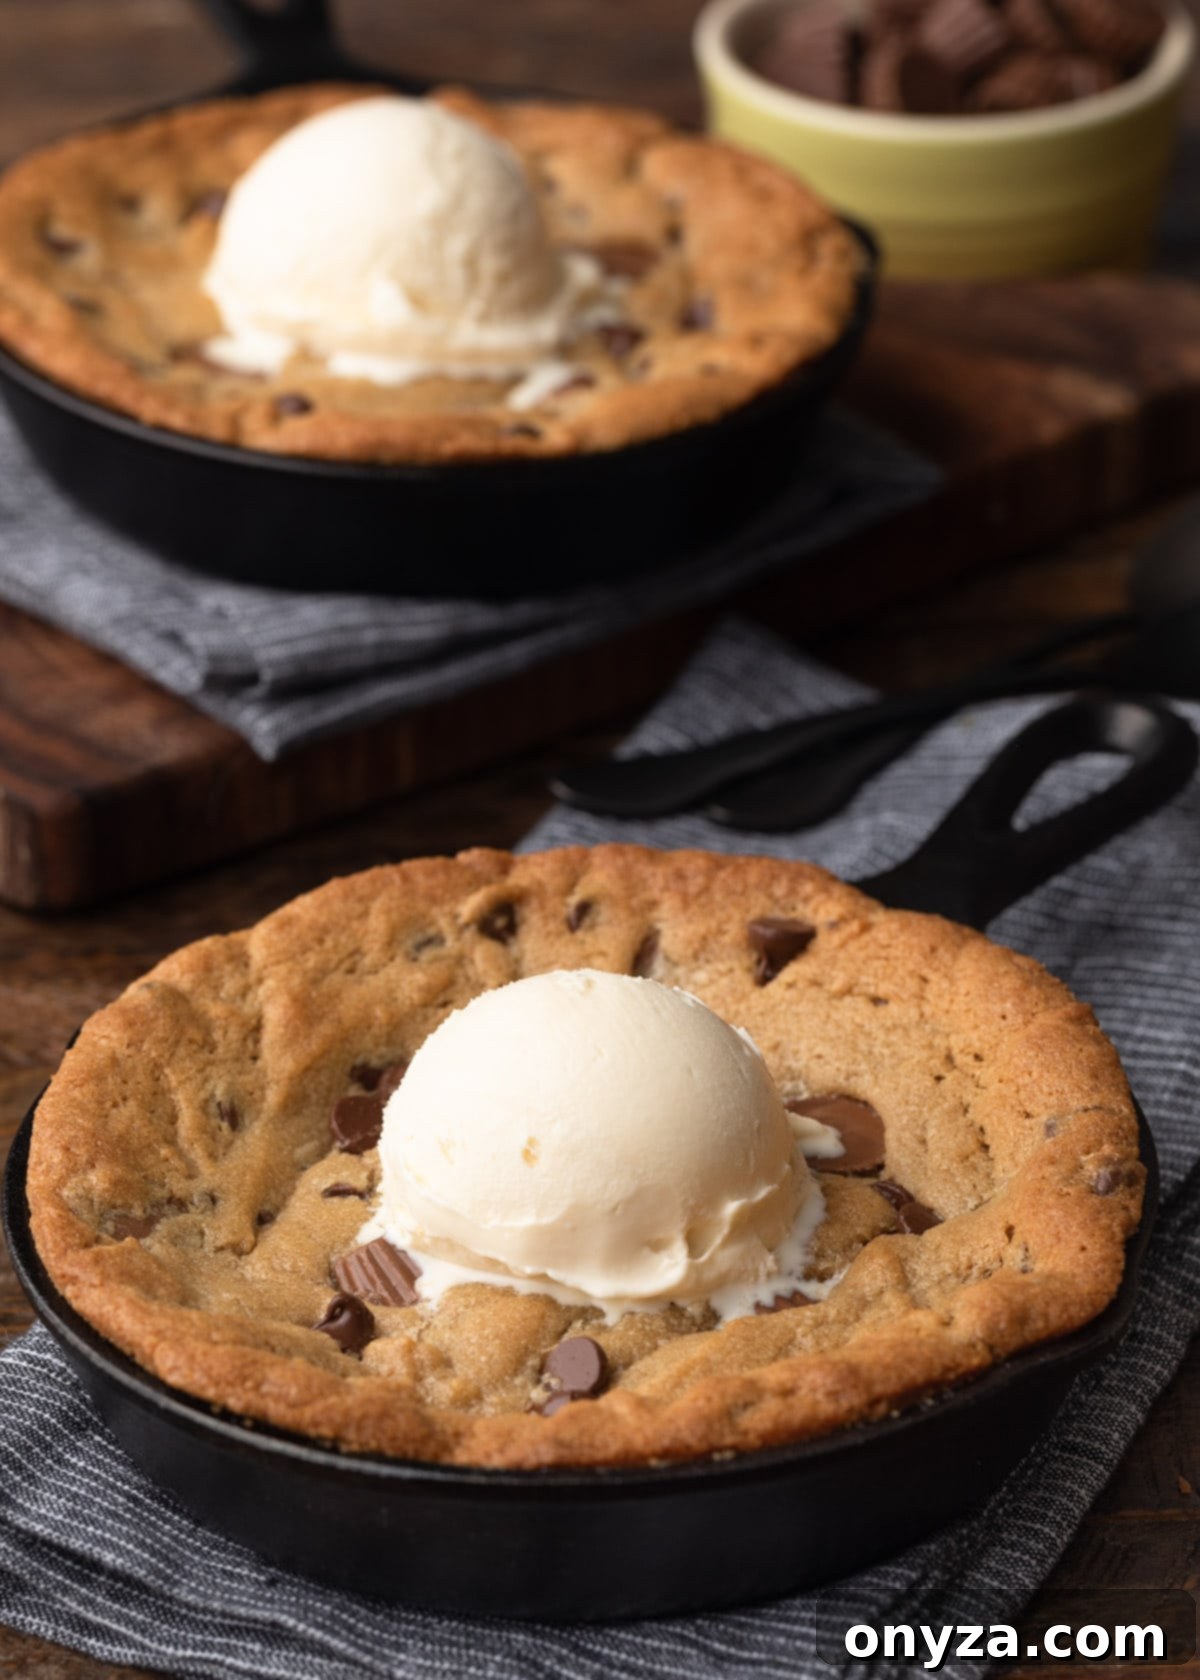
Achieving Perfection: Expert Tips for Your Peanut Butter Skillet Cookie
Crafting that perfectly warm, sumptuously gooey, and utterly delicious Peanut Butter Skillet Cookie is surprisingly simple when armed with a few expert tips. Follow these recommendations closely to ensure your dessert turns out flawless, delectable, and memorable every single time:
- The Importance of Proper Mixing: For the ultimate dough consistency and texture, I highly recommend employing either a stand mixer, ideally fitted with a paddle attachment, or a robust electric hand mixer. While the final step of gently folding in the chocolate chips and peanut butter cups can (and should) be done by hand with a spatula, the initial creaming of the butter and sugars absolutely requires a mixer. This crucial step incorporates sufficient air into the mixture, resulting in a light, fluffy, and tender dough base, which is fundamental for a superior cookie texture.
- Anticipate the Dough’s Rise: It’s entirely normal and expected for your cookie dough to puff up and rise significantly in the oven during baking. There’s no cause for alarm! In my extensive experience, I have never encountered any spillover when baking this recipe in my Lodge 6-1/2 inch skillets. However, for complete transparency and peace of mind, if you happen to be using a different brand of skillet, or if this is your very first time preparing these cookies, it’s always a prudent idea to place your individual skillets on a preheated baking sheet. This simple precaution provides an invaluable extra layer of protection against any potential overflow, and it also significantly simplifies the process of safely transferring the hot skillets into and out of the oven.
- Mastering the Art of Doneness: The secret to achieving that coveted perfectly gooey center lies in knowing precisely when to remove the skillets from the oven. Keep a keen eye out for edges that have transformed into a beautiful golden and crisp hue. Crucially, the centers should appear just set, but still exhibit a slight, delicate wobble when gently nudged. This subtle jiggle is your indicator that the interior will be wonderfully molten and warmly gooey – exactly the desired outcome! Should your preference lean towards a firmer, more uniformly baked cookie, you can certainly extend the baking time by an additional few minutes, but always keep a close watch to prevent overbaking.
- The Crucial 10-Minute Cooling Period: Patience, truly, is a virtue when it comes to serving these magnificent cookies. While the temptation to immediately dig in the moment they emerge from the oven is undeniable, allowing the peanut butter skillet cookies to cool for at least 10 minutes directly in their skillets after baking is absolutely essential. This brief yet critical cooling period allows the molten centers to set just enough, preventing them from being *too* gooey and runny. This pause ensures a much more enjoyable, manageable, and wonderfully scoopable dessert experience.
- Elevate with Decadent Toppings: The ultimate way to savor these warm, indulgent cookies is undoubtedly with an array of complementary toppings! We find that a generous scoop of perfectly cold vanilla ice cream creates an unparalleled and delightful temperature and textural contrast against the warm, soft cookie. To truly elevate the experience to an extraordinary level, finish your creation with a decadent drizzle of both peanut butter sauce and chocolate sauce. Reese’s offers a wonderfully convenient Peanut Butter Topping that is readily available in most well-stocked grocery stores. Alternatively, you can easily craft your own simple yet delicious peanut butter drizzle by gently melting a few spoonfuls of creamy peanut butter in the microwave until it achieves a smooth, pourable consistency. For those seeking a truly gourmet touch, Stonewall Kitchen’s Chocolate Peanut Butter Sauce is an absolute favorite in our home and comes highly recommended!
Frequently Asked Questions About Skillet Cookies
Got questions about making the best Peanut Butter Skillet Cookies? Here are answers to some common queries to help you master this delicious dessert:
Can I use natural peanut butter in this recipe?
As highlighted in the ingredients section, it is generally recommended to use conventional, creamy peanut butter (such as Skippy or Jif) for this particular recipe. Natural peanut butters, especially those that separate oil and solids, possess a different consistency and fat content. This difference can significantly impact the final texture of your cookie, often leading to a greasier or more crumbly result that lacks the desired chewiness and structure. For optimal texture, flavor, and consistency, sticking to conventional creamy peanut butter is your best bet.
Can I bake this cookie in a regular pie plate or baking dish instead of a cast iron skillet?
While a cast iron skillet is truly ideal for its superior heat retention and its ability to create those signature crispy edges with a perfectly gooey center, you can certainly bake this cookie in an oven-safe pie plate or a small baking dish of similar dimensions. Be aware that the texture might vary slightly; you might find the edges less crispy compared to a cast iron skillet. However, it will still be a delicious and enjoyable dessert. Just ensure you grease the dish thoroughly to prevent sticking.
How should I store leftover skillet cookies?
If, by some miracle, you happen to have any leftovers (a rare occurrence with such a delicious treat!), allow the cookie to cool completely to room temperature. You can then cover the skillet tightly with plastic wrap or aluminum foil. Alternatively, for easier storage, transfer the cooled cookie or individual slices to an airtight container. Store at room temperature for up to 2-3 days. For longer preservation, refrigerate for up to a week.
What’s the best way to reheat a skillet cookie?
Absolutely! Reheating a skillet cookie is a fantastic way to enjoy that warm, gooey goodness again. To reheat, simply place the skillet cookie (or a slice) back in its cast iron skillet and warm gently in a preheated oven at 300°F (150°C) for about 5-10 minutes, or until it’s warmed through and gloriously gooey once more. For individual portions, you can also use a microwave, heating for 20-30 seconds, but the oven method is generally preferred as it helps to maintain some of that lovely crispy edge.
Are there any fun variations or additions I can try with this recipe?
Absolutely! This recipe is wonderfully versatile and encourages creativity. Don’t hesitate to experiment:
- Different Chocolates: Mix in white chocolate chips for a sweeter profile, dark chocolate chunks for intense richness, or even a blend of various chocolate types to create a dynamic flavor experience.
- Candy Mix-ins: Beyond Reese’s Pieces, consider incorporating other favorite candies like M&M’s, chopped Snickers bars, or even crushed pretzels for an interesting sweet and salty crunch.
- Nutty Additions: While this is a peanut butter cookie, a sprinkle of finely chopped roasted peanuts, pecans, or walnuts can add a delightful crunch and an extra layer of nutty flavor without overpowering the main peanut butter star.
- Warm Spices: A subtle pinch of ground cinnamon, a dash of nutmeg, or a hint of cardamom can add unexpected warmth and complexity to the cookie dough, enhancing its comforting qualities.
Recipe Card: Peanut Butter Skillet Cookie
Peanut Butter Skillet Cookie
by Amanda Biddle
These warm, sweet peanut butter skillet cookies are loaded with chocolate chips and mini peanut butter cups. An easy-to-make, decadent treat (especially topped with a scoop of ice cream)!
Prep Time: 20 minutes
Cook Time: 25 minutes
Cooling Time: 10 minutes
Total Time: 55 minutes
Servings: 4 servings
Ingredients
- ½ cup unsalted butter, softened (plus additional for buttering pans)
- ½ cup light brown sugar, lightly packed (99 g)
- ¼ cup granulated sugar (49.5 g)
- ⅓ cup creamy peanut butter (not “natural” peanut butter; 88 g)
- 1 teaspoon vanilla extract
- 1 large egg, room temperature
- 1 cup all purpose flour (126 g)
- ½ teaspoon baking soda (2.5 g)
- ½ teaspoon kosher salt (I use Diamond Crystal; 1.7 g)
- ¾ cup Reese’s “unwrapped minis” peanut butter cups* (126 g); plus additional, if desired
- ½ cup semisweet chocolate chips (96 g); plus additional, if desired
- Ice cream, peanut butter sauce, and/or chocolate sauce for serving, optional
Instructions
- Preheat oven to 350 degrees F (175°C) with rack in the middle position. Lightly butter 2, 6-1/2 inch cast iron pans.**
- In a medium bowl, whisk together flour, baking soda, and salt. Set aside.
- In the bowl of a stand mixer fitted with the paddle attachment, or a large bowl with an electric hand mixer, cream butter, brown sugar, and granulated sugar until light and fluffy, about 3-4 minutes.
- Beat in peanut butter. Scrape the bowl and add the room temperature egg and vanilla extract. Mix to combine on medium-low speed until well incorporated.
- Scrape the bowl once more, then gradually add the flour mixture. Mix on low speed just until combined, being careful not to overmix.
- Use a spatula or wooden spoon to gently stir in the chocolate chips and peanut butter cups until they are evenly distributed throughout the cookie dough.
- Divide the mixture evenly between the two buttered pans, spreading the dough with a spoon or spatula to create an even layer. If you wish, sprinkle a few extra chocolate chips and/or peanut butter cups over the top for a more appealing finish. If adding extra peanut butter cups, gently press them into the dough slightly.
- Bake for 20-25 minutes (mine are usually done to our liking in the 24-25 minute range), or until the skillets are puffed, golden brown around the edges, and the centers are just set with a slight wobble. (For a firmer-centered cookie, you can increase baking time slightly.)
- Remove from oven and let the cookies cool in their skillets for at least 10 minutes before serving. This cooling period is crucial for the centers to set properly and prevent them from being too runny. Serve warm with scoops of vanilla ice cream and drizzles of peanut butter sauce and/or chocolate sauce, if desired.
Notes
- * For the best results, I highly recommend using the extra small “unwrapped minis” from Reese’s product line. You can often find them in the baking or candy aisles of your local grocery store. If these are unavailable or you prefer using Reese’s “miniature” peanut butter cups (which are slightly larger), make sure to cut them in half before measuring and folding them into the cookie dough. This ensures better distribution and melt.
- ** I have consistently used Lodge 6-1/2 inch cast iron skillets for this recipe and have never experienced any spillover. However, I haven’t tested other skillet brands, which may vary in depth or capacity. As a precaution, especially for your first bake or if using different skillets, you might want to place the individual skillets on a preheated baking sheet before putting them into the oven.
- Don’t have small skillets? No problem! This recipe is versatile and can be baked in a single 8- or 10-inch cast iron skillet. When baking in a larger skillet, the cooking time will be slightly longer, usually closer to 25-30 minutes. Keep an eye on the edges and center for doneness.
Nutrition Estimate
Please note that nutrition information is an automatic calculation and should only be used as an approximation.
- Serving: 0.5 of a 6-inch skillet
- Calories: 1021 kcal
- Carbohydrates: 109g
- Protein: 17g
- Fat: 60g
- Saturated Fat: 28g
- Cholesterol: 112mg
- Sodium: 747mg
- Potassium: 536mg
- Fiber: 6g
- Sugar: 75g
- Vitamin A: 806IU
- Calcium: 106mg
- Iron: 4mg
About Our Recipes
Our recipes are developed using the US Customary measurement system and have not been tested for high altitude/elevation cooking and baking. Adjustments may be necessary depending on your location and specific conditions.
More Irresistible Chocolate-Peanut Butter Creations
If you’ve fallen in love with the ultimate combination of chocolate and peanut butter, you’re in luck! We have more delightful recipes featuring this classic duo that you’re sure to enjoy. Explore these other fantastic treats:
- Peanut Butter Blossom Cookies: A timeless classic with a chewy peanut butter base and a soft Hershey’s Kiss center.
- Peanut Butter Cup Rice Krispie Treats: A no-bake, incredibly easy, and wonderfully crispy treat elevated with peanut butter cups.
- Chocolate Peanut Butter Chip Cookies: Indulge in double the chocolate and double the peanut butter goodness in every chewy, delightful bite.
