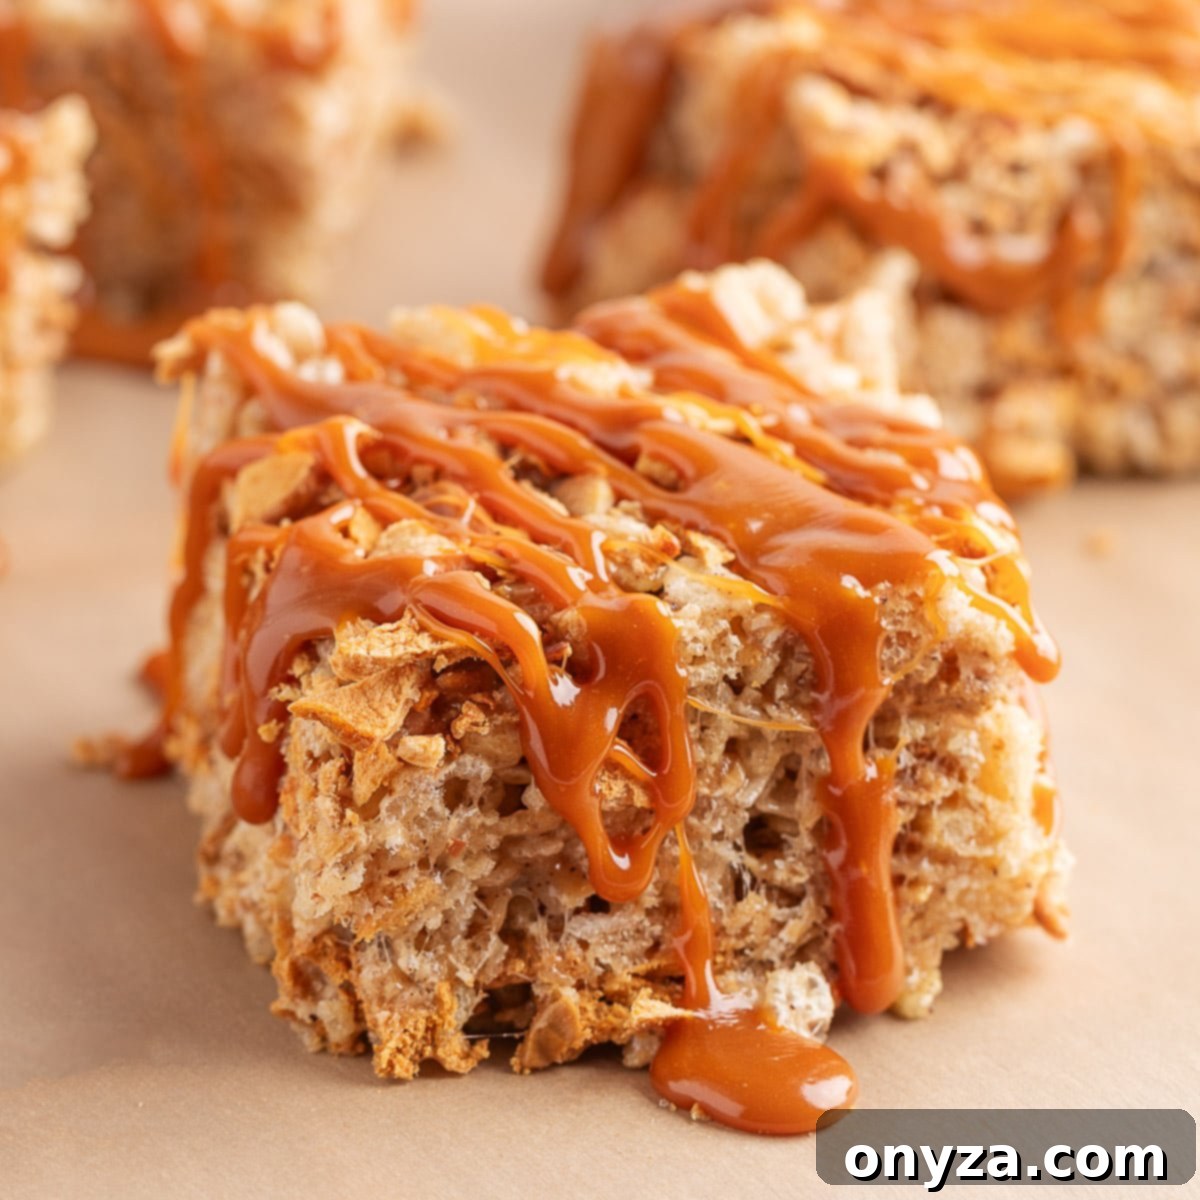
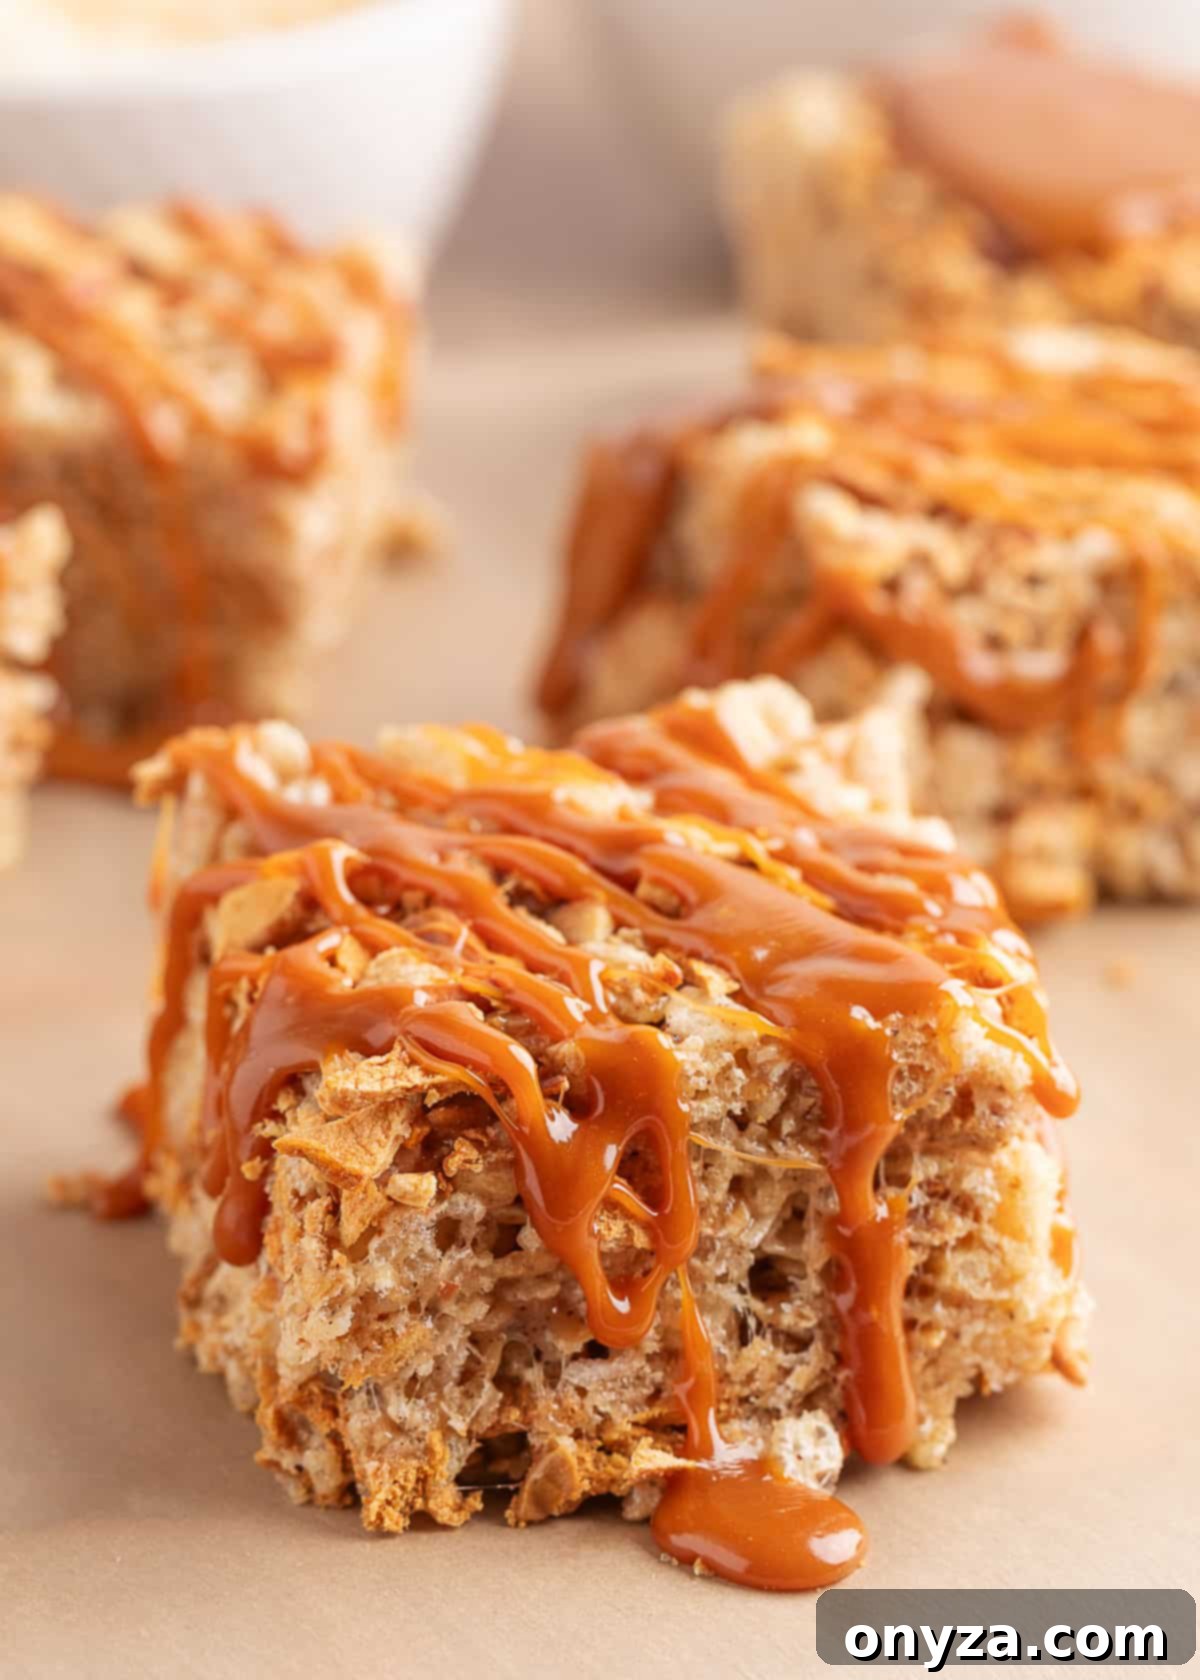
Welcome to the cozy embrace of autumn, where classic treats get a delightful seasonal twist! Prepare to embark on a culinary journey with our irresistibly chewy and aromatic Caramel Apple Pie Rice Krispie Treats. This isn’t just another no-bake dessert; it’s a celebration of fall flavors, combining the comforting crunch of Rice Krispies with the warm spice of apple pie, the luxurious depth of brown butter, and a luscious drizzle of buttery caramel. Perfect for Thanksgiving gatherings, Halloween parties, or simply a cozy evening by the fire, these treats are surprisingly easy to make and guaranteed to become a new seasonal favorite. Each square offers a harmonious blend of textures and tastes: crisp apple chips, gooey marshmallows, toasted graham cracker notes, and a finishing touch of sweet, rich caramel. Get ready to elevate your fall dessert game with this ultimate guide to crafting the perfect autumn confection.
Before You Start Cooking: Key Insights for Success
Crafting these exceptional treats begins with understanding a few essential components and preparing properly. The magic is in the details, and a little forethought ensures a smooth and delicious experience from start to finish. By taking the time to prepare and understand each element, you’ll set yourself up for culinary success and achieve the best possible texture and flavor in your Caramel Apple Pie Rice Krispie Treats.
- Cereals for Complex Texture. Our recipe elevates the classic Rice Krispie Treat by incorporating a trio of cereals. You’ll use traditional Rice Krispies for that signature light, crispy base. We then add Golden Grahams, which infuse a delightful, toasted graham cracker flavor and a satisfying chewiness that adds nostalgic warmth. Finally, a simple honey-oat granola introduces another layer of crunch and a hint of rustic sweetness, creating a more dynamic and interesting texture profile than standard treats. This combination ensures every bite is a delightful surprise.
- The Richness of Brown Butter. Browning the butter is a game-changer for this recipe, transforming a simple ingredient into a nutty, toasty, and deeply aromatic foundation. This technique adds an unparalleled depth of flavor that a plain melted butter simply cannot match, giving your treats a sophisticated, caramelized note. To achieve the perfect brown butter without burning, use a large, light-colored pot. Stainless steel or an enameled pan with a pale interior (like Le Creuset’s ivory lining) is ideal, as it allows you to clearly observe the milk solids as they caramelize to a golden-amber hue. This visual cue is crucial for preventing them from turning black and bitter.
- Measure Ahead: The Golden Rule. Once the butter begins to brown and the marshmallows start melting, the process moves very quickly. There will be no time to stop and measure ingredients. Therefore, it is absolutely crucial to have all your components—spices, cereals, chopped apples, and marshmallows—measured out and ready to add to the pot before you even begin browning the butter. This “mise en place” approach ensures you can execute each step promptly and efficiently, leading to perfectly textured and flavored treats without any last-minute scrambling.
- Fresh Marshmallows are Non-Negotiable. For the chewiest, goo-iest treats with that irresistible pull-apart quality, always use fresh miniature marshmallows. Stale marshmallows, which tend to be harder and less pliable, can lead to a tougher, less desirable mixture that doesn’t melt smoothly, ultimately impacting the final texture of your bars. Ensure your bag of marshmallows is soft and pliable before starting to guarantee maximum chewiness.
How to Make Caramel Apple Pie Rice Krispie Treats: A Detailed Guide
Follow these detailed, step-by-step instructions to create a batch of extraordinary Caramel Apple Pie Rice Krispie Treats that will impress every palate and fill your home with the inviting, comforting aroma of autumn. Each step is designed for ease and ensures a delicious outcome, making this a perfect recipe for both novice and experienced bakers alike.
Step 1: Prepare the Baking Pan
First, line an 8×8-inch square baking pan with parchment paper. It’s helpful to leave a few inches of parchment overhanging on two sides; these will act as a convenient “sling,” making it incredibly easy to lift the entire block of treats out once they’ve cooled and set without any sticking. For added security and to prevent the parchment from shifting while you press the mixture, lightly mist the pan with cooking spray before placing the parchment. This ensures it stays firmly in place. If you prefer slightly thinner bars with a crispier edge, a 9-inch square pan can be used instead, though it will result in more delicate treats.
Step 2: Prep Your Flavorful Add-Ins
To ensure even distribution of all the delicious components and to make the mixing process smoother and more efficient, it’s highly recommended to combine all your cereals and apple pieces in a large mixing bowl before introducing them to the marshmallow mixture. This pre-mixing step saves precious time during the rapid final stages and guarantees every bite of your treat is packed with flavor and texture.
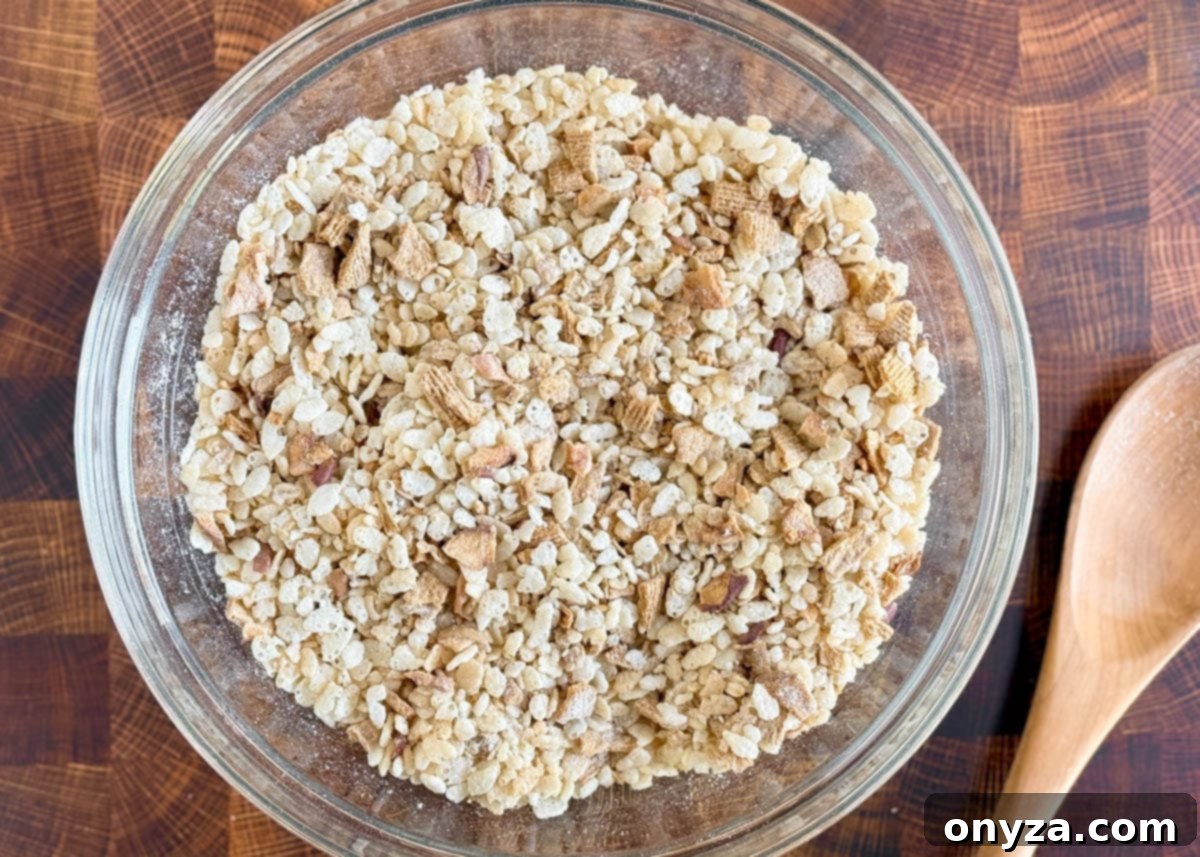
While you can add these ingredients individually directly to the pot, pre-mixing prevents the marshmallow from cooling down too quickly and ensures a more homogenous final product, which is key for consistent flavor. Here’s how to prepare each component:
- Rice Krispies Cereal. This forms the essential crisp base of our treats, providing that signature light and airy crunch.
- Golden Grahams Cereal. These squares add a wonderful honey-graham flavor, reminiscent of a classic graham cracker crust, and a different type of crisp chewiness. Roughly chop or break them into a mix of small and slightly larger pieces. It’s important to avoid crushing them into a fine powder, as you want discernible pieces for texture and visual appeal within the treats.
- Honey-Oat Granola. Opt for a loose, cereal-style honey and oat granola. It’s best to choose one without additional mix-ins like nuts, coconut flakes, or seeds, which could detract from the primary apple pie and caramel flavor profile we’re aiming for. This adds a subtle oaty chew and extra crunch.
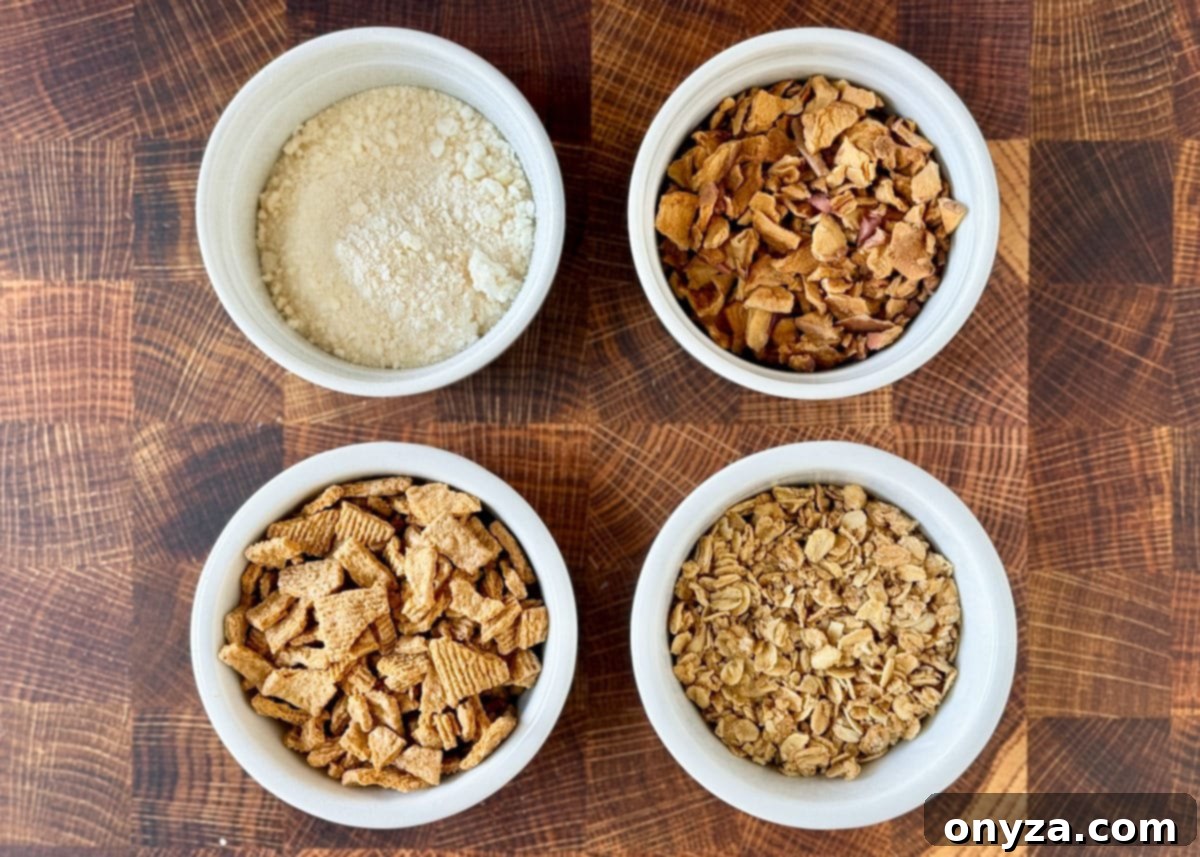
- Baked Apple Chips. For a chewy-crisp texture and a concentrated burst of real apple flavor, roughly chop these into small, bite-sized pieces. These contribute a delightful chewiness that beautifully complements the cereal’s crunch, offering a lovely contrast.
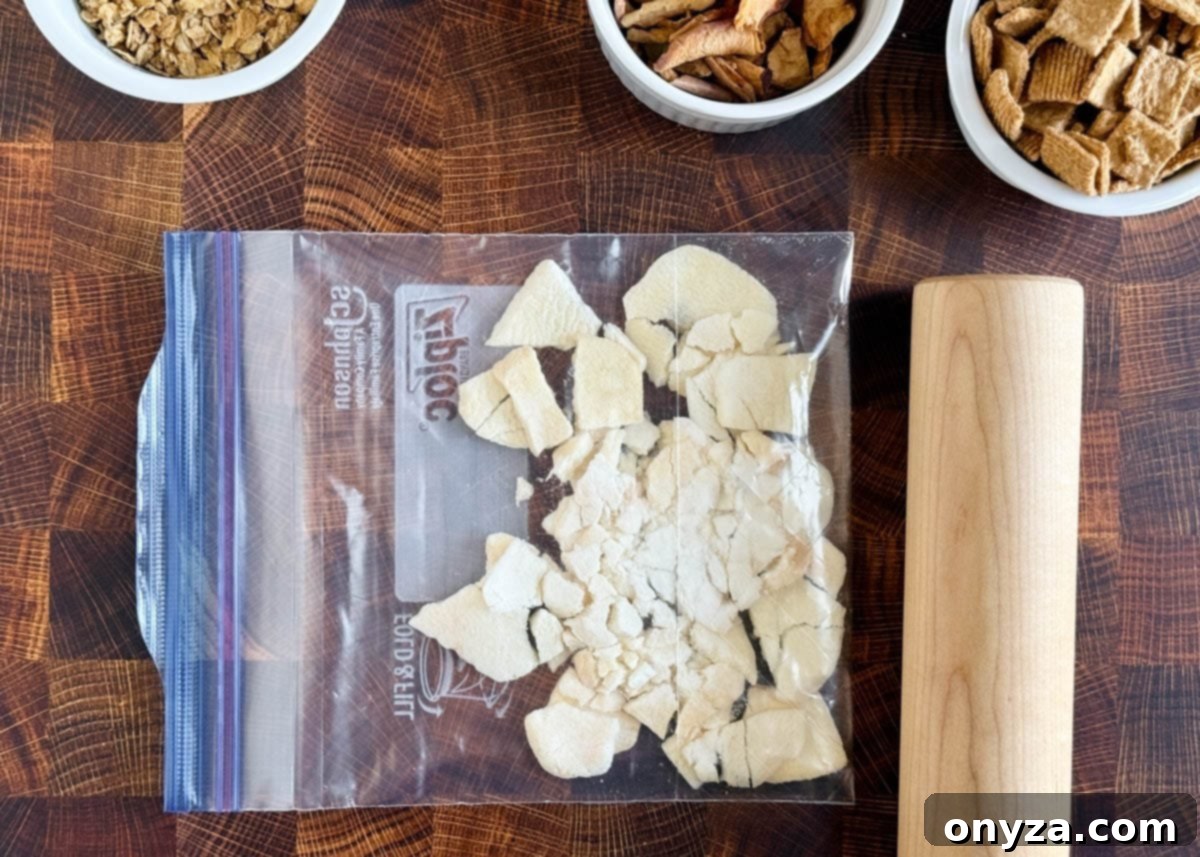
- Freeze-Dried Apples. These are crucial for an intense, natural apple pie essence. Place them in a zip-top bag and use a rolling pin or the bottom of a heavy pan to crush them into a fine powder. This powder will melt into the marshmallow mixture, infusing every part of the treat with a robust apple flavor, far more potent and evenly distributed than fresh apples would provide. Measure accurately after crushing.
Step 3: Master the Art of Browning Butter
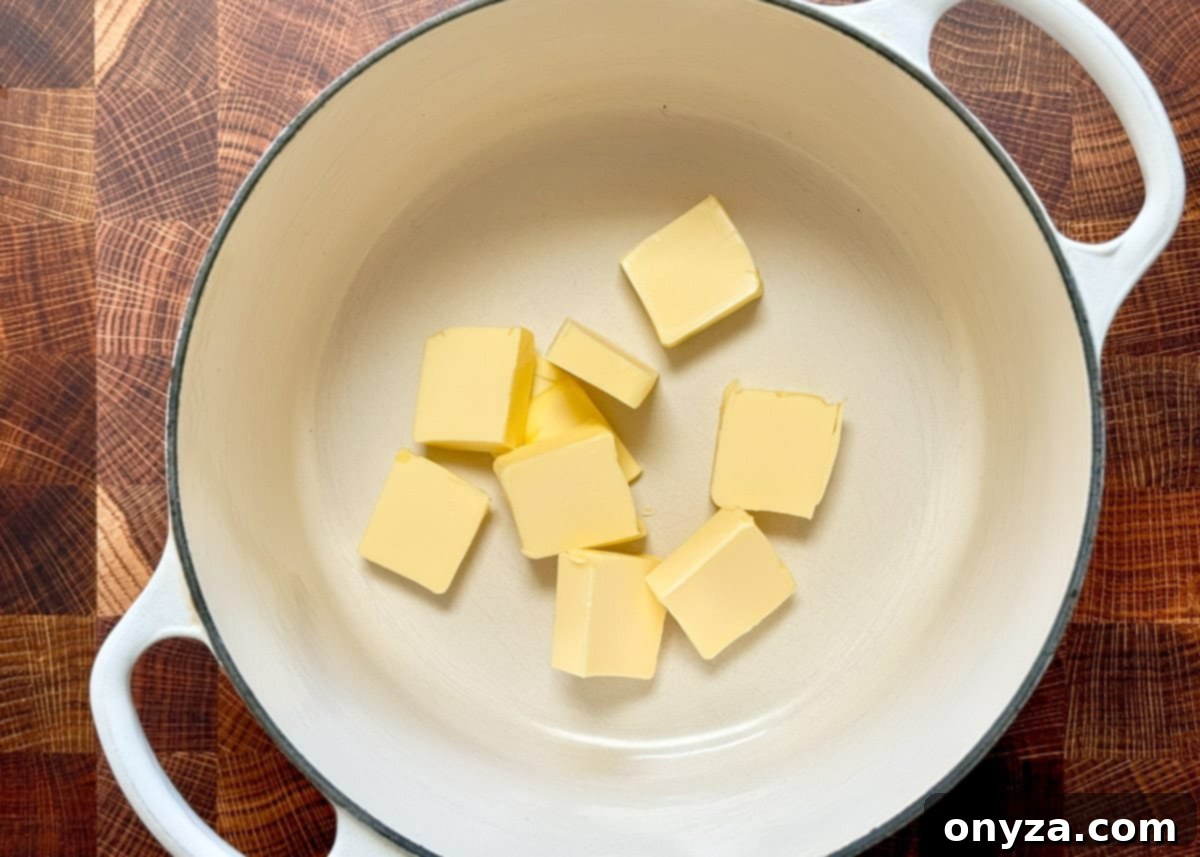
This pivotal step is where much of the unique flavor profile for these treats originates. Place your measured unsalted butter in your chosen light-colored pot over medium heat. Allow it to melt completely, stirring it occasionally with a spatula or wooden spoon to ensure even melting. After it has melted, the butter will begin to foam and bubble vigorously; this indicates that the water content within the butter is evaporating. Continue to stir gently or swirl the pan, ensuring the butter browns evenly and the milk solids don’t settle and burn in one spot. The key here is constant attention and observation.
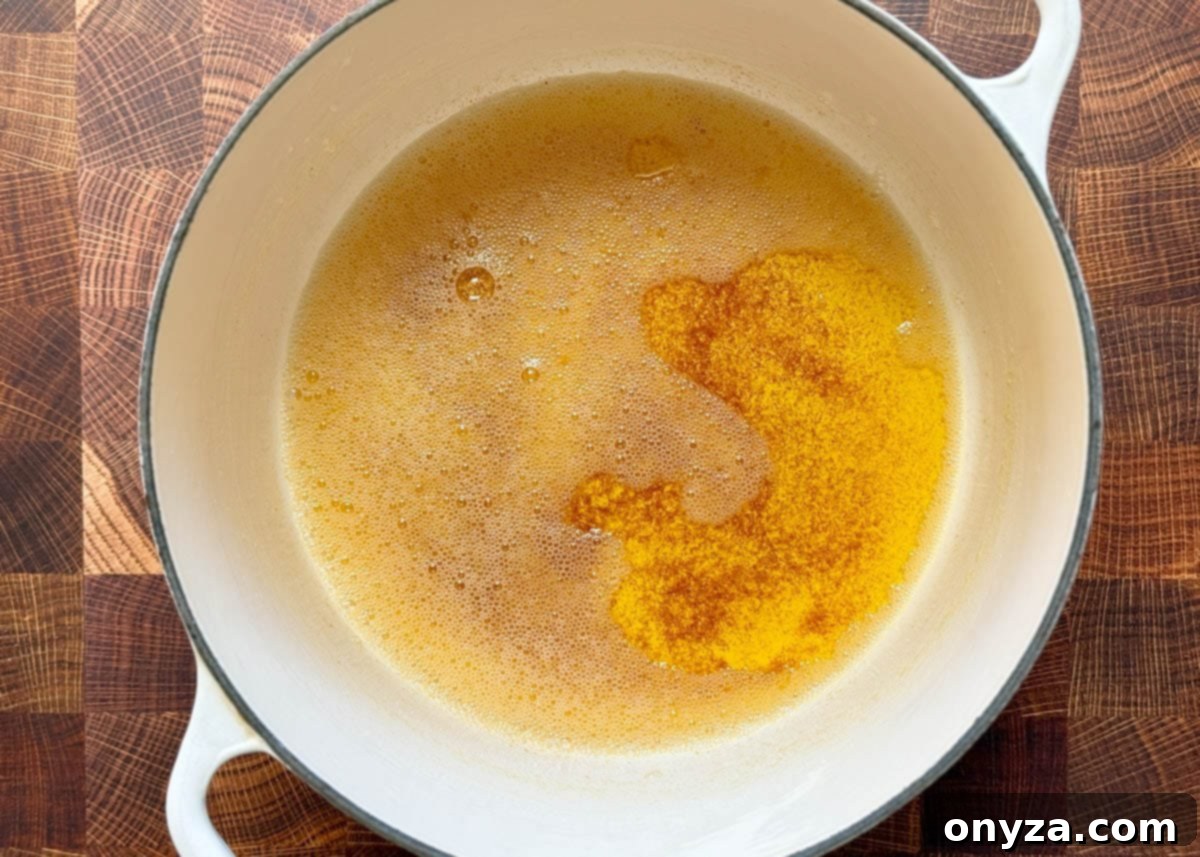
After approximately 4 to 7 minutes of simmering, you’ll begin to notice tiny golden-brown flecks forming at the bottom of the pot. These are the milk solids caramelizing, creating that coveted nutty aroma and flavor. The butter will undergo a delightful transformation, smelling rich, deeply toasted, and reminiscent of freshly baked shortbread or browned nuts. As soon as you perceive this golden color and distinct nutty fragrance, immediately reduce the heat to low to prevent burning. The butter will continue to darken to a beautiful, rich amber hue, indicating it has reached its peak flavor. Do not leave it unattended, as it can go from perfectly brown to burnt very quickly.
Step 4: Perfectly Melt the Marshmallows
Once the butter is beautifully browned and fragrant, immediately remove the pot from the heat. This helps to stop the browning process and prepare for the next step. Stir in your pre-measured quantities of salt and apple pie spice. The residual warmth of the browned butter is ideal for helping the spices “bloom,” intensifying their flavor and ensuring it permeates the entire batch of treats, creating that signature cozy apple pie warmth throughout. This quick infusion of spices is vital for the overall flavor profile.
Tip: No apple pie spice on hand? No problem! You can easily create your own blend by combining ¾ teaspoon ground cinnamon, ¼ teaspoon ground nutmeg, and a pinch of ground allspice for a similar warm spice profile.
Now, add your fresh miniature marshmallows to the pot. Stir steadily with your spatula until they are almost completely melted and have a smooth, glossy appearance. The residual heat from the browned butter should typically be sufficient to melt the marshmallows. However, if they need a little extra help to become fully molten, you can return the pot to very low heat for a short period, while continuously stirring. Be extremely cautious not to overheat the marshmallows; if the sugars begin to caramelize too much, your finished treats will become tough and difficult to chew, losing their desirable soft, gooey texture.
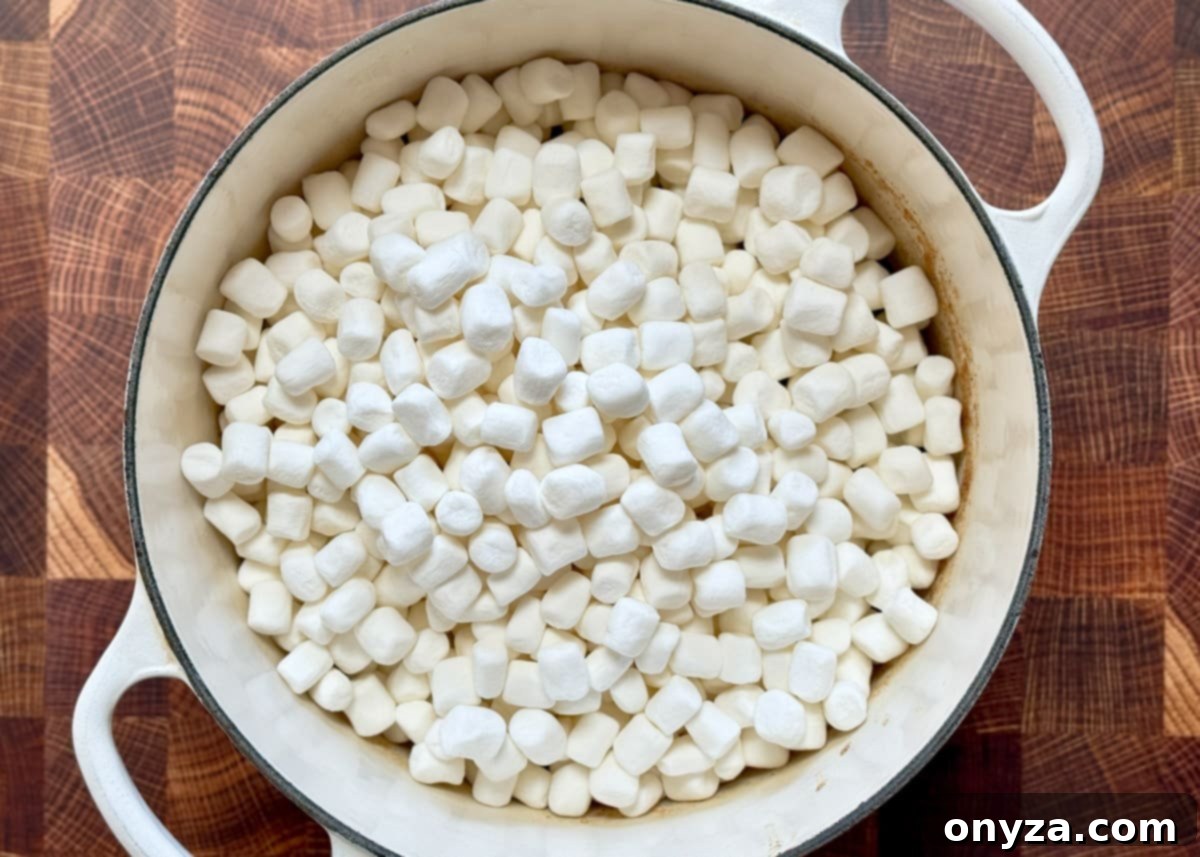
When the marshmallows are about three-quarters melted and mostly smooth, add the vanilla extract. Continue to stir until the mixture is entirely smooth, beautifully glossy, and free of lumps. The vanilla extract adds another layer of warmth, sweetness, and complexity, perfectly complementing the apple and spice flavors and enhancing the overall depth of the treat.
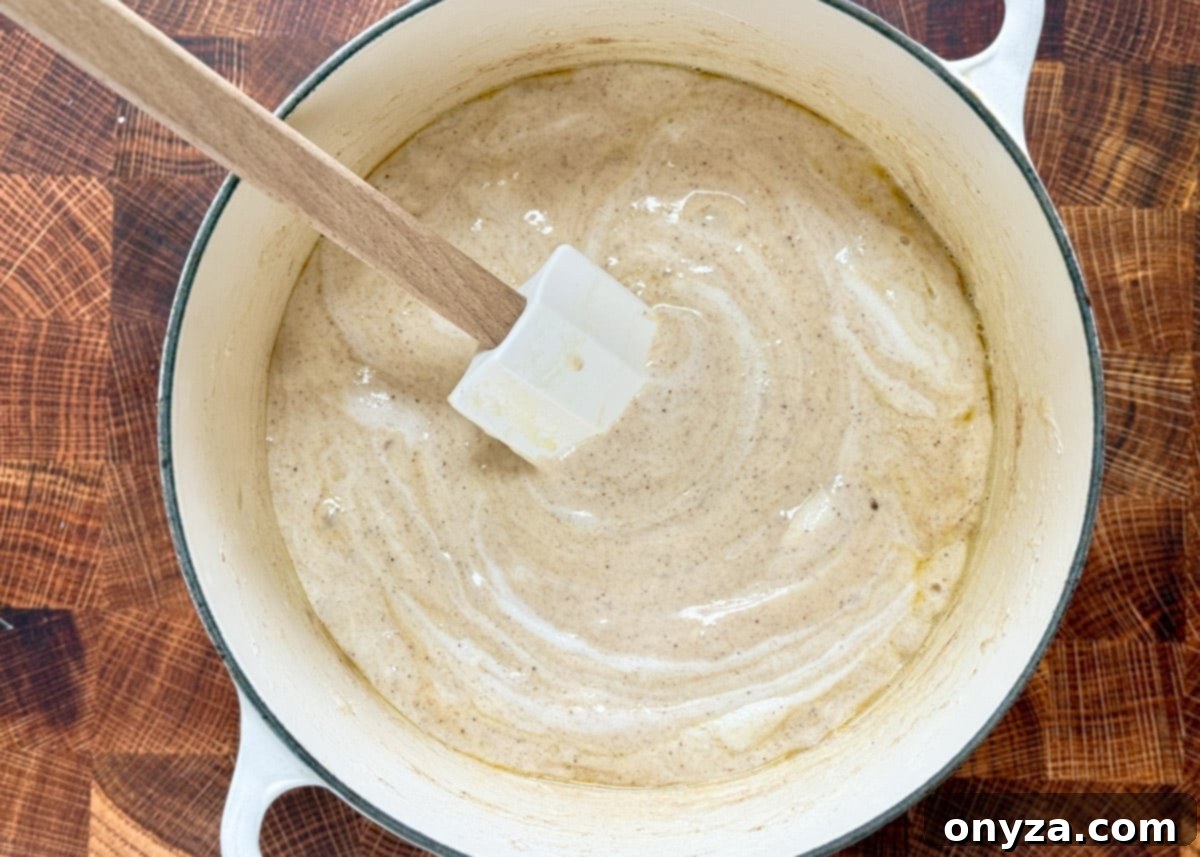
Step 5: Fold in the Cereal and Apples with Care
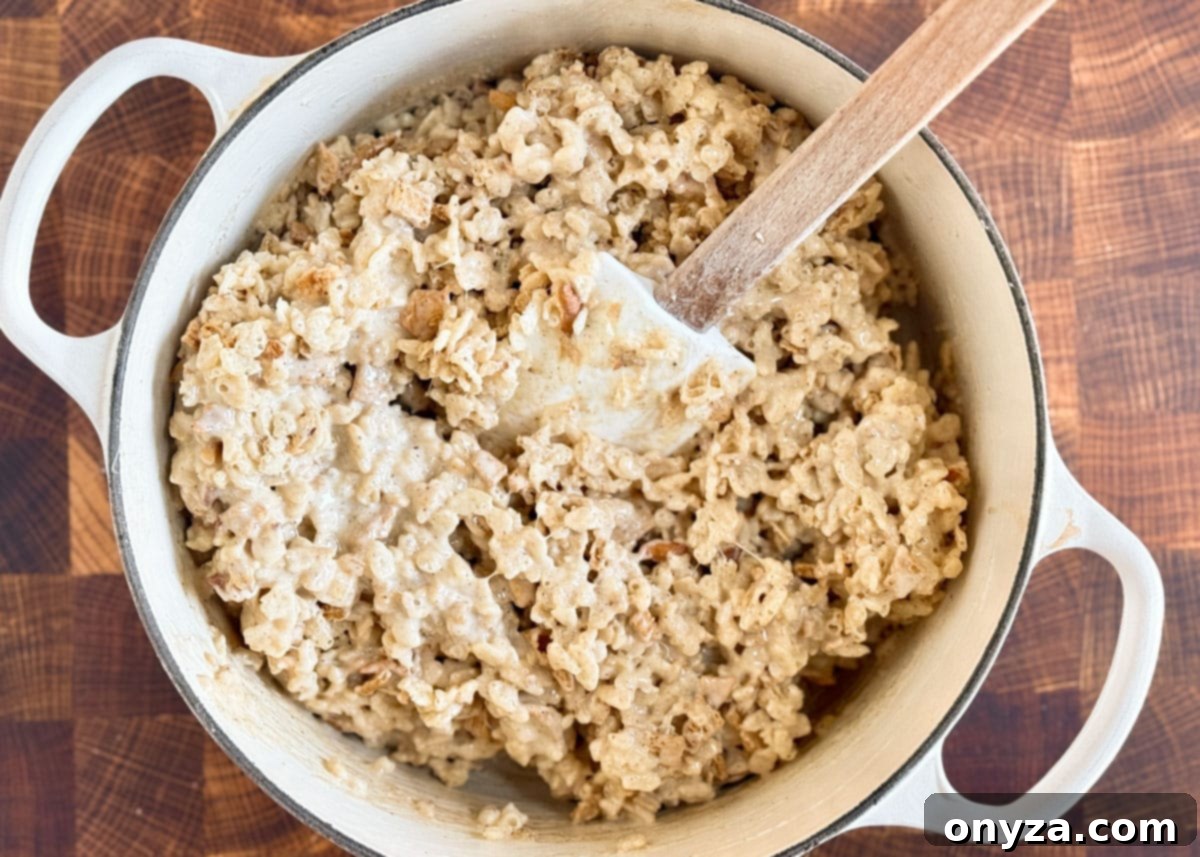
With the heat still off, quickly add your pre-mixed cereal and apple blend to the pot. Using a sturdy rubber spatula, gently fold everything together from the bottom up. Continue this folding motion until all the cereal pieces and apple fragments are evenly coated in the marshmallow mixture, and you no longer see any large, un-coated pockets of marshmallow. This step requires swift but gentle action, as the marshmallow begins to set quickly.
The marshmallow mixture will naturally start to set as it cools, so it’s important to work with a sense of urgency, but avoid being too aggressive or rough. Crucially, do not press down or crush the delicate Rice Krispies, as this can lead to dense, tough treats rather than the desired light and airy texture. The mixture should still look a little loose and airy after folding; this is the secret to achieving those soft, wonderfully chewy bars that are a joy to eat. Over-mixing or over-compressing at this stage will compromise the desirable soft and chewy texture.
Step 6: Press, Cool, and Artfully Cut Your Treats
Carefully scoop the warm, sticky mixture into your prepared parchment-lined pan. You’ll quickly find it is indeed very sticky, so a little assistance will be helpful here to avoid getting marshmallow stuck to your hands. Use the empty wrapper from your stick of butter, or a piece of parchment paper lightly sprayed with cooking spray, to gently press the mixture evenly into all the corners of the pan. The key word here is “gently.” Avoid pressing down too firmly; if the bars are overly compacted, they will turn out tough and dense rather than soft and delightfully chewy. A light, even pressure is all that’s needed to distribute them.
For an extra touch of visual appeal and texture, you can press a few additional chopped apple chips onto the top surface of the treats before they set. This adds a rustic charm and hints at the apple goodness within, making them even more enticing.
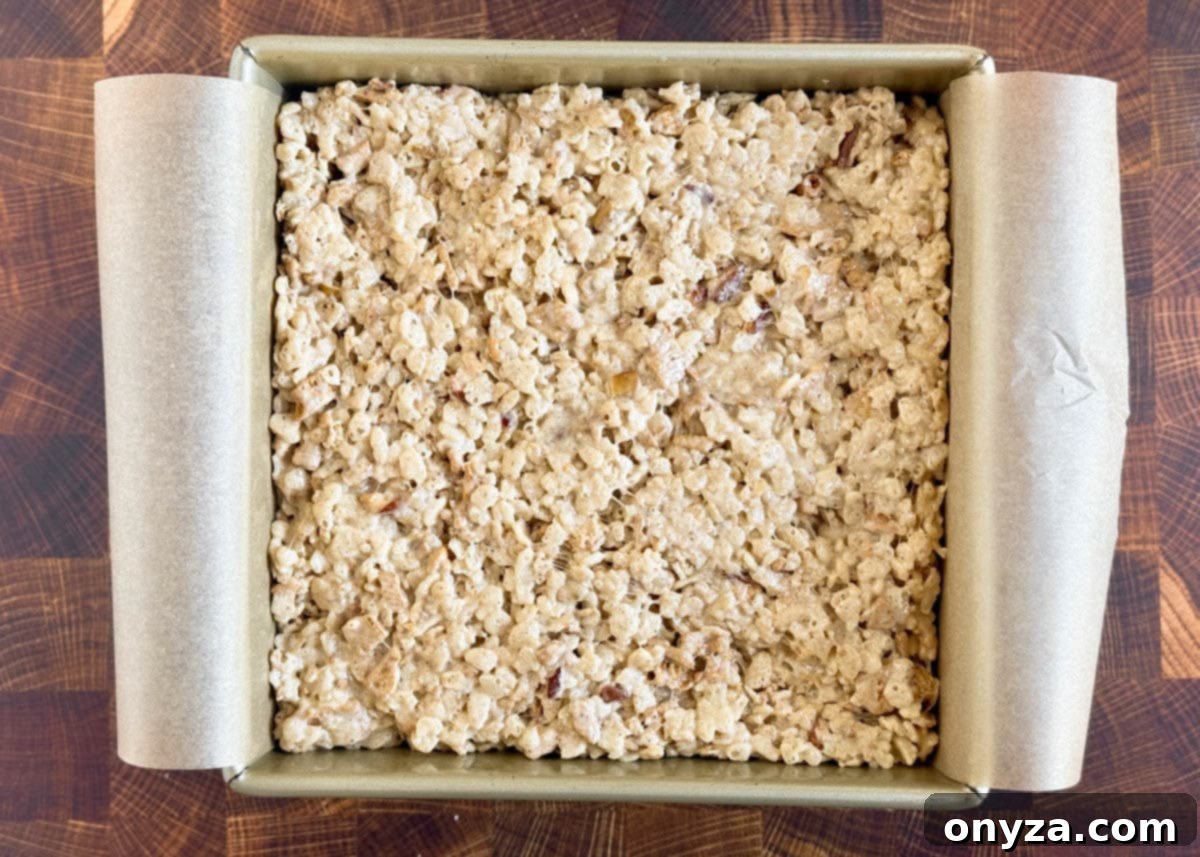
Allow the pan to cool completely at room temperature. This is a crucial step for the treats to set properly and achieve their optimal texture. Aim for at least 1 hour of cooling, but if you have the patience to let them sit for 2 to 3 hours, the results will be even better, with a firmer, yet still wonderfully chewy, consistency. Once fully set, use the parchment sling to lift the entire block of treats out of the pan and transfer it to a clean cutting board. Removing them from the pan before slicing helps you achieve the cleanest, most precise edges for your squares. Use a sharp, lightly greased knife to cut the large block into 9 to 16 individual squares, depending on your preferred portion size and how many you wish to share.
Step 7: The Grand Finale: Drizzle with Buttery Caramel
For the exquisite finishing touch that ties all these wonderful flavors together, prepare your irresistible caramel drizzle. Combine Kraft Caramel Bits (or your preferred brand of soft caramel candies) and heavy cream in a small saucepan. For an extra layer of warmth and a harmonious flavor profile that echoes the treats themselves, we highly recommend adding a touch of apple pie spice to the caramel mixture, though this is an optional step that elevates the experience.
Warm the mixture gently over medium-low heat, stirring continuously with a whisk or spoon, until the caramel bits have completely melted and transformed into a smooth, glossy, and pourable sauce. Ensure it’s not too hot, just warm enough to be fluid and easy to drizzle without cooking further.
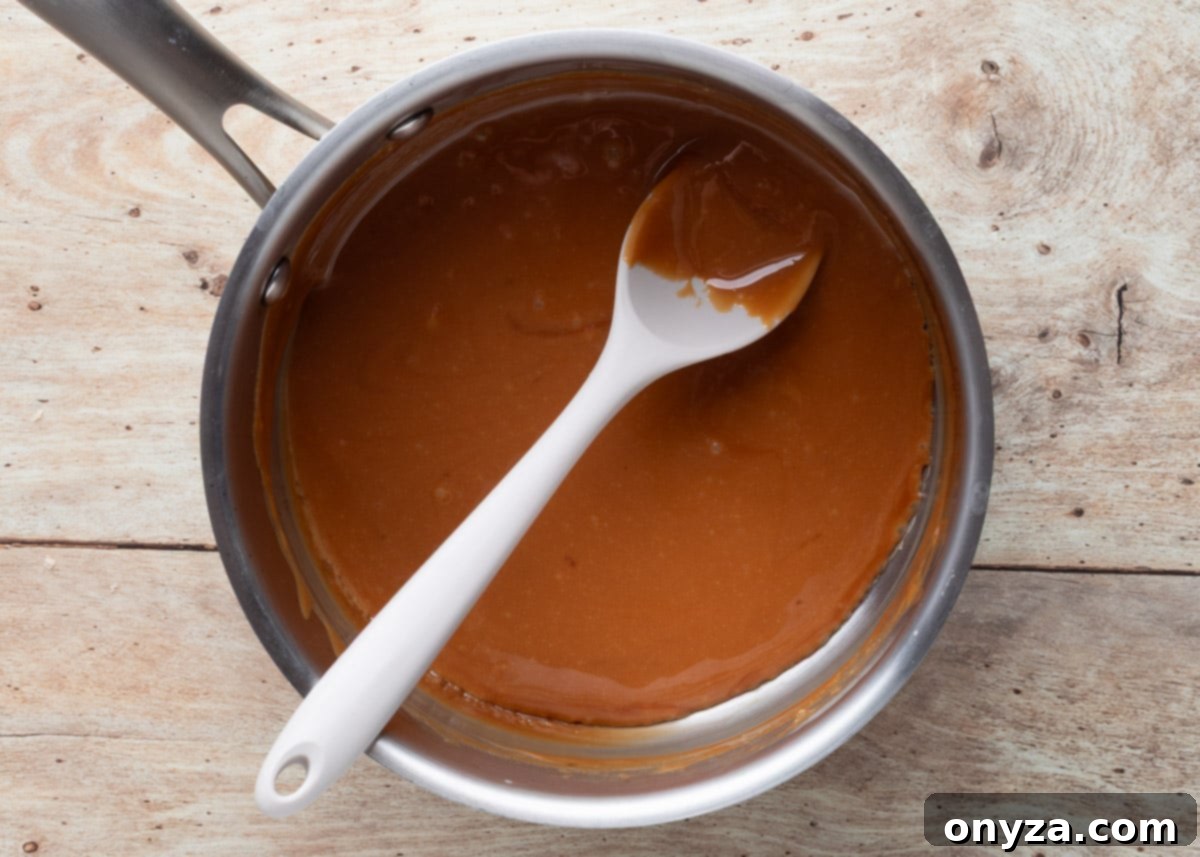
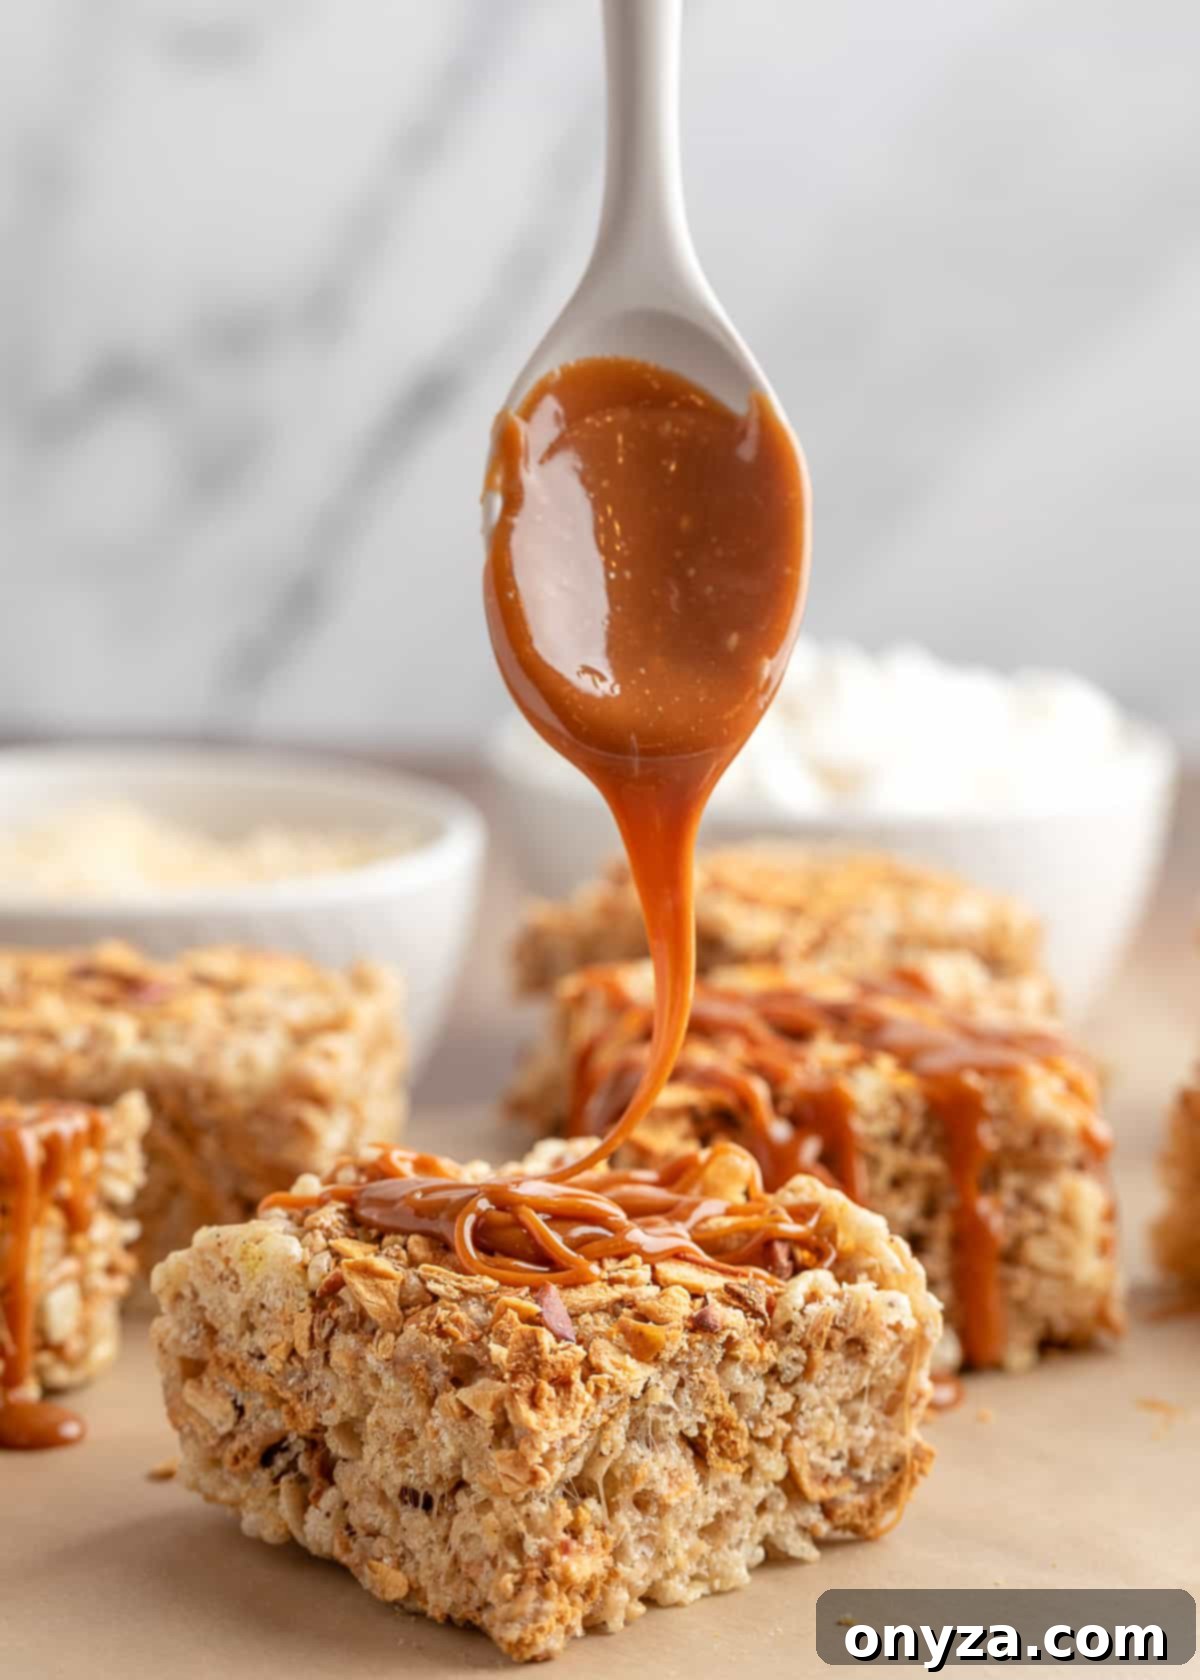
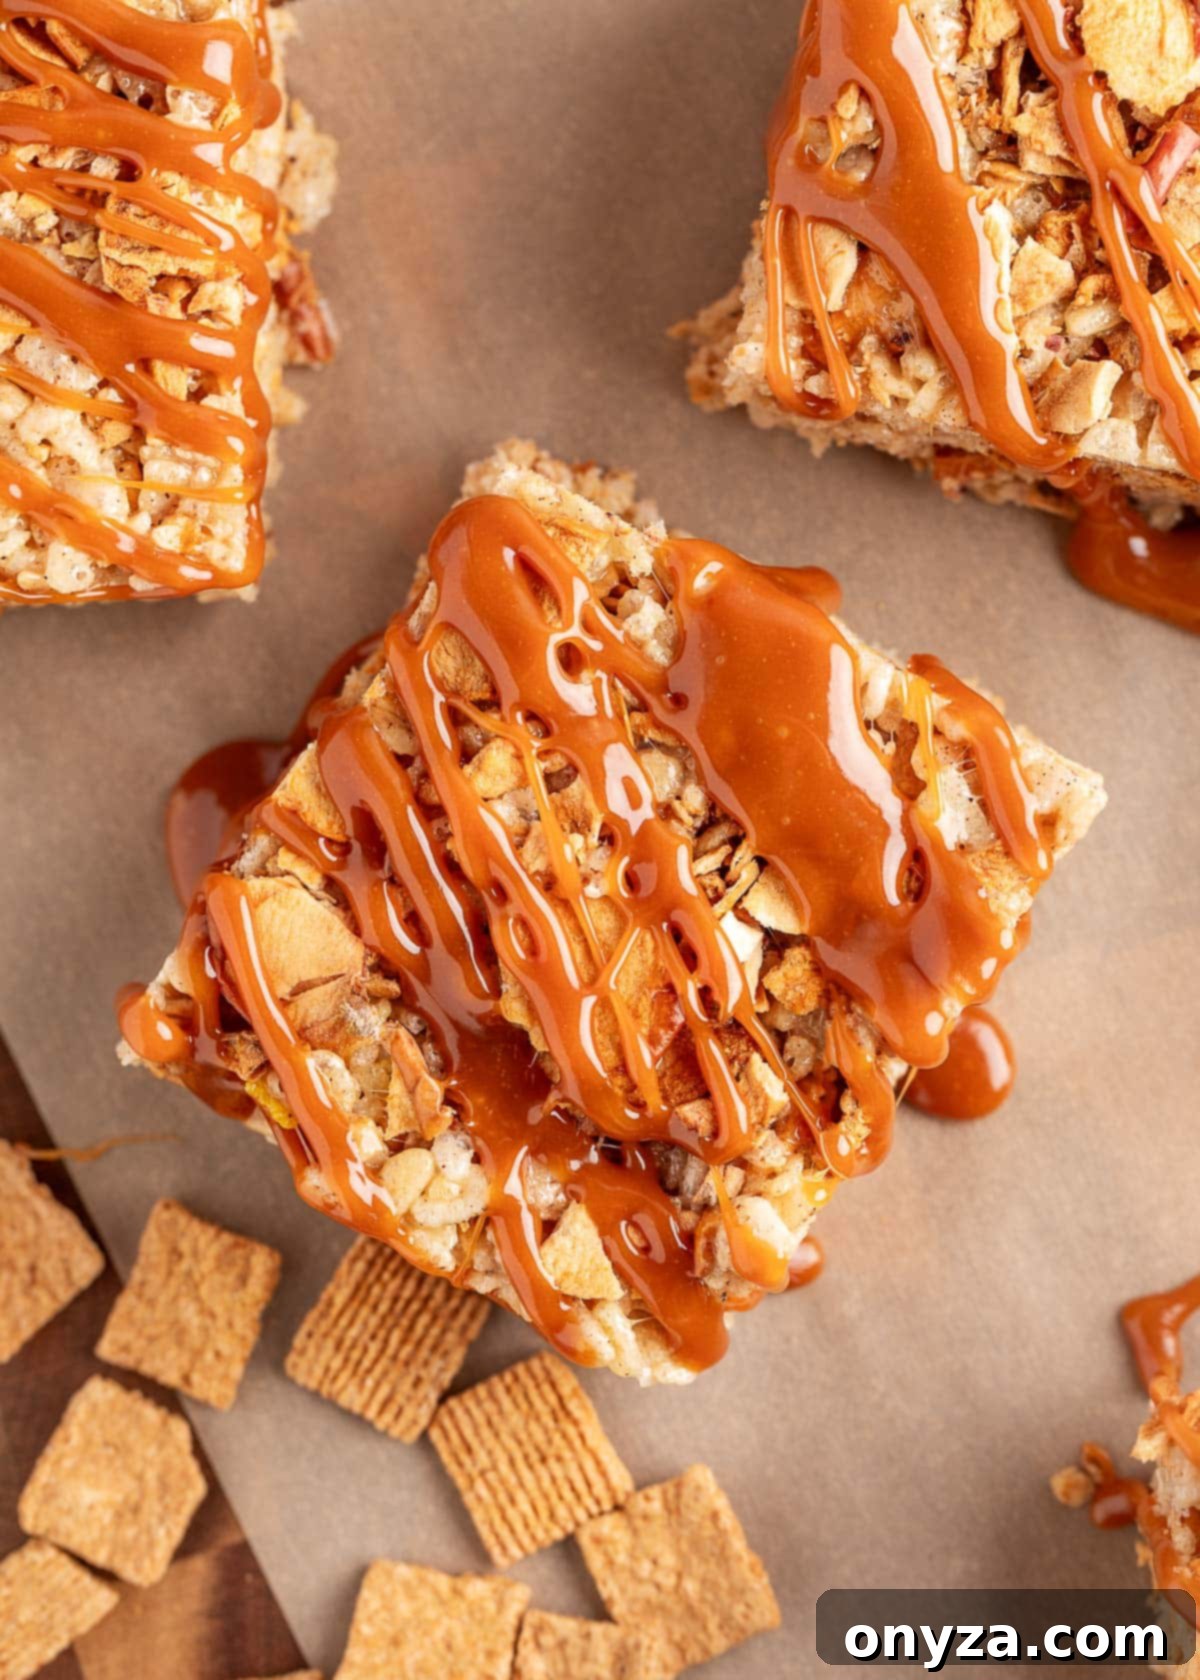
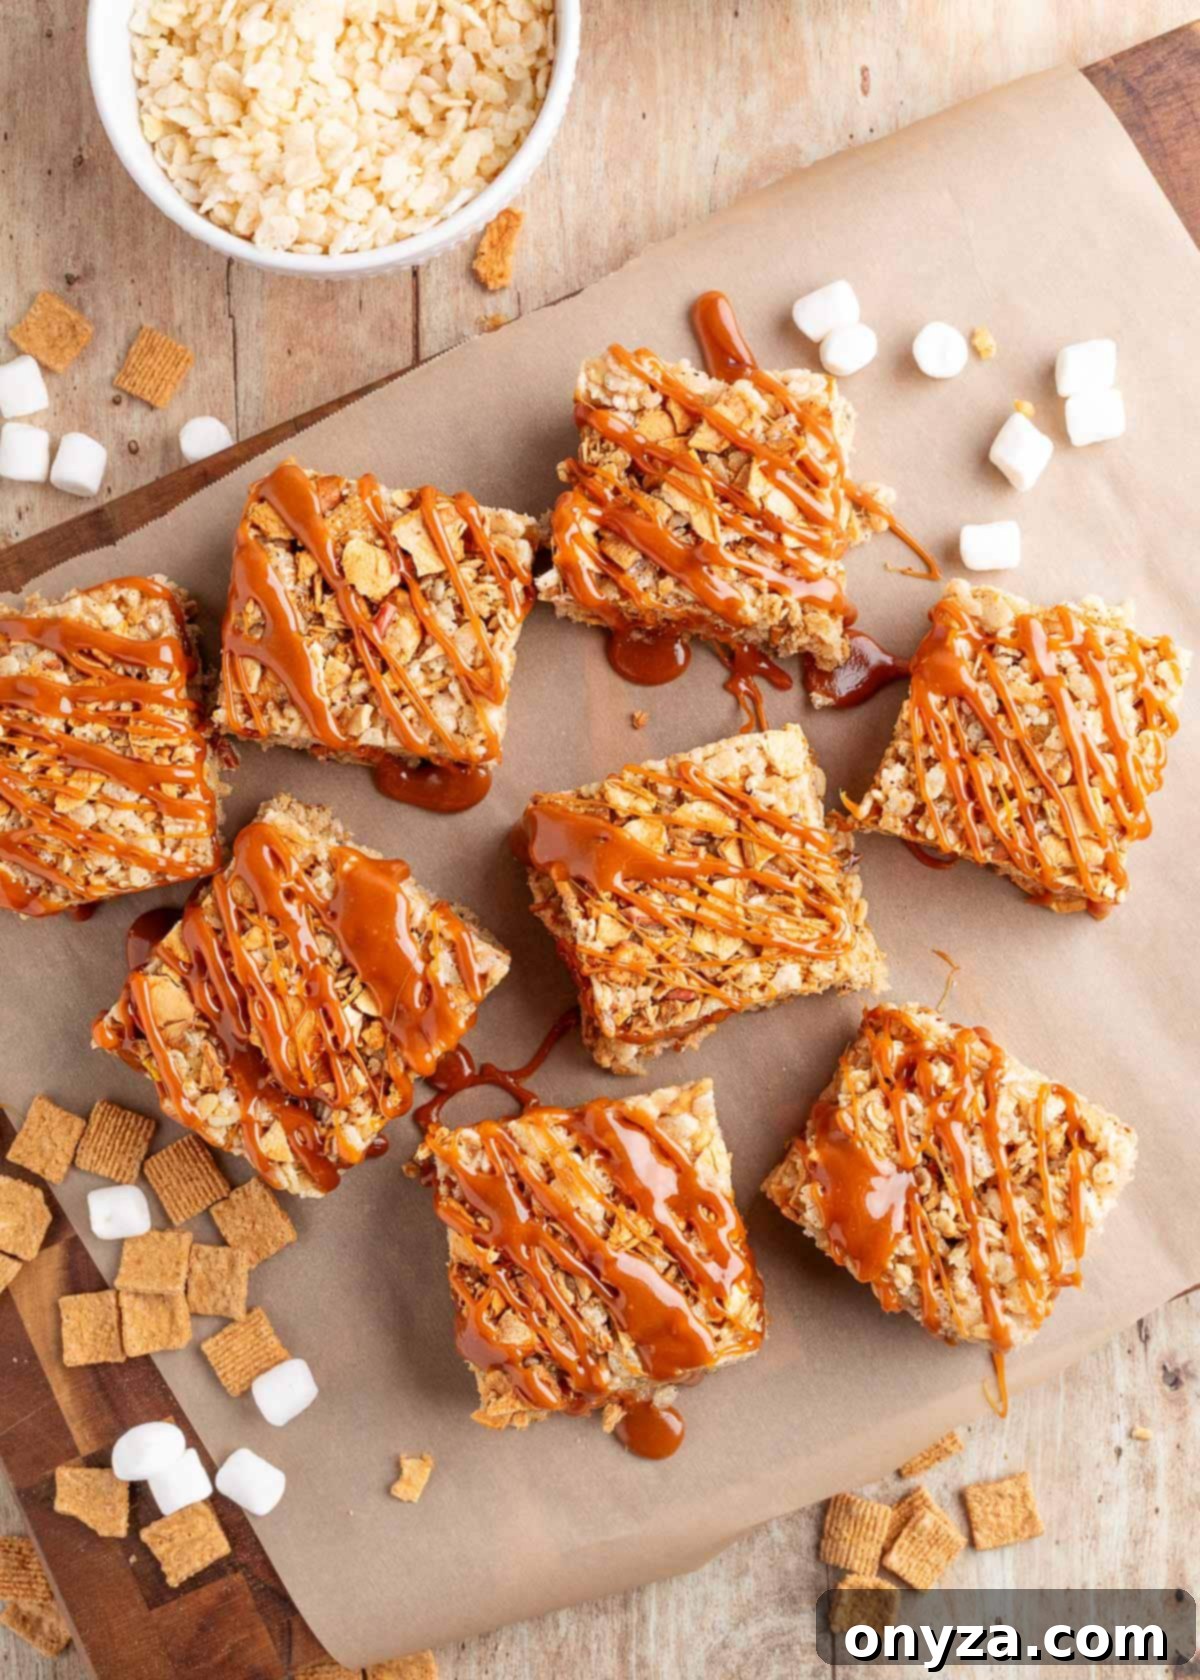
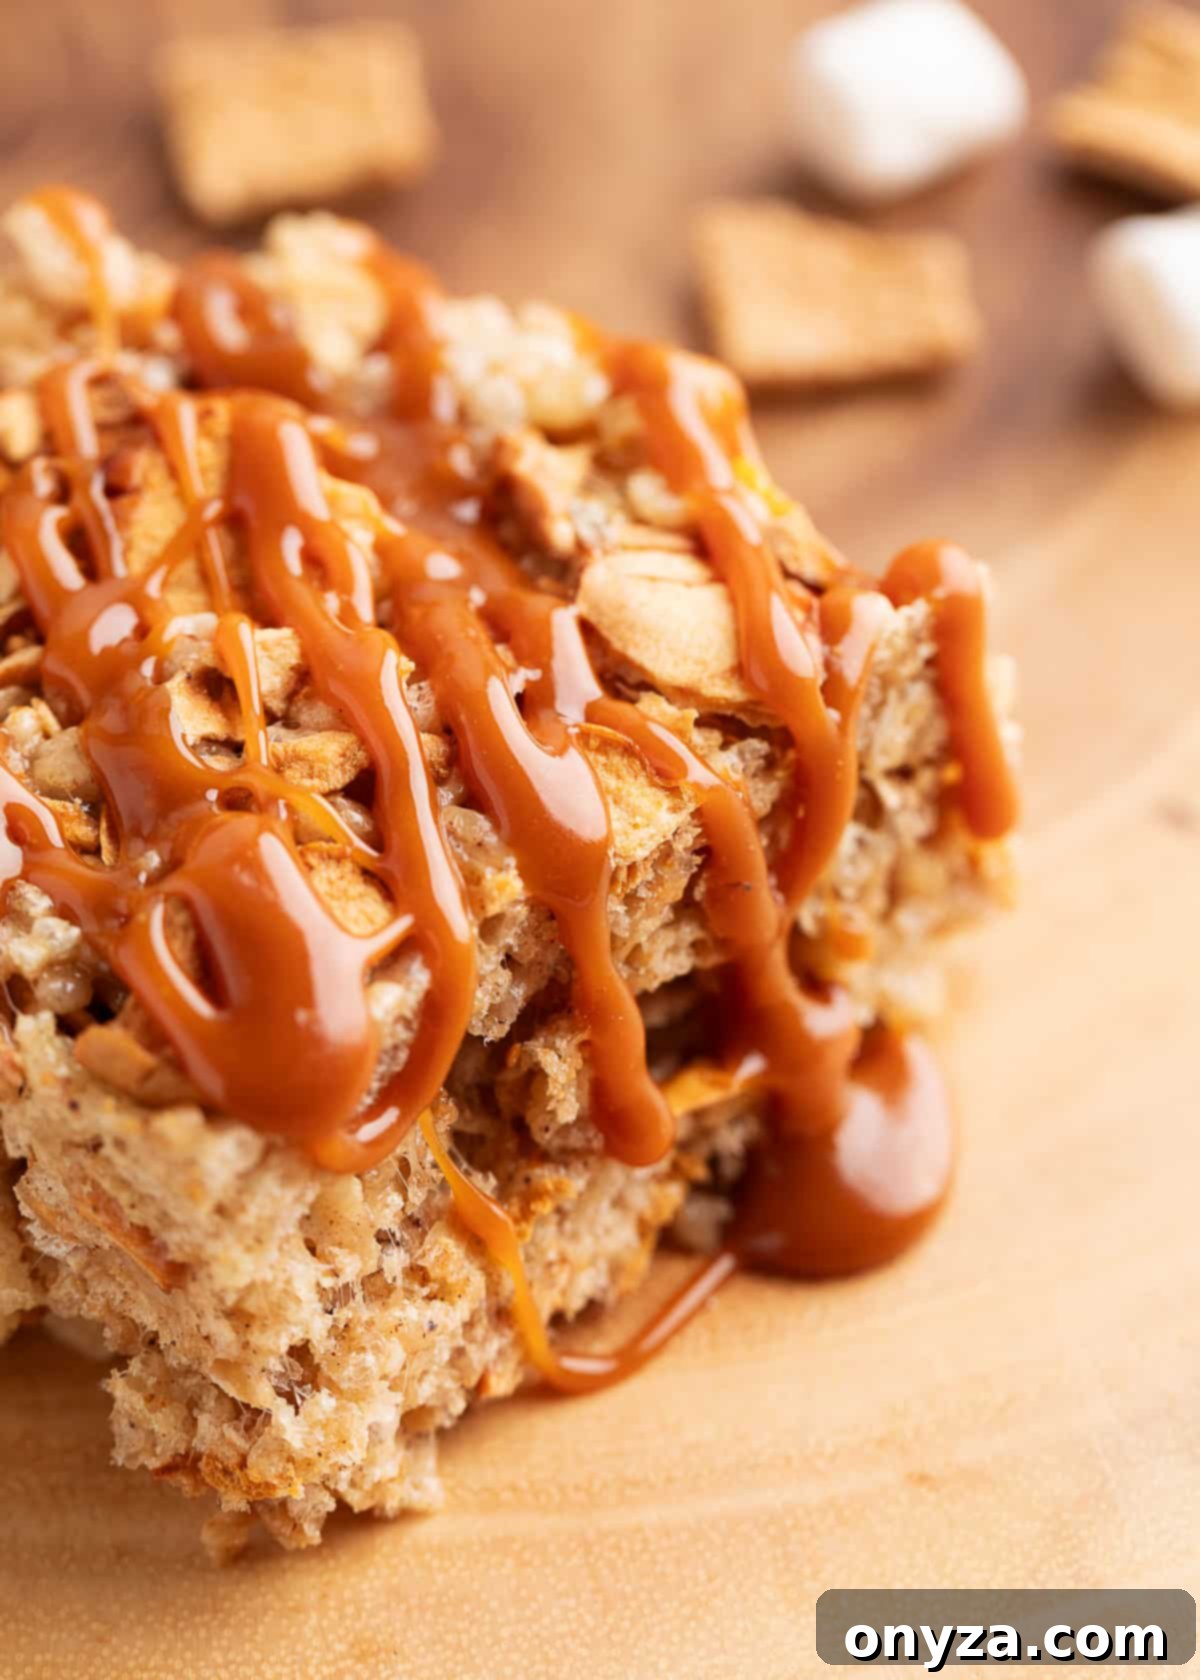
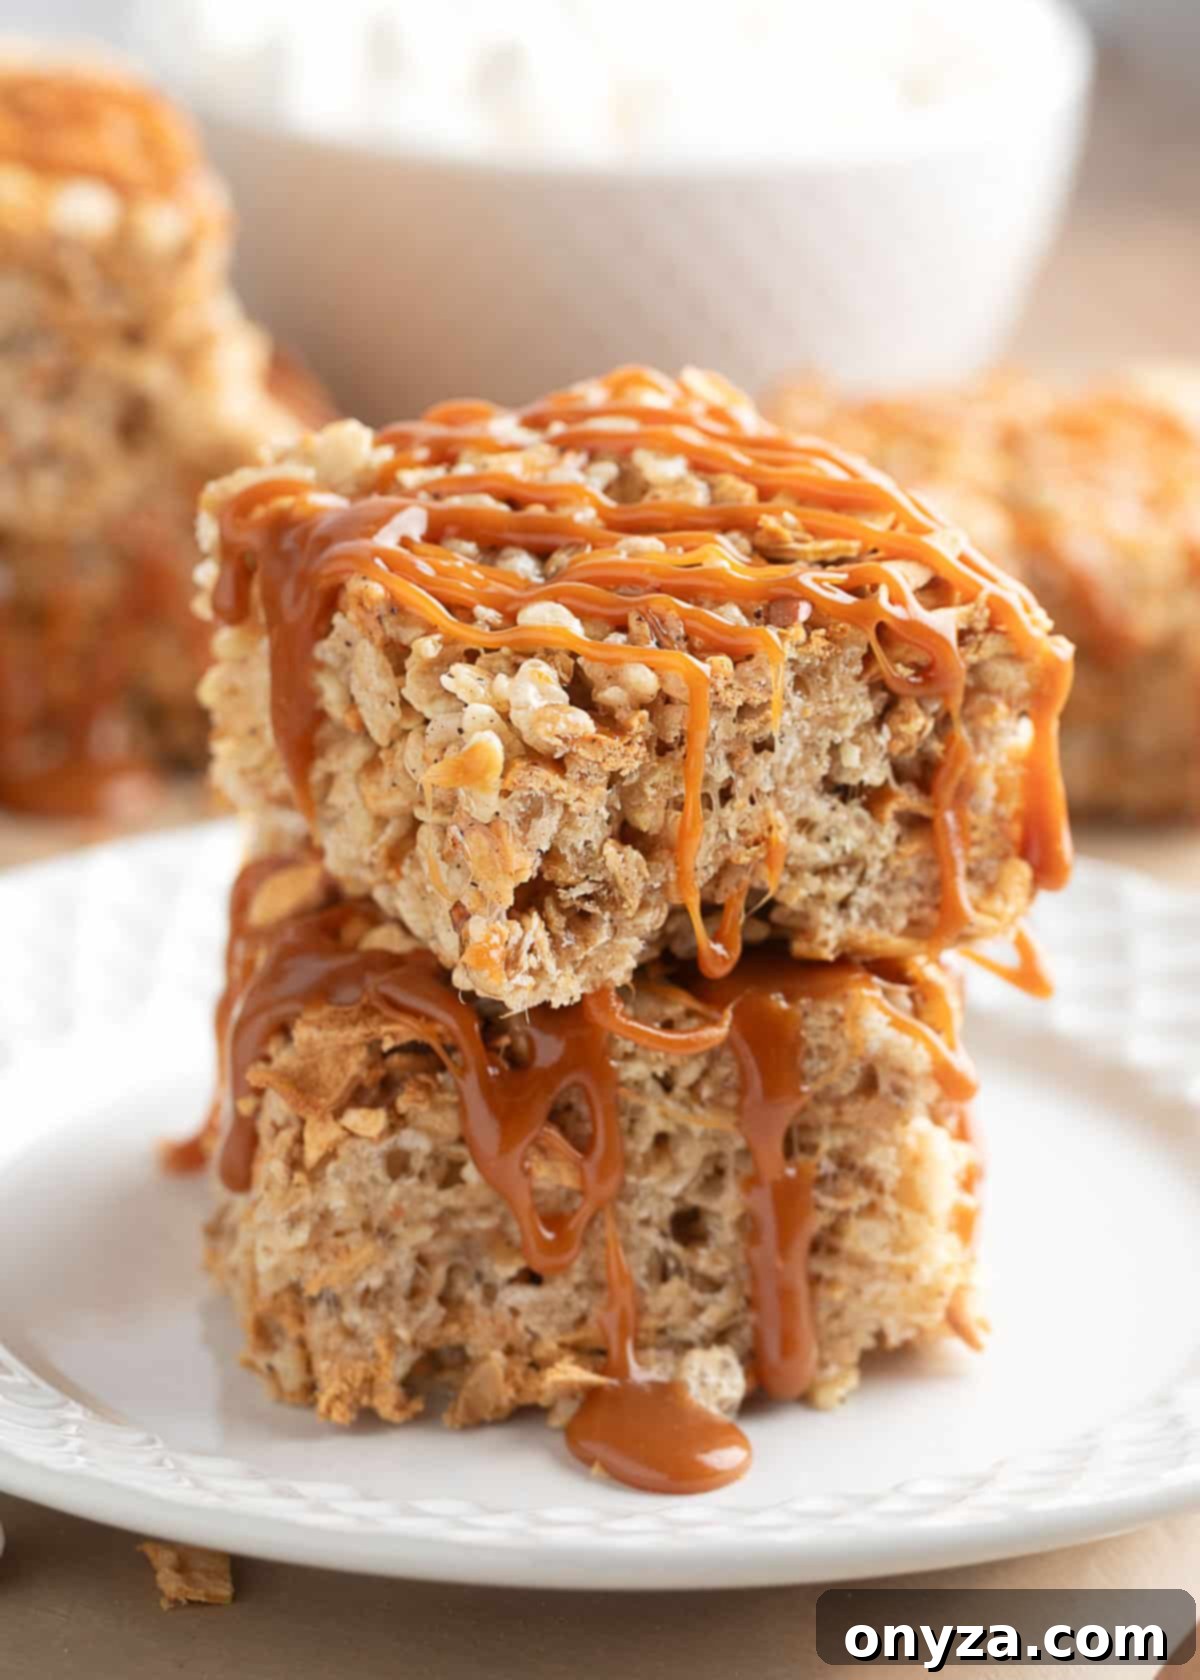
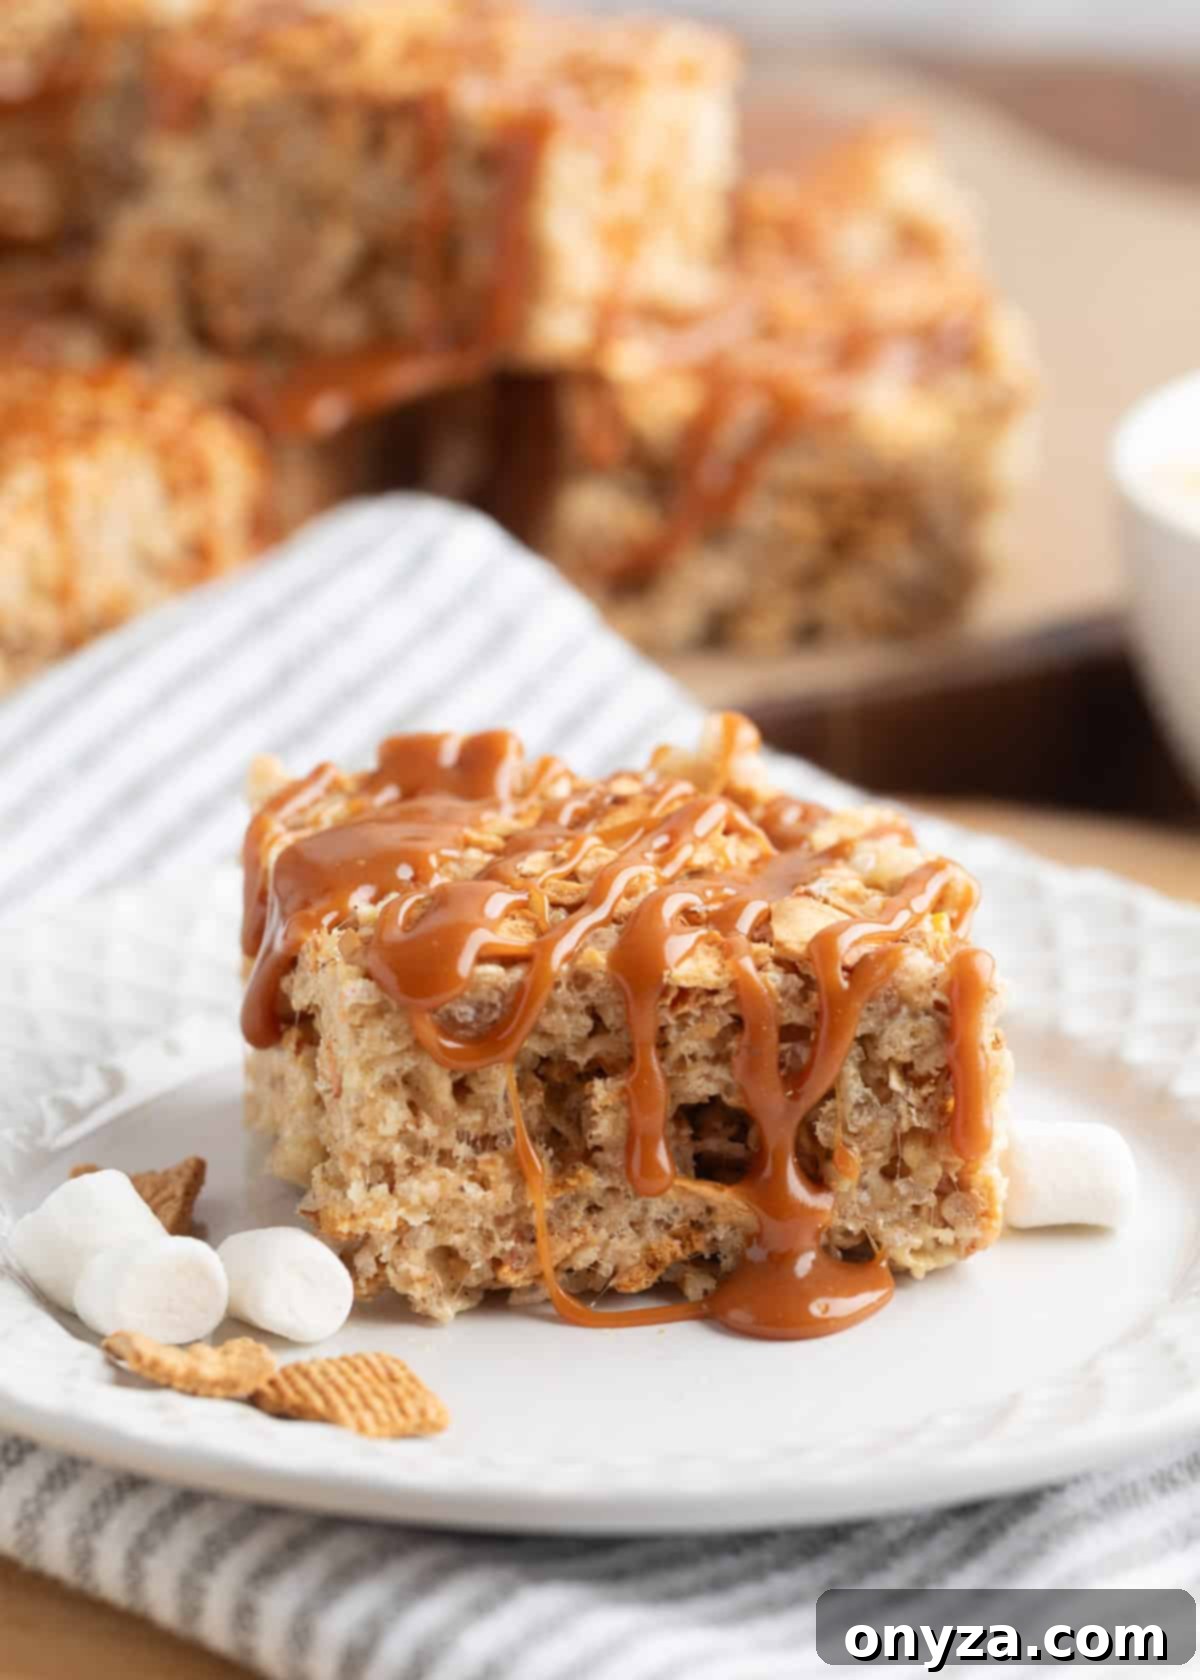
Using a spoon or a piping bag with a small cut tip, generously drizzle the warm caramel sauce over the cooled and cut squares. Let it cascade artistically down the sides of the bars for a visually appealing finish that promises deliciousness. For those who adore a sweet-salty contrast, a delicate sprinkle of flaky sea salt over the caramel just before it sets will elevate these treats to an even more gourmet level, balancing the sweetness with a touch of savory. Allow the caramel to set for at least 5 minutes before serving to ensure it adheres beautifully.
Elevate the Apple Flavor: Craving an even deeper apple essence in your caramel? Consider swapping this classic caramel drizzle for a batch of homemade Apple Cider Caramel. This flavorful substitution takes these already delicious treats to an entirely new dimension of autumnal bliss, infusing them with concentrated apple goodness!
Caramel Apple Pie Rice Krispie Treats: The Complete Recipe
This comprehensive recipe provides all the measurements and steps needed to create a perfect batch of these fall-inspired no-bake squares, ensuring a delightful and satisfying result every time.
Ingredients
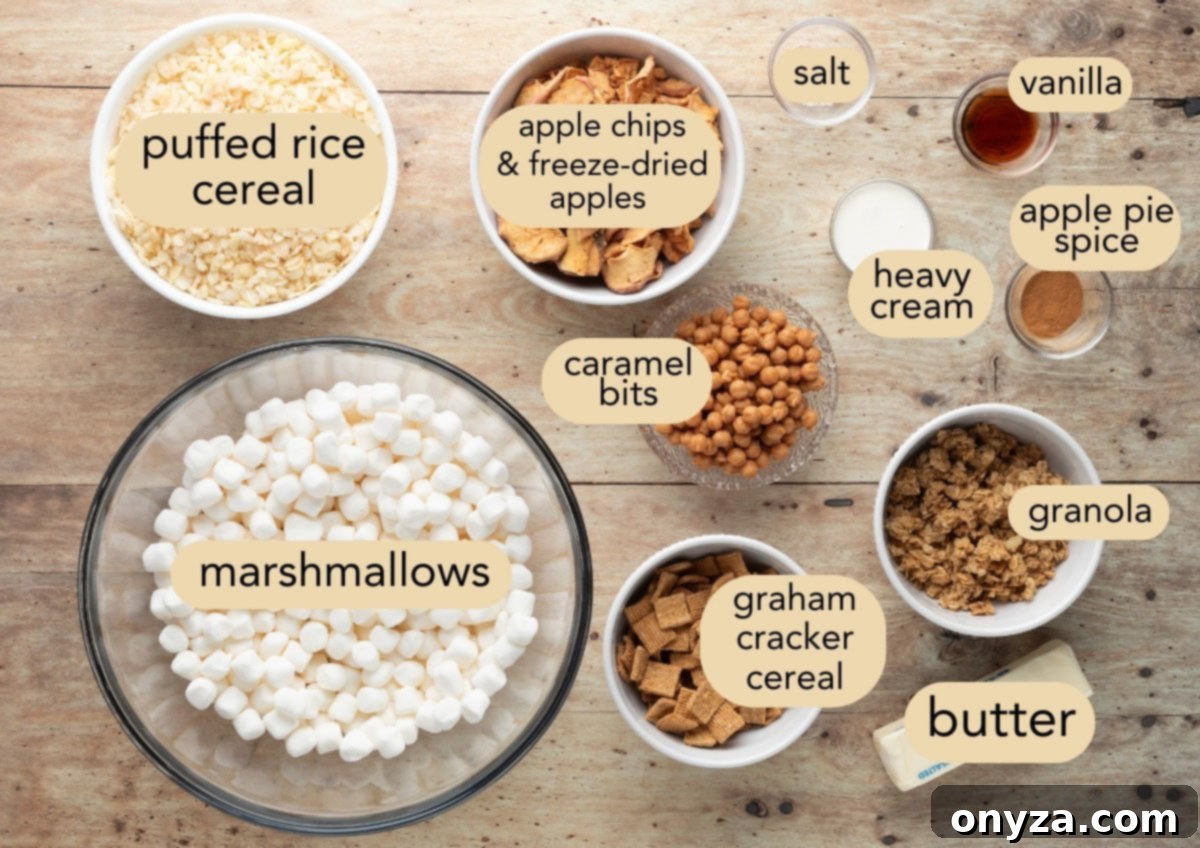
- 4 cups Rice Krispies cereal
- ½ cup loose honey oat granola
- 1 cup Golden Grahams cereal (roughly chopped)
- ½ to ¾ ounce freeze-dried apples (crushed to yield ¼ cup powder)
- 1 ounce oven baked apple chips (about ⅔ cup, chopped into small pieces)
- 8 tablespoons unsalted butter (1 stick)
- 1½ teaspoons apple pie spice, divided
- ¼ teaspoon table salt
- 12 ounces Jet-Puffed miniature marshmallows (equivalent to one 10-ounce bag plus 1 cup, or approximately 6½ cups total)
- 1 teaspoon vanilla extract
- 5½ ounces Kraft caramel bits (half of an 11-ounce bag, or about ¾ cup rounded)
- 2 tablespoons heavy cream
- Optional: Flaky sea salt for sprinkling on top of the caramel
Instructions
- Prepare Pan: Lightly spray an 8×8-inch baking pan with cooking spray to prevent sticking. Line the pan with parchment paper, ensuring there is a 2-inch overhang on two sides to create a convenient lifting sling.
- Prep Add-Ins: In a large mixing bowl, combine the Rice Krispies cereal, honey oat granola, and the roughly chopped Golden Grahams cereal. Next, place the freeze-dried apples in a zip-top bag and crush them thoroughly with a rolling pin until a fine powder is formed; measure out ¼ cup of this powder and add it to the cereal mixture. Chop the oven-baked apple chips into small pieces and add them to the bowl as well. Stir all the add-ins until they are evenly combined, ensuring a consistent mixture for the treats.
- Brown Butter: In a large pot with a light-colored interior (which helps monitor browning), melt the 8 tablespoons of unsalted butter over medium heat. Continue cooking, stirring occasionally, until the butter turns a light golden brown color and emits a rich, nutty aroma. This process typically takes about 4 to 7 minutes.
- Melt Marshmallows: Immediately remove the pot from the heat once the butter is browned. Stir in the ¼ teaspoon of table salt and 1 teaspoon of the apple pie spice. Add all the miniature marshmallows and stir steadily until they are about 75% melted and appear smooth. If the marshmallows require further melting, you may return the pot to very low heat briefly, but be careful not to overheat them, as this can make the treats tough.
- Finish Marshmallow Mixture: With the pot still off the heat, add the 1 teaspoon of vanilla extract to the marshmallow mixture. Stir until the mixture is completely glossy and smooth, ensuring the vanilla is fully incorporated.
- Combine: Add the entire prepared cereal and apple mixture into the pot with the marshmallow. Using a sturdy rubber spatula, gently fold everything together from the bottom up until all the cereal and apple components are evenly coated with the marshmallow mixture. Work quickly but avoid pressing down firmly, as over-compacting can crush the cereal and result in tough treats.
- Press into Pan: Transfer the warm, sticky mixture to the prepared parchment-lined baking pan. To prevent sticking to your hands, use a butter wrapper or a lightly greased piece of parchment paper to gently press the mixture into an even layer in the pan. Do not press down too firmly to maintain the desired soft and chewy texture. Optionally, you may press a few extra chopped apple chips onto the top surface for added texture and visual appeal.
- Cool & Cut: Allow the treats to cool completely at room temperature for at least 1 hour (preferably 2-3 hours) to ensure they are fully set. Once set, use the parchment sling to carefully lift the entire block of treats from the pan and transfer it to a clean cutting board. Using a sharp, lightly greased knife, cut the block into 9 large squares or 16 smaller squares, depending on your preferred portion size.
- Make Caramel Drizzle: In a small saucepan, combine the Kraft caramel bits, heavy cream, and the remaining ½ teaspoon of apple pie spice (this addition is optional but highly recommended for enhanced flavor). Melt the mixture, stirring constantly, over medium-low heat until it is glossy and completely smooth, forming a pourable caramel sauce.
- Drizzle & Serve: Generously drizzle the warm caramel sauce over the cooled and cut Rice Krispie Treats. For an extra sweet and salty twist, sprinkle a pinch of flaky sea salt over the caramel before it sets. Allow the caramel to set for at least 5 minutes before serving your delightful homemade treats.
Notes and Expert Tips
- Butter Selection: For an extra-rich, gourmet flavor in your Krispie Treats, consider using a high-quality European-style unsalted butter, such as Kerrygold or Plugra. These butters typically have a higher fat content and deeper flavor profile. However, standard American-style unsalted butter also works perfectly well and will still yield delicious results.
- Granola Choice: When selecting granola for this recipe, opt for a basic honey-oat variety. It’s best to choose one without additional nuts, seeds, or coconut, as these could potentially detract from the primary apple pie and caramel flavors we are highlighting. Brands like Great Value Oats & Honey Granola or Bob’s Red Mill Honey Oat Granola are excellent, simple choices.
- Freeze-Dried Apple Measurement: It’s important to note that the volume of crushed freeze-dried apple powder can vary significantly between different brands due to differences in apple density and drying processes. While ½ ounce of freeze-dried apples typically yields about ¼ cup of powder, some brands might require closer to ¾ ounce to achieve the same volume. For the most accurate results, measure by volume (4 tablespoons of powder) after you have crushed the freeze-dried apples.
- Apple Chip Brand: For consistent quality and flavor, “Bare” brand Crispy Reds are a popular and reliable choice for baked apple chips. Their texture and natural apple taste integrate beautifully into these treats.
- Serving and Storage: These Caramel Apple Pie Rice Krispie Treats are at their absolute best—softest, chewiest, and most aromatic—on the day they are made. For the ultimate enjoyment, we highly recommend serving them fresh. If you happen to have leftovers, proper storage will help maintain their deliciousness. Store the bars in a single layer within an airtight container at room temperature for up to 3 days. Be aware that their texture will naturally become denser and firmer the longer they sit. To refresh day-old or two-day-old treats and bring back some of that wonderful, just-made softness, a quick microwave session works wonders: pop each individual treat into the microwave for just 5 to 6 seconds; this gentle warmth will soften the marshmallows and revive their delightful chewiness, making them almost as good as fresh!
- Nutrition Estimate: The provided nutrition information is an approximation only. It has been automatically calculated based on the ingredients and assumes the entire batch is divided into 16 individual treats. Nutritional values can vary based on specific brands and ingredient variations used.
Nutrition Estimate
Serving: 1 treat | Calories: 220kcal | Carbohydrates: 38g | Protein: 2g | Fat: 7g | Saturated Fat: 4g | Polyunsaturated Fat: 1g | Monounsaturated Fat: 2g | Trans Fat: 0.2g | Cholesterol: 16mg | Sodium: 135mg | Potassium: 68mg | Fiber: 1g | Sugar: 23g | Vitamin A: 645IU | Vitamin C: 4mg | Calcium: 29mg | Iron: 3mg
Nutrition information is automatically calculated, so should only be used as an approximation and is not a substitute for professional dietary advice.
Please be aware that our recipes are developed and tested using the US Customary measurement system and have not been specifically tested for high altitude or elevation cooking and baking. Adjustments to ingredients or cooking times may be necessary for different environmental conditions.
Serving and Storing Your Caramel Apple Pie Rice Krispie Treats
These delightful treats truly shine with their optimal soft, chewy texture on the very day they are crafted. For the ultimate enjoyment, we enthusiastically recommend serving them fresh, perhaps even still slightly warm from setting, allowing the caramel drizzle to be perfectly gooey and pliable. The combination of textures and flavors is most vibrant and irresistible when enjoyed promptly after they’ve had sufficient time to set.
Should you find yourself with leftovers (a rare but possible occurrence given their deliciousness!), proper storage will help maintain their deliciousness for a few days. Store the bars in a single layer within an airtight container at room temperature. They will remain enjoyable for up to 3 days, though it’s important to note that their texture will naturally become denser and firmer over time as the marshmallows continue to set. To revitalize day-old or two-day-old treats and bring back some of that wonderful, just-made softness and chew, a quick microwave session works wonders. Simply pop each individual treat into the microwave for just 5 to 6 seconds; this gentle warmth will beautifully soften the marshmallows and revive their delightful chewiness, making them almost as good as fresh!
Frequently Asked Questions (FAQ) About These Treats
Here are some common questions and helpful answers about making and enjoying these autumnal Caramel Apple Pie Rice Krispie Treats:
- Can I use fresh apples instead of dried? While fresh apples might seem like a natural fit for an apple-flavored treat, their high moisture content would actually make the Rice Krispie Treats soggy and prevent them from setting properly, leading to a disappointing texture. It’s crucial to stick to the baked apple chips and freeze-dried apple powder as specified in the recipe for the best results and authentic apple flavor.
- What if my marshmallows are old or stale? Using stale marshmallows can significantly impact the outcome, leading to very tough, hard treats that lack the signature gooey chewiness. Always use fresh, soft miniature marshmallows for optimal gooiness and pliability. If your marshmallows feel hard or are excessively sticky from being open too long, it’s always best to purchase a new, fresh bag for this recipe.
- How can I prevent my treats from sticking to my hands when pressing them into the pan? The marshmallow mixture is notoriously sticky! To save your hands from a messy situation, lightly grease your spatula, use a piece of parchment paper, or even the empty butter wrapper itself (grease side down) to gently press the mixture into the pan. This creates a barrier and ensures a smoother, cleaner process.
- Can I make these Caramel Apple Pie Rice Krispie Treats ahead of time for a party or event? Absolutely! While they are undoubtedly best enjoyed fresh on the day they are made, these treats can be prepared up to 1-2 days in advance. Just be aware that their texture will firm up slightly over time. For the best possible experience when serving them later, follow the storage and reheating tips mentioned above to restore some of their initial softness.
- Is the brown butter step really necessary, or can I just melt regular butter? While you technically can just melt regular butter, browning the butter is a transformative step that adds a significant nutty depth, complexity, and gourmet flavor to these treats. It truly elevates them beyond a basic Rice Krispie square. We highly recommend not skipping this step, as it’s key to their unique, rich flavor profile and contributes immensely to the overall autumnal experience.
More Caramel Apple Desserts to Savor
If you’re enchanted by the delightful and timeless combination of caramel and apple, we encourage you to explore these other fantastic recipes that celebrate this iconic duo:
- Caramel Apple Hand Pies: Perfect portable pockets of warm apple-caramel goodness, ideal for a grab-and-go fall treat.
- Chocolate Covered Caramel Apple Slices: An elegant and surprisingly easy treat that combines crisp apple with rich caramel and decadent chocolate, perfect for sharing or a sophisticated snack.
- Homemade Caramel Apples: The quintessential fall classic, elevated to perfection with rich, chewy homemade caramel coating crisp, juicy apples.
Discover More Creative Rice Krispies Treats Recipes
For those who love the versatility, simplicity, and nostalgic charm of Rice Krispies Treats, here are some other creative and delicious variations to explore, offering a wide range of flavors beyond the classic:
- Strawberry Rice Krispie Treats: A vibrant, fruity twist that brings a taste of summer to this beloved no-bake dessert.
- Coconut Rice Krispie Treats with Pecans: Tropical flavors meet a classic base, offering a delightful chewiness and nutty crunch.
- Peanut Butter Cup Rice Krispie Treats: A rich and indulgent combination for peanut butter and chocolate lovers, packed with creamy and crunchy textures.
- Loaded Rice Krispie Treats: Everything but the kitchen sink for an explosion of flavors and textures, perfect for customizing with your favorite mix-ins.
We sincerely hope you enjoy making and sharing these delightful Caramel Apple Pie Rice Krispie Treats as much as we do. They truly embody the comforting spirit of fall in every chewy, crispy, and caramel-drizzled bite. Whether for a special occasion or a simple autumn afternoon snack, these treats are sure to bring smiles and satisfy any sweet tooth. Happy baking (or rather, happy no-baking)!
