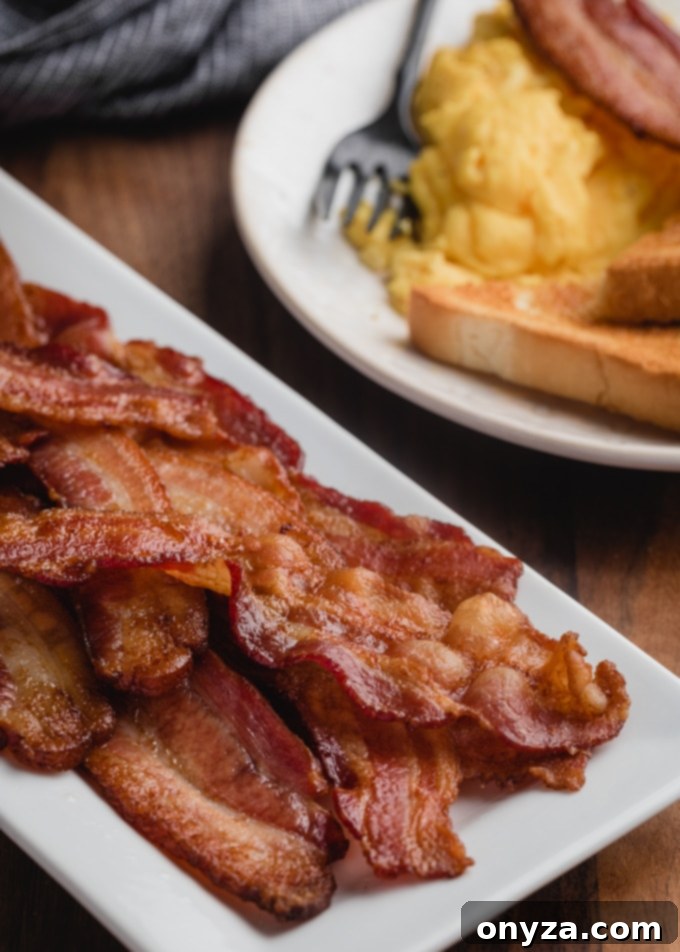
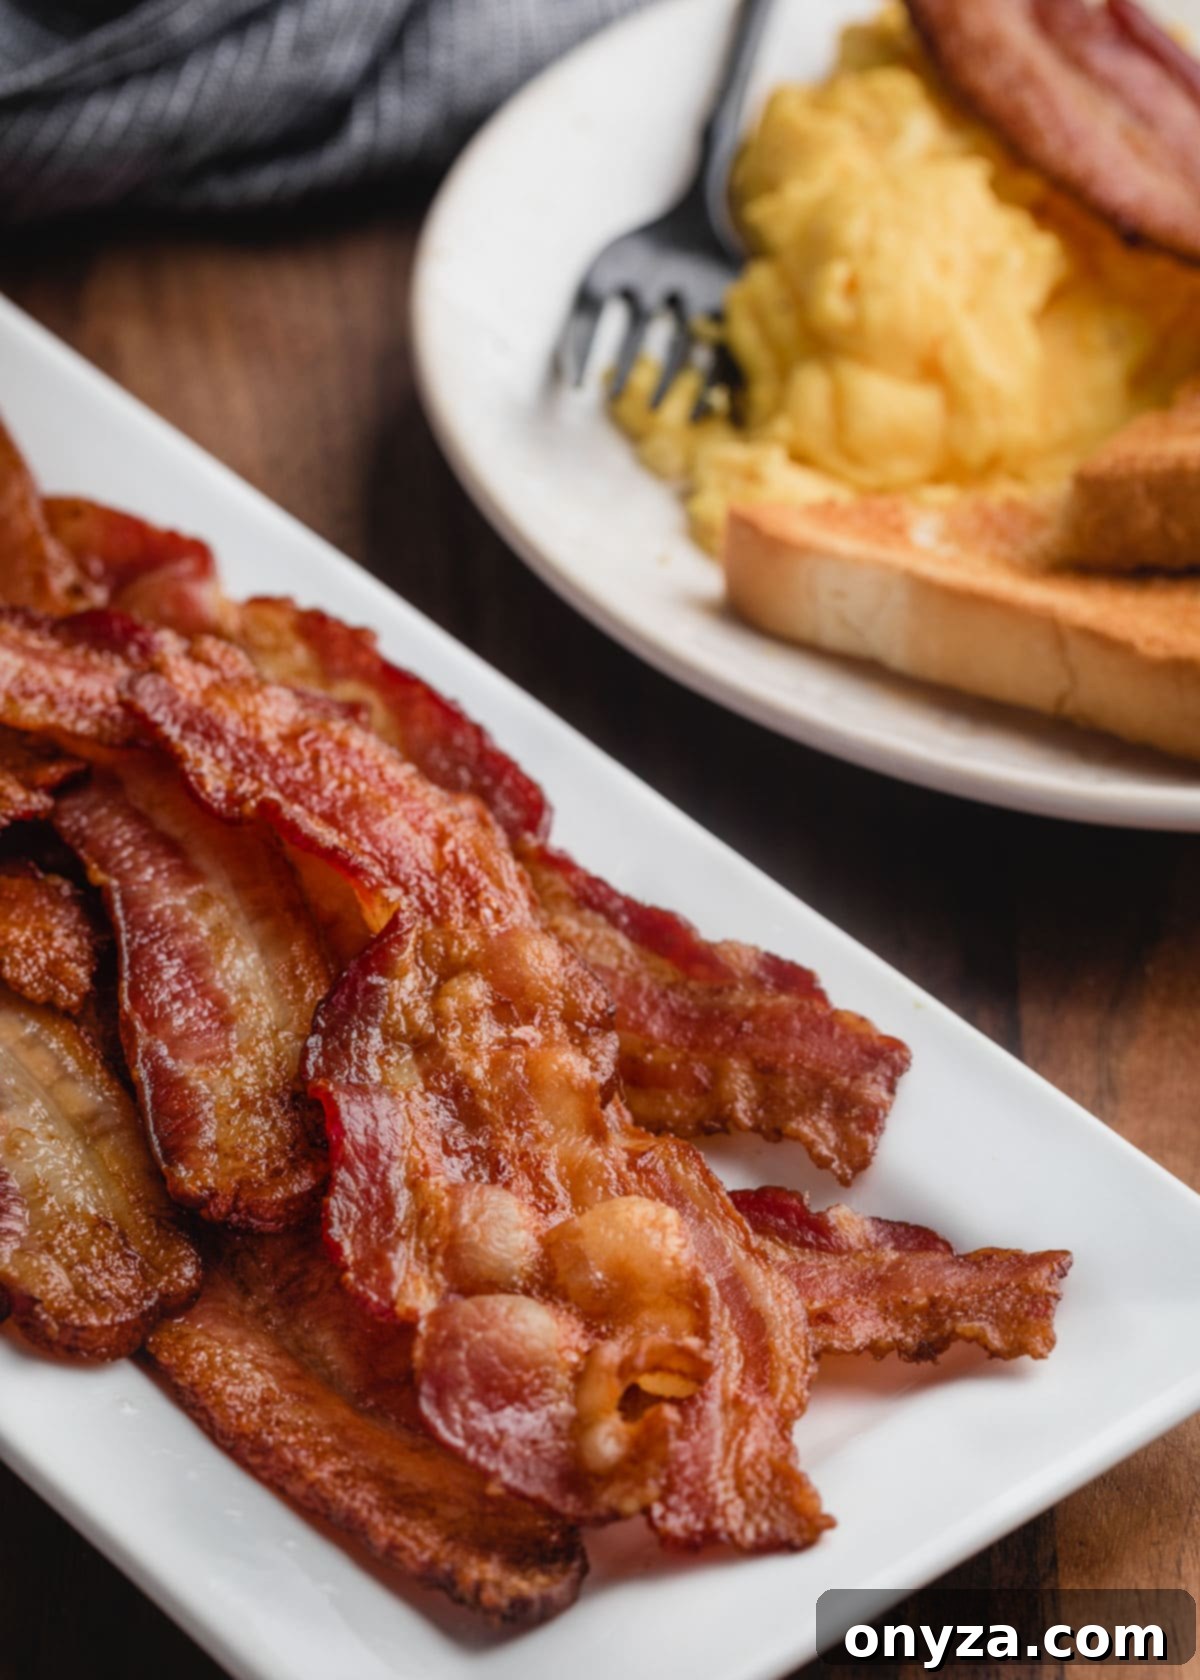
Say goodbye to the greasy stovetop and hello to effortlessly perfect bacon! This comprehensive guide will show you how to cook bacon in the oven, ensuring incredibly crispy results with minimal cleanup every single time. Beyond just the basics, discover creative ways to elevate your breakfast and brunch spreads with delightful flavor variations. Unlock the secret to stress-free, delicious bacon that will transform your morning routine.
This post contains affiliate links. As an Amazon Associate, I earn a commission (at no additional cost to you) from qualifying purchases made by clicking these links. As always, all recommendations and opinions expressed are my own.
Why Oven-Baked Bacon is a Game Changer for Your Kitchen
While cooking bacon on the stovetop is a classic method, once you experience the sheer simplicity and superior results of baking bacon in the oven, you might never go back. For many home cooks, the oven has become the preferred method for three compelling reasons that elevate bacon preparation from a chore to a culinary delight:
1. Unmatched Convenience: Hands-Off Cooking at Its Best
One of the primary advantages of oven-baked bacon is its hands-off nature. Unlike stovetop frying, which demands constant attention to prevent burning and ensure even cooking, oven bacon allows you to set it and almost forget it. This frees up valuable time and stovetop real estate, enabling you to focus on other breakfast components like fluffy scrambled eggs, golden-brown toast, or delicate pancakes. Imagine multitasking with ease, preparing your morning coffee or setting the table while your bacon crisps to perfection.
Furthermore, the oven excels at batch cooking. Trying to feed a crowd on the stovetop often involves multiple rounds of frying, leading to some bacon getting cold while other batches are still cooking. With the oven, you can easily utilize multiple baking sheets, cooking a large quantity of bacon all at once. This makes it an absolute lifesaver for family breakfasts, holiday brunches, or simply meal prepping bacon for the week ahead. All your bacon, perfectly cooked and ready simultaneously!
2. Superior Consistency and Perfect Crispness
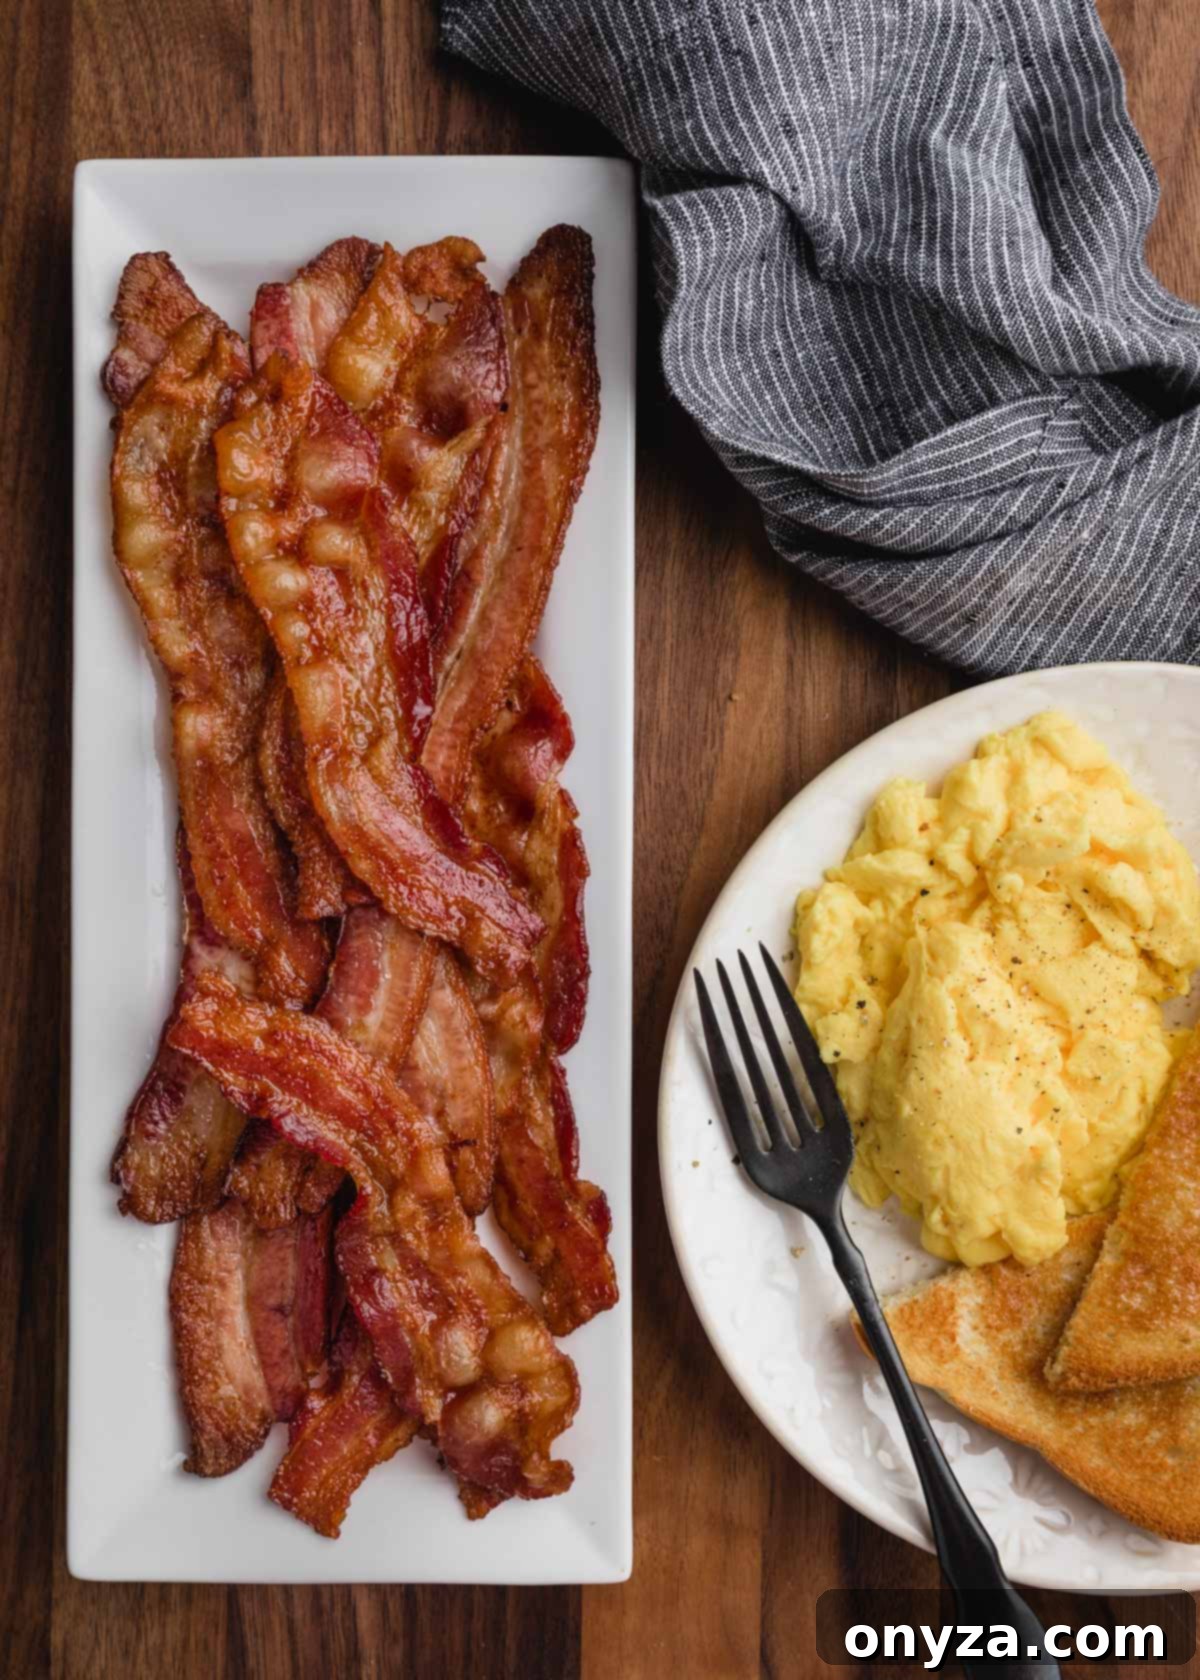
If your ideal bacon is uniformly crispy from end to end, with no soggy spots or overly charred edges, then the oven is your secret weapon. The even heat distribution within the oven cooks bacon more slowly and gently compared to the direct, intense heat of a skillet. This gradual cooking process allows the fat to render consistently, resulting in bacon that crisps evenly across each strip.
Another fantastic benefit is how oven baking prevents the dreaded bacon curl. Stovetop bacon often warps and curls, making it difficult to cook flat. In the oven, especially when cooked on a flat sheet or a wire rack, the strips tend to remain straighter and flatter. This not only contributes to a more appealing presentation but also ensures a more consistent texture throughout, providing that satisfying crunch with every bite. The result is consistently beautiful, perfectly cooked bacon that impresses every time.
3. Effortless Cleanup: A Spotless Kitchen Awaits
Let’s face it: stovetop bacon often means a greasy aftermath. Splatter guards help, but grease seems to find its way onto every surrounding surface – countertops, stovetop grates, and even cabinet knobs. This mess results from the vigorous popping and sizzling of fat when it hits a hot pan.
Oven baking significantly mitigates this problem. When bacon bakes, the fat renders more gently, containing most of the splatter within the oven cavity itself, or, ideally, onto your lined baking sheet. The true magic lies in the cleanup: simply roll up the used aluminum foil or parchment paper and discard it. Your baking sheet remains largely clean, requiring only a quick wipe. As for the oven, it usually requires minimal attention, perhaps a swift wipe with a damp cloth once cooled. For many, this vastly reduced cleanup effort alone is enough to convert them to oven bacon evangelists.
Essential Ingredients and Equipment for Perfect Oven Bacon
Achieving perfectly baked bacon requires just a few basic kitchen tools and, of course, the right kind of bacon. Here’s what you’ll need to get started:
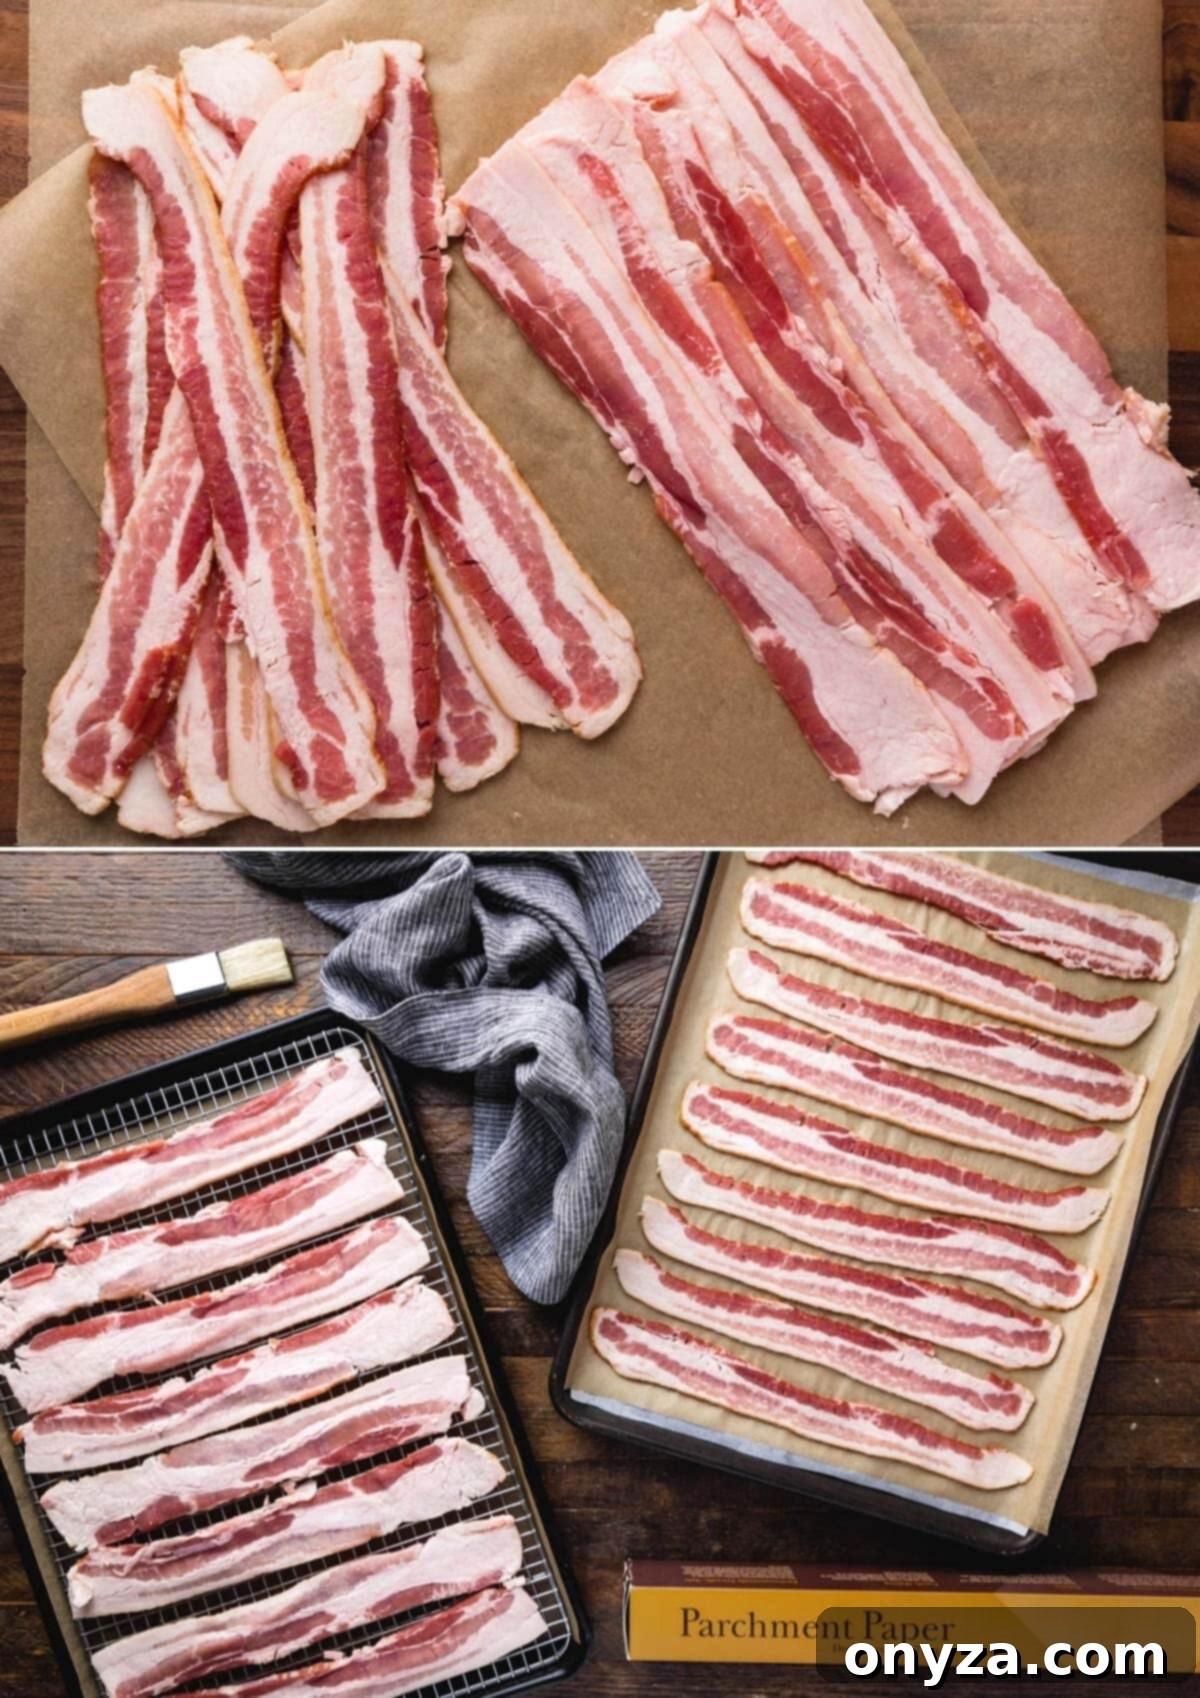
- Bacon: Choose your preferred cut – regular, thick-cut, or even turkey bacon.
- Rimmed Baking Sheet(s): Essential for containing rendered fat and preventing drips.
- Aluminum Foil or Parchment Paper: Your best friends for easy cleanup.
- Oven-Safe Wire Rack (Optional but Recommended): Great for achieving maximum crispness and lifting bacon out of its rendered fat.
- Paper Towels: For draining excess fat after baking.
Choosing the Best Bacon to Bake
The type of bacon you choose will significantly impact the final texture and cooking time. Consider your desired outcome when making your selection:
- Regular Cut Bacon: Typically sliced about 1/16-inch thick, regular bacon is ideal if you crave maximum crispness. It’s the go-to for easily crumbling into salads, toppings, or when you prefer a uniformly brittle texture. It cooks relatively quickly and renders its fat efficiently.
- Thick-Cut Bacon: Sliced around 1/8-inch thick or more, thick-cut bacon offers a more substantial, meaty bite while still developing wonderfully crispy edges. If you enjoy a chewier center with a satisfying crunch, this is your perfect choice. It requires a slightly longer cooking time but delivers a more indulgent experience.
- Turkey Bacon: For a leaner alternative, turkey bacon can also be baked in the oven. While it won’t achieve the same level of crispness as pork bacon due to its lower fat content, the oven method still yields a good texture. Be mindful not to overcook it, as turkey bacon can become dry if baked for too long. Keep a close eye on it during the last few minutes of cooking.
To become a true bacon connoisseur, deepen your knowledge of bacon varieties with a comprehensive guide before your next grocery run.
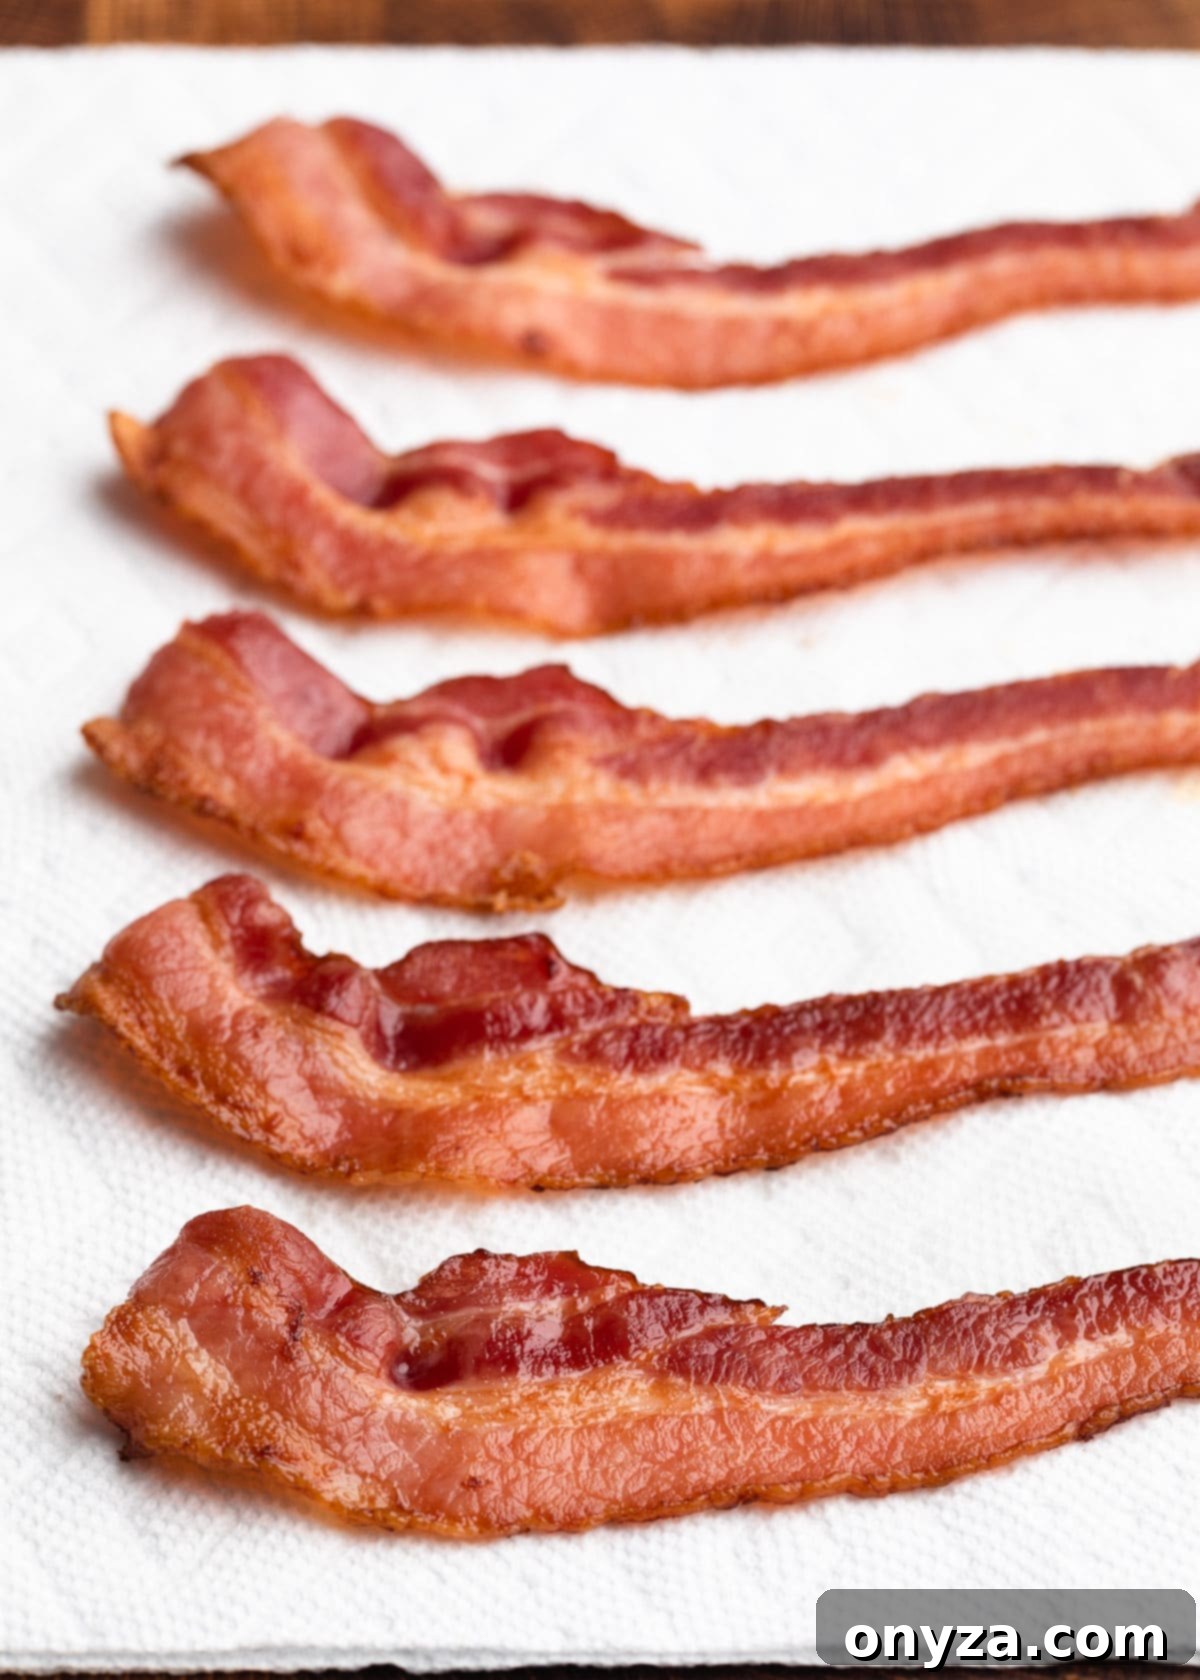
Step-by-Step Guide: How to Cook Bacon in the Oven
Ready to achieve bacon perfection? Follow these simple steps for consistently delicious results:
- Preheat Your Oven: Position an oven rack in the center. For regular-cut bacon, preheat your oven to 400°F (200°C). If you’re using thick-cut bacon, opt for 375°F (190°C) – the slightly lower temperature allows the thicker slices to cook through without burning the edges.
- Prepare Your Baking Sheet: Line a rimmed baking sheet with either aluminum foil or parchment paper. I often recommend a double layer of parchment or wrapping the foil up and around the pan’s rims for the absolute easiest cleanup. Aluminum foil is particularly excellent for collecting and saving bacon grease, as the fat won’t soak through.
- Consider a Wire Rack (Optional): For even crispier bacon, especially with thick cuts that release more fat, place an oven-safe wire cooling rack directly onto your lined baking sheet. This elevates the bacon, allowing hot air to circulate all around it and preventing it from cooking directly in its rendered fat. For thinner, regular bacon, cooking directly on the lined pan can sometimes help it crisp nicely by frying slightly in its own fat. If you choose to cook regular bacon on a rack, expect a slightly chewier center, which some prefer!
- Arrange the Bacon: Lay the bacon strips in a single layer on the prepared baking sheet (or wire rack), ensuring none of the pieces overlap. Overlapping will cause the bacon to steam rather than crisp.
- Bake to Perfection:
- Regular-Cut Bacon: Bake for 10-20 minutes, or until your desired level of crispness is achieved. Halfway through, rotate the pan for even cooking.
- Thick-Cut Bacon: Bake for 10 minutes, then use tongs or a fork to carefully flip each strip. Rotate the pan and continue baking for another 10-15 minutes, or until the edges are crispy and the centers are cooked to your preference. Adjust the time as needed for very thick slices.
Remember that bacon will continue to crisp up slightly as it cools after being removed from the oven.
- Drain and Serve: Immediately transfer the cooked bacon to a double layer of paper towels to drain any excess fat. Serve hot and enjoy!
- Batch Cooking Multiple Sheets: If you’re cooking several sheets of bacon at once, place them in the upper and lower thirds of your oven. Be sure to rotate the sheets halfway through the cooking process to ensure even crisping across all batches.
Don’t Forget to Save the Bacon Grease!
The golden, flavorful fat left behind on your baking sheet is culinary gold and should never go to waste! After your bacon has cooled and been removed, carefully pour the rendered fat through a fine-mesh sieve into an airtight, heat-proof container. This strains out any small bits of bacon, leaving you with pure, flavorful bacon grease. Store it in the refrigerator for up to 3 months, or freeze it for up to 6 months (or even longer) for future use. It adds incredible depth of flavor to a wide variety of dishes:
- Use it to grease a cast iron skillet for making savory cornbread.
- It’s fantastic for roasting or pan-frying potatoes and hash browns, imparting an irresistible savory crunch.
- Fry eggs or cook omelets in bacon fat for an extra layer of flavor.
- Use it to pop stovetop popcorn for a smoky, savory treat.
- Sauté or roast vegetables like Brussels sprouts, green beans, or corn (especially for a dish like succotash).
- Whisk it into a warm bacon vinaigrette for an unforgettable salad dressing.
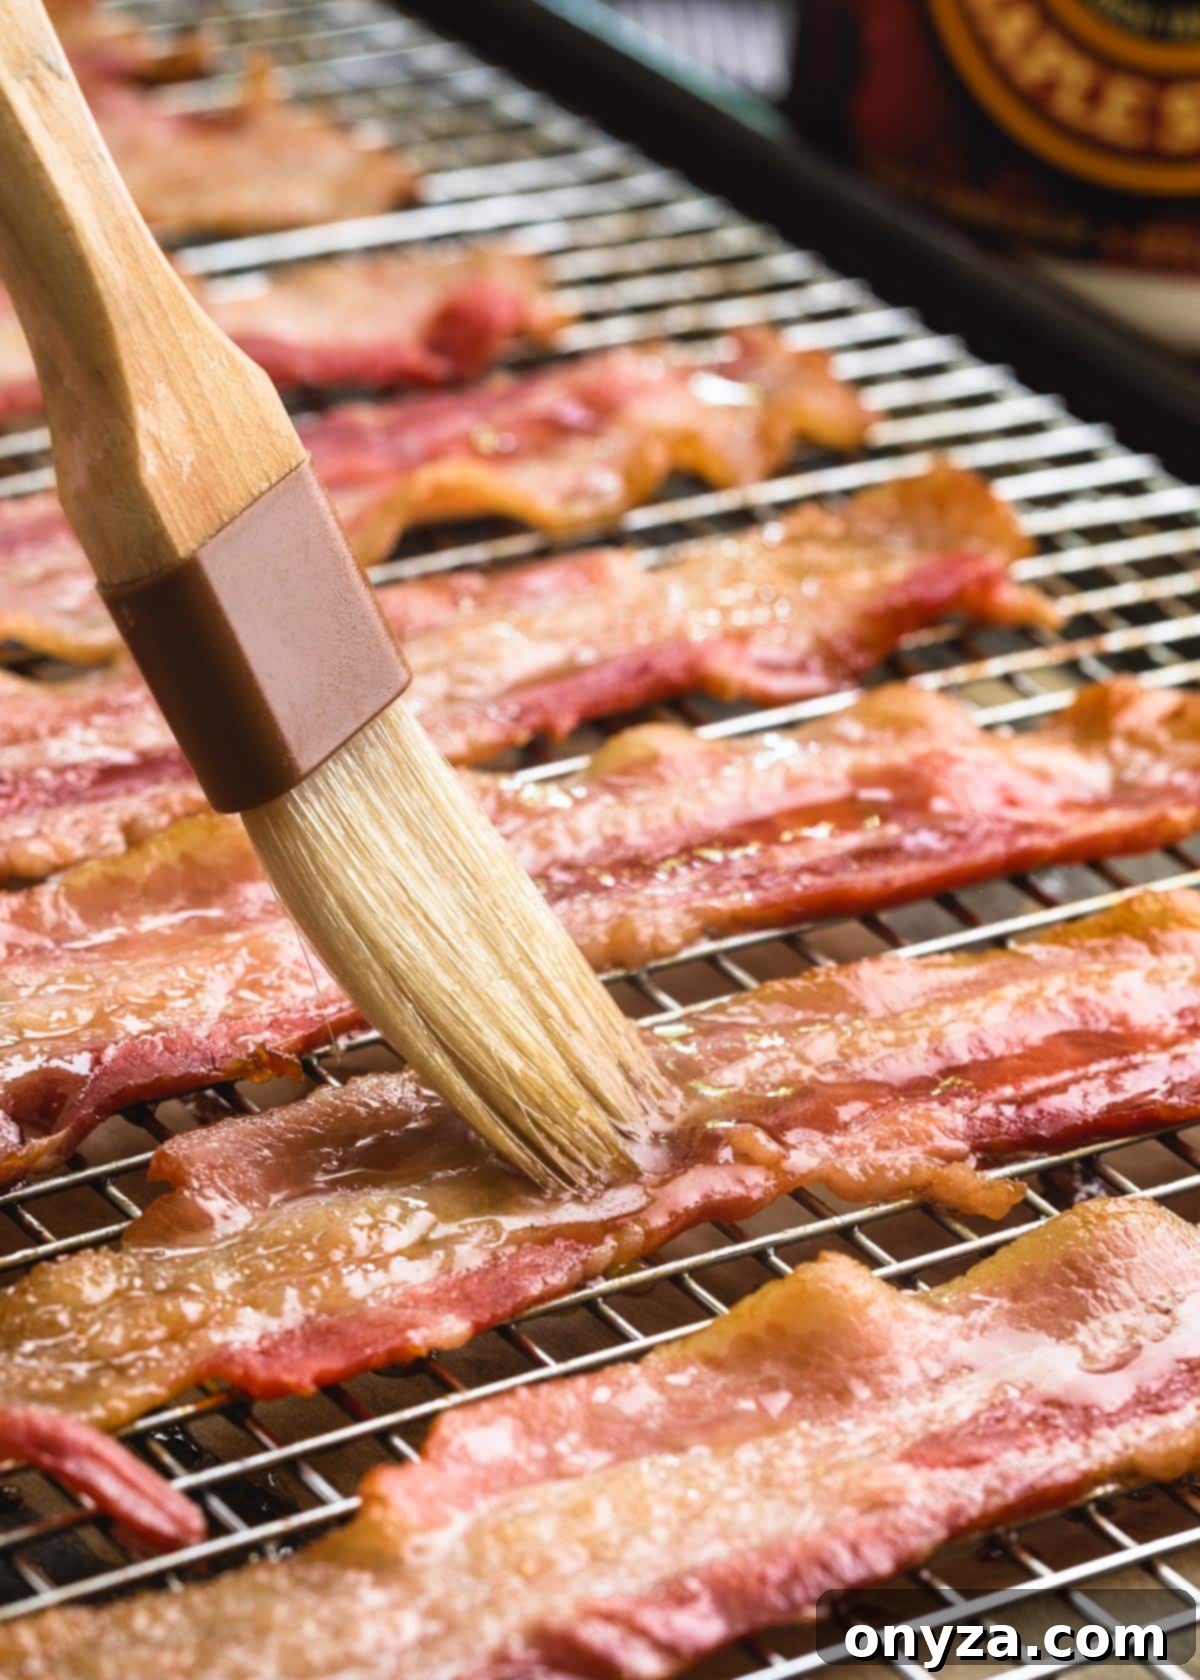
Make it Fancy: Baked Bacon Flavor Variations
Elevate your baked bacon from simple to spectacular with these delightful flavor enhancements:
- Peppered Bacon: For a classic kick, generously sprinkle freshly cracked black pepper over the bacon slices before baking.
- Brown Sugar Bacon: Create a sweet and savory sensation by sprinkling light brown sugar evenly over the bacon before it goes into the oven.
- Maple or Honey Glazed: During the last 5 minutes of cooking, brush the bacon slices with pure maple syrup or gently warmed honey. The sugars will caramelize beautifully.
- Maple-Black Pepper Bacon: Combine the best of both worlds! After brushing with maple syrup during the final 5 minutes, sprinkle with freshly cracked black pepper for a sweet and spicy finish.
- Maple-Chipotle Bacon: Infuse some smoky heat by mixing 1 teaspoon (or to taste) of ground chipotle powder into 1/4 cup of maple syrup. Brush this mixture onto the bacon during the last 5 minutes of baking.
- Hot Honey Bacon: For those who love a sweet heat, mix 1-2 tablespoons of your favorite hot sauce (such as Frank’s, Tabasco, or Sriracha) into 1/4 cup of warmed honey. Brush onto the bacon during the final 5 minutes of cooking.
- Brown Sugar Bourbon Glaze: Create a sophisticated glaze by combining 1/2 cup brown sugar with 2 tablespoons of bourbon. For added complexity, stir in a pinch of cracked pepper or smoked paprika. Honey or maple syrup can be substituted for the brown sugar if preferred. Brush this enticing glaze onto the bacon during the last 5 minutes of baking.
Tip: When preparing bacon with sticky or sugary glazes (like maple or brown sugar), it’s best to drain the cooked strips on a piece of parchment paper or a wire rack set over paper towels. Hot sugars can sometimes adhere to paper towels, making removal difficult.
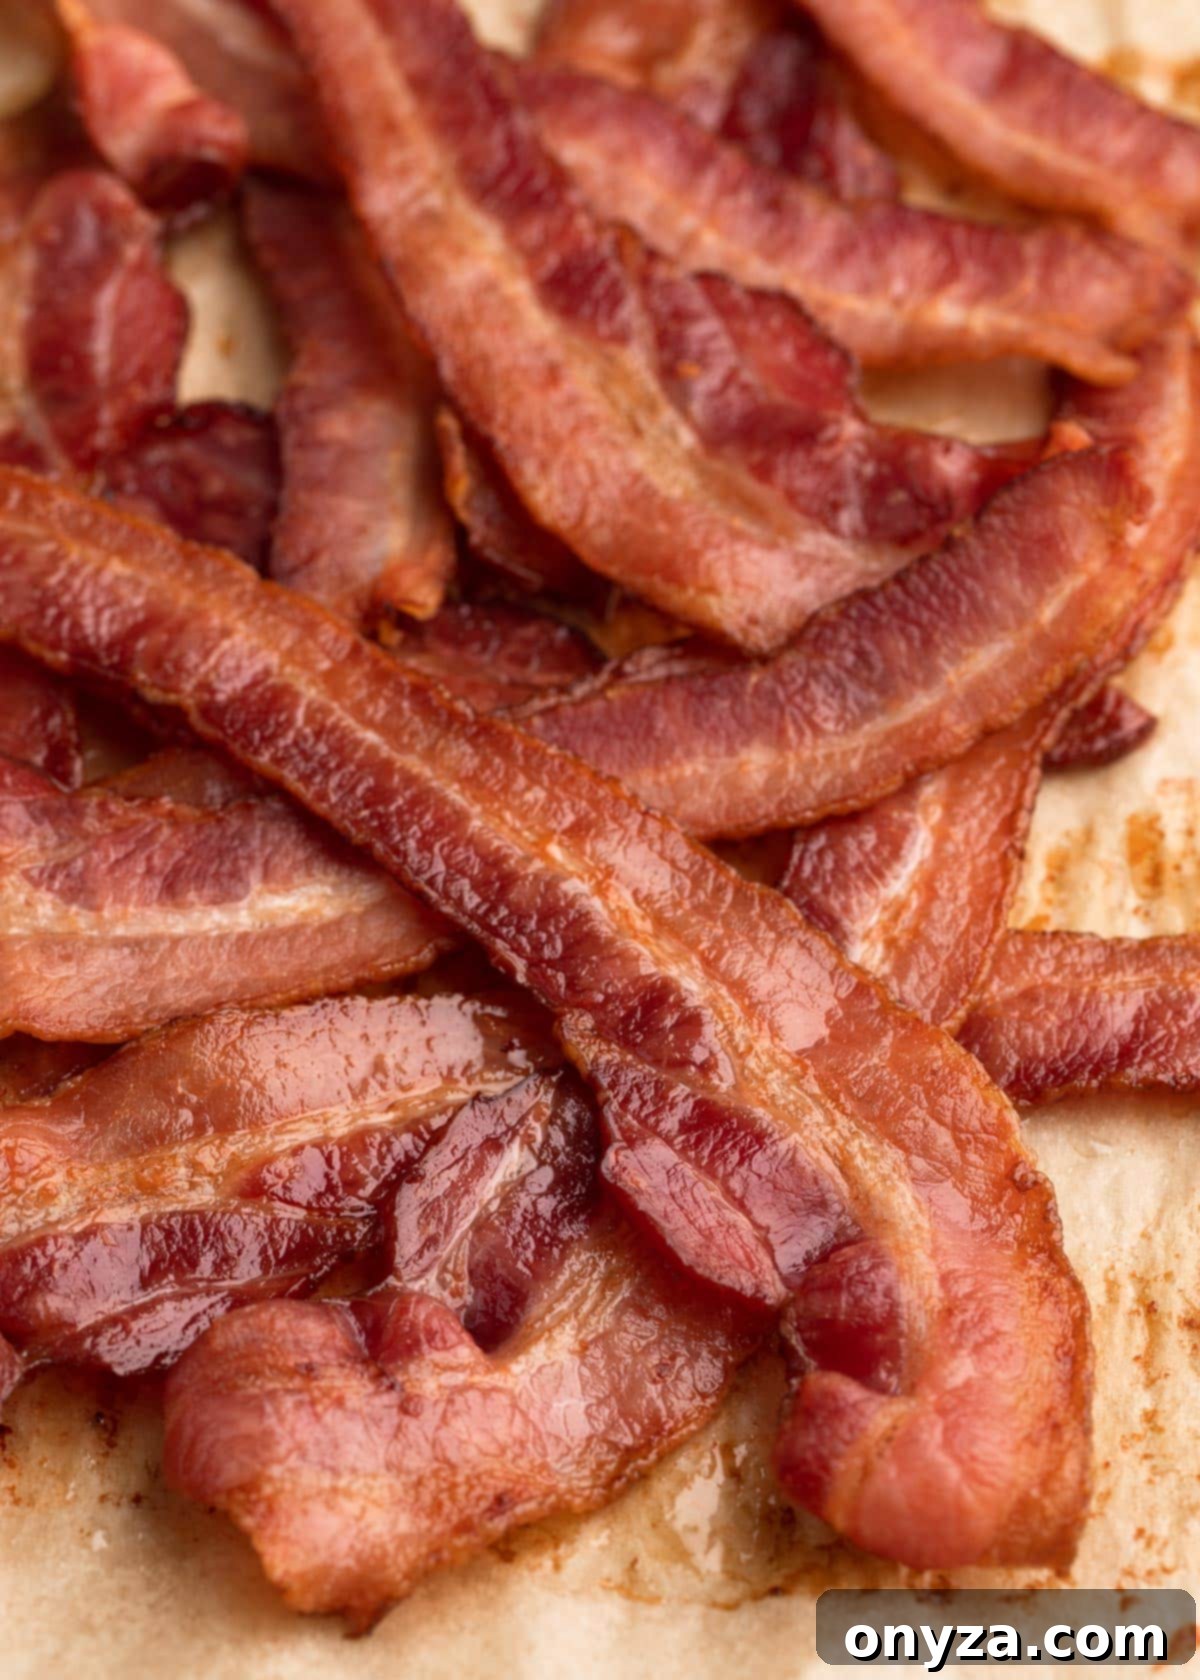
Meal Prep Made Easy: Baking Bacon Ahead
One of the greatest benefits of oven baking is its suitability for meal preppers. I often dedicate a weekend morning to baking a large batch of bacon, which then provides delicious, ready-to-eat strips throughout the busy week. Once fully cooled, simply store your baked bacon in an airtight container or wrapped tightly in foil in the refrigerator for up to 4-5 days.
Reheating is a breeze:
- For a few slices: Pop chilled bacon into the microwave for 15-20 seconds on a paper towel-lined plate. (Ensure your paper towel brand is microwave-safe). This makes quick work of breakfast on a hectic morning!
- For a larger batch: Place the bacon back onto a parchment or foil-lined baking sheet. Reheat in a 350°F (175°C) oven for 10-15 minutes, or until thoroughly heated through and crisp again.
Delicious Recipes to Make with Oven-Baked Bacon
Beyond simply serving it alongside eggs, baked bacon is a versatile ingredient that can elevate countless dishes. Here are some fantastic recipes where your perfectly crispy oven bacon will shine:
- Bacon Deviled Eggs with Horseradish
- Popovers with Bacon and Goat Cheese
- Maple Bacon Sweet Potato Biscuits
- Bacon Cheddar Potato Salad
- Harvest Cobb Salad
CRAVING MORE? Subscribe to my newsletter and join me on Facebook, Pinterest, and Instagram for the latest recipes and news.
How to Cook Bacon in the Oven
By Amanda Biddle
It’s a cinch to make perfectly cooked bacon in the oven! No frying pan, no stove splatter. Great for weekend breakfasts, meal prep, and entertaining.
Prep Time: 5 minutes
Cook Time: 15 minutes
Total Time: 20 minutes
Yields: 12 bacon slices
Ingredients
- 12 slices bacon (regular or thick cut)*
Instructions
Regular Cut Bacon (1/16-inch thick)
- Preheat oven to 400°F (200°C) with the rack in the middle position. Line a rimmed baking sheet with foil or a double layer of parchment paper.
- Lay the bacon in a single layer on the baking sheet without overlapping. Bake for 10-20 minutes, rotating the pan halfway through, until the bacon is golden brown and crisp. Cooking time will depend on the brand of bacon and your preferences. When assessing doneness, keep in mind that the bacon will continue to crisp as it cools.
- Immediately drain the bacon on a double layer of paper towels and serve.
Thick-Cut Bacon (1/8-inch thick)
- Preheat oven to 375°F (190°C). Line a rimmed baking sheet with foil or parchment and place an oven-safe wire cooling rack onto the pan.
- Lay the bacon strips in a single layer on the wire rack without overlapping. Bake for 10 minutes. Flip the bacon using tongs or a fork, rotate the pan, and continue baking for 10-15 minutes, until the edges are crisp and the centers are cooked to your desired doneness. (Adjust the time as needed for thicker cuts.)
- Drain the bacon on a double layer of paper towels before serving. Bacon will continue to crisp as it cools.
Notes
*If using extra-thin, “Restaurant Cut” bacon (1/32-inch thick slices), follow the instructions for Regular Cut bacon, and start checking for doneness around the 8-minute mark.
For ways to flavor baked bacon, see the Variations section in the article above.
Nutrition Estimate
Serving: 1 bacon strip | Calories: 92kcal | Carbohydrates: 1g | Protein: 3g | Fat: 9g | Saturated Fat: 3g | Trans Fat: 1g | Cholesterol: 15mg | Sodium: 146mg | Potassium: 44mg | Vitamin A: 8IU | Calcium: 1mg | Iron: 1mg
Nutrition information is automatically calculated, so should only be used as an approximation.
About Our Recipes: Please note that our recipes have been developed using the US Customary measurement system and have not been tested for high altitude/elevation cooking and baking.
