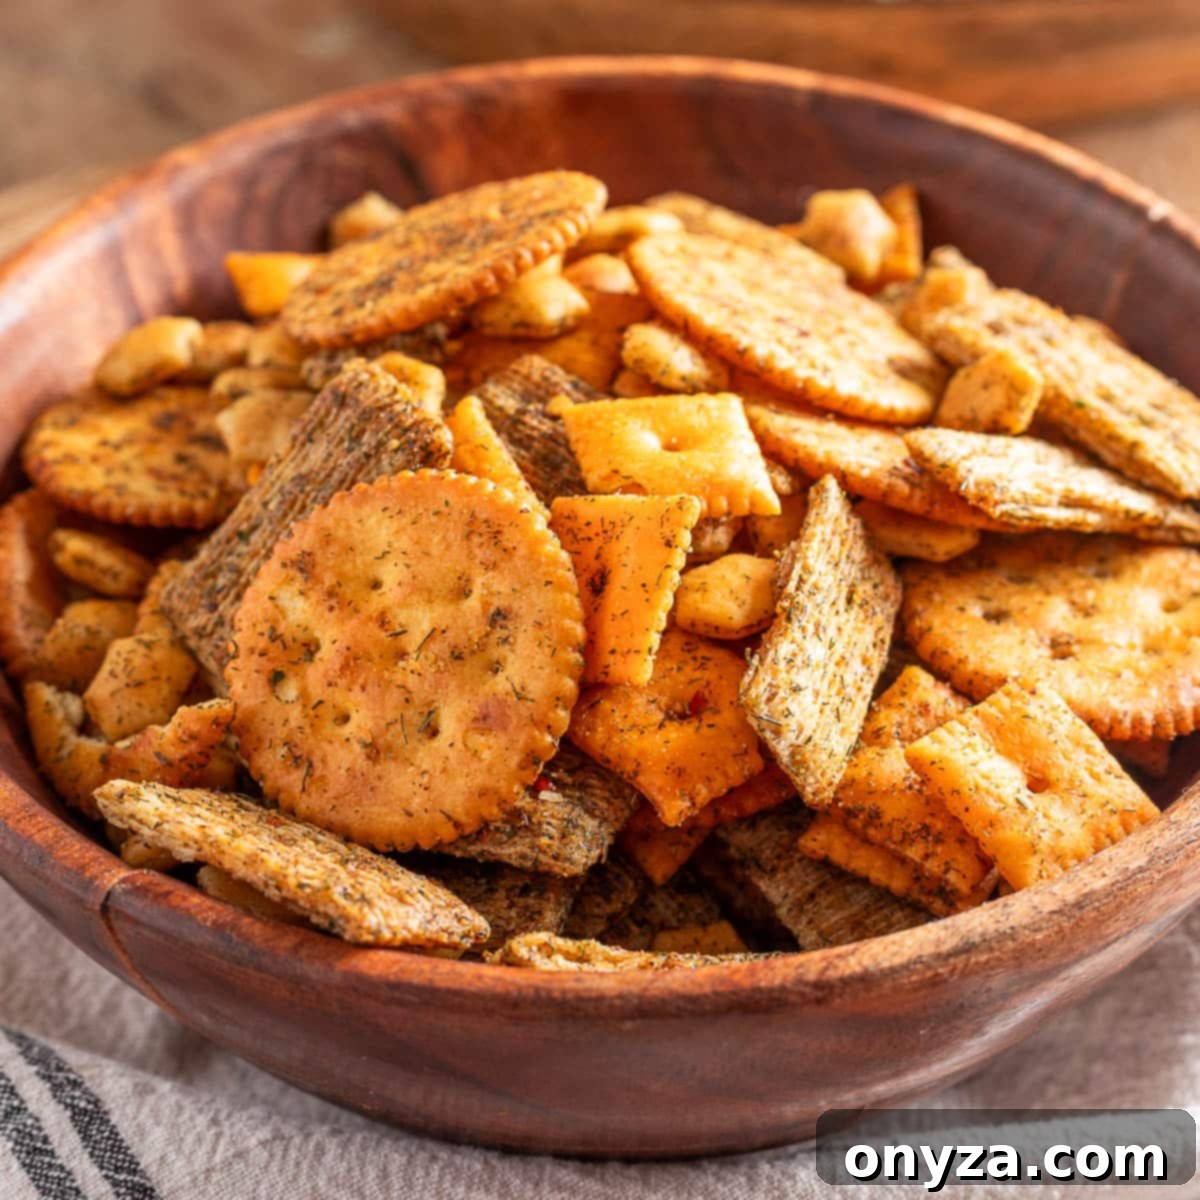
Irresistible Homemade Dill Ranch Crackers: Your Ultimate Savory Snack Guide
Transform ordinary crackers into an extraordinary snack with these incredibly delicious homemade dill ranch crackers. Each bite offers a perfect crunch, enveloped in a buttery, savory coating bursting with classic ranch flavor, aromatic dill, garlic, and onion. Baked low and slow to achieve a perfect golden crispness, these crackers are effortlessly easy to prepare and are guaranteed to be a crowd-pleaser for any occasion, from lively game days and festive parties to quiet evenings at home or even a thoughtful homemade gift. Forget store-bought snacks; once you try these, you’ll be hooked on their irresistible flavor and satisfying texture.
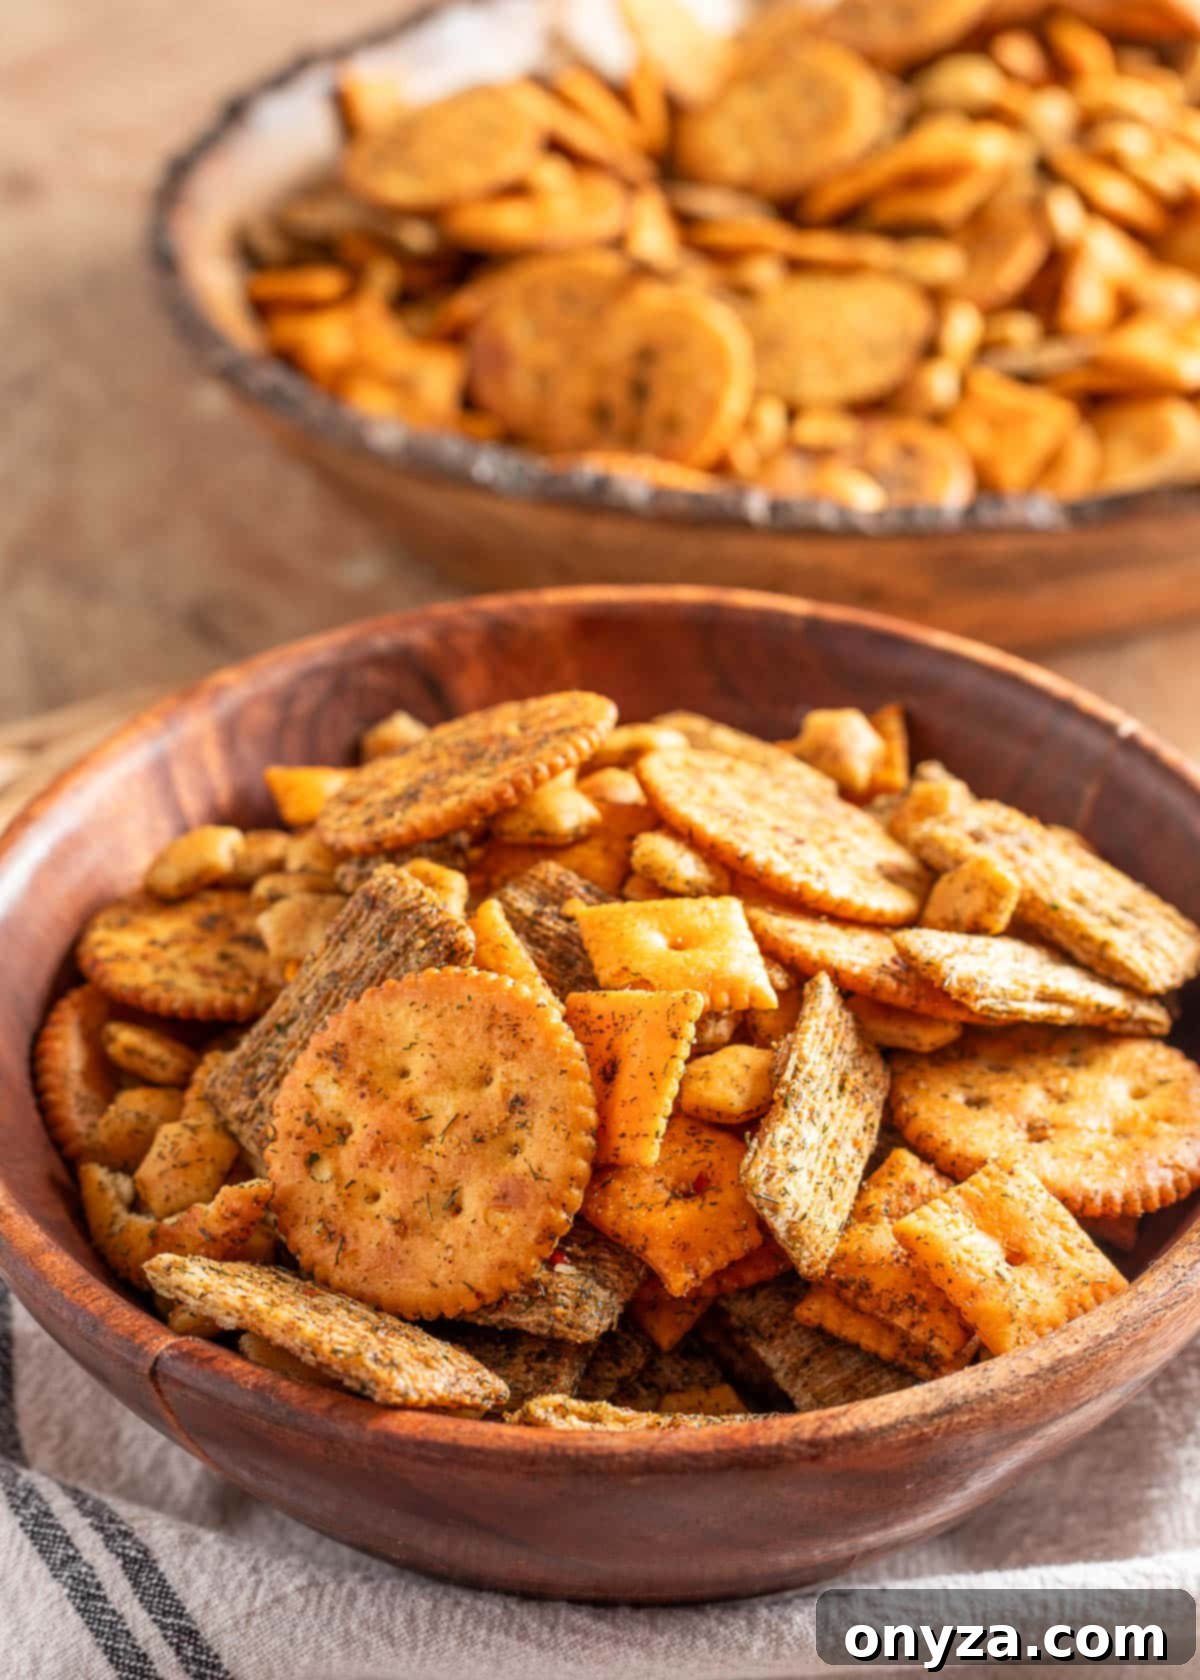
Why You’ll Love These Homemade Ranch Crackers
These dill ranch crackers aren’t just a snack; they’re a culinary experience waiting to happen. Here’s why they’ll quickly become a staple in your recipe rotation:
- Unforgettable Flavor: The combination of buttery richness, savory ranch, pungent garlic, sweet onion, and bright dill creates a flavor profile that’s utterly addictive. It’s a harmonious blend that hits all the right notes for a satisfying snack.
- Perfect Texture: Baked to golden perfection, these crackers achieve an ideal crispness that’s incredibly satisfying without being too hard. The low and slow baking process ensures the seasoning is fully absorbed, delivering flavor in every crunch.
- Incredibly Easy to Make: With just a few simple steps and readily available ingredients, you can whip up a large batch of these savory treats in under an hour. No advanced cooking skills required!
- Highly Customizable: Whether you prefer a classic dill-ranch taste or crave an extra kick of smoky spice, this recipe offers flexibility. You can easily adjust the seasonings to match your personal preference or dietary needs.
- Crowd-Pleasing Versatility: These crackers are the ultimate party snack. They’re fantastic on their own, but also serve as a wonderful addition to cheese boards, a crunchy topping for soups and salads, or a perfect accompaniment to dips and spreads. They’re suitable for any gathering, from casual get-togethers to formal celebrations.
- Make-Ahead Convenience: The flavors actually deepen and improve over time, making them an ideal make-ahead snack. Prepare them a day or two in advance, and they’ll be even more delicious when it’s time to serve.
Essential Considerations Before You Start
Preparing the perfect batch of dill ranch crackers involves a few key decisions and insights that will elevate your snacking experience. Understanding these elements beforehand will ensure your crackers are nothing short of spectacular.
- Choosing Your Cracker Base: This recipe shines with a diverse mix of crackers, typically including Ritz (for buttery richness), Cheez-It (for a savory cheese note), Triscuit (for hearty texture and fiber), and oyster crackers (for a light, airy crunch). This variety ensures every handful offers a different delightful sensation.
- Size Matters: You can opt for full-size Ritz and Triscuits, snapping the Triscuits in half to create more bite-sized pieces and increase surface area for seasoning. Alternatively, mini versions of these crackers work just as well and save you a step. The goal is to have a good mix of shapes and sizes for visual appeal and textural interest.
- Customizing Your Flavor Profile: The beauty of these homemade ranch crackers lies in their adaptability.
- Classic Dill-Ranch: This version is a timeless favorite, offering that beloved tangy, herbaceous, and savory flavor that everyone adores. The combination of ranch seasoning with fresh dill, garlic, and onion powders is a harmonious blend that truly captures the essence of a classic snack mix.
- Smoky-Spicy Twist: For those who enjoy a bit of heat and depth, adding liquid smoke, crushed red pepper flakes, chili powder, and ground chipotle powder introduces a wonderfully complex dimension. This variation brings a warm, smoldering kick that is utterly addictive, perfect for elevating your snack game. Feel free to adjust the amount of spice to your preference.
- The Magic of Making Ahead: While these crackers are absolutely fantastic fresh out of the oven, their flavor truly deepens and develops after a day or two. As they rest, the savory, herbaceous, and spicy notes (if you opt for them) have ample time to fully meld and absorb into the crackers, resulting in an even more flavorful and cohesive snack. This makes them an ideal candidate for preparing in advance for parties, holidays, or simply to have on hand for convenient snacking throughout the week. Plan to make them at least a few hours, or ideally a full day, before you intend to serve them for the best possible taste experience.
Crafting Your Homemade Ranch Crackers: A Step-by-Step Guide
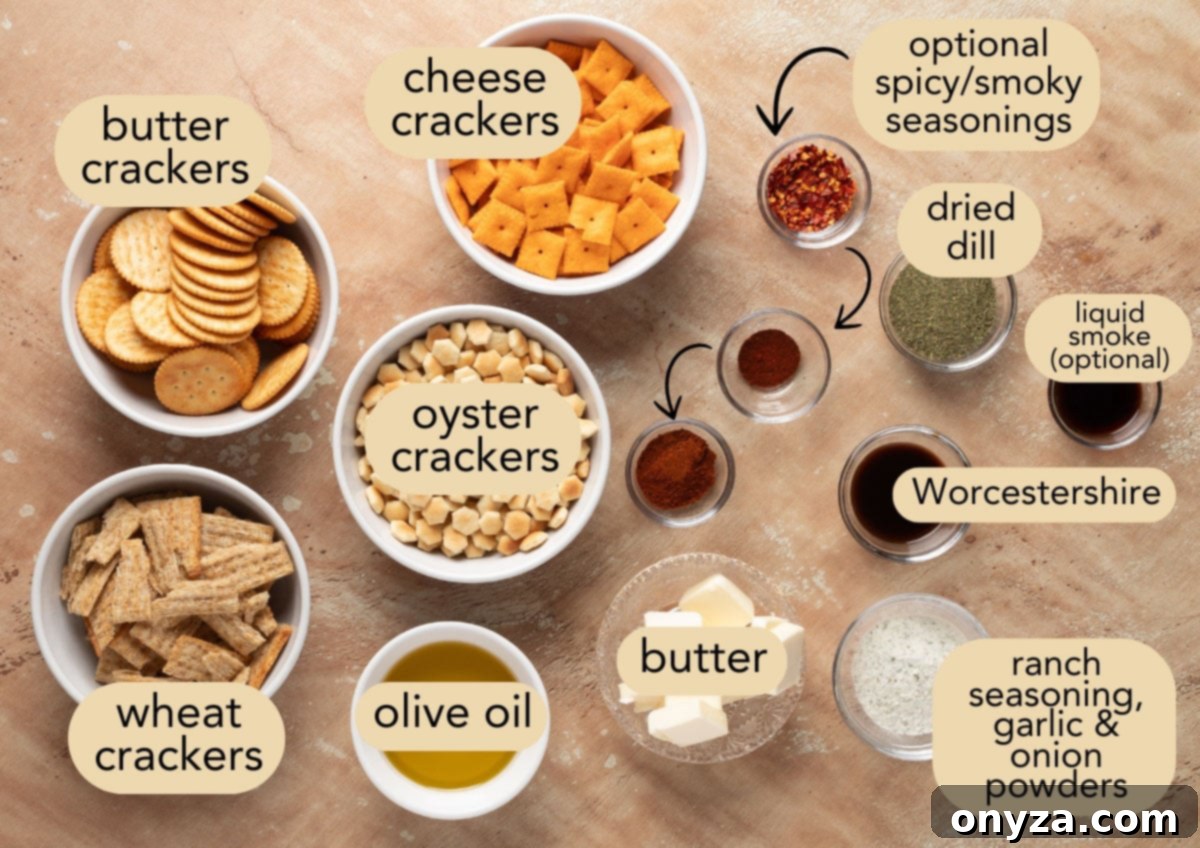
Creating these delightful ranch crackers is a straightforward process that yields incredibly rewarding results. Follow these steps to achieve perfect, flavor-packed crunchy snacks.
Step 1: Combine Your Assorted Crackers
Begin by gathering your chosen assortment of crackers. The variety is key here, as it contributes to the complex texture and flavor profile of the snack mix. Carefully add your Cheez-It, oyster, Triscuit, and Ritz crackers to a very large mixing bowl. A spacious bowl is essential to ensure you have enough room to gently toss and coat the crackers without crushing them.
If you’re using full-size Triscuit crackers, take a moment to snap each one in half as you add them to the bowl. This not only creates smaller, more manageable pieces but also exposes more surface area for the delicious seasoning to adhere to. The blend of round, square, buttery, cheesy, and hearty wheat crackers makes every handful unique and ensures there’s a texture and taste to please everyone’s palate.
Should you find that you don’t have a single bowl large enough to comfortably hold all the crackers and allow for proper mixing, simply divide the cracker mixture between two separate large bowls. This prevents overcrowding and ensures that every cracker will receive an even coating of the savory seasoning in later steps.
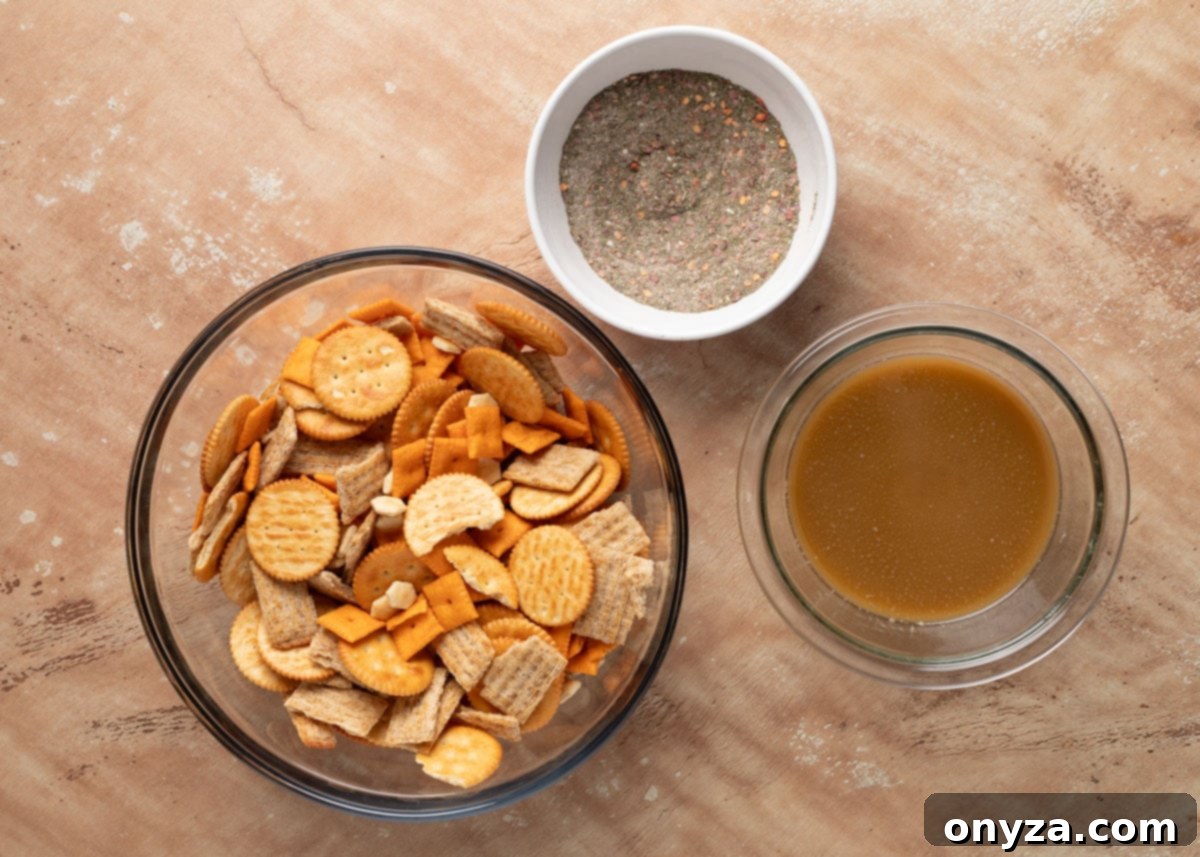
Step 2: Prepare Your Irresistible Seasoning Blend
In a separate medium-sized bowl or a large liquid measuring cup, combine your melted unsalted butter and olive oil. Whisk these two liquids together until they are thoroughly blended and smooth. The butter is crucial for providing a rich, decadent flavor and helps the seasonings cling to the crackers, while the olive oil contributes to that coveted crisp texture as the crackers bake, preventing them from becoming soggy.
For the olive oil, I personally recommend using a more neutral “pure” olive oil rather than extra virgin olive oil. Pure olive oil has a higher smoke point and a milder flavor, which allows the ranch and dill notes to truly shine without any overpowering fruity or peppery undertones that extra virgin varieties might impart. Brands like Filippo Berio’s gold-label bottle are an excellent choice for this purpose. If olive oil isn’t preferred, a neutral oil such as canola or avocado oil can be used as a substitute.
Now, it’s time to infuse this buttery oil mixture with the bold flavors that make these crackers so utterly irresistible. Stir in the following key seasonings:
- Worcestershire Sauce: This ingredient is a secret weapon, adding a layer of deep savory umami and a subtle tangy complexity that enhances all the other flavors.
- Ranch Seasoning Mix: For that iconic, beloved flavor, a packet of Hidden Valley Original Ranch Seasoning works wonders. It provides the essential blend of buttermilk, herbs, and spices that defines the classic ranch taste.
- Dried Dill Weed: The star of the show, dried dill weed, brings a vibrant, fragrant, and slightly citrusy punch that brightens the entire snack mix and complements the ranch beautifully.
- Garlic Powder and Onion Powder: These pantry staples are essential for boosting the savory foundation of the ranch seasoning, adding depth and a robust aromatic quality without introducing moisture.
- Table Salt: A small amount of salt is critical for enhancing and balancing all the flavors, tying them together into a cohesive and perfectly seasoned blend. Adjust according to the inherent saltiness of your chosen crackers and your personal preference.
If your aim is the quintessential dill-ranch flavor, your seasoning mixture is now complete and ready for the next step. However, for those craving a more adventurous profile, this is where you can introduce a delightful smoky and spicy twist. Whisk in:
- Liquid Smoke: A few drops of hickory liquid smoke (Colgin Hickory is a reliable choice) will impart a deep, woodsy, and alluring smoky essence to the crackers.
- Crushed Red Pepper Flakes: These add a noticeable but not overwhelming heat, along with a subtle textural element.
- Chili Powder: Contributes earthy notes and a mild, warm spice.
- Ground Chipotle Powder: For a more complex, smoky-sweet heat that rounds out the spicy profile beautifully.
Before you pour the seasoned butter mixture over your crackers, give it one final, vigorous whisk. The dry seasonings, especially the powders, have a tendency to settle at the bottom of the bowl, so a good stir ensures they are evenly suspended and every cracker gets its fair share of flavor.
Step 3: Achieving Perfect Cracker Coating
This step is crucial for ensuring every single cracker is infused with that incredible dill ranch flavor. Begin by gradually drizzling the prepared butter and seasoning mixture over your combined crackers. As you pour, continuously and gently toss the crackers with a sturdy rubber spatula. The key is to add the liquid in stages, rather than all at once.
Adding the butter mixture little by little allows for a much more even coating. The various textures of the crackers, particularly the fibrous Triscuits, tend to soak up the butter very quickly. This gradual method ensures that even the most absorbent crackers get properly coated without becoming oversaturated, and that the more dense crackers receive their fair share of seasoning too. Keep tossing until you observe a glossy, well-seasoned coating forming on every cracker in the bowl.
If you’ve opted to split your cracker mix between two bowls to accommodate a large batch, remember to give the butter mixture a good stir each time before you pour into a new bowl. This ensures that any seasonings that may have settled at the bottom are re-incorporated and evenly distributed across both batches of crackers. By the time you’ve finished drizzling and tossing, there should be no excess butter pooling at the bottom of your mixing bowl, indicating that all that delicious flavor has been absorbed by your crackers.
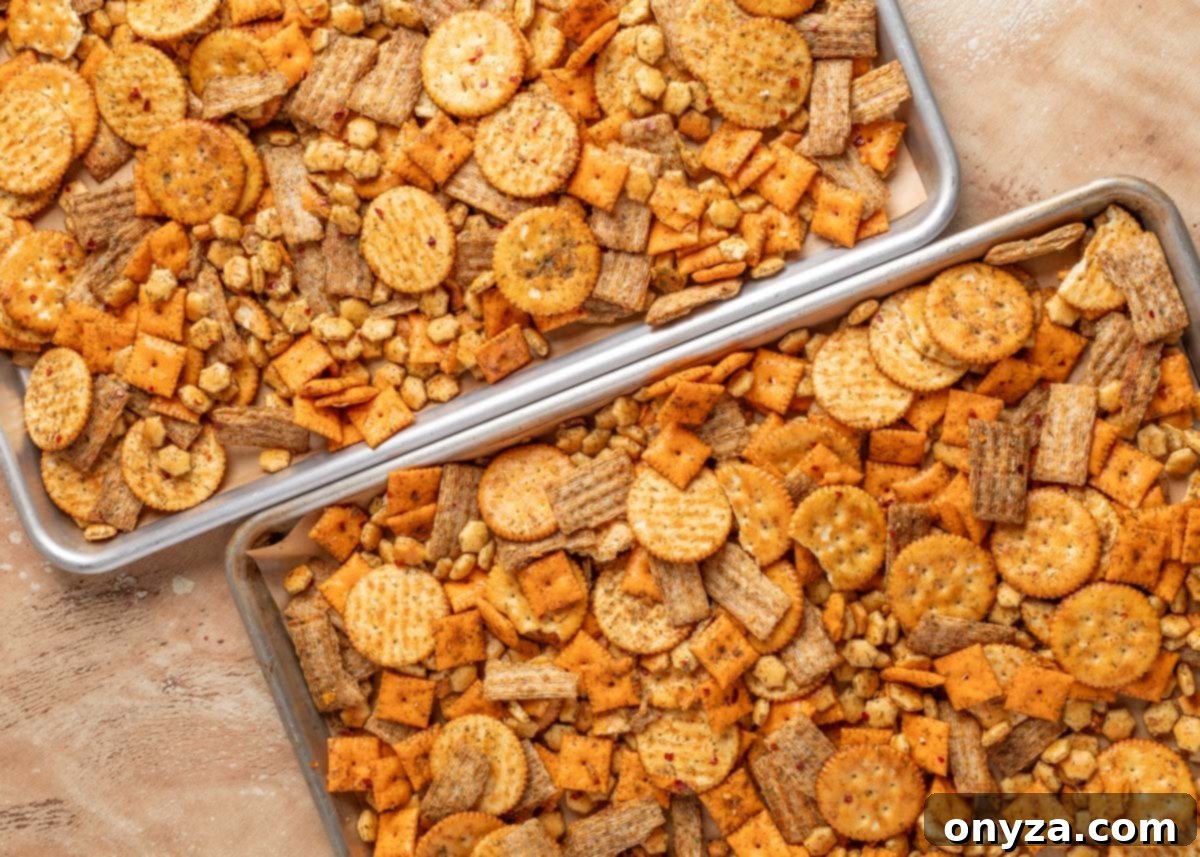
Step 4: The Low and Slow Bake for Maximum Crunch
Once your crackers are thoroughly coated, it’s time to bake them to crispy perfection. Divide the seasoned crackers evenly between two parchment-lined rimmed half-sheet pans. It’s important to spread the crackers out in a single layer on each pan. This prevents them from steaming rather than baking, which is crucial for achieving that desired crisp texture. Parchment paper is highly recommended as it prevents sticking and makes cleanup a breeze.
Bake the crackers in a preheated oven at a gentle 250°F (120°C) for approximately 30 minutes. The low temperature is key here; it allows the crackers to slowly dry out and absorb all the butter and seasoning without burning. This slow baking process is what gives them their incredible crunch and deeply infused flavor. To ensure even baking and crispness on all sides, stir the crackers gently on the pans every 10 minutes. This redistributes them and allows hot air to circulate around each piece.
As they bake, your kitchen will fill with the most wonderfully buttery, garlicky, and herbaceous aroma – it’s truly irresistible and a sign of the deliciousness to come! Don’t be concerned if the crackers feel a little soft when you first take them out of the oven. They will continue to crisp up significantly as they cool down. Allow them to cool completely on the baking pans before you even think about storing them. Rushing this cooling process can lead to soggy crackers. Patience here will be rewarded with ultimate crunch!
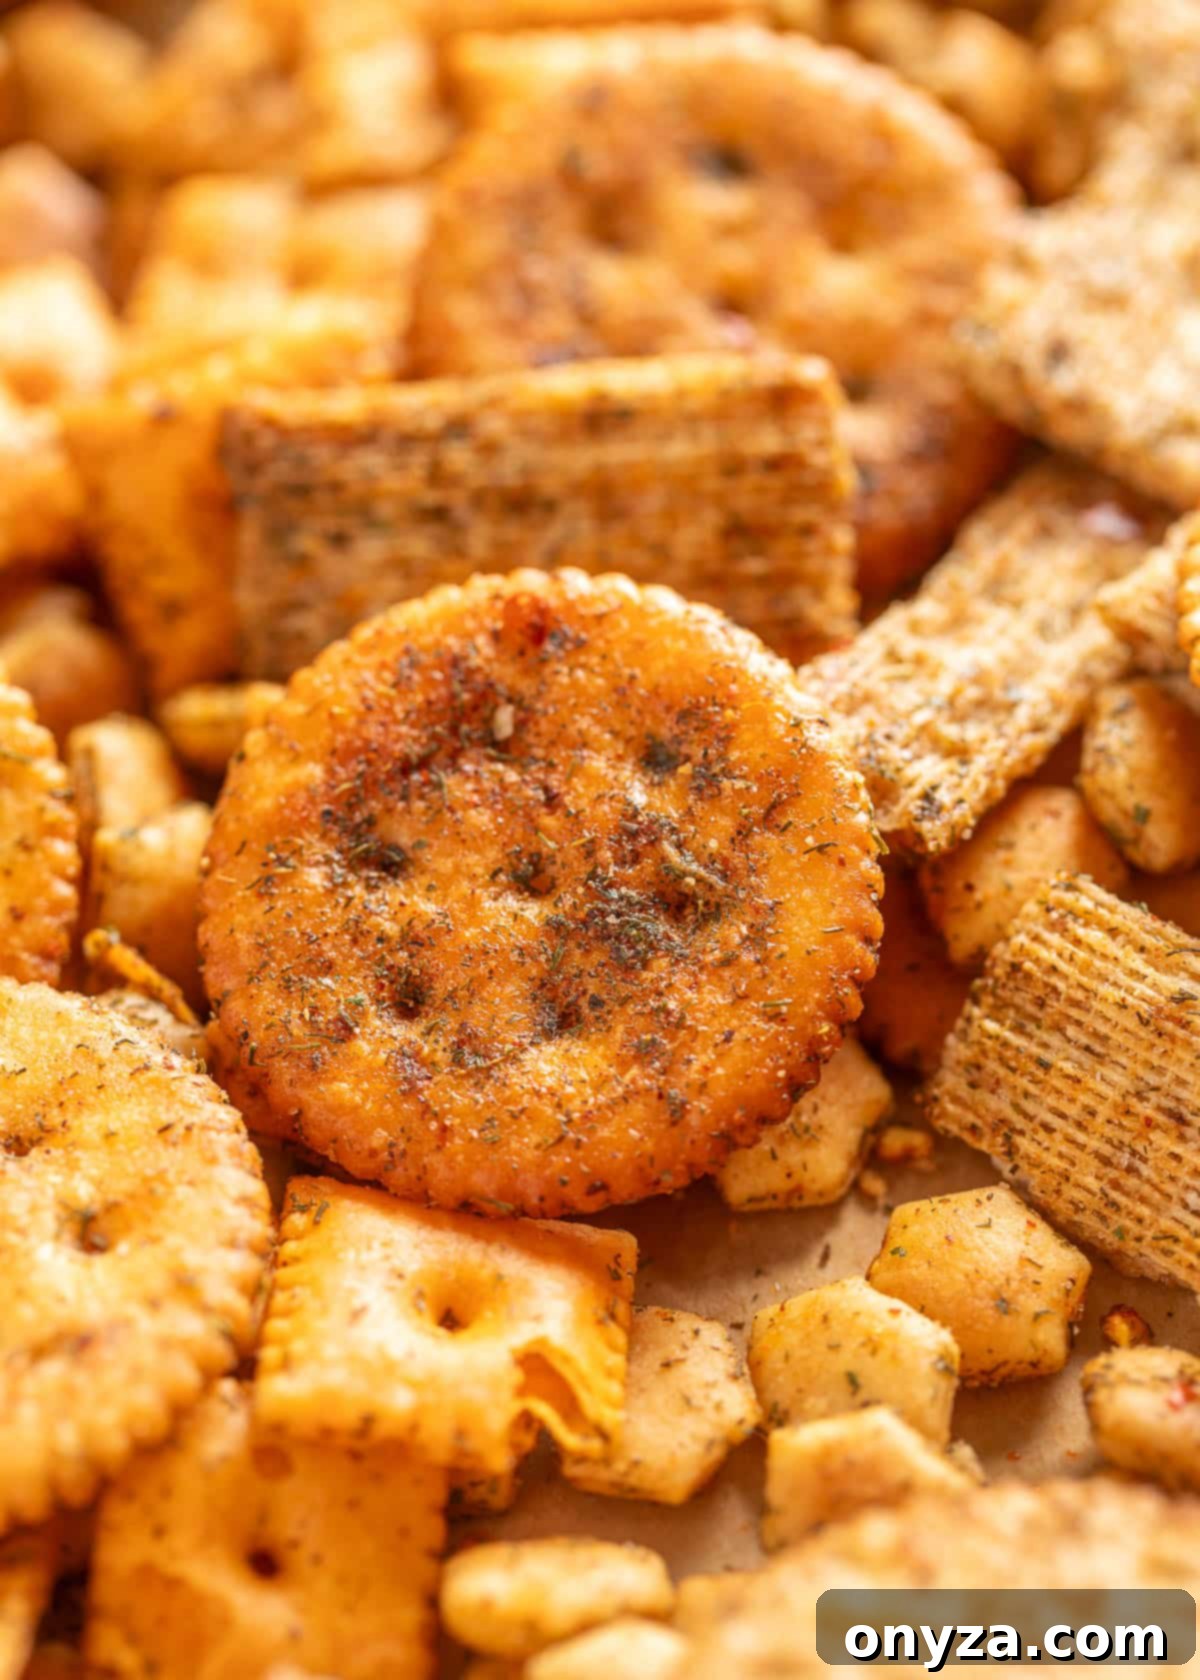
Expert Tips for the Best Homemade Dill Ranch Crackers
To ensure your dill ranch crackers turn out perfectly crispy and bursting with flavor every time, consider these helpful tips:
- Don’t Skimp on the Butter and Oil: The fat mixture is not just for flavor; it’s essential for carrying the seasonings and creating that desirable crisp texture during baking. Stick to the recommended amounts for the best results.
- Even Coating is Paramount: Take your time when drizzling the butter mixture and tossing the crackers. Adding it gradually and stirring thoroughly ensures every cracker gets a generous, even layer of seasoning, preventing some from being bland and others over-seasoned.
- The Right Baking Temperature: The 250°F (120°C) low temperature is crucial. It’s a slow cook, designed to dry out the crackers and infuse the flavor without burning them. Resist the urge to increase the temperature to speed things up, as this can lead to uneven baking and burnt spots.
- Stirring During Baking: Don’t skip the stirring every 10 minutes. This step is vital for promoting even browning and ensuring that all sides of the crackers become perfectly crisp.
- Cool Completely: This cannot be stressed enough! Crackers continue to crisp up significantly as they cool. If you store them while still warm, condensation can form, making them soft and ruining their texture.
- Experiment with Cracker Combinations: While the suggested mix of Ritz, Cheez-It, Triscuit, and oyster crackers provides an excellent balance, feel free to experiment with other plain, unsalted crackers you enjoy. Just be mindful of their absorption rates and adjust tossing time if needed.
- Adjust Salt to Taste: Different brands of crackers, especially oyster crackers, can vary greatly in their sodium content. Start with the lower recommended amount of salt and taste a cracker after it’s baked and cooled. You can always sprinkle a little more on if desired.
- Let Flavors Mingle: As mentioned, these crackers are often even better the day after they’re made. The overnight rest allows the spices and herbs to fully penetrate and deepen into the crackers, resulting in a more integrated and robust flavor.
Serving and Storage Tips for Your Dill Ranch Crackers
Once your irresistible dill ranch crackers have cooled completely and reached their ultimate crispness, they’re ready to be enjoyed! Here’s how to best serve and store them to maintain their deliciousness.
Storage:
For optimal freshness and to preserve their delightful crunch, store your cooled crackers in an airtight container or sturdy zip-top bags. Keep them at room temperature, away from direct sunlight or excessive heat. When stored correctly, these ranch crackers will remain wonderfully crisp and flavorful for up to a week. I personally love keeping a canister of them right on the kitchen counter for easy access, making them a perfect grab-and-go snack for busy afternoons or late-night cravings.
Serving Suggestions:
These homemade ranch crackers are incredibly versatile and can elevate a variety of meals and occasions:
- Standalone Snack: They are absolutely fantastic on their own, offering a burst of savory flavor and satisfying crunch that makes them highly addictive.
- Cheese Boards and Charcuterie: Pair them with an array of cheeses, cured meats, fruits, and olives for an impressive and delicious spread. Their savory profile complements both mild and sharp cheeses beautifully.
- Soup Topping: Crumble them generously over a warm bowl of soup, such as a creamy roasted tomato soup, French onion soup, or a hearty chili. They add an incredible textural contrast and a boost of flavor.
- Salad Croutons: Break them into larger pieces and use them as a flavorful, homemade alternative to traditional croutons for your favorite salads.
- With Dips: Serve alongside your favorite creamy dips like spinach dip, onion dip, or even more ranch dip for an extra layer of flavor.
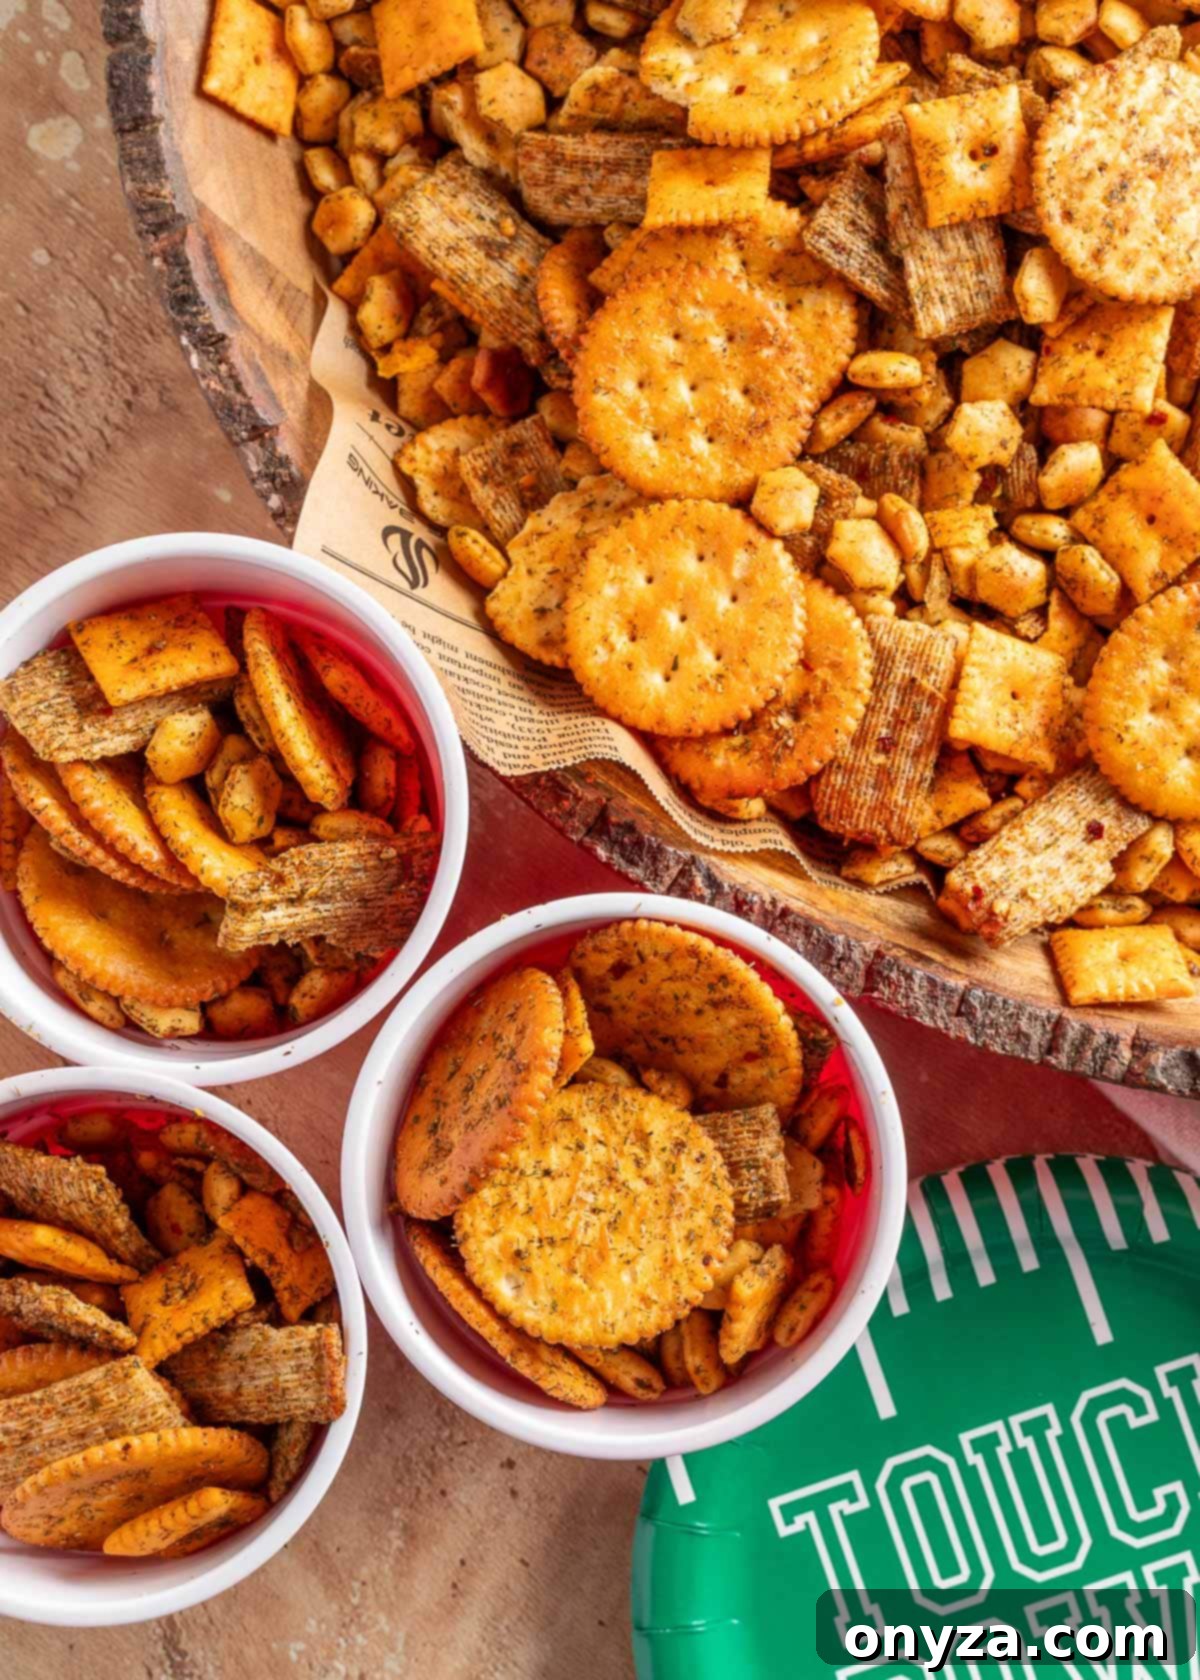
- Game Day Essential: For game day gatherings, these crackers are a must-have. To make serving easy and hygienic, consider setting out smaller bowls around your entertaining area, allowing guests to conveniently grab a handful. Alternatively, portion them into individual cups for easy, portable snacking as everyone enjoys the game. You can also provide a large bowl with a scoop, letting guests fill (and refill!) their own cups.
- Travel & Lunchbox Friendly: Pack them in small bags for road trips, picnics, or as a crunchy addition to school or work lunchboxes.
However you choose to enjoy them, these homemade dill ranch crackers are sure to be a hit!
More Delicious Handheld Snacks to Explore
If you love these savory crackers, you’ll surely enjoy exploring other easy-to-make, crowd-pleasing snack recipes. Perfect for sharing or for keeping all to yourself!
- Spicy BBQ Snack Mix
- Sweet & Savory Spiced Pepitas
- Zesty Cajun Spiced Mixed Nuts
Classic Dill Ranch Crackers Recipe
Buttery, crisp, and packed with flavor, these Ranch Crackers are seasoned with garlic, onion, ranch mix, and fresh dill, then baked low and slow for the ultimate savory snack. Perfect for parties, game day, or any time you crave a delicious crunch!
Prep Time: 15 minutes
Cook Time: 30 minutes
Total Time: 45 minutes
Servings: Approximately 30 servings (1/2 cup each)
Ingredients
Cracker Mix
- 4 cups Cheez-It crackers
- 4 cups oyster crackers
- 4 cups Triscuit crackers, snapped in half (from an 8½ ounce box; see note)
- 3 cups Ritz crackers (about 60 full-sized crackers or 2 sleeves; see note)
For the Dill Ranch Seasoning
- 8 tablespoons unsalted butter, melted
- ¾ cup regular olive oil (not extra virgin)
- 2 tablespoons Worcestershire sauce
- 1 ounce packet ranch seasoning/dressing mix (such as Hidden Valley Original Ranch)
- 2 tablespoons dried dill weed
- ½ to 1 teaspoon table salt (adjust to taste, see note)
- 1 teaspoon garlic powder
- ½ teaspoon onion powder
For Smoky/Spicy Option (Optional)
- 2 teaspoons hickory liquid smoke (such as Colgin; see note)
- 1 teaspoon chili powder
- 1 tablespoon crushed red pepper flakes
- ¼ teaspoon ground chipotle powder
Instructions
- Preheat your oven to 250°F (120°C). Line two rimmed half sheet pans with parchment paper and set them aside.
- In a very large bowl, combine the Cheez-It, oyster, Triscuit (snapped in half if full-size), and Ritz crackers. If you don’t have one bowl large enough, split the mixture between two bowls.
- In a separate medium bowl or a large liquid measuring cup, whisk together the melted butter, olive oil, Worcestershire sauce, ranch seasoning mix, dried dill weed, salt, garlic powder, and onion powder until well combined. If you are preparing the smoky/spicy version, also whisk in the liquid smoke, chili powder, crushed red pepper flakes, and ground chipotle powder.
- Gradually pour the seasoned butter mixture over the crackers, tossing gently with a rubber spatula until all crackers are evenly coated. Ensure you stir the seasoning mixture from the bottom frequently as you pour, especially if working with multiple bowls of crackers, to keep the seasonings evenly distributed.
- Divide the coated crackers evenly between the two prepared baking pans, spreading them out into a single layer. Bake for 30 minutes, stirring the crackers gently every 10 minutes, until they are lightly golden brown and fragrant.
- Remove the pans from the oven and allow the crackers to cool completely on the pans. Once fully cooled, transfer them to an airtight container. Store at room temperature for up to 1 week. For the best flavor, we recommend letting them rest overnight before serving, as the flavors will deepen and meld.
Notes
- Triscuit and Ritz Crackers: You can use either full-size or mini crackers. If opting for mini Triscuits, there is no need to break them in half.
- Salt Adjustment: The ideal amount of salt can vary based on the inherent saltiness of your chosen cracker brands (some oyster cracker brands, for instance, are saltier than others) and your personal taste preferences. Start with ½ teaspoon and add more if desired.
- Liquid Smoke Potency: Be aware that liquid smoke brands can vary significantly in their strength. If you are using a more concentrated variety (such as Wright’s), it’s advisable to start with a smaller amount (e.g., 1 teaspoon) and taste, then adjust as needed to ensure it doesn’t overpower the delightful mix of other flavors.
Nutrition Estimate:
Serving: 0.5 cup | Calories: 316 kcal | Carbohydrates: 36g | Protein: 5g | Fat: 17g | Saturated Fat: 4g | Polyunsaturated Fat: 2g | Monounsaturated Fat: 5g | Trans Fat: 0.2g | Cholesterol: 19mg | Sodium: 599mg | Potassium: 68mg | Fiber: 2g | Sugar: 1g | Vitamin A: 210IU | Vitamin C: 0.3mg | Calcium: 62mg | Iron: 1mg
Nutrition information is automatically calculated and should only be used as an approximation.
About Our Recipes:
Please note that our recipes have been developed using the US Customary measurement system and have not been tested for high altitude/elevation cooking and baking.
Like this? We’d love to hear your thoughts! Rate and comment on the recipe below!
