Fresh mussels offer an exquisite, restaurant-quality dining experience that’s surprisingly simple and affordable to create in your own kitchen. This ultimate guide will walk you through every essential step, from expertly selecting the freshest mussels at the market to mastering their cleaning, storage, and various cooking techniques. Prepare to unlock the secrets to preparing perfectly tender and flavorful mussels, transforming your home into a gourmet seafood haven. You’ll also find inspiring recipe ideas to ignite your culinary creativity!
Buying Fresh Mussels: Your Essential Market Guide
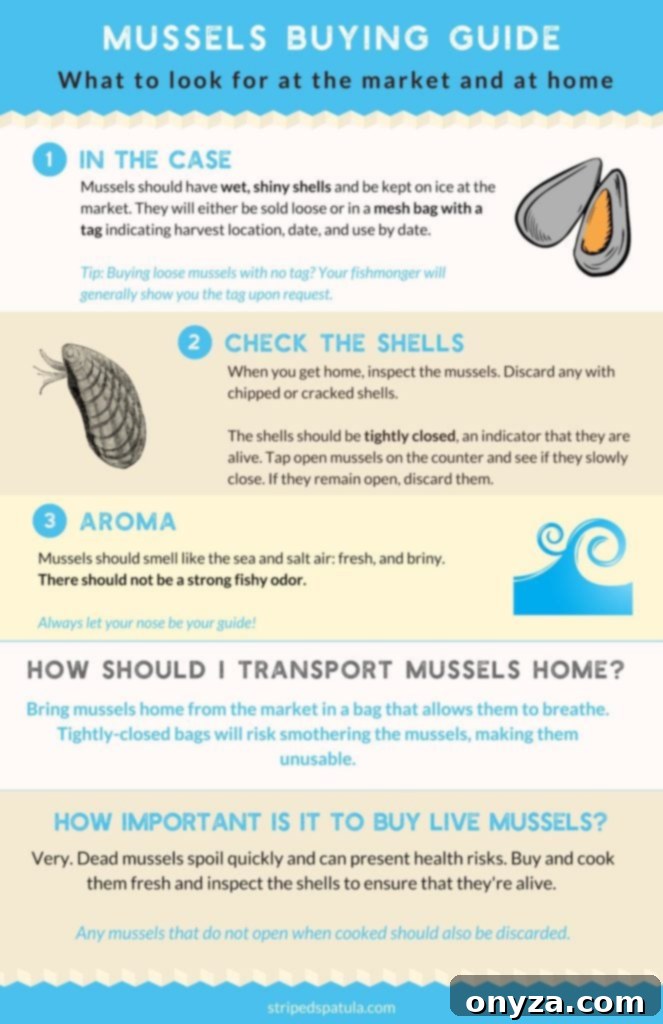
When you venture to the seafood counter, it’s crucial to remember that the mussels you intend to purchase are living organisms. Their freshness and safety hinge entirely on buying them alive and knowing how to identify the best quality. Once mussels have died, they spoil rapidly, posing a health risk and diminishing their delicious flavor. Knowing what to look for can make all the difference in your culinary outcome.
- Optimal Season: While often available year-round, the prime mussel season generally runs from October to March. During these cooler months, mussels tend to be plumper, sweeter, and at their absolute best.
- Visual Freshness: Look for mussels with wet, shiny shells that appear vibrant and healthy. They should always be kept on a bed of ice at the market to maintain their low temperature and freshness. Mussels are commonly sold in a breathable mesh bag with an attached tag. This tag is vital, as it indicates the harvest location, date, and a “best by” or “use by” date. If the mussels are sold loose, don’t hesitate to ask your fishmonger to show you the tag; a reputable seller will always have this information readily available.
- The Aroma Test: Your nose is an invaluable tool when buying seafood. Fresh mussels should emit a clean, invigorating aroma, reminiscent of the ocean and sea air—briny and crisp. They should absolutely not smell overly fishy, sulfurous, or unpleasant in any way, as this is a strong indicator of spoilage.
- Shell Integrity: A key sign of a healthy, live mussel is a tightly closed shell. As you inspect your bag, if you find any mussels with shells that are slightly agape, gently tap them against the counter or another mussel. Wait for about a minute; a live mussel should respond by closing its shell. Promptly discard any mussels that do not close after tapping, or those with shells that are noticeably chipped, cracked, or broken, as these are compromised and likely dead.
- Safe Transportation: Mussels require air circulation to survive. When transporting them home from the market, always use an open-topped bag that allows them to breathe. Tightly sealing them in an airtight plastic bag will cut off their oxygen supply, suffocating them and drastically accelerating spoilage. Consider placing them in a cooler bag with some ice (ensure drainage to prevent submerging them) if you have a longer journey home.
Optimal Storage for Fresh Mussels at Home
While it’s always ideal to cook fresh mussels on the very day you purchase them to enjoy them at their peak, you can safely refrigerate them for up to one or two days if stored correctly. Improper storage can quickly lead to spoilage, so understanding the right technique is paramount for food safety and flavor retention.
To store your mussels effectively, begin by removing them from their mesh bag. Place the mussels in a colander, which will allow for proper drainage and air circulation. Position this colander inside a larger bowl. This setup ensures that any liquids the mussels release will collect at the bottom of the bowl, away from the mussels themselves. Crucially, cover the mussels loosely with a damp paper towel or a clean, damp kitchen towel. This maintains a humid environment without suffocating them. Remember, mussels are living creatures and need to breathe to survive.
Store this assembly in the coldest part of your refrigerator. To maintain their freshness, it’s essential to check on them daily. Change or re-dampen the paper towel as needed, and critically, discard any liquid that has accumulated at the bottom of the bowl. Never store mussels submerged in water, whether fresh or salted. Submerging them will cause them to drown and die, leading to rapid spoilage and making them unsafe to eat. They need oxygen, not a bath.
After proper storage, your mussels should still emit that distinctive fresh and briny aroma of the ocean. If they develop any unpleasant or strong “fishy” smells, it’s a sign that they are no longer fresh and should be discarded immediately.

Preparing Mussels: Cleaning and Debearding for Culinary Perfection
Before mussels hit your cooking pot, a thorough cleaning and preparation process is essential to ensure a delightful, grit-free eating experience. This involves two primary steps: debearding and scrubbing.
Understanding and Removing the Mussel “Beard”
The “beard” on a mussel, scientifically known as byssal threads, is a fibrous, thread-like cluster that extends from the side of the shell. These threads are the mussel’s natural mechanism for attaching itself firmly to rocks, ropes, or other surfaces in its aquatic environment. While harmless, they are inedible and have an unappealing texture, so they must be removed prior to cooking.
Fortunately, many mussels purchased from the seafood counter, especially cultivated varieties, are at least partially de-bearded before they reach the market. However, it’s always wise to check each mussel. If you find any threads remaining, simply grab them firmly between your thumb and forefinger. Pull them sharply and firmly towards the hinge (the part where the two shells connect) and away from the shell. A quick, decisive tug usually does the trick. Discard the removed beard.
Thorough Shell Cleaning: Scrubbing Away Impurities
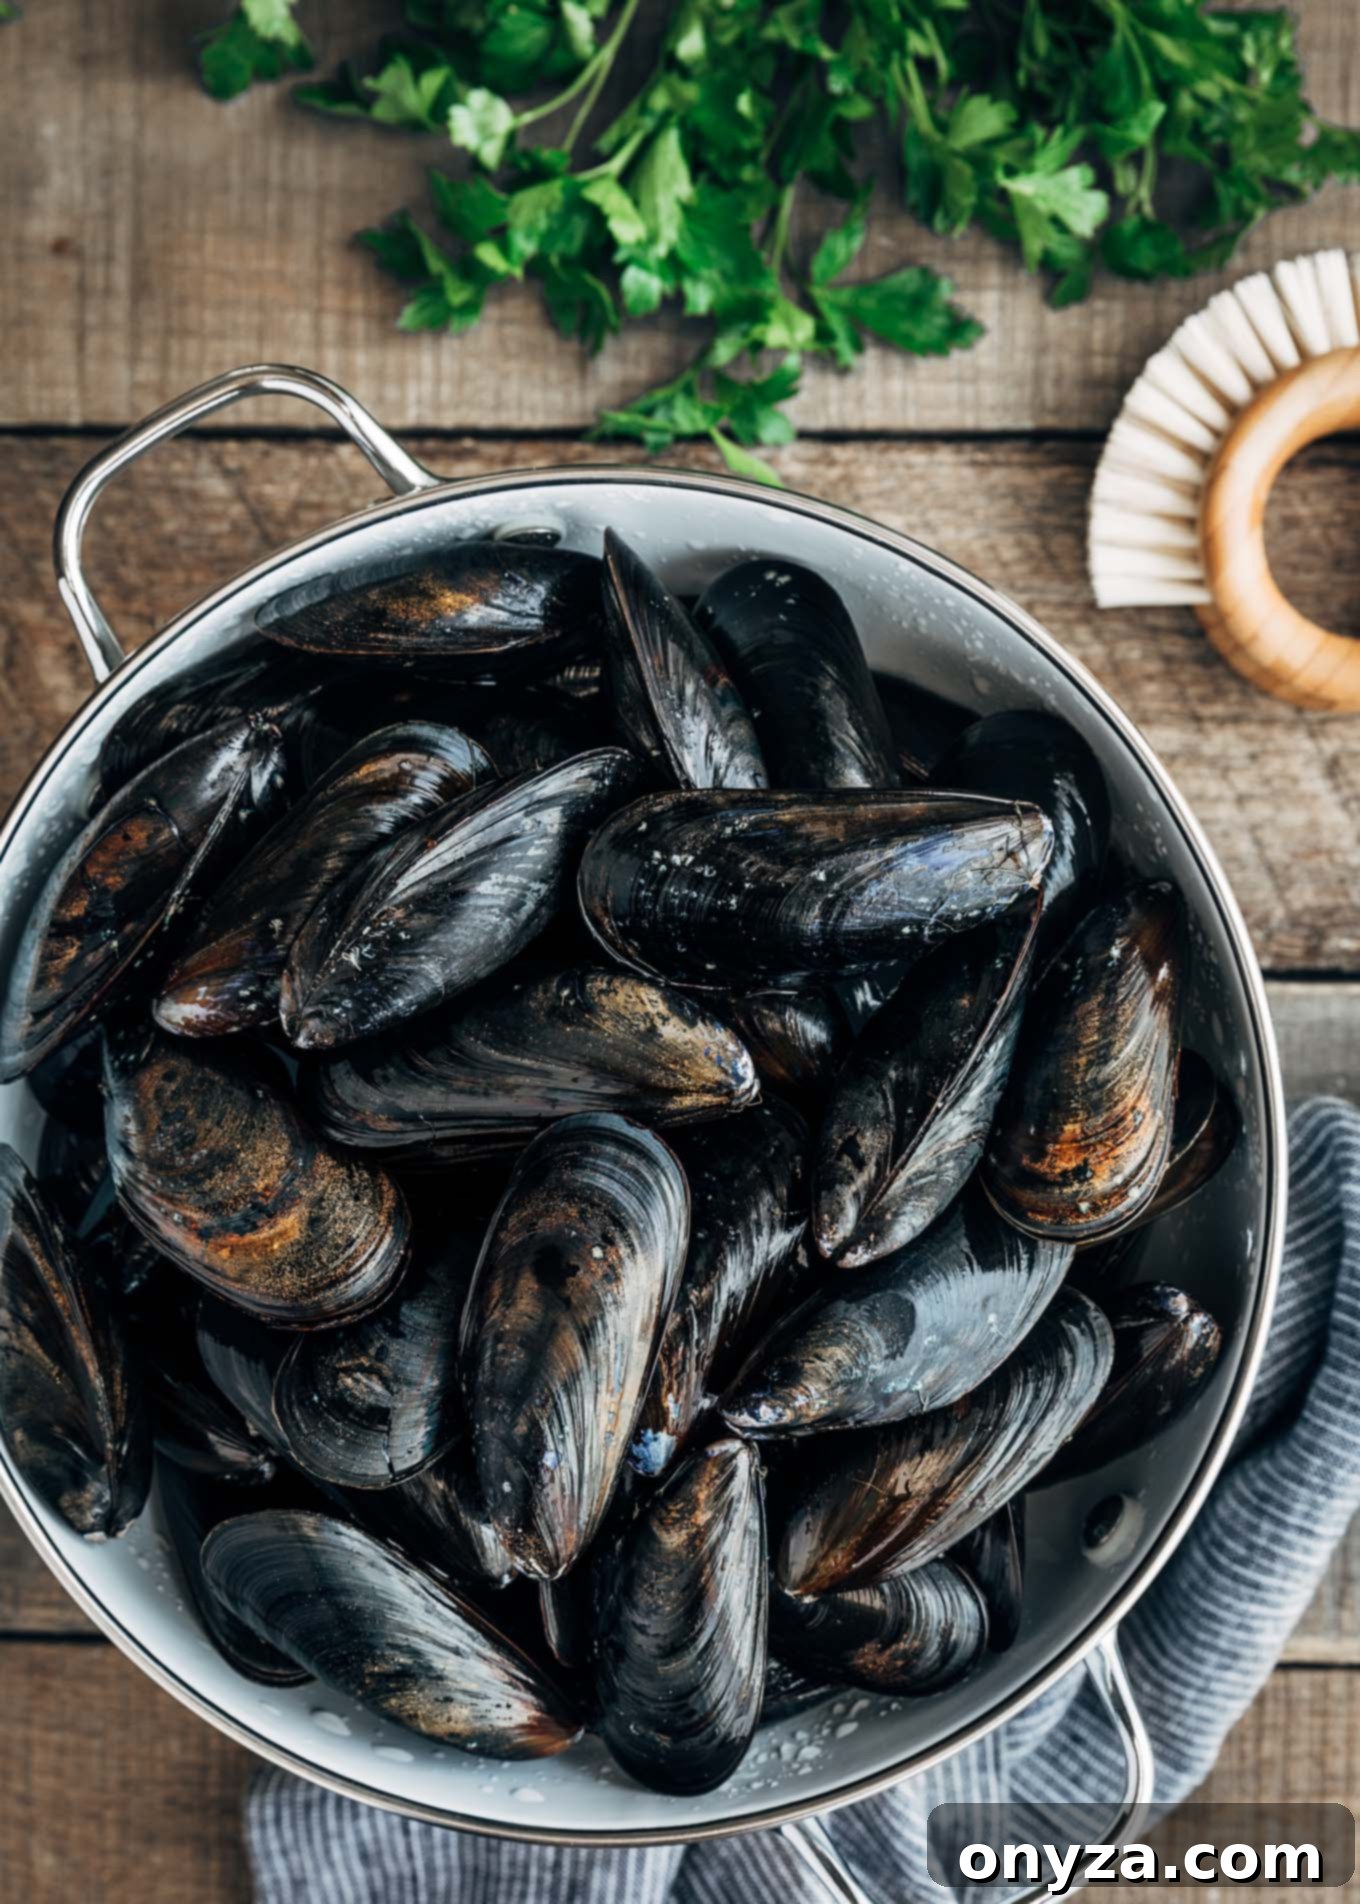
Beyond the beard, mussel shells can accumulate various external debris, including sand, mud, algae, or even small barnacles, depending on their origin. To ensure a clean and pleasant eating experience, these external impurities must be removed. Hold each mussel under cold, running water and use a stiff-bristled brush (a vegetable brush works perfectly) or even the dull tip of a paring knife to vigorously scrub away any dirt, grit, or barnacles clinging to the shell’s surface. Pay close attention to the hinge area and any crevices.
The Crucial Soaking Step: Purging Sand and Grit
Even after external scrubbing, mussels, particularly those harvested from the wild, can sometimes contain varying amounts of sand and grit within their shells. This internal grit can be quite unpleasant to encounter while eating, making a final “purging” step highly recommended.
I find it incredibly beneficial to soak the cleaned mussels in cold saltwater for 15-20 minutes just before cooking. This process encourages the mussels to filter water and expel any remaining sand or grit. To create the ideal purging solution, use 1/4 cup of kosher salt for every 3 cups of cold water. Place the mussels in this saltwater bath in a bowl. While some recommend placing them in a colander suspended in the water to allow grit to settle below, a simple bowl for 15-20 minutes is usually sufficient. After soaking, gently remove the mussels from the water, leaving any expelled grit behind, and they will be perfectly ready for cooking.
Mastering Mussel Cooking: Tips for Delicious Results
Cooking mussels is surprisingly quick and straightforward, making them an ideal choice for both weeknight meals and impressive dinner parties. The key to perfectly cooked mussels lies in understanding their delicate nature and knowing when they are done.
Speed and Doneness
Mussels require very little cooking time, typically just 5-7 minutes, and often even less, depending on their size and the cooking method. The ultimate indicator that mussels are ready to eat is when their shells have fully opened. This signifies that the mussel meat inside is tender and cooked through. It’s crucial not to overcook mussels, as they can quickly become tough, rubbery, and unpleasantly chewy.
Versatile Cooking Methods
Mussels are incredibly versatile and lend themselves to a variety of cooking methods:
- Steaming or Simmering: This is arguably the most popular and classic method. Mussels are cooked in a flavorful aromatic liquid within a covered pot, allowing the steam to gently cook them. Common liquids include white wine, beer, chicken or fish broth, tomato sauce, garlic-infused olive oil, and various herbs (like parsley or thyme) or spices (like chili flakes).
- Pan-Roasted: A quick sear in a hot pan can impart a lovely texture, often followed by deglazing with a rich sauce.
- Smoked: For a deeper, earthy flavor, smoked mussels are a gourmet delight.
- Grilled: Mussels can be grilled directly over coals or on a griddle, offering a unique smoky char.
Choosing the Right Pan and Layering
When steaming or simmering mussels, selecting the appropriate cookware is essential for even cooking. Opt for a wide, large pan or Dutch oven with a tight-fitting lid. This allows sufficient room for the mussels to be arranged in a relatively single layer, preventing overcrowding and ensuring that the steam can circulate efficiently around each mussel, cooking them evenly. Avoid stacking them several inches deep, as this will result in uneven cooking and potentially some mussels remaining uncooked while others overcook.
Monitoring and Preventing Overcooking
To achieve that perfect tender texture, diligent monitoring is key. I recommend starting to check your mussels after about 3 minutes of cooking. Using tongs, carefully remove any mussels that have already opened from the heat. Continue checking and removing opened mussels at 1-minute intervals until all viable mussels have opened. This staggered removal prevents the earlier-opening mussels from becoming overcooked while waiting for others to finish.
The Golden Rule: Discard Unopened Mussels
Just as you would discard mussels with open shells *before* cooking, it is equally important to discard any mussels that remain closed after cooking. A mussel that does not open during cooking indicates that it was either dead or unhealthy before being cooked, or that it was filled with mud or sand and therefore inedible. For safety and enjoyment, always err on the side of caution and discard them.
Serving mussels is an experience in itself. Pair them with crusty bread to soak up the delicious cooking liquid, serve them over pasta, or enjoy them simply as a vibrant appetizer. With these tips, you’re well on your way to preparing incredible mussels every time!
Have further questions about buying, preparing, or cooking mussels? Feel free to share them in the comments below!
