Irresistibly Loaded Rice Krispie Treats: The Ultimate Sweet & Salty “Kitchen Sink” Delight
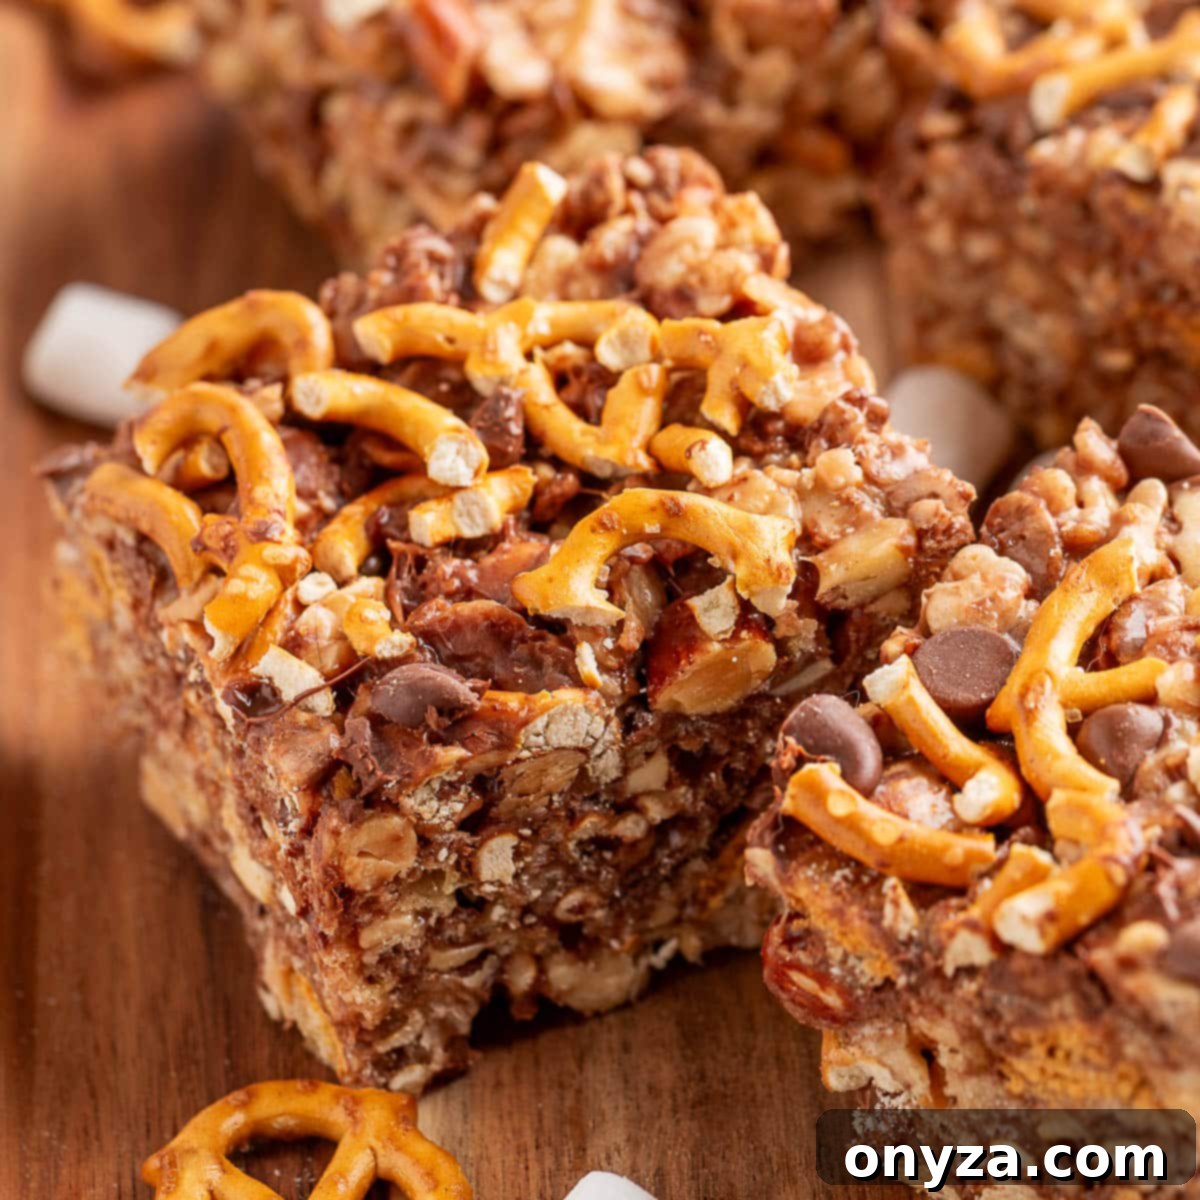
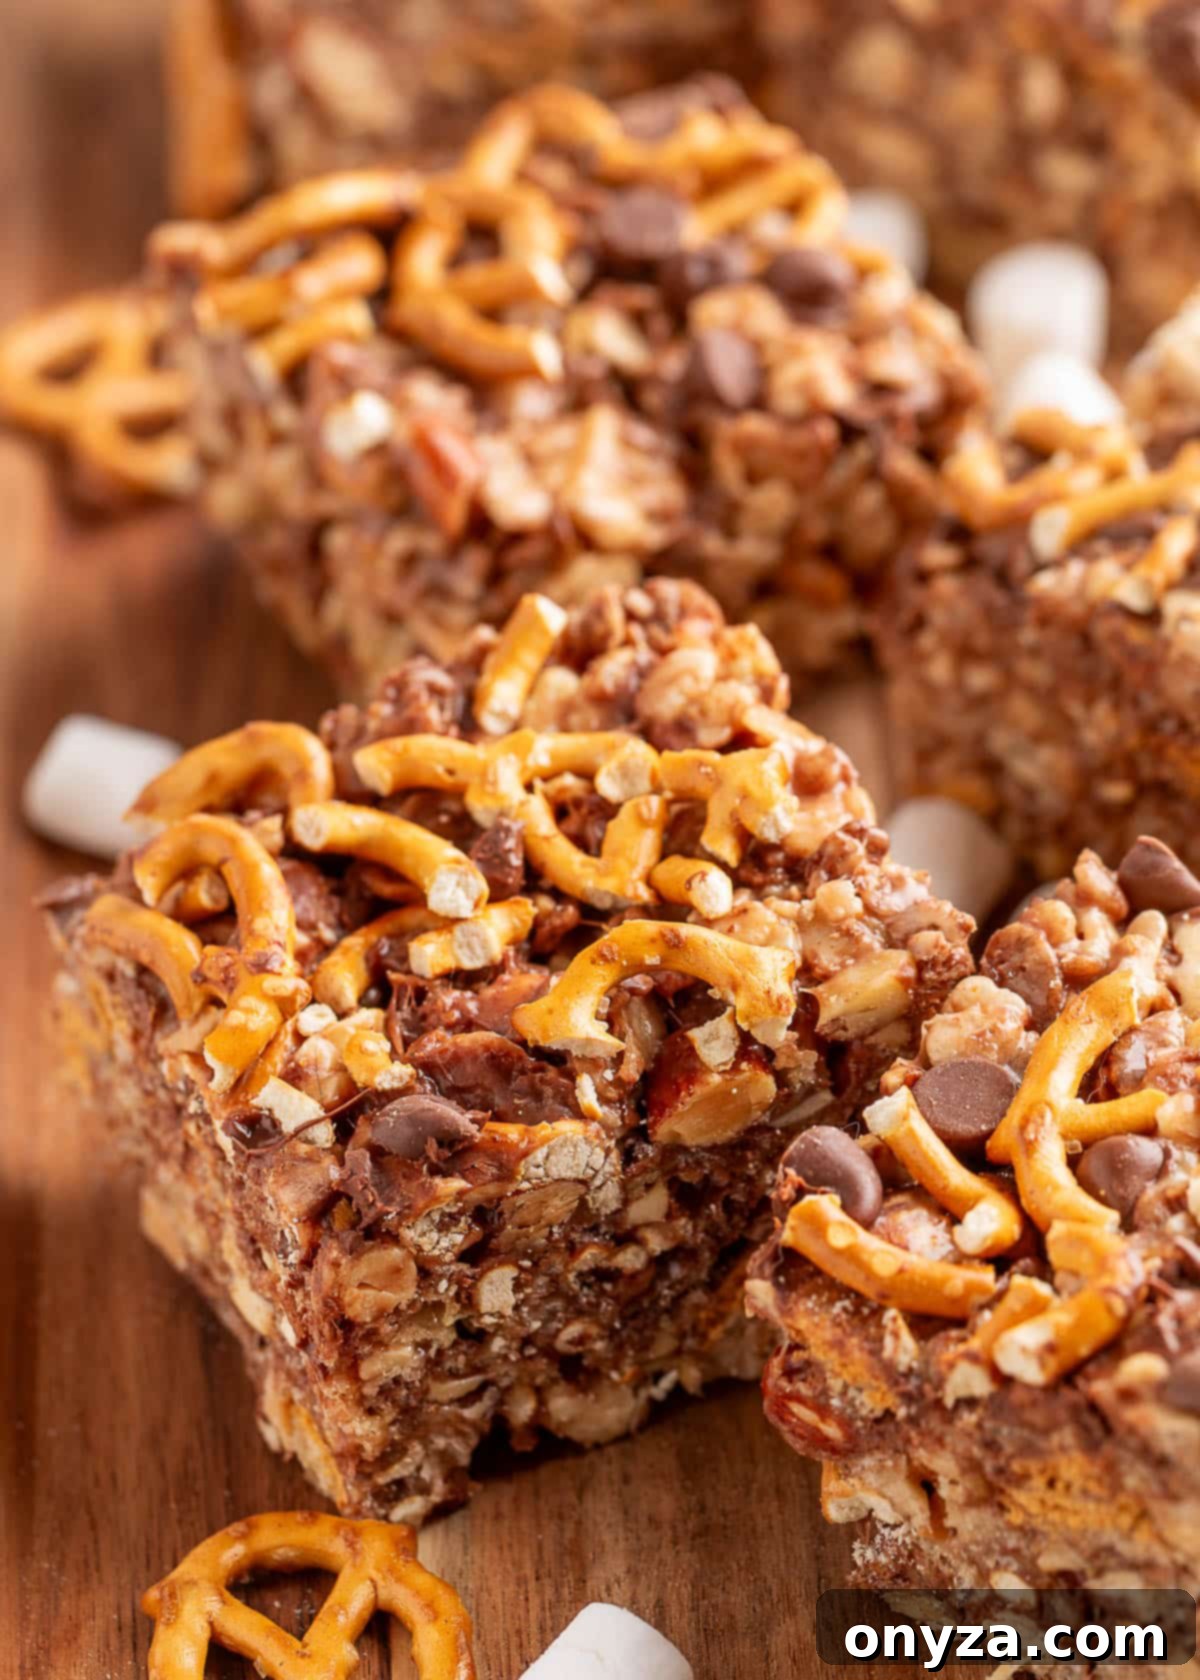
Prepare to revolutionize your perception of the classic Rice Krispie Treat! These aren’t just any treats; our Loaded Rice Krispie Treats, often affectionately called “Kitchen Sink” treats, take this beloved no-bake dessert to an entirely new realm of indulgence. Imagine a perfectly chewy, rich marshmallow base infused with a harmonious blend of sweet and salty favorites: crunchy pretzels, savory potato chips, earthy mixed nuts, and decadent chocolate chips. Each bite delivers an exciting explosion of textures and flavors – a delightful symphony of crisp, chew, sweet, and salty that will leave you utterly captivated.
This recipe transforms a simple childhood snack into a sophisticated, yet incredibly fun, gourmet experience. Perfect for parties, potlucks, or simply satisfying that intense craving for something truly special, these treats are surprisingly easy to make and guaranteed to be a crowd-pleaser. Forget bland and boring; these “everything but the kitchen sink” bars are bursting with personality and irresistible charm. Get ready to impress with this elevated take on a timeless classic!
Essential Tips Before You Begin Your Culinary Adventure
Crafting the perfect batch of Loaded Rice Krispie Treats is simple, but a few key preparations will ensure your success. Follow these expert tips for an effortlessly delicious outcome.
- Master the Art of Mise en Place: “Mise en place” is a French culinary term meaning “everything in its place,” and it’s absolutely crucial for this recipe. Once your marshmallows begin to melt, the mixture will set very quickly. There’s no time to measure ingredients or search for tools once the melting process starts. Therefore, meticulously measure all your cereals and mix-ins, chop your nuts and pretzels, crush your chips, and have them laid out and ready to be added. This preparation ensures a smooth, stress-free cooking experience and perfectly integrated ingredients.
- The Freshness Factor: Choose the Right Marshmallows: The quality of your marshmallows significantly impacts the final texture of your treats. For the softest, chewiest, and most delectable results, always opt for fresh mini marshmallows. Older or stale marshmallows tend to melt unevenly, creating a grainy texture and potentially making your bars dense and tough instead of wonderfully light and airy. We highly recommend using a reputable brand like Jet-Puffed for their consistent quality and superior melt.
- Prepare Your Pan for Easy Release: A properly prepared pan is key to easily removing and slicing your treats. Use an 8×8-inch baking pan, which yields substantial, perfectly thick bars. Lightly mist the pan with cooking spray, then line it with parchment paper. Ensure you leave a generous 2-inch overhang of parchment on two opposite sides. This overhang acts as convenient “handles,” allowing you to effortlessly lift the entire slab of treats out of the pan once cooled, making cutting a breeze. If you use a larger pan, your treats will be thinner and may require less cooling time; a smaller pan will result in thicker treats needing more setting time.
- Butter Quality Matters: While standard unsalted butter works well, consider using a European-style butter like Kerrygold or Plugrá. These butters have a higher fat content, which contributes a richer, more nuanced flavor and a slightly more luxurious mouthfeel to your treats.
- Embrace the Flavor of Fresh Vanilla: A good quality vanilla extract elevates the overall flavor profile. Avoid imitation vanilla; pure vanilla extract makes a noticeable difference in the warmth and complexity of your marshmallow base.
Crafting Your Gourmet “Kitchen Sink” Rice Krispie Treats: A Step-by-Step Guide
Let’s dive into the exciting process of creating these epic sweet and salty delights. Each step is designed to maximize flavor and achieve that irresistible chewy-crunchy texture.
Step 1: The Foundation – Melting Butter and Marshmallows to Perfection
The journey to exceptional Rice Krispie treats begins with a perfectly melted marshmallow base. In a large, heavy pot, such as an enameled cast iron Dutch oven (which distributes heat evenly and prevents scorching), melt unsalted butter over medium heat. Using unsalted butter allows you to control the saltiness later, especially with the addition of salty mix-ins. For an even richer, more profound flavor, consider a high-quality European-style butter like Kerrygold or Plugrá, known for its higher butterfat content.
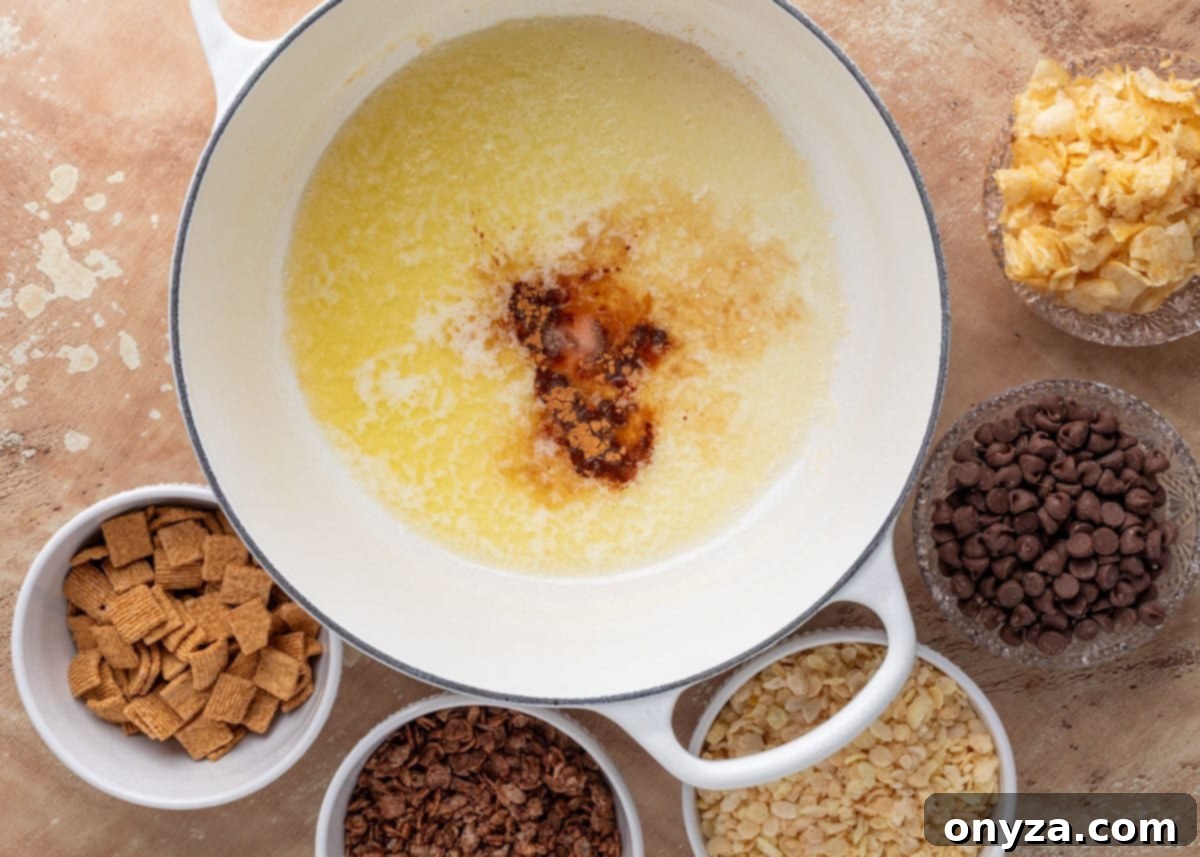
Once the butter has fully melted and begins to foam lightly, indicating it’s ready, reduce the heat to a low setting. This is crucial for preventing the marshmallows from burning. Stir in the table salt and ground cinnamon. By warming the spices directly in the melted butter, you “bloom” their flavors, intensifying the cinnamon’s fragrant aroma and warm notes, which will permeate the entire treat. This small step makes a big difference in the depth of flavor.
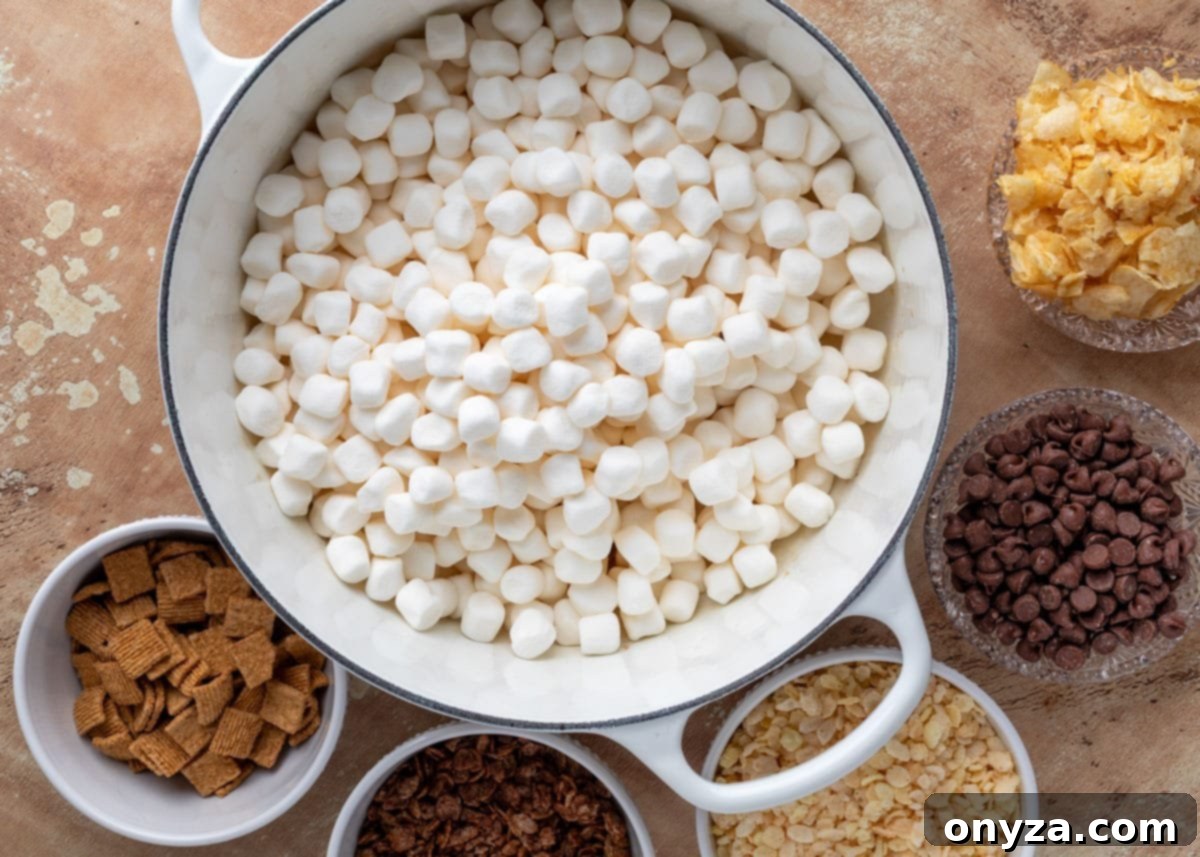
Next, add the mini marshmallows to the pot. Continue stirring gently over low heat until they are about three-quarters melted. It’s vital to keep the heat low throughout this process. High heat can cause the sugars in the marshmallows to caramelize too quickly, resulting in a tough, hard, and overly sticky final product instead of the desired soft and chewy texture. Patience is key here.
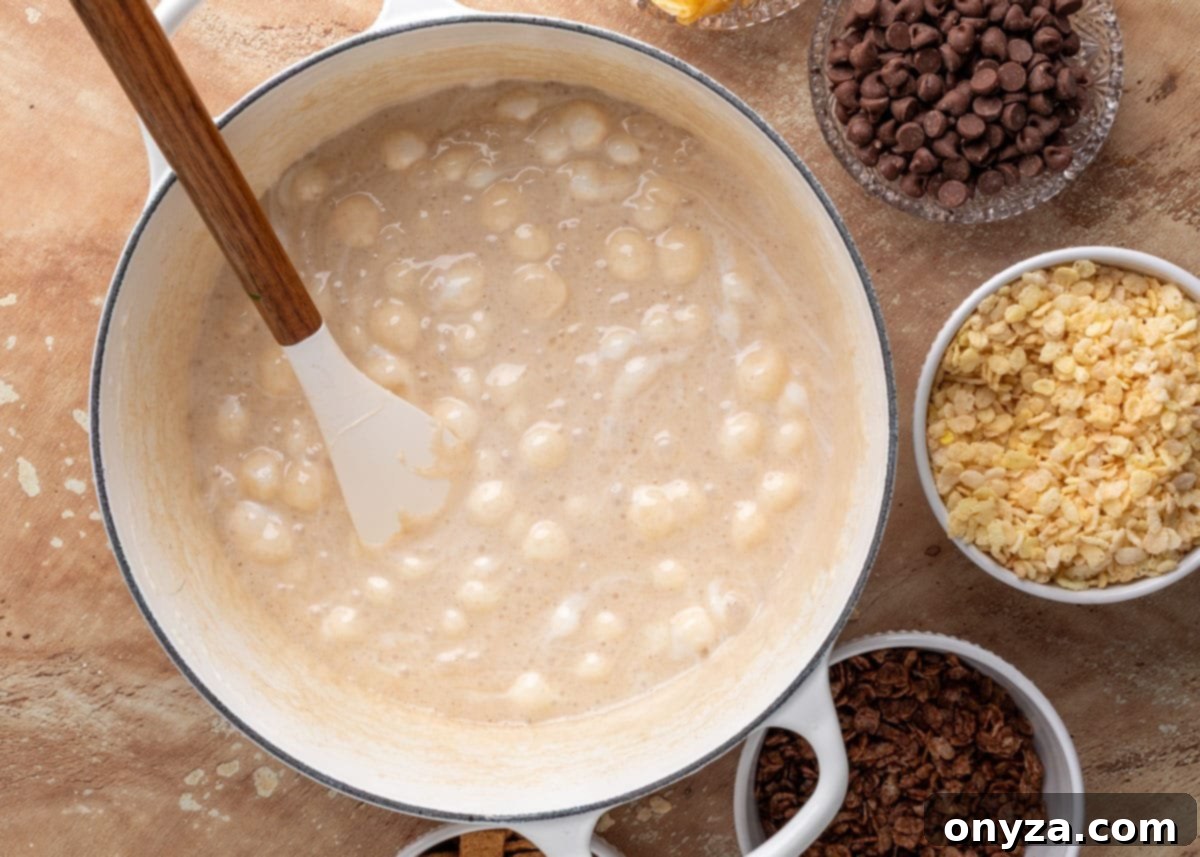
Once the marshmallows are mostly melted, turn off the heat entirely. This prevents further cooking and caramelization. Stir in the vanilla extract. Adding vanilla off the heat preserves its delicate flavor, ensuring it shines through in the finished treats. Continue stirring until the marshmallow mixture is completely melted and beautifully smooth, without any lumps. It should be glossy and homogenous, ready to embrace the crunchy additions.
Step 2: The Cereal Symphony – Creating a Multi-Textured Base
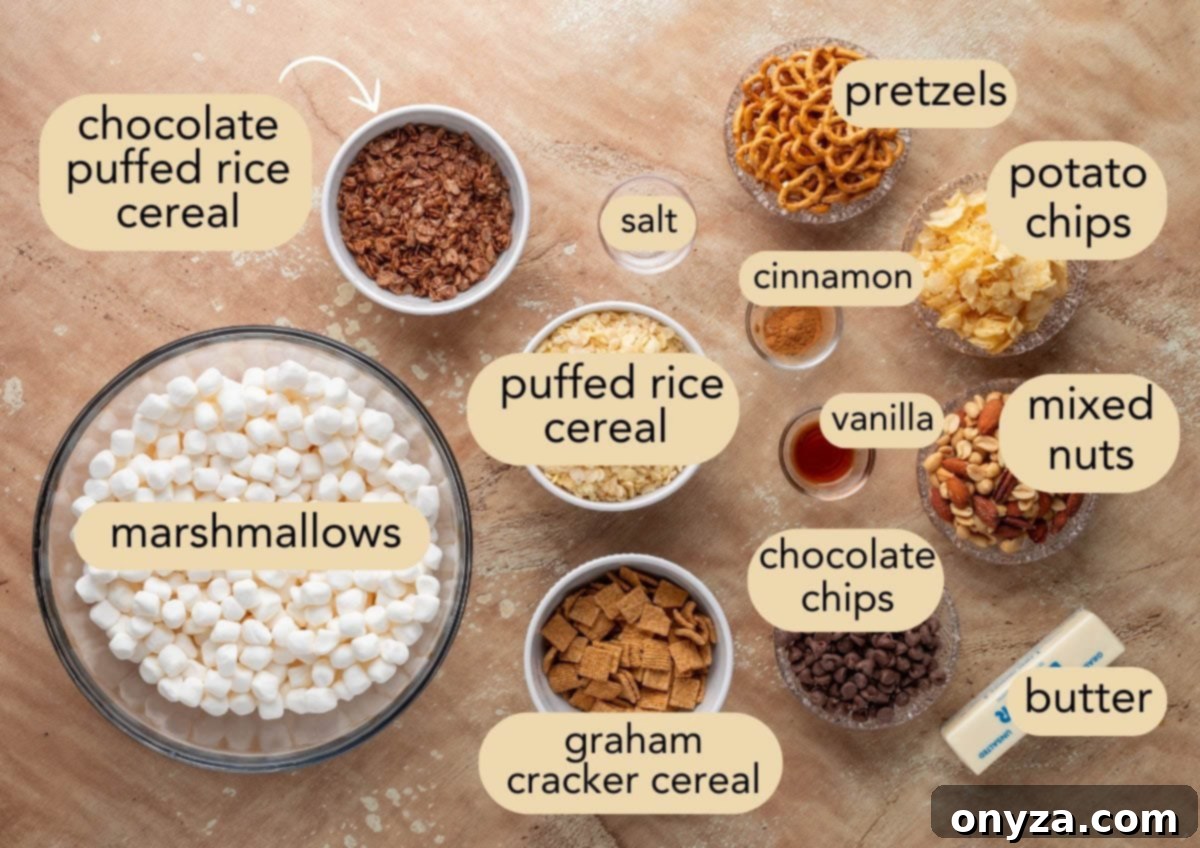
Our Loaded Rice Krispie Treats are elevated by a dynamic trio of cereals, each contributing its unique character to the texture and flavor profile. We start with classic Rice Krispies for that iconic puffed rice crunch. To introduce a delightful hint of chocolate and a slightly different crispness, we incorporate Cocoa Krispies. Finally, Golden Grahams bring a wonderful toasted graham cracker flavor and a satisfying chewiness that sets these treats apart.
Once your marshmallow base is perfectly melted and smooth, immediately add all three cereals to the pot. Working quickly is essential here, as the marshmallow mixture will start to set as it cools. Using a sturdy rubber spatula, gently lift and fold the cereal into the marshmallow. The goal is to coat every piece evenly without crushing the delicate puffed rice. Over-stirring or vigorous mixing can break down the cereal, leading to a less appealing, dense texture. Your mixture should look beautifully glossy and still somewhat loose, indicating plenty of melted marshmallow ready to bind all the upcoming mix-ins.
The freshness of your cereal also plays a role. Stale cereal can result in less crunchy treats, so ensure your boxes are recently opened for optimal crispness. This combination ensures a complex and delightful base that’s much more than just plain Rice Krispies.
Step 3: The “Kitchen Sink” Magic – Folding in Sweet and Salty Delights
Now for the exhilarating part – infusing your treats with the “everything but the kitchen sink” assortment of sweet and salty elements that make these bars truly irresistible. This is where the magic happens, transforming a simple dessert into a gourmet experience.
Working swiftly but gently, add your prepared mix-ins to the pot. This includes miniature pretzels (roughly chopped to ensure they’re distributed well and provide distinct crunch), savory kettle-cooked potato chips (roughly crushed for an irregular texture and burst of salty goodness), and a medley of mixed nuts (chopped to bite-sized pieces for nutty flavor and added crunch). Fold these ingredients into the glossy marshmallow-cereal mixture using your rubber spatula, ensuring they are evenly coated. The goal is to distribute them throughout the treats so every bite is packed with variety.
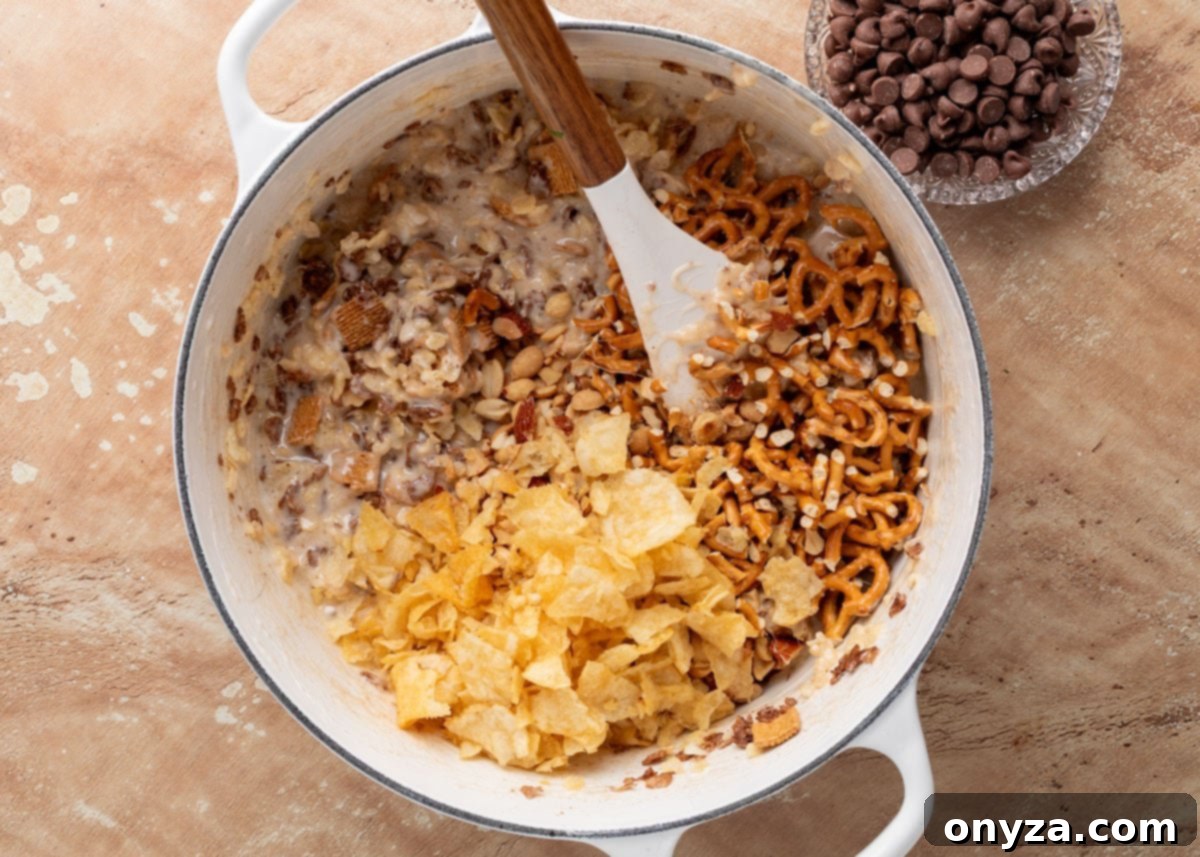
When it comes to nuts, I personally favor using lightly salted mixed nuts as they offer a balanced savory note. However, if you’re a true fan of pronounced sweet-salty contrast, feel free to go all in with fully salted mixed nuts. The choice is yours to tailor the flavor profile to your preference. Consider pecans, walnuts, or almonds for different nutty undertones.
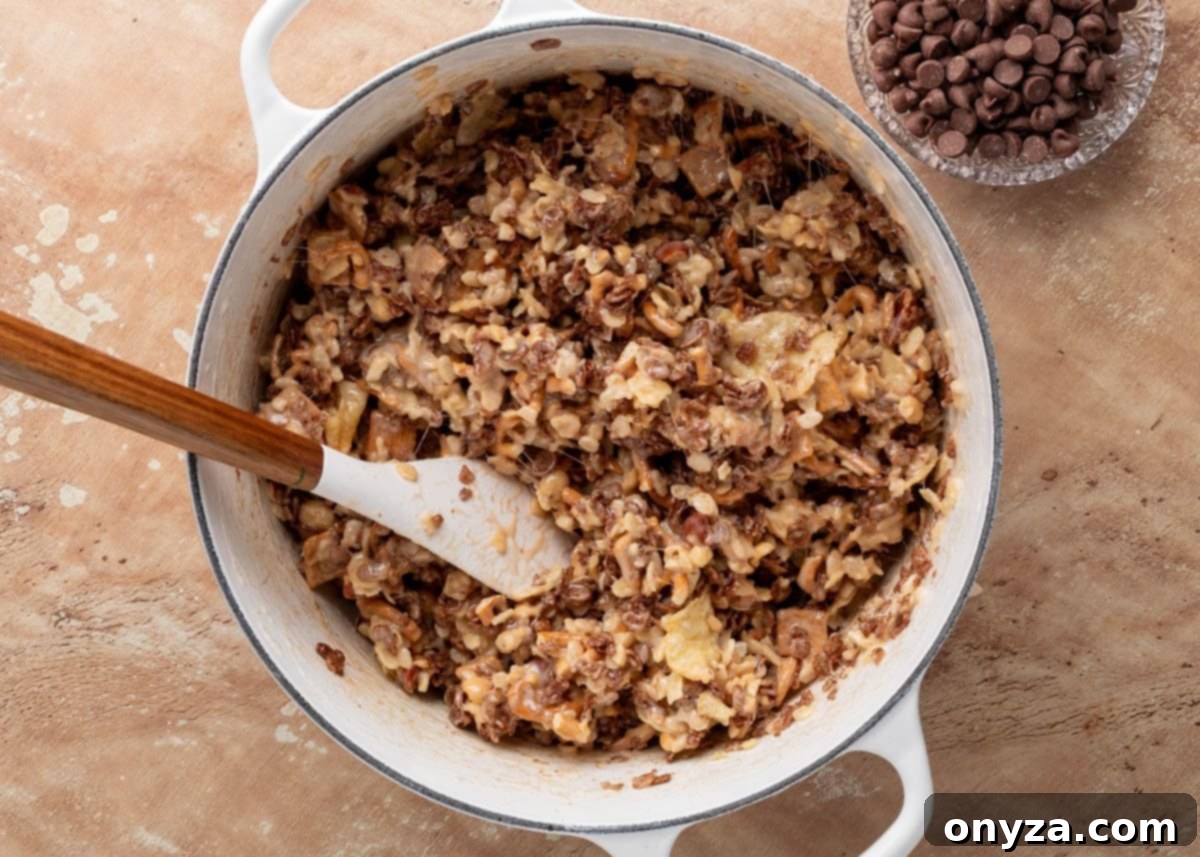
Once the pretzels, chips, and nuts are incorporated, allow the mixture to rest for just a minute or two. This brief pause allows the mixture to cool ever so slightly. Then, gently fold in the milk chocolate chips. The reason for adding them last and with minimal stirring is deliberate: you only need a couple of quick folds until they are just distributed. This technique prevents the chocolate chips from completely melting into the warm marshmallow, ensuring that some remain intact, creating delightful, creamy pockets of melted chocolate throughout the treats, alongside chunks of solid chocolate.
My family absolutely adores the classic sweetness and melt-in-your-mouth creaminess that milk chocolate chips bring to this recipe. However, if you prefer a less-sweet or more intense chocolate experience, feel free to substitute with semisweet chips or even dark chocolate chips. This recipe is incredibly versatile and encourages customization!
Step 4: The Press – Shaping Your Indulgent Bars
With all your glorious ingredients perfectly combined, it’s time to transfer the mixture into your prepared pan. The mixture will be wonderfully sticky and gooey – exactly what you want! To handle it without a mess and ensure an even distribution, you have a few options: use the butter wrapper (the leftover butter residue helps prevent sticking), a lightly greased spatula, or even a piece of parchment paper to press the mixture into an even layer in the pan.
Crucially, resist the urge to press too hard. Applying excessive pressure will compact the mixture, squeezing out the air pockets that give Rice Krispie Treats their signature light, airy, and delightfully chewy texture. Gentle, even pressure is all that’s needed to form the bars. You want them to be set, but still yield with a soft touch.
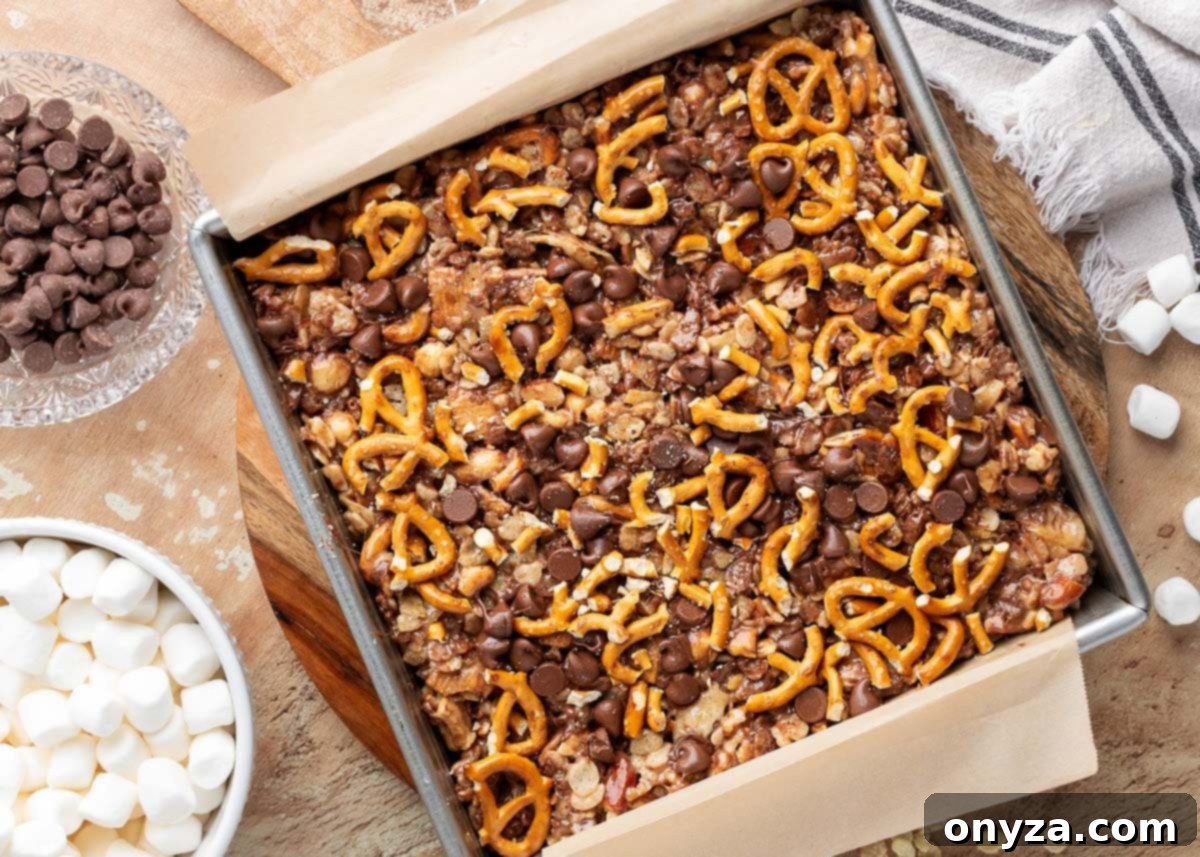
For an extra touch of visual appeal and a delightful textural hint of what’s to come, I like to sprinkle a few additional broken pretzel pieces and chocolate chips on top of the pressed mixture. This not only enhances the crunch factor but also creates an attractive, finished look. When you serve these treats, this tempting topping will immediately signal all the wonderful sweet and salty surprises waiting inside.
Step 5: The Waiting Game – Cooling and Slicing for Perfection
This step is arguably the hardest: resisting the temptation to immediately dive into your freshly made Loaded Rice Krispie Treats! However, patience is a virtue, and allowing them to cool completely at room temperature is absolutely essential for achieving the best texture and the cleanest cuts. Let them cool for at least an hour, but ideally, 2 to 3 hours if you can manage the wait. Rushing this step can result in soft, crumbly bars that are difficult to cut neatly.
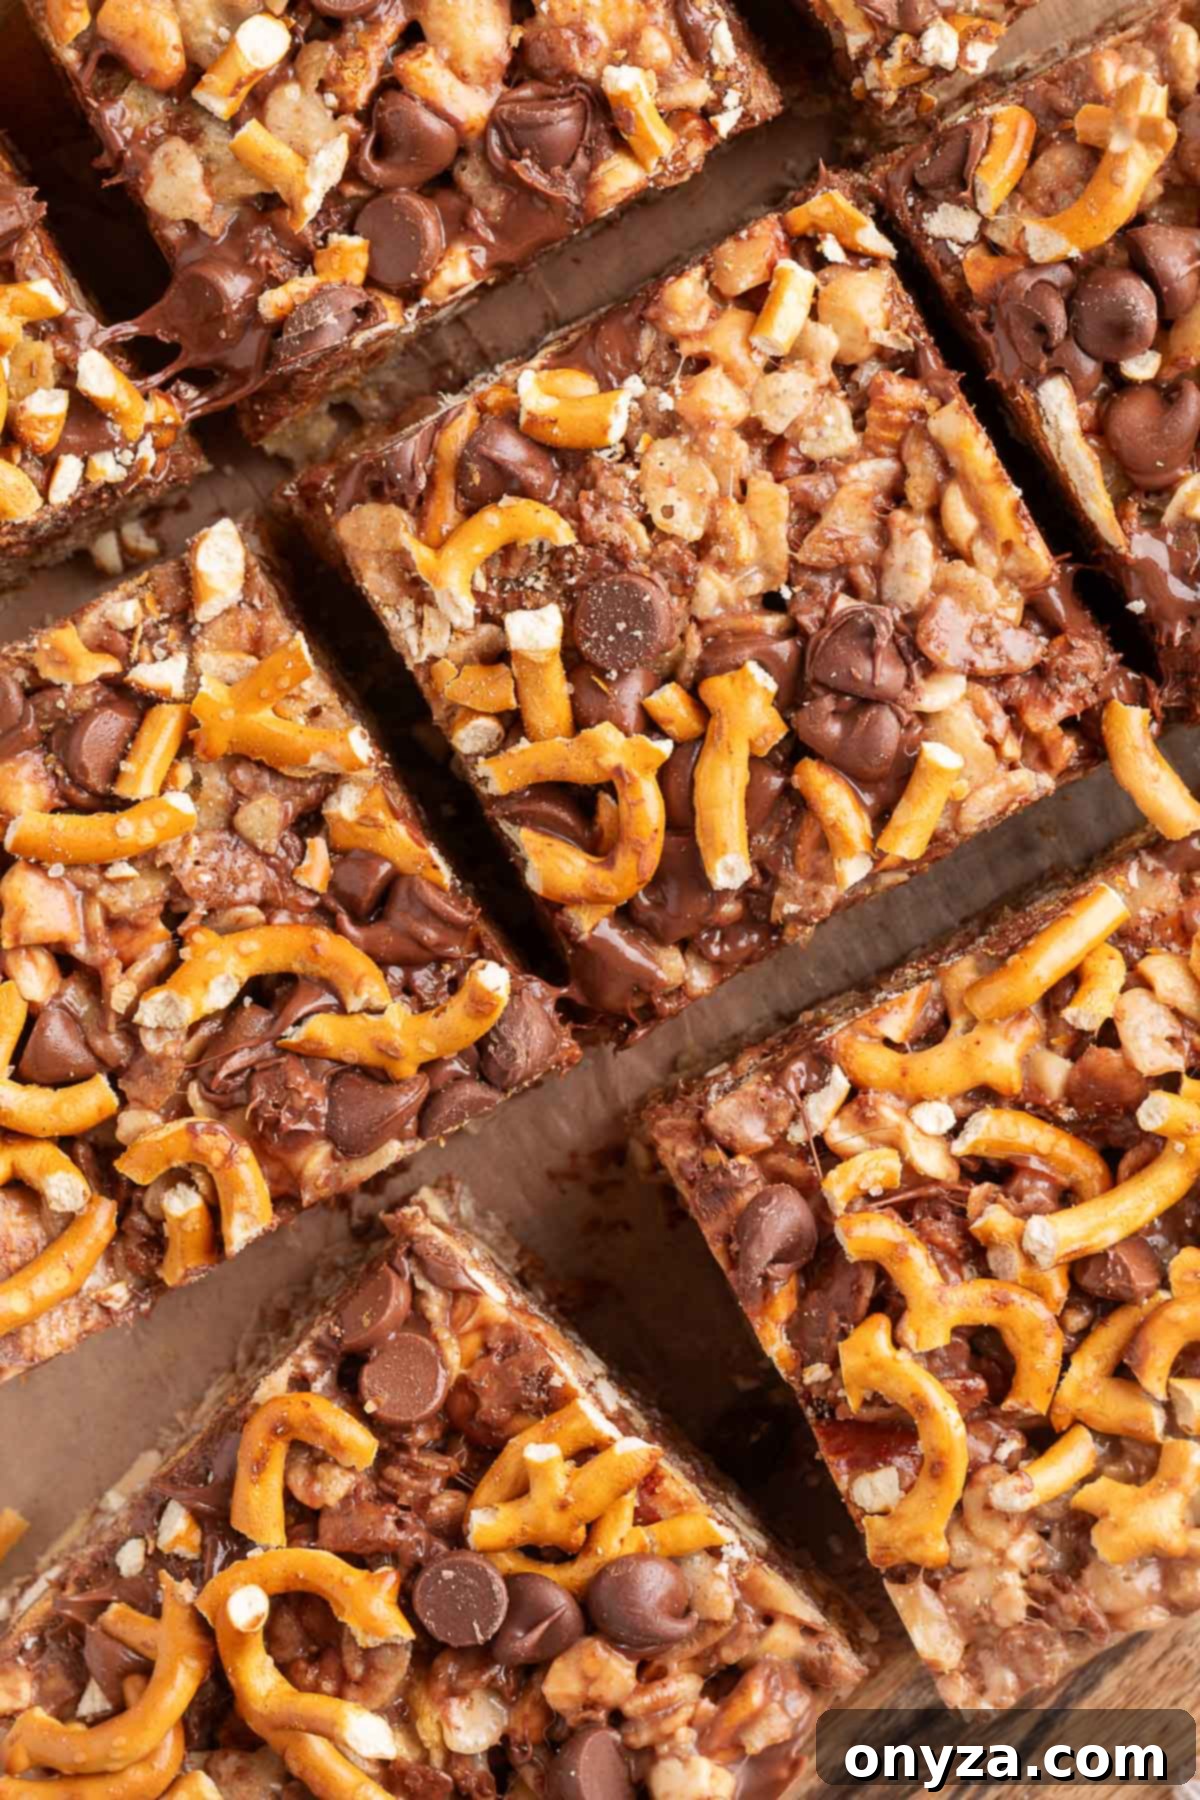
Once fully cooled and firm, use the parchment overhang to easily lift the entire slab of treats out of the pan. Place it on a cutting board. Now, with a sharp knife, you can cut your treats into squares. For generous, substantial portions, cut them into 9 large squares. If you’re serving a crowd or prefer a smaller, more manageable bite, you can opt for 16 smaller squares. We cut the batch shown in the photos into 9 squares, and we often find that smaller pieces are perfectly satisfying due to their rich and filling nature. A sharp, non-serrated knife works best for clean, precise cuts.
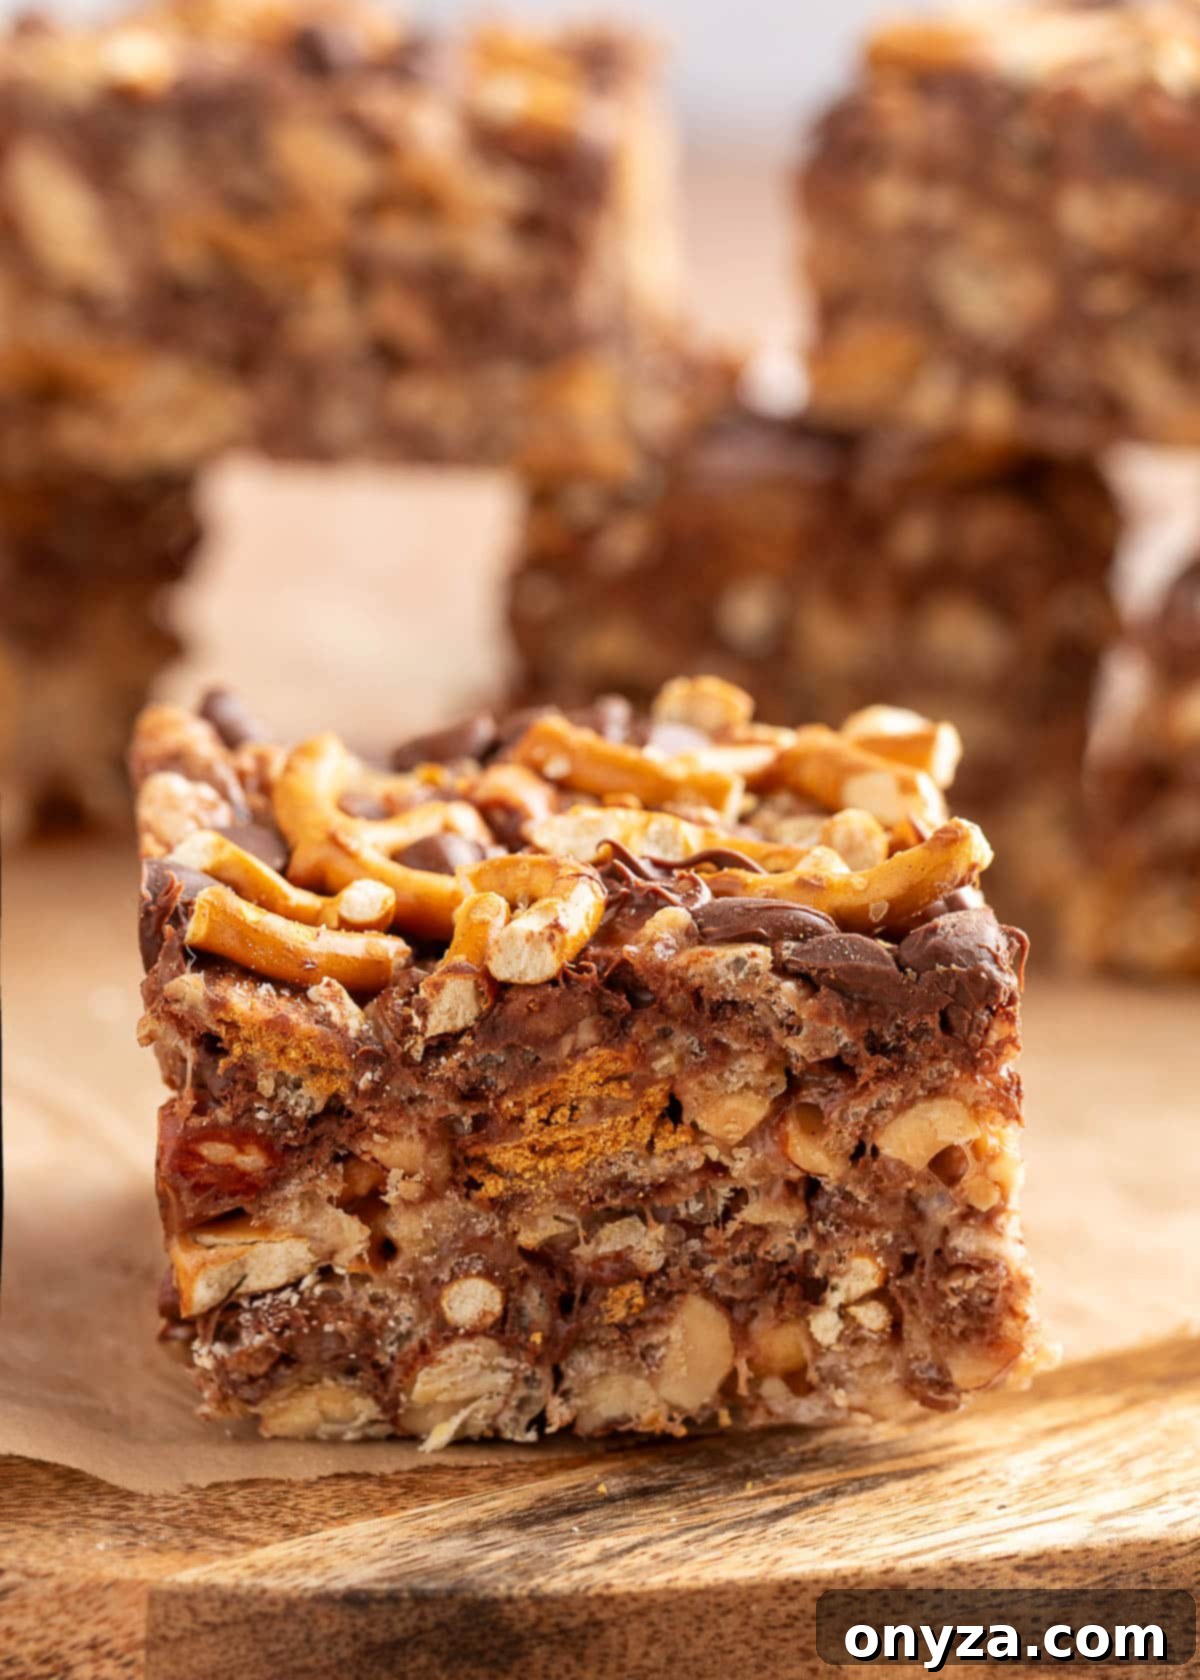
The ultimate texture of these Loaded Rice Krispie Treats, especially the satisfying crunch of the pretzels and potato chips, is at its peak on the day they are made. While they are still absolutely delicious, the crispness of the mix-ins will soften slightly over time. You can continue to enjoy them for up to 2 to 3 days when stored properly in an airtight container at room temperature. A critical note: do not refrigerate these treats! Refrigeration will cause the marshmallow to become too firm and hard, making the treats less enjoyable and losing their signature chewiness.
Creative Twists and Delicious Variations to Try
While our Loaded Rice Krispie Treats are perfect as they are, don’t hesitate to get creative and customize them to your taste! Here are some exciting variations to inspire your next batch:
- Cinnamon Toast Crunch Explosion: For an extra layer of cinnamon-sugar goodness and an even more pronounced toasty flavor, swap out the Golden Grahams for an equal amount of Cinnamon Toast Crunch cereal. This adds a delightful spiced kick that complements the other sweet and salty elements beautifully.
- Alternative Chip Flavors: Not a fan of chocolate, or just looking for something different? Experiment with other types of baking chips! Butterscotch chips will lend a rich, caramelly sweetness, while peanut butter chips will provide a creamy, nutty depth that pairs wonderfully with the salty pretzels and chips. White chocolate chips are another fantastic option for a different kind of sweetness.
- Bright and Playful Add-Ins: To introduce vibrant pops of color and a delightful crunch, consider swapping the chocolate chips for mini M&M’s. Stir them in just until they are evenly mixed, being careful not to over-stir, which can cause the candy shells to bleed their colors into the marshmallow mixture. This variation is especially fun for kids’ parties or festive occasions.
- Dried Fruit Fun: For a chewy, fruity contrast, fold in some dried cranberries, chopped dried apricots, or even mini chocolate-covered raisins. These add a tangy sweetness that balances the savory elements.
- Tropical Twist: Add shredded coconut and macadamia nuts for a taste of the tropics. White chocolate chips would be a perfect companion here.
- Nut-Free Options: If dealing with nut allergies, simply omit the mixed nuts. You can replace them with more pretzels, sunflower seeds (if safe), or even roasted pumpkin seeds for a similar textural crunch. Always ensure all your ingredients are certified nut-free if serving to individuals with severe allergies.
- Extra Marshmallow Drizzle: For an ultra-indulgent finish, melt an additional half cup of mini marshmallows with a tablespoon of butter and drizzle it over the top of the cooled treats before slicing.
Explore More Irresistible Rice Krispie Treat Creations
If you’ve fallen in love with these Loaded Rice Krispie Treats, you’ll be thrilled to discover more exciting variations of this beloved classic. Dive into our collection of other creative and delicious Rice Krispie Treat recipes, each offering a unique twist on the ultimate no-bake indulgence.
- Caramel Apple Pie Rice Krispie Treats
- Coconut Rice Krispie Treats with Pecans
- Strawberry Rice Krispie Treats
- Peanut Butter Cup Rice Krispie Treats
Print Recipe
Loaded Rice Krispie Treats
by Amanda Biddle
Sweet, salty, and irresistibly crunchy! These Loaded Rice Krispie Treats are packed with everything but the kitchen sink–pretzels, potato chips, nuts, and chocolate chips–for a playful twist on the classic no-bake favorite.
Prep Time: 15 minutes
Cook Time: 15 minutes
Cooling Time: 1 hour
Total Time: 1 hour 30 minutes
Servings: 9 to 16 treats
Ingredients
- 8 tablespoons unsalted butter (see note below)
- 12 ounces Jet-Puffed mini marshmallows (equivalent to one 10-ounce bag plus an additional 1 cup, totaling 6-1/2 cups)
- ¼ teaspoon table salt
- ¼ teaspoon ground cinnamon
- ½ teaspoon vanilla extract
- 2 cups puffed rice cereal (such as Rice Krispies, approximately 2 ounces)
- 1 cup chocolate puffed rice cereal (such as Cocoa Krispies, approximately 1.5 ounces)
- 1 cup graham cracker cereal (such as Golden Grahams, approximately 1.4 ounces)
- 1 cup roughly-crushed kettle-cooked potato chips (2 to 2.4 ounces, sea salt variety recommended)
- ½ cup roughly chopped lightly-salted mixed nuts
- ½ cup roughly-chopped mini pretzels (about 1 ounce), plus an additional 1/4 cup for topping (optional)
- ½ cup milk chocolate chips, plus an additional 3-4 tablespoons for topping (optional)
Instructions
- Prepare the Pan: Lightly mist an 8×8-inch square baking pan with cooking spray. Line the pan with parchment paper, ensuring a 2-inch overhang on two sides for easy lifting. Set aside.
- Melt the Butter and Marshmallows: In a large, heavy pot (an enameled cast iron Dutch oven is ideal), melt the butter over medium heat. Once melted, reduce the heat to low, then stir in the salt and cinnamon.
- Add the mini marshmallows and stir continuously until they are about three-quarters melted. Turn off the heat, stir in the vanilla extract, and continue stirring until the marshmallow mixture is completely melted and smooth.
- Add the Cereals: With the pot off the heat, gently fold in the Rice Krispies, Cocoa Krispies, and Golden Grahams using a rubber spatula. Mix until the cereal is evenly coated, being careful not to crush the delicate puffed rice cereal.
- Fold in the Mix-Ins: Add the crushed potato chips, chopped pretzels, and chopped nuts all at once. Gently fold them into the cereal mixture. Let the mixture rest for 1 to 2 minutes, then gently fold in the chocolate chips with only a couple of turns of your spatula, just until they are distributed throughout the cereal mixture. Avoid over-stirring to prevent the chocolate chips from fully melting.
- Press into the Pan: Transfer the sticky mixture into the prepared pan. Using the butter wrapper, a lightly greased spatula, or a piece of parchment paper, gently press the mixture into an even layer. Do not press too firmly, as this can result in dense, hard treats. If desired, sprinkle a few extra pretzel pieces and chocolate chips on top for garnish.
- Cool and Slice: Allow the treats to cool completely at room temperature for at least 1 hour (2–3 hours is recommended for the cleanest cuts and optimal setting). Once cooled, use the parchment overhang to lift the slab of treats out of the pan. Place on a cutting board and cut into 9 large or 16 smaller squares with a sharp knife.
- Storage: These treats are best enjoyed on the day they are made, when the pretzels and potato chips are at their crunchiest. Store any leftovers in an airtight container at room temperature for up to 3 days. Do not refrigerate, as this will make the treats overly firm.
Notes
- Butter: For extra richness and flavor, consider using a higher butterfat European-style butter, such as Kerrygold or Plugrá, instead of standard American-style butter.
- Nutrition Estimate based on cutting the recipe into 9 squares.
Nutrition Estimate
Serving: 1 treat | Calories: 427kcal | Carbohydrates: 60g | Protein: 4g | Fat: 21g | Saturated Fat: 9g | Polyunsaturated Fat: 2g | Monounsaturated Fat: 7g | Trans Fat: 0.4g | Cholesterol: 27mg | Sodium: 235mg | Potassium: 228mg | Fiber: 2g | Sugar: 31g | Vitamin A: 852IU | Vitamin C: 8mg | Calcium: 39mg | Iron: 3mg
Nutrition information is automatically calculated, so should only be used as an approximation.
About our recipes: Please note that our recipes have been developed using the US Customary measurement system and have not been tested for high altitude/elevation cooking and baking.
⭐ Like this? Rate and comment below!
